


downshift 🏎 is the primitive you need to build simple, flexible, WAI-ARIA compliant React autocomplete/typeahead/dropdown/select/combobox/etc (AKA "item selection") (p)react ⚛️ components. From PayPal 💙
One common component on the web is autocomplete:
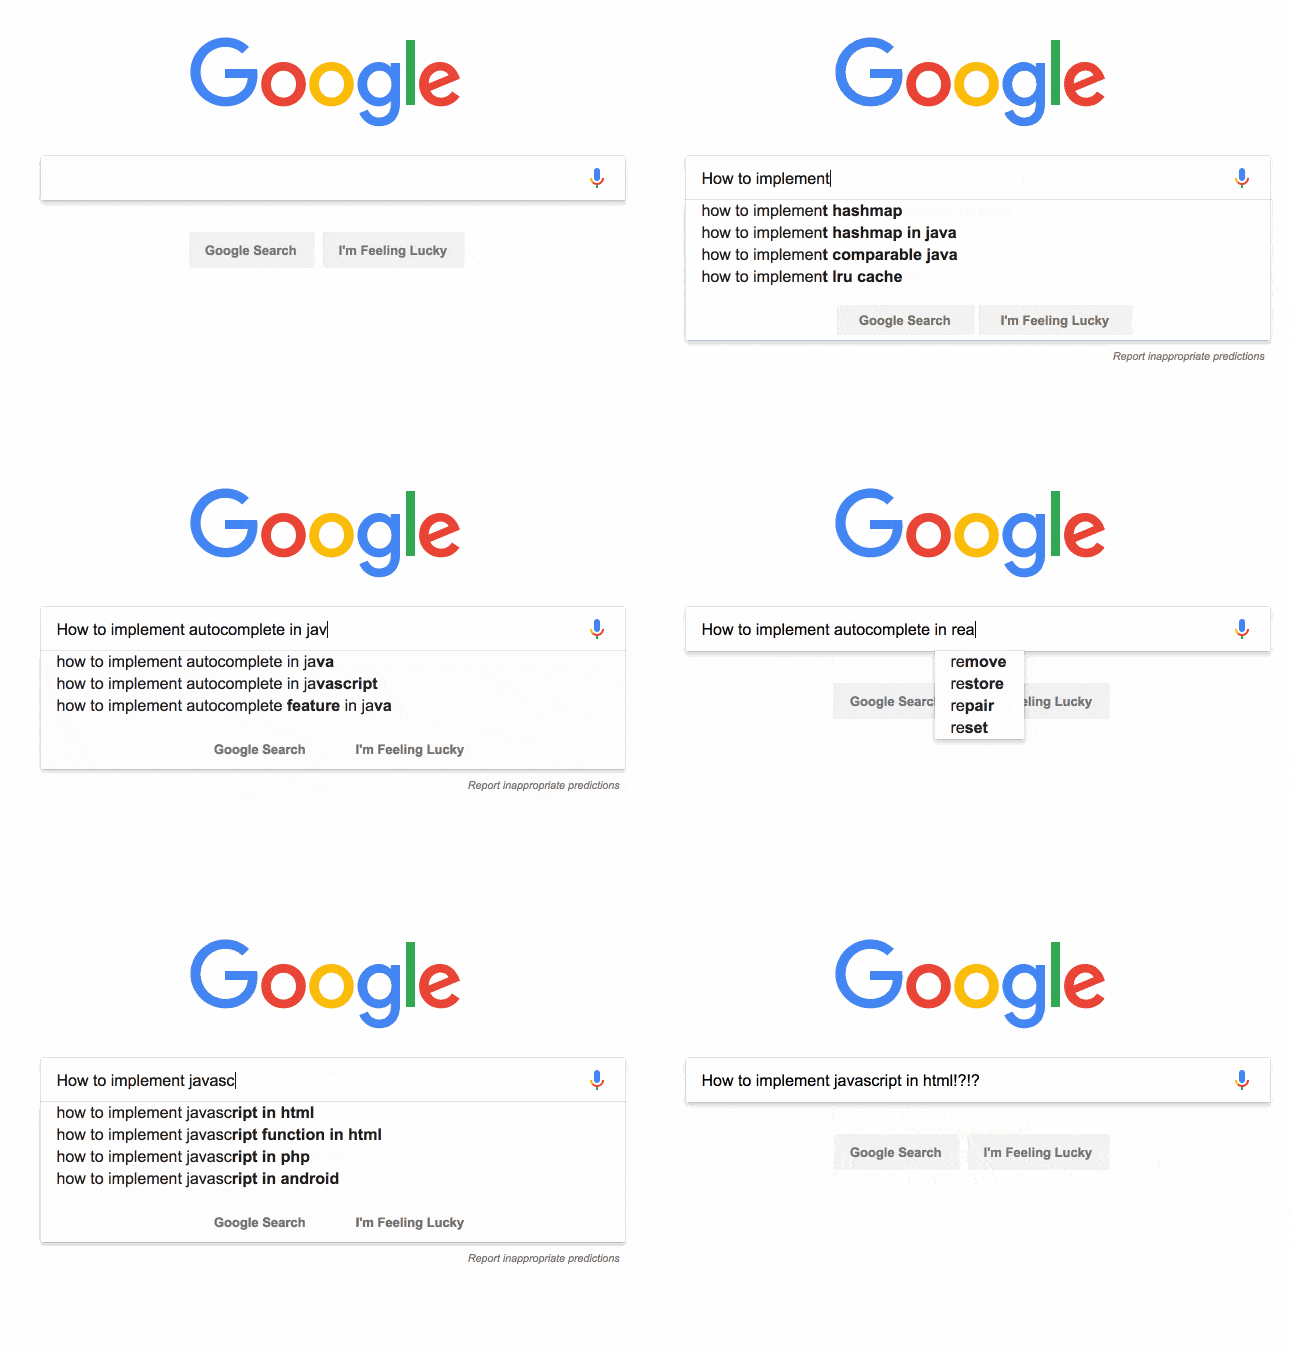
I've personally implemented 5 unique autocomplete abstractions in the last 4 years 😱 It's not an easy component to get right. And while you're busy doing all that work, don't forget to make it accessible! That's also a pretty big job.
Luckily, we have quite a few solutions for implementing an item selection like autocomplete. Specifically for React, there's react-select, react-autosuggest, react-autocomplete, and more. And now there's another one on the scene. It's called downshift, its emoji is the race car 🏎, and it's taking a different approach.
The existing solutions for item selection inputs (autocomplete/typeahead/dropdown/select/combobox/etc) components in React will render the input and menu for you. Some of them allow you to specify what you'd like rendered, but will render in a predetermined location (or one that is configurable). Some of them also expose a list of class names that you can reference for styling the rendered component so you can make it fit your brand.
Unfortunately, this results in a wider API surface area and a more complicated implementation under the covers. And even with all of the flexibility provided, it can still be a real chore to make these things render what you want them to when, where, and how you want them to render.
These issues and limitations are largely due to the fact that these libraries are doing the rendering (React.createElement) for you.
There are two design decisions that provide distinguishing characteristics about
downshift that sets it apart from existing solutions:
Let's talk about how each of these works to bring you an incredible amount of value and flexibility.
There's actually not one instance of React.createElement (or JSX) anywhere in
the downshift
source code.
Instead,
downshift
uses a render callback
(following
the render prop pattern).
This allows you to render whatever you want inside <Downshift /> . It also
puts you in total control of when, where, and how you render the selectable
items in the menu.
This means that downshift doesn't need to expose nearly as many props as other
solutions because there's no rendering to configure.
It turns out that rendering nothing increases simplicity, decreases bundle size, and enhances flexibility.
Here's a bare-bones autocomplete component with downshift:
import * as React from 'react'
import { render } from 'react-dom'
import Downshift from 'downshift'

const items = [
	{ value: 'apple' },
	{ value: 'pear' },
	{ value: 'orange' },
	{ value: 'grape' },
	{ value: 'banana' },
]

render(
	<Downshift
		onChange={(selection) => alert(`You selected ${selection.value}`)}
		itemToString={(item) => (item ? item.value : '')}
	>
		{({
			getInputProps,
			getItemProps,
			getLabelProps,
			getMenuProps,
			isOpen,
			inputValue,
			highlightedIndex,
			selectedItem,
		}) => (
			<div>
				<label {...getLabelProps()}>Enter a fruit</label>
				<input {...getInputProps()} />
				<ul {...getMenuProps()}>
					{isOpen
						? items
								.filter(
									(item) => !inputValue || item.value.includes(inputValue),
								)
								.map((item, index) => (
									<li
										{...getItemProps({
											key: item.value,
											index,
											item,
											style: {
												backgroundColor:
													highlightedIndex === index ? 'lightgray' : 'white',
												fontWeight: selectedItem === item ? 'bold' : 'normal',
											},
										})}
									>
										{item.value}
									</li>
								))
						: null}
				</ul>
			</div>
		)}
	</Downshift>,
	document.getElementById('root'),
)
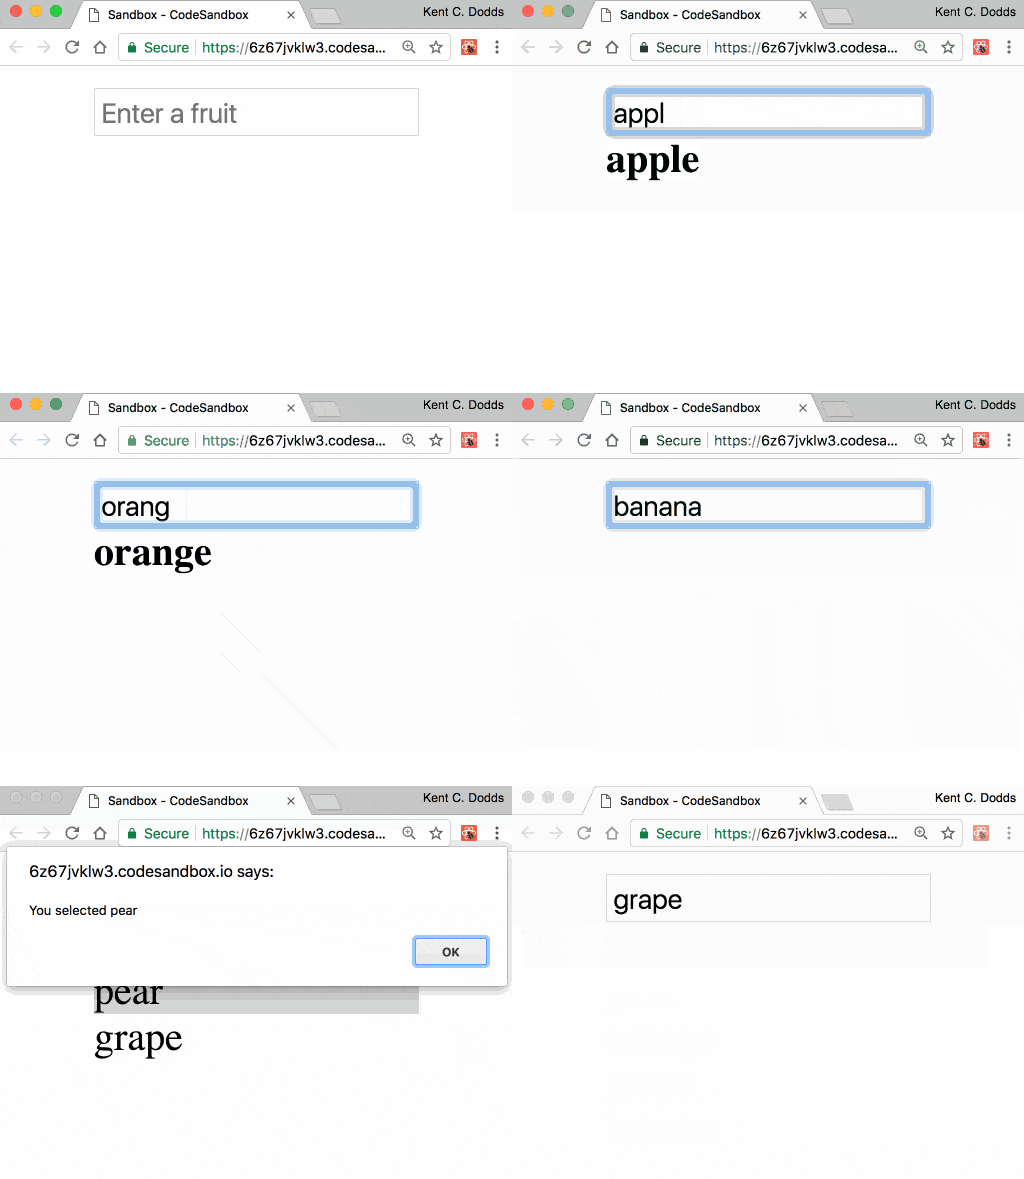
Error embedding https://codesandbox.io/s/6z67jvklw3
This is a pretty minimal example, and if you were to build similar minimal
examples with other autocomplete libraries you could certainly do it in fewer
lines of code. But what you'll notice here is that we're only passing onChange
and render props to <Downshift />. The render prop is a function which is
invoked with some helper methods and state for us to build our component out of.
**downshift** is responsible for managing the user interaction, state, and
most of accessibility for us, and we're responsible for rendering things based
on that state.
Your autocomplete component is literally a function of the state of
downshift
Another thing you'll notice about the example above is the render function is
passed more than just state. You're also given getInputProps and
getItemProps. These are "prop getters" (inspired by
Jared Forsyth) and they are the key to
allowing you to render whatever you like. So long as you forward all the props
to the appropriate element you're rendering (if you're rendering it at all),
then downshift will do all the work of wiring things together.
Also, because downshift isn't rendering your menu or your items, downshift
doesn't need to provide any APIs for how you filter or load them. You can load
them asynchronously
(example using Apollo and graph.cool and
this example using Algolia Instantsearch)
and you can control how you filter things (see this
example that integrates geniejs
watch me build geniejs integration here).
This means that you don't need to learn or work around an API and can do it
however works best for your use case.
This API also means that you don't have to render an input at all. So you can
use downshift to implement a dropdown without any trouble too.
Here's an example implementing a multi-select dropdown with
downshift.
There are other prop getters available (some are there just to make
accessibility easier). See
the
downshift
docs
for more info.
The other design decision downshift has made is the use of controlled props.
If you've used React for a while, you've probably bumped into the concept of
controlled and uncontrolled components. The most common of these is the
<input /> component which allows you to specify a value prop if you want to
control what the input value is. If you specify that prop, then you're
responsible for keeping it up to date (often this requires an onChange handler
to keep things in sync with when the user updates things).
downshift has this exact same concept for all pieces of state that it tracks:
isOpen, selectedItem, inputValue, and highlightedIndex. This information
is something that you have access to in your render function, as well as an
onStateChange callback. But sometimes (just like with <input />) you need to
be able to have complete control over it. So if you provide any of these as a
prop to the downshift component (for example <Downshift isOpen={true} />),
it becomes "controlled" and downshift will reference the value of your prop
rather than track it internally with state.
Here's an example that controls the isOpen state:
Error embedding https://codesandbox.io/s/0mrl1819qw
This allows you to have complete control over the state of your component.
Ryan Florence teaches about
controllable components (like
downshift) in this fantastic lesson
(I highly recommend it). And you can
watch me build the first iteration of the implementation here.
Accessibility (#a11y) is a really important feature, and quite frankly, it's not
easy to get right for an item selection component like autocomplete. While
developing it, I referenced several autocomplete components and
Marcy Sutton was kind enough to give one of
our examples
an accessibility audit
(Thank you Marcy!). Pull up an example with
VoiceOver and I think you'll
be impressed! We've worked hard to make sure that it's accessible
(watch me work on it here),
and based on my survey of the existing solutions, downshift is the most
accessible component of its kind.
downshift is quite a bit smaller than other similar solutions.
The UMD build rolls in at 14.34kb
(uncompressed). Because downshift gives you full control over rendering,
there's much less code required. In addition, it was easy to make work out of
the box with preact ⚛️ (a teeny tiny version of react.
No need to add preact-compat). I was able to create
an experiment using preact-habitat
that gives
a completely frameworkless implementation of autocomplete
in less than 26kb (uncompressed). That size includes downshift +
preact + preact-habitat. You have my permission to jump for joy 😉. Shout
out to Jason Miller and
Zouhir for preact and
preact-habitat!
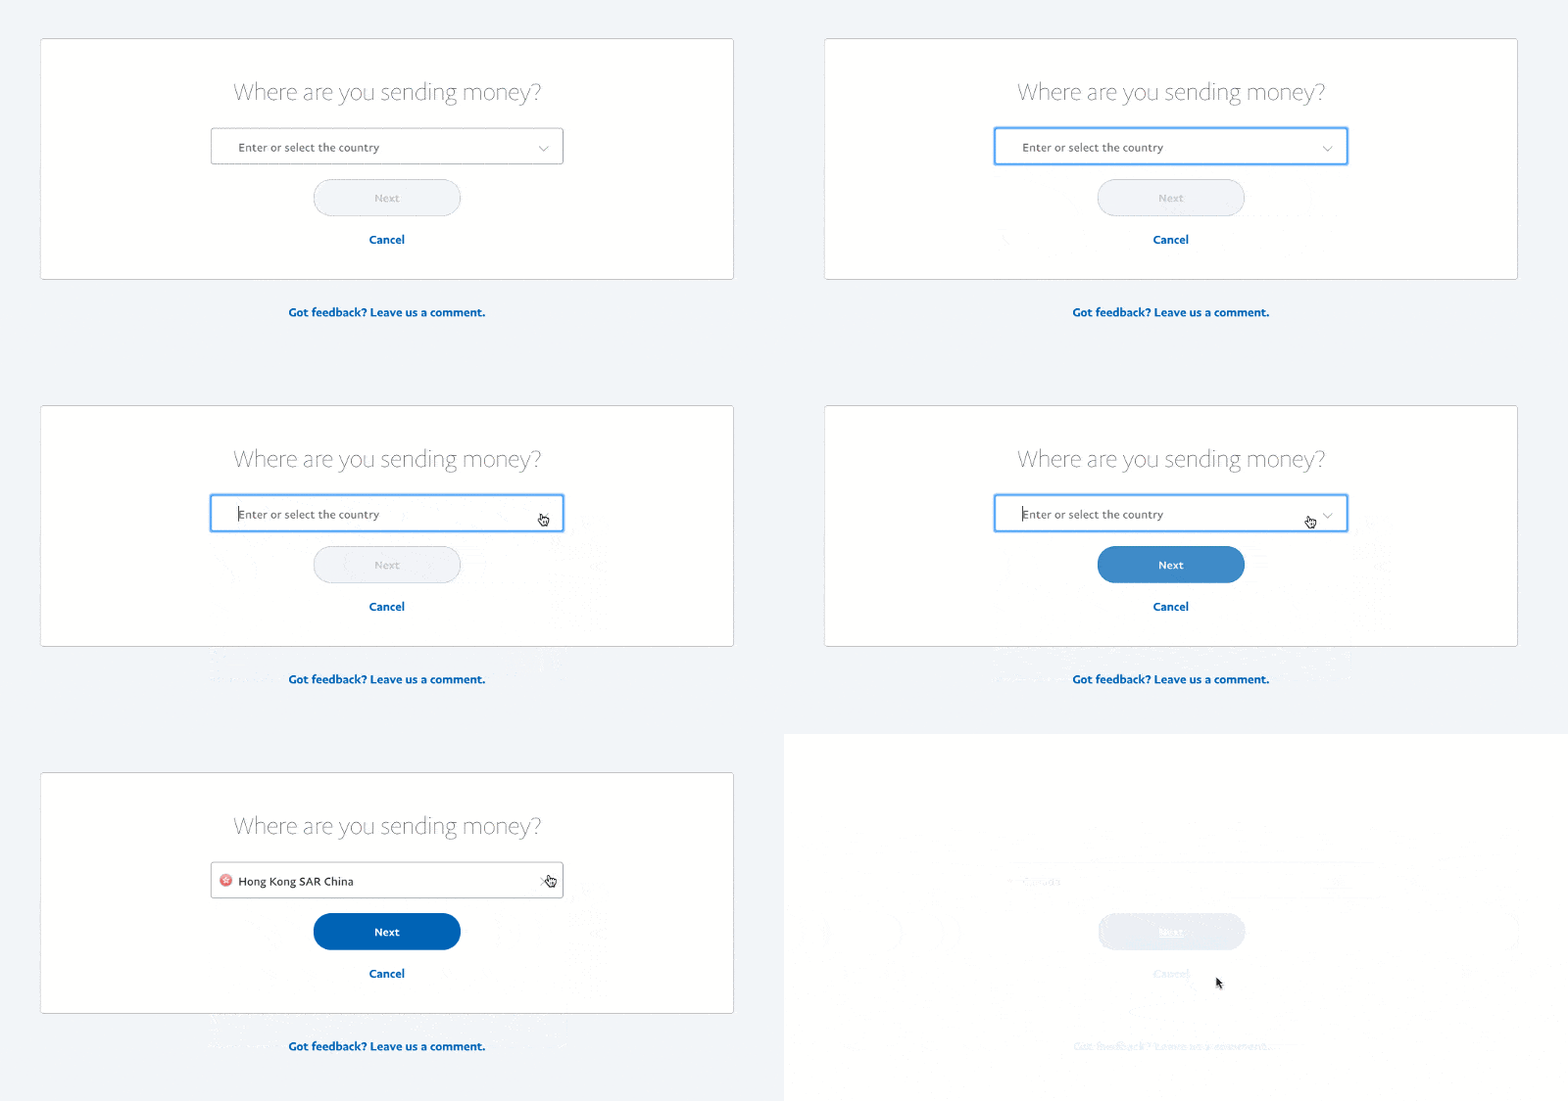
I built downshift for
this country selector experience on PayPal:
We also use the same component in the recipient selector:
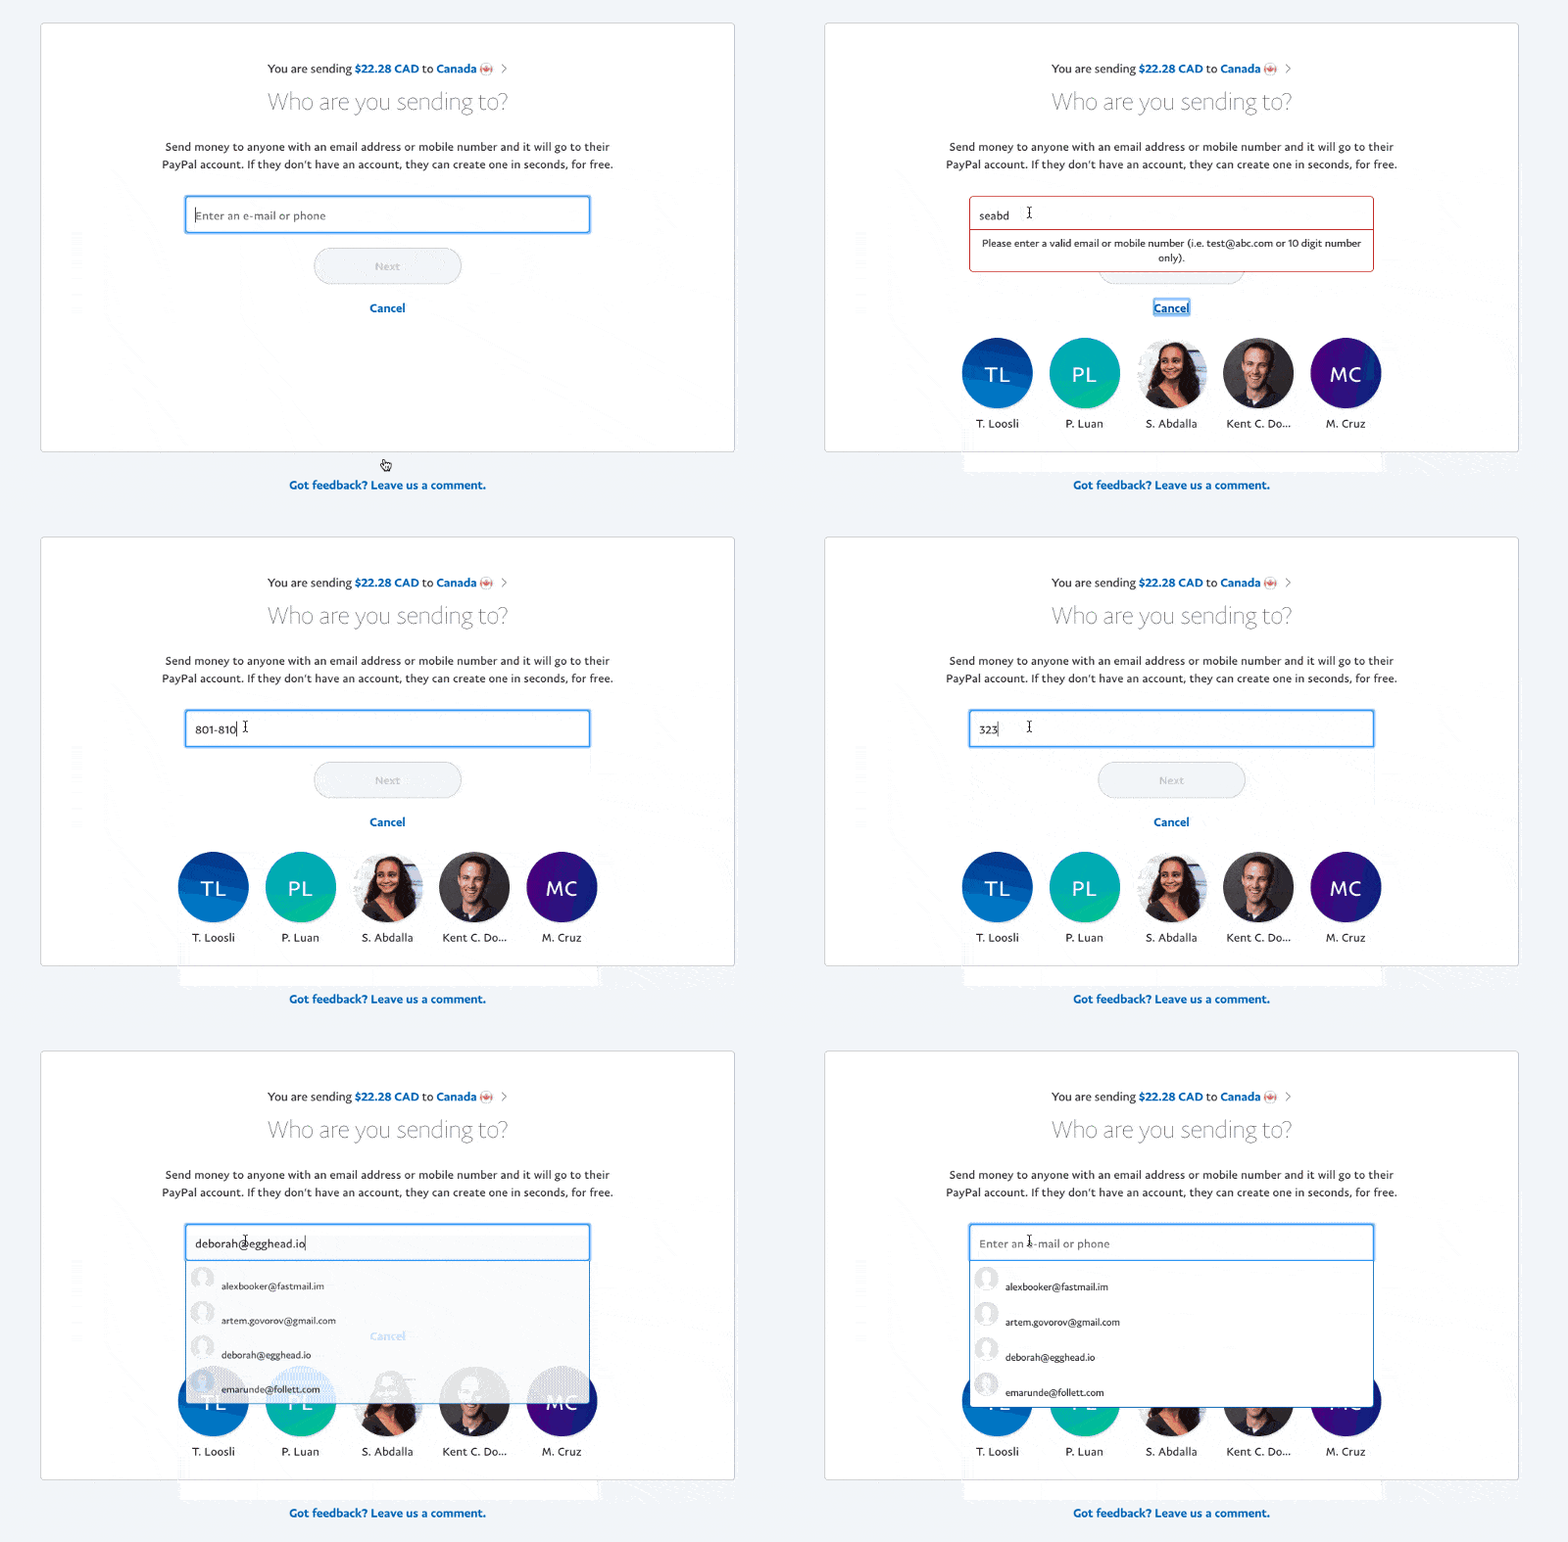
You can watch me build part of these PayPal experiences here.
We actually have several other item selection experiences in our app that have slightly different use cases and necessitated us having multiple implementations of an autocomplete component in the same app! So that's why I build downshift: so we could have a single implementation that was flexible enough to cover all the use cases. The experience in PayPal should ship next week.
There are other teams within PayPal who are integrating downshift with their applications right now as well.
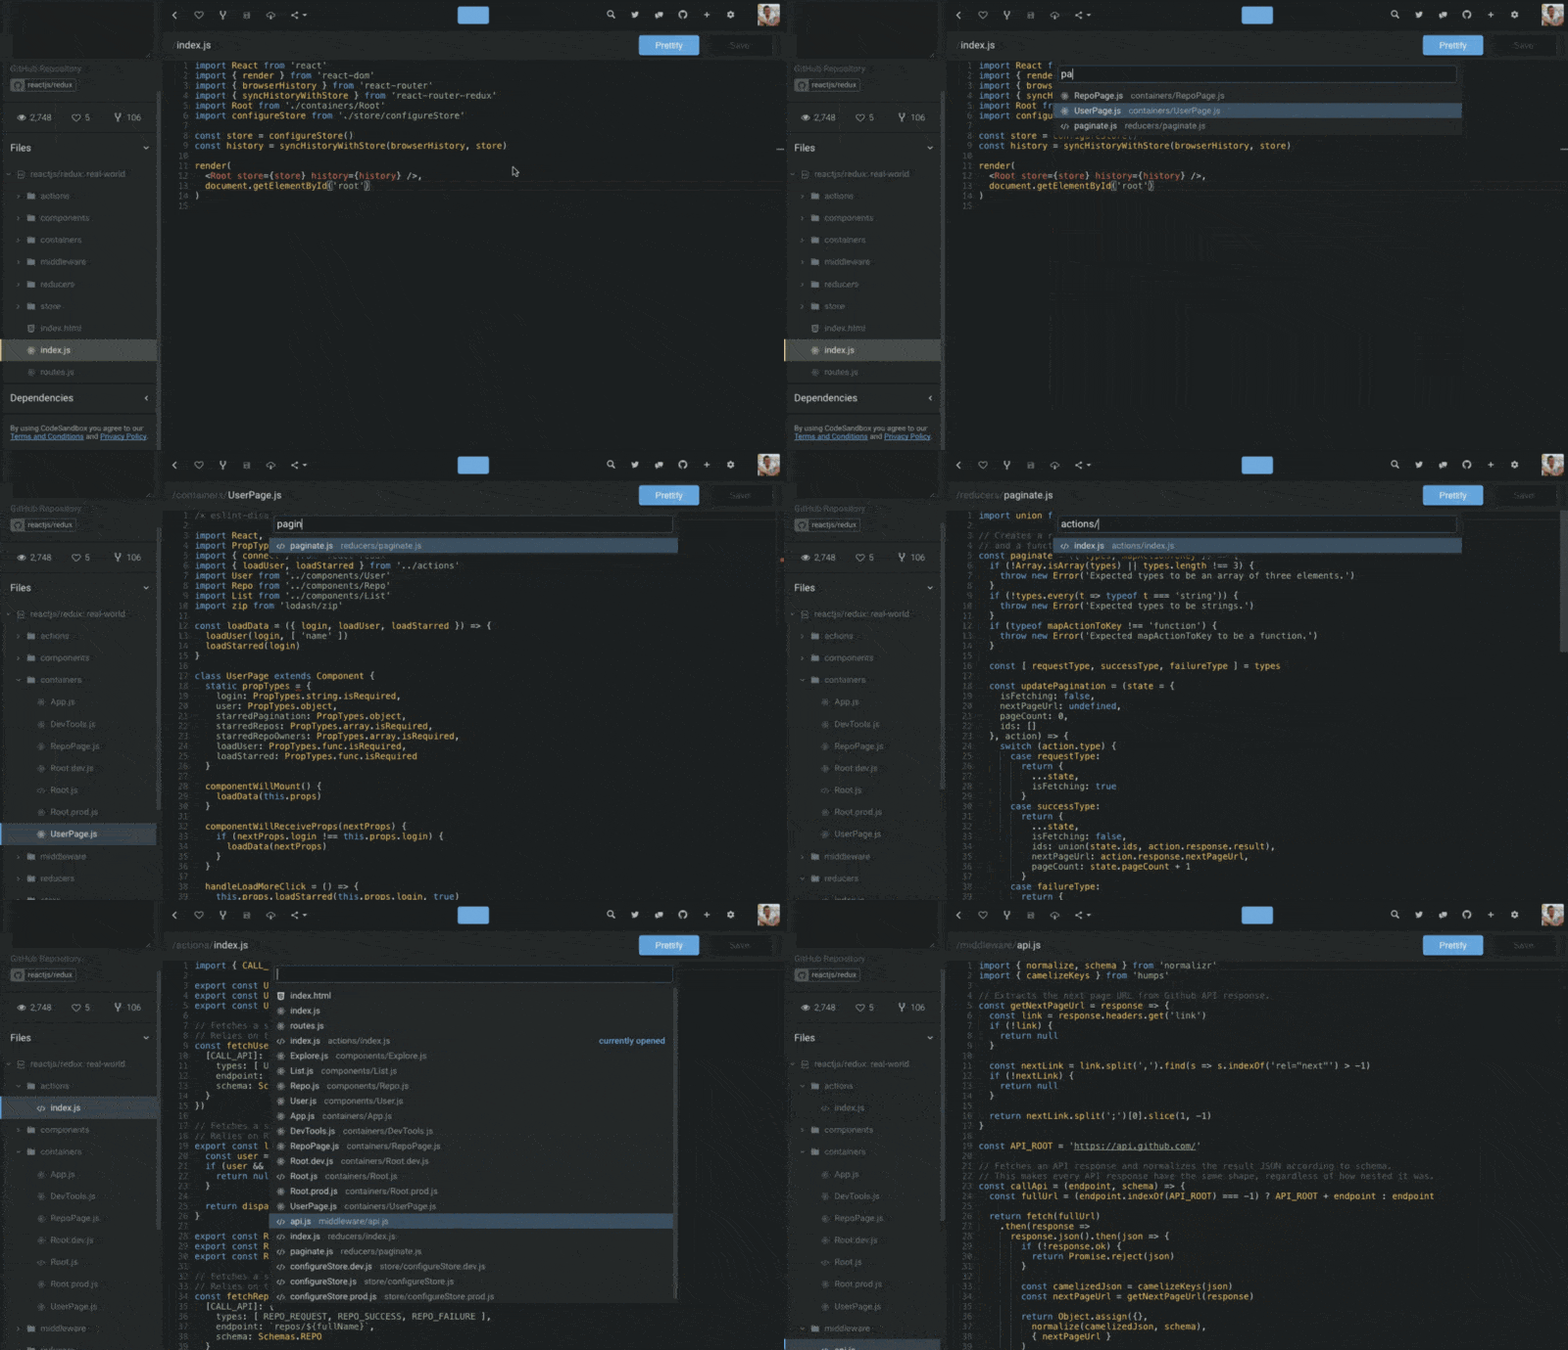
I started working on downshift about a month ago, the first beta was published (as react-autocompletely) the next day. It's slowly been gaining popularity (it already has 900 🌟 and 7k downloads/month) even before the official 1.0.0 release! So it's definitely being used in several places, but the first production deployment that I'm aware of is in codesandbox from Ives van Hoorne (gif from his tweet):
Fun fact: both of these solutions are also using match-sorter, which is a user friendly best-match sorting library. I highly recommend it!
downshift is a pretty minimal component by design. It does take a little bit
more work to get things that you get out of the box from other solutions. But
I'm convinced that you can build all of those features on top of downshift. So
I'm hoping that the community can help build downshift-powered versions of
some of these features and get those published to npm.
Here's a great place to get started!
I need to give a big shoutout to
Ryan Florence. His lesson on
"Compound Components"
got me started on this. downshift doesn't actually use compound components
anymore, but the first incarnation did! So thanks to Ryan! And you can watch me
develop most of downshift on
this YouTube playlist
(starting with
this first video)
📺.
And again, a big shoutout to Jared Forsyth for inspiring the prop getters one day when we just bumped into each other at the airport ✈️ That made a big difference in the direction of the API as well.
Special shoutout to Travis Arnold,
Julien Goux,
the_Simian, and
all the contributors
(so far) for their help with
forming the downshift API into what it is now.
此内容由惯性聚合(RSS阅读器)自动聚合整理,仅供阅读参考。 原文来自 — 版权归原作者所有。