


I did the one thing I figured would make me finish this site: I made a new logo, then I 3D printed it and stuck it to the wall. Nothing quite like putting something on your wall that you can't ignore to get you moving.
Anyway, let's talk about the process.
The starting point #
This is the old logo.

Not bad, but I've seen it a lot over the last decade or so. I wasn't sure if I wanted something vastly different, something similar, or something in between those two extremes. Essentially I had no idea. When that happens I find it handy to sketch. So sketch I did.
Sketches #
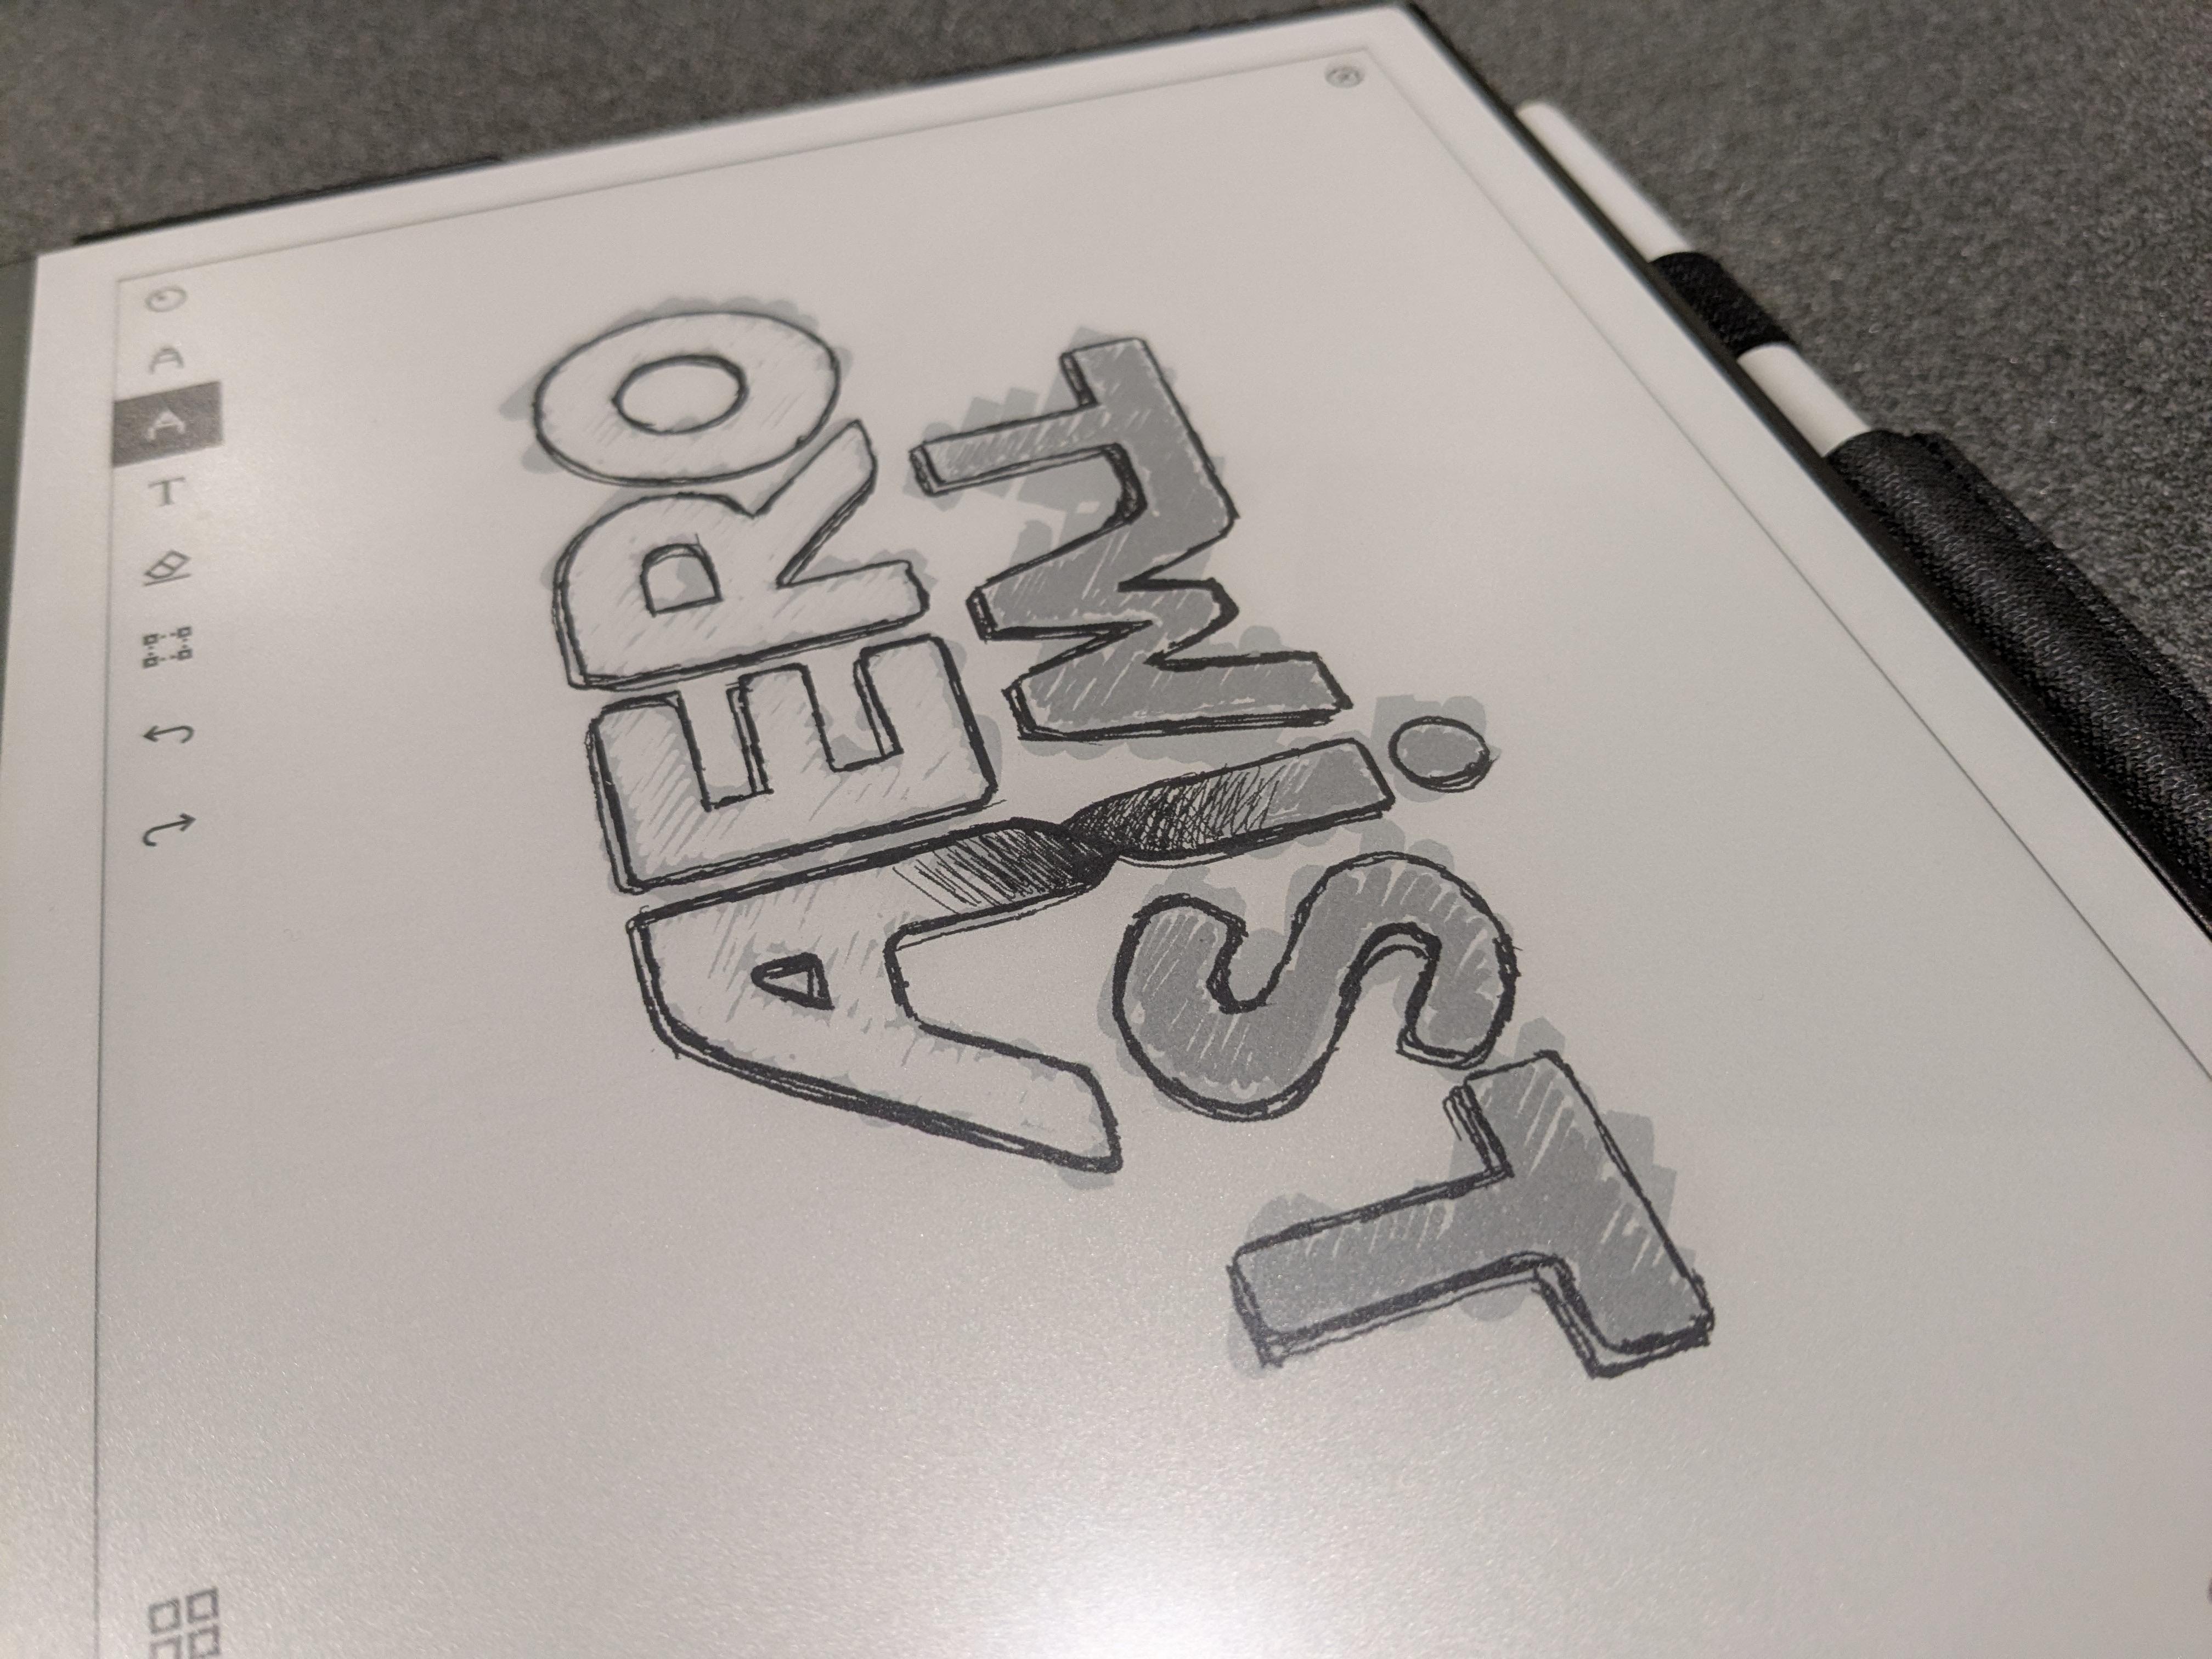
Last year I bought a reMarkable 2 tablet which turned out to be the ideal place for me to start. While my family were occupied with various festive activities I just sat and quietly noodled on what I thought the new Aerotwist logo could be.
After a fair number of failed attempts, this is where I netted out.
To the vector we shall go... #
Got to say I was happy with that, but I also know that a sketch is one thing, and for it to be useful I had to convert it to a vector. So after several hours of casually going back and forth with curve handles to get it as accurate as possible, I had a version I was okay with.
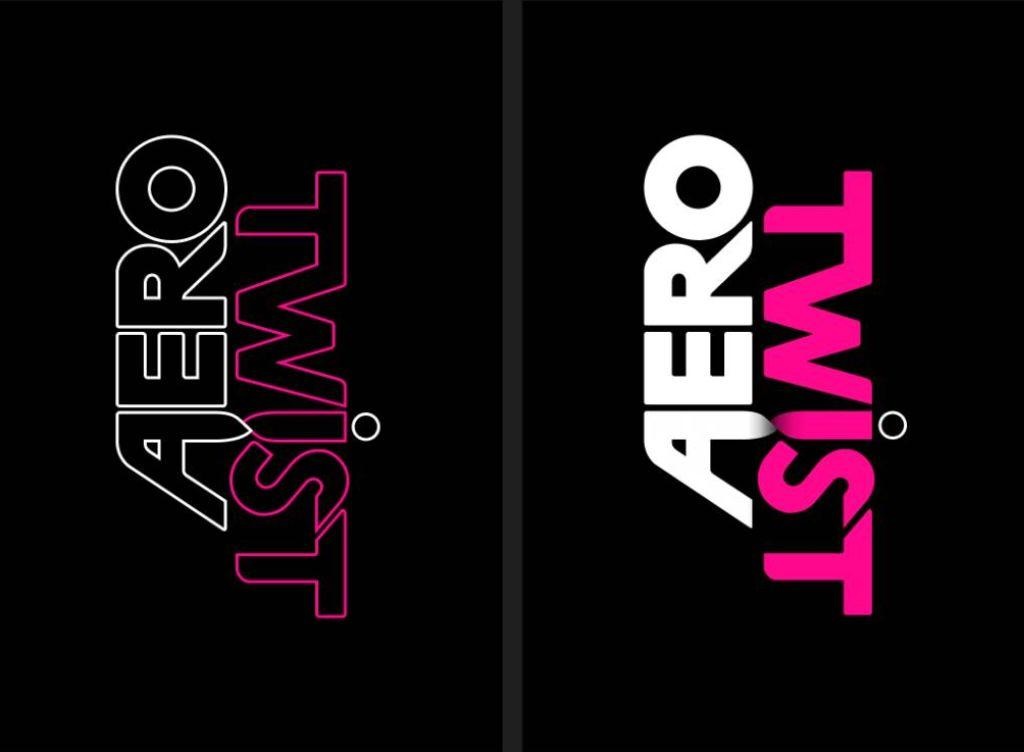
I'm no expert with typography so I'm certain there will be rookie errors in how I did it, but I got to a point where I felt it look balanced and clean enough to work with.
There were a few tweaks on this compared to the original sketch, most clearly seen around the 's' and 't' at the end of 'twist', where the two letters are a little more connected.
I got to a point where I felt it look balanced and clean enough to work with.
That was a major pivot point as I now had an SVG version of the logo for this site, but it also meant I could go one step further.
Dimensions++ #
By this point I had a fair inkling that I wanted to print the logo with my Bambu Lab P1S, and for that I knew I needed it to be in an STL file. Those are fairly easy to export from Blender.
As it happens Blender also has very good SVG support, so it was mostly a case of importing the logo, extruding the paths and then setting up a few bits and pieces for the export like the physical dimensions of the scene. Which I did, but not before spending far too long with cameras and a whole raft of entirely-unnecessary-but-really-rather-fun render settings.
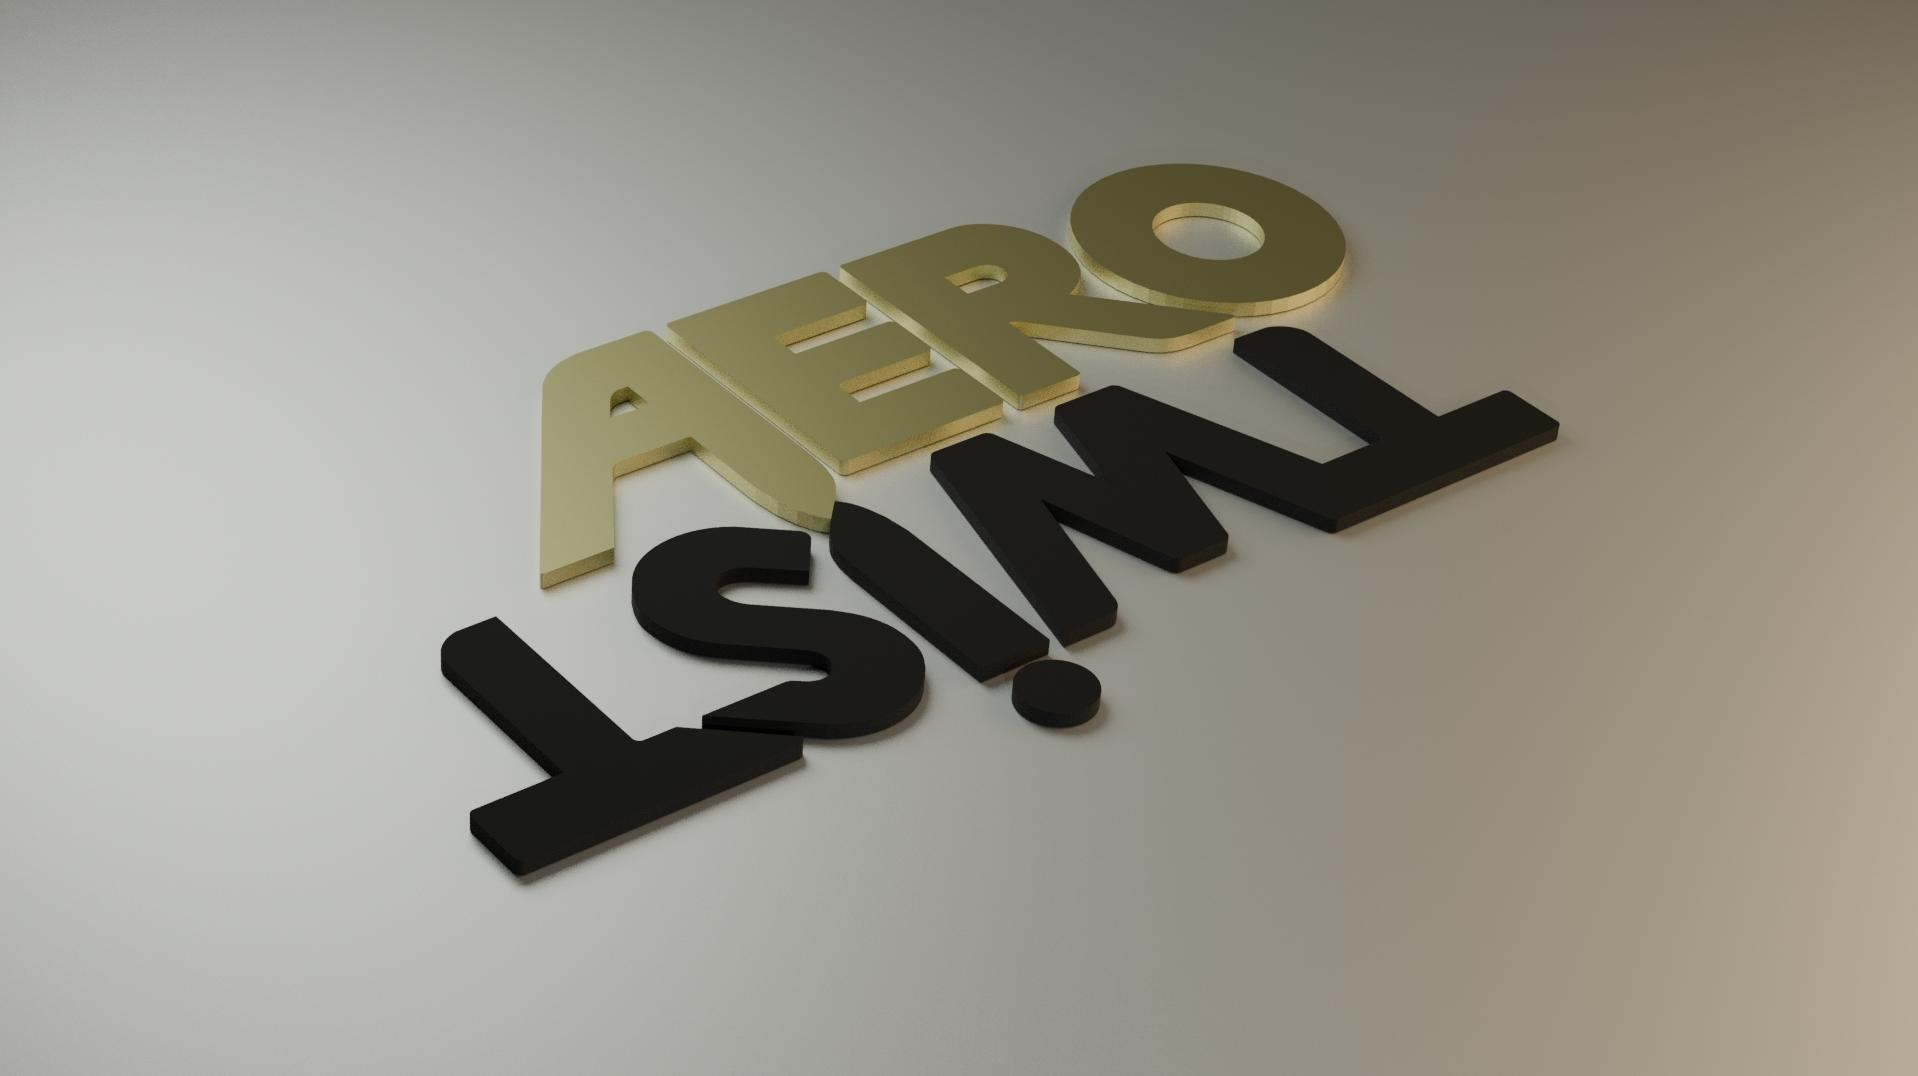
So far, so good. Well, I say that. It turns out that exports from Blender that are brought into BambuStudio get into something of a fix. It's about manifold edges or faces or something... as far as I can tell the mesh exported from Blender doesn't automatically play nicely, but – 🥳 good news 🥳 – it can usually be fixed automatically, mostly by using an online STL file fixer.
Armed with a squad of STL files -- one for each letter of the logo – I was finally ready to print. Why individual files, you ask? Ah, because the P1S has a printable volume of 256mm3, and I wanted the logo to be a decent size on my wall. That meant splitting it up and printing it letter by letter.
And then the 3D printer! #
After a bit of a wriggle with the STL fixer I arrived at a bunch of plates for BambuStudio to print.
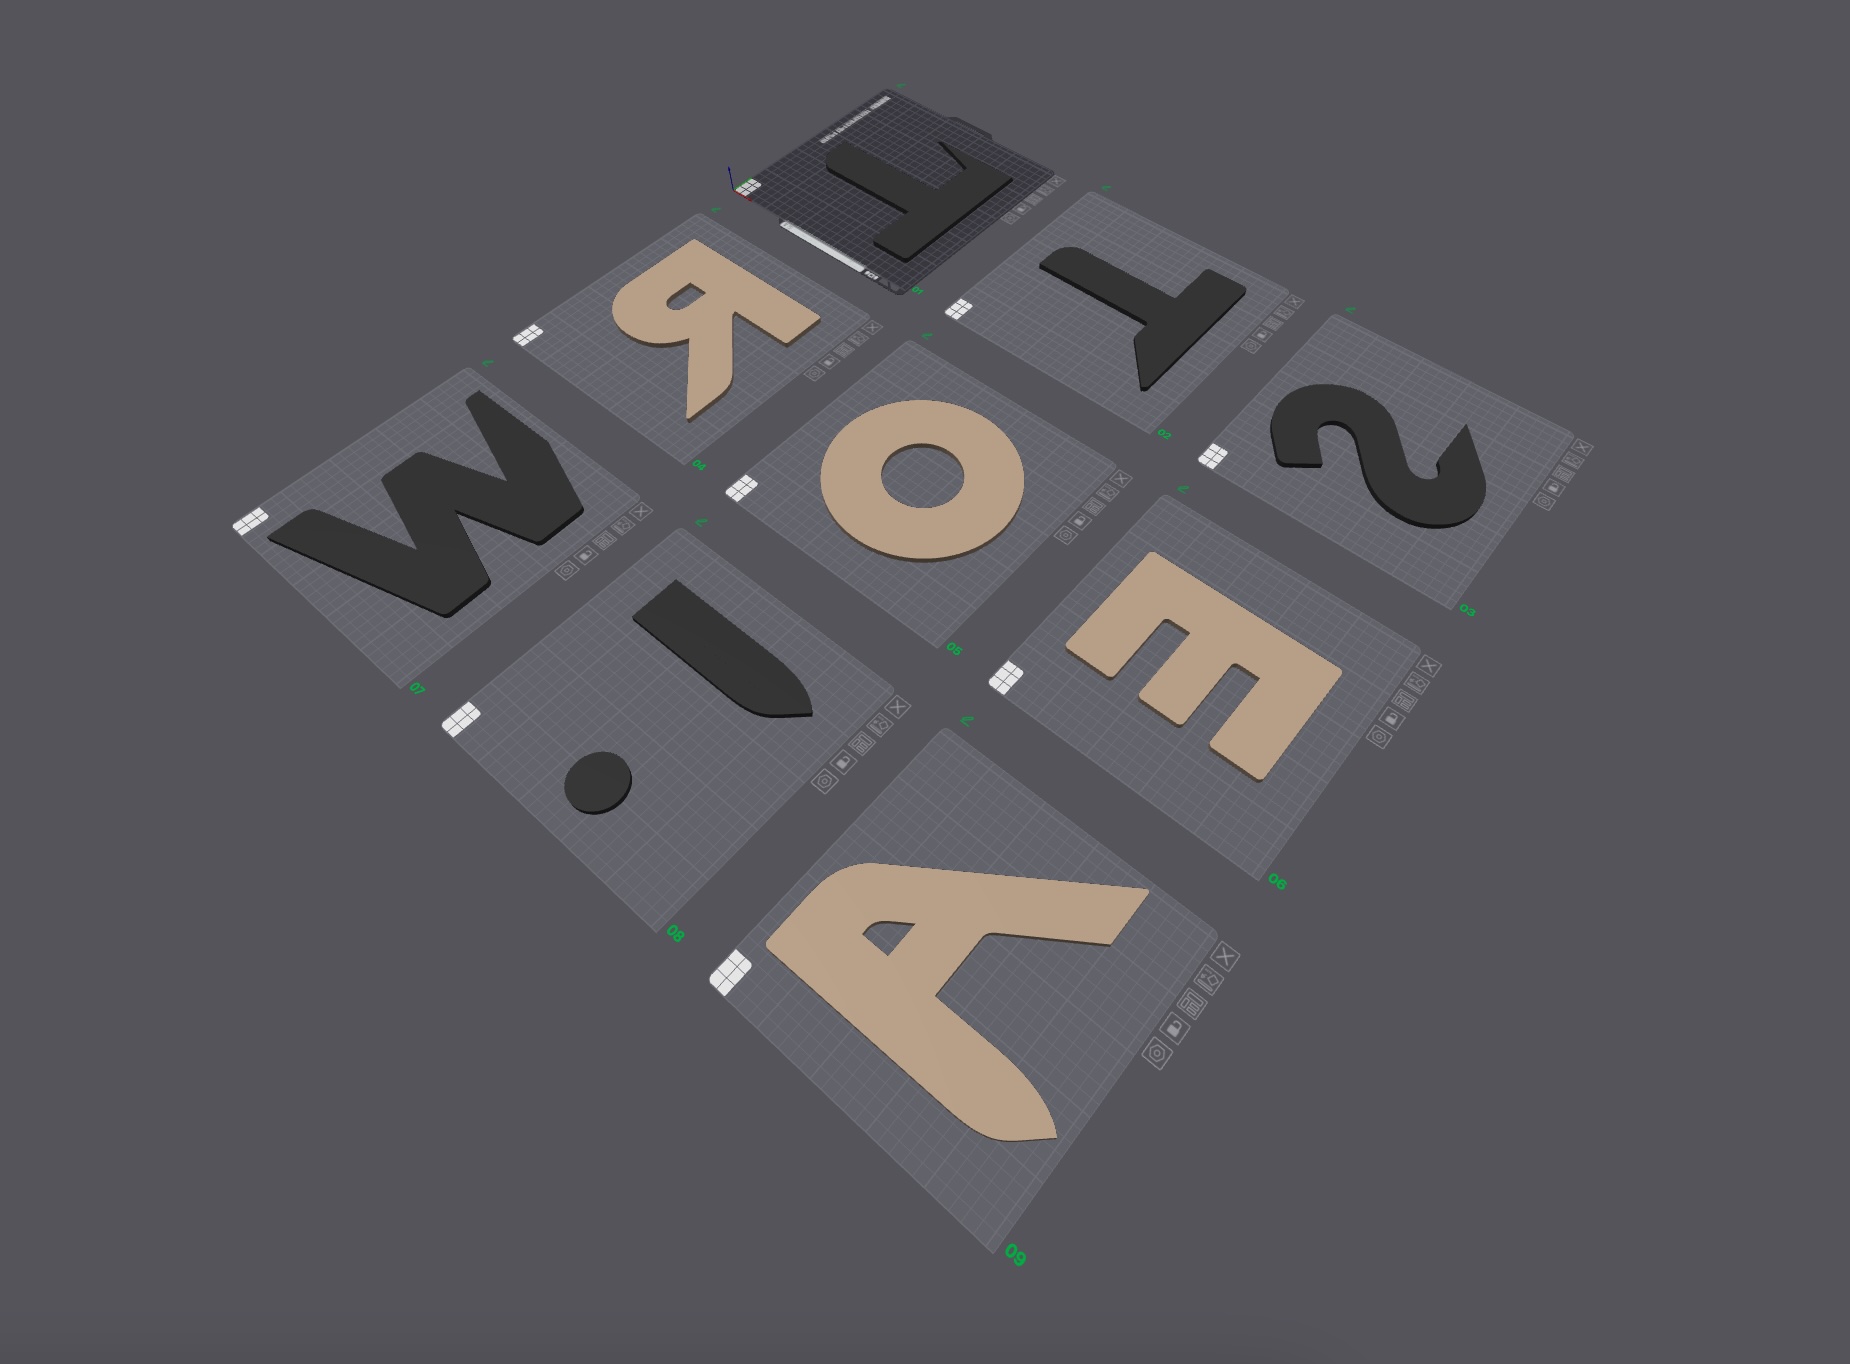
In case you're curious the two materials I chose for the print were Matte Black and Iridium Gold. I'm classy, me.
Some 22 hours of printing later I was ready to stick things to the wall. Would you like to see a timelapse of all that printing? Yes, yes you would. Maybe. But here it is anyway...
Sticky sticky! #
Finally it was a case of sticking the logo to the wall in my study, which largely involved a tape measure, a spirit level, and significantly more patience than I typically exhibit.
Finally it was a case of sticking the logo to the wall in my study, which largely involved a tape measure, a spirit level, and significantly more patience than I typically exhibit. If there's one thing I know it's that if I looked over to the logo and saw it was wonky I'd never look over there again, which feels somewhat counter to the spirit of having a logo. I therefore double-, triple-, and fobble-checked the measurements. I still got it wrong, and had to rehang the logo three times. Classic Lewis.
Here's how the final logo looks on the wall.
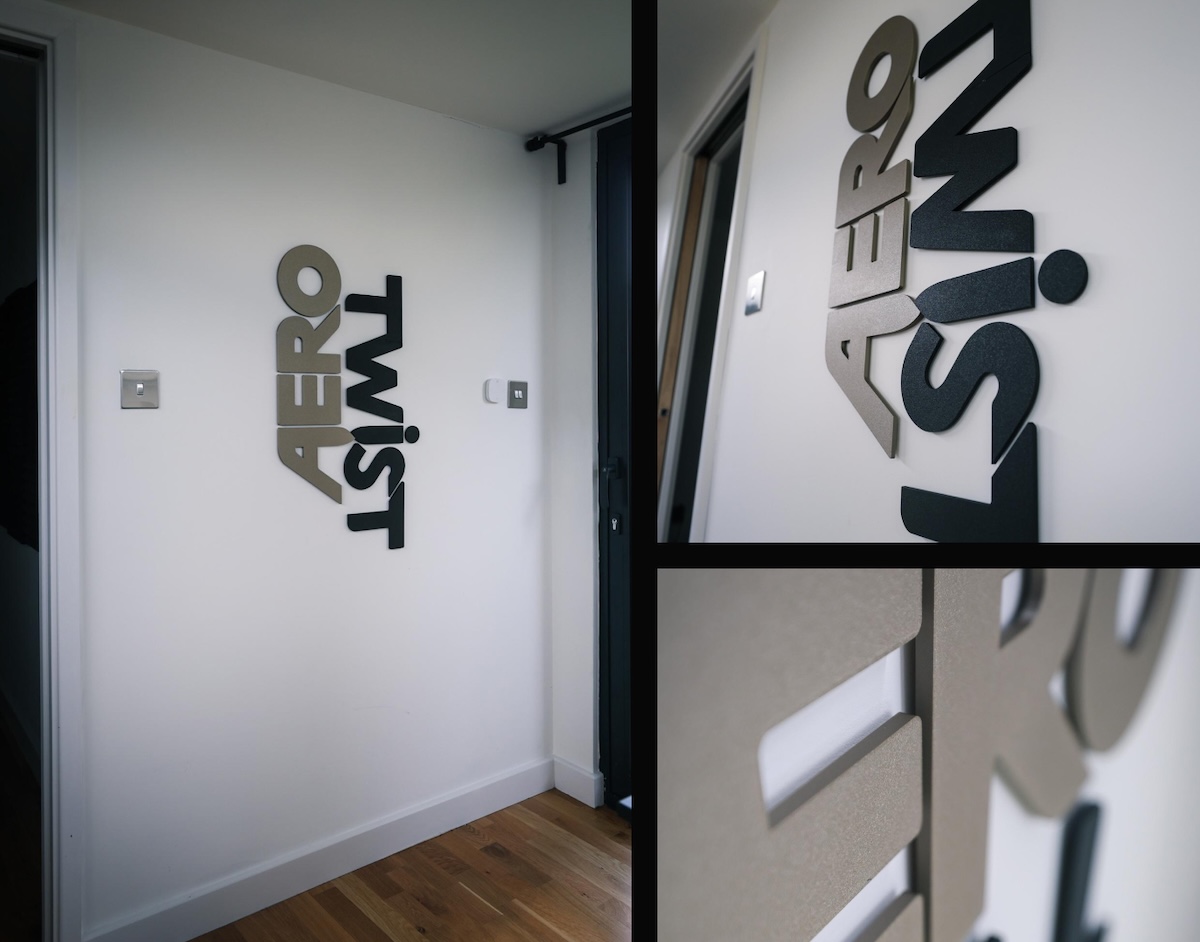
So there you have it! Quite the journey, and one of which I'm rather proud. I've never gone from sketch to a physical logo before, and I learned a lot in the process!
Also I hope you like the updated site. Happy 2025! 🥳