


We’re going to walk through the process of generating a site using Lovable, connecting it to GitHub, and deploying it to Netlify. We’ll end by adding a custom domain to make the site feel truly like your own.
If you’ve used Lovable before, you’ve likely recognized that there is a default method for deploying a generated site using the “Publish” button.
While this is a great way to get started, it’s not great for the longevity of your project. If your project achieves its goals, it will likely require additional custom development and advanced production runtime and admin features.
After a few short steps in setting up Git and Netlify, you’ll be able to make consistent updates to your site, and you’ll be able to grow in size, scale, and complexity without the need to change your deployment strategy. And as your site changes and you encounter new problems to solve, you’ll have more control to ensure your site remains secure and functional.
You’ll also get the benefit of Git, which enables you to track changes, collaborate with others, and roll back to previous versions of your site.
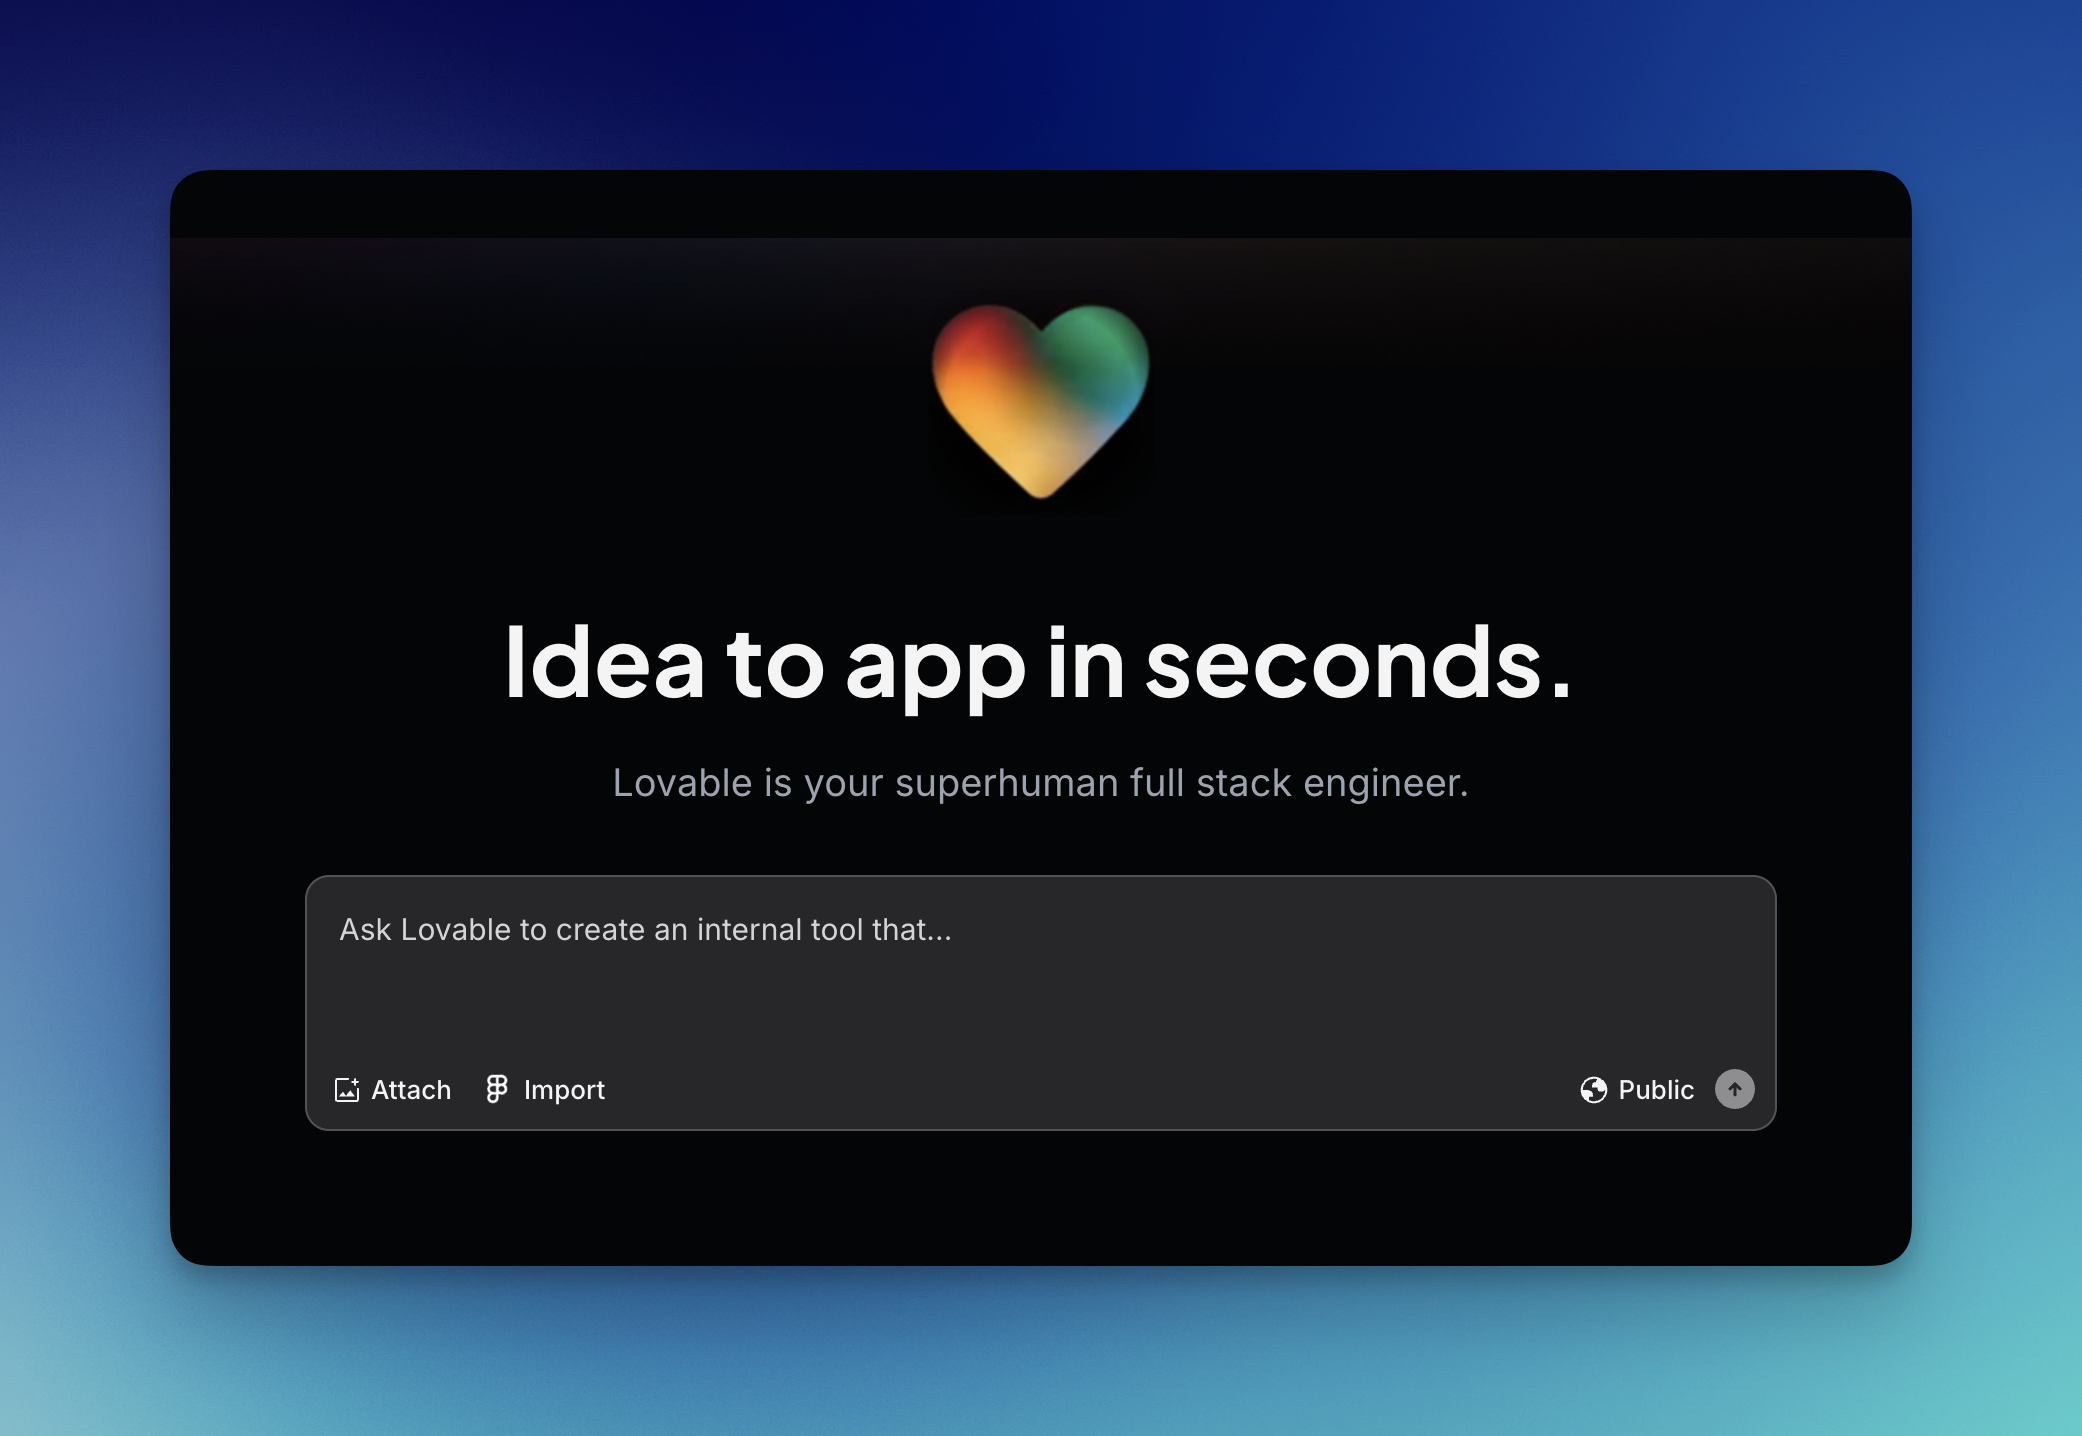
Begin by generating a new site using Lovable. Go to Lovable’s app, create an account and give it a prompt.
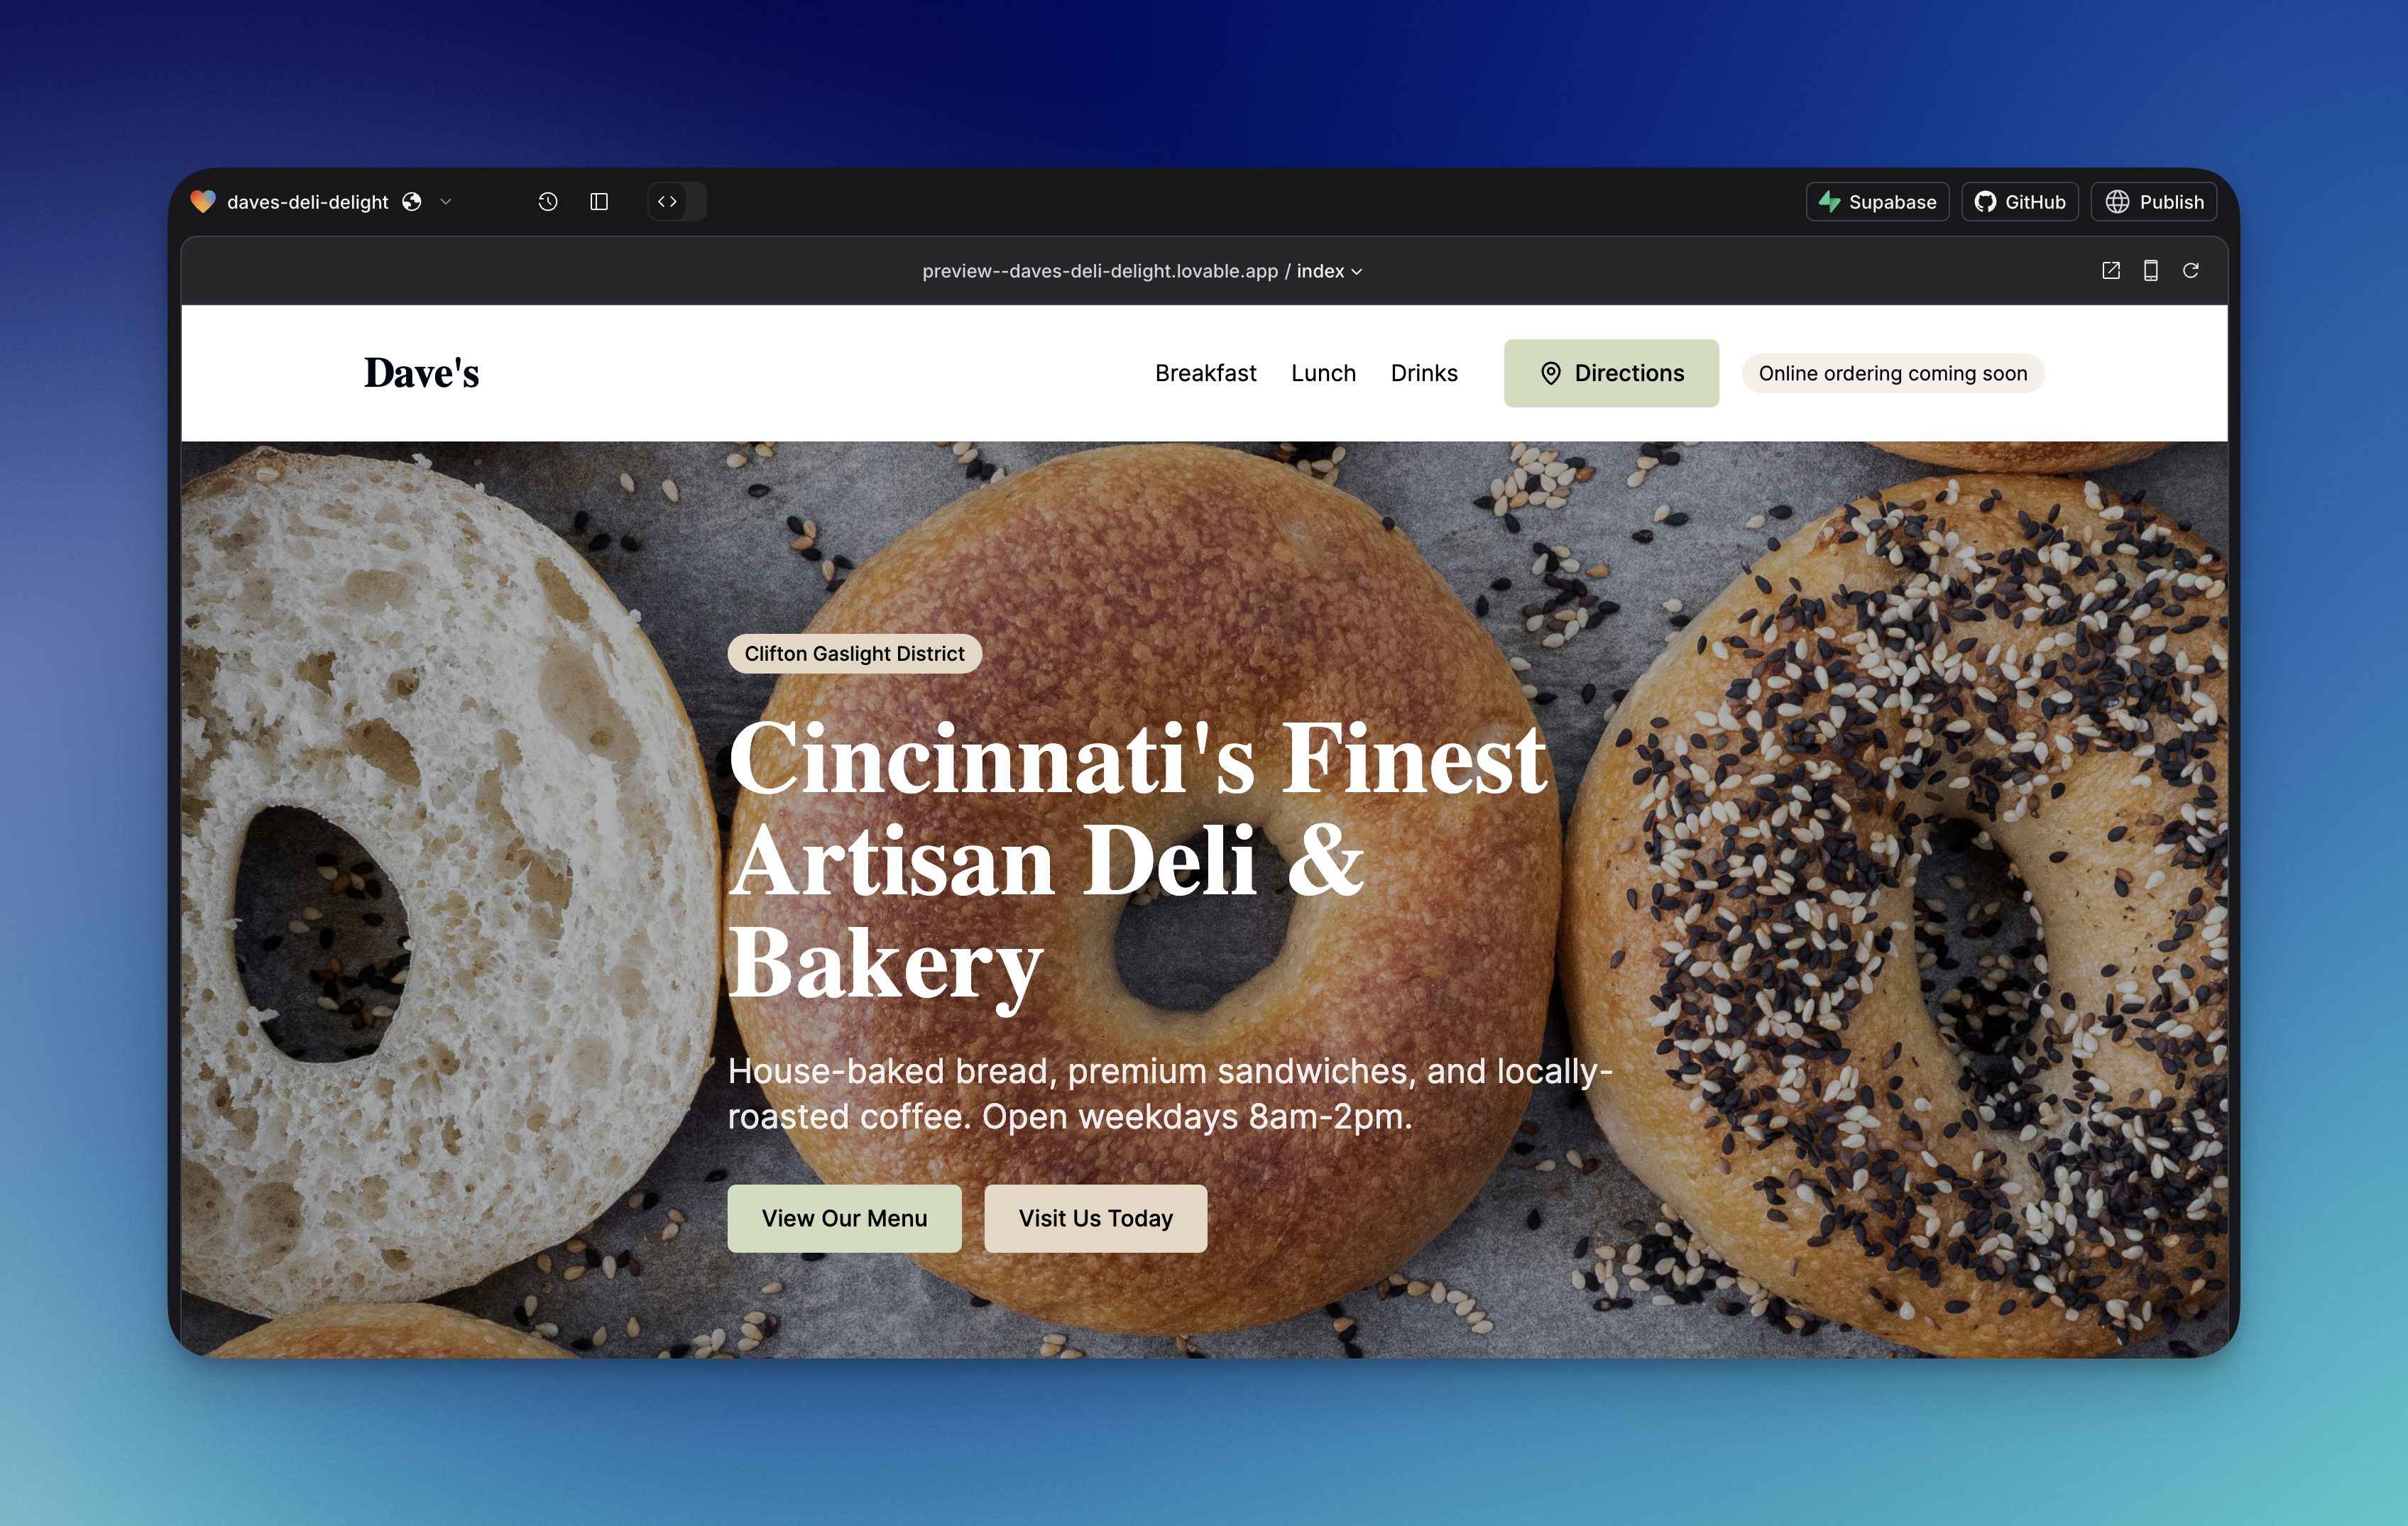
After a few minutes, you’ll see a preview of your new site.
Next, let’s set up Git and sync the code with GitHub. First, make sure you have a GitHub account.
Then, back in Lovable, select the “GitHub” button (1) and choose “Connect to GitHub” (2).
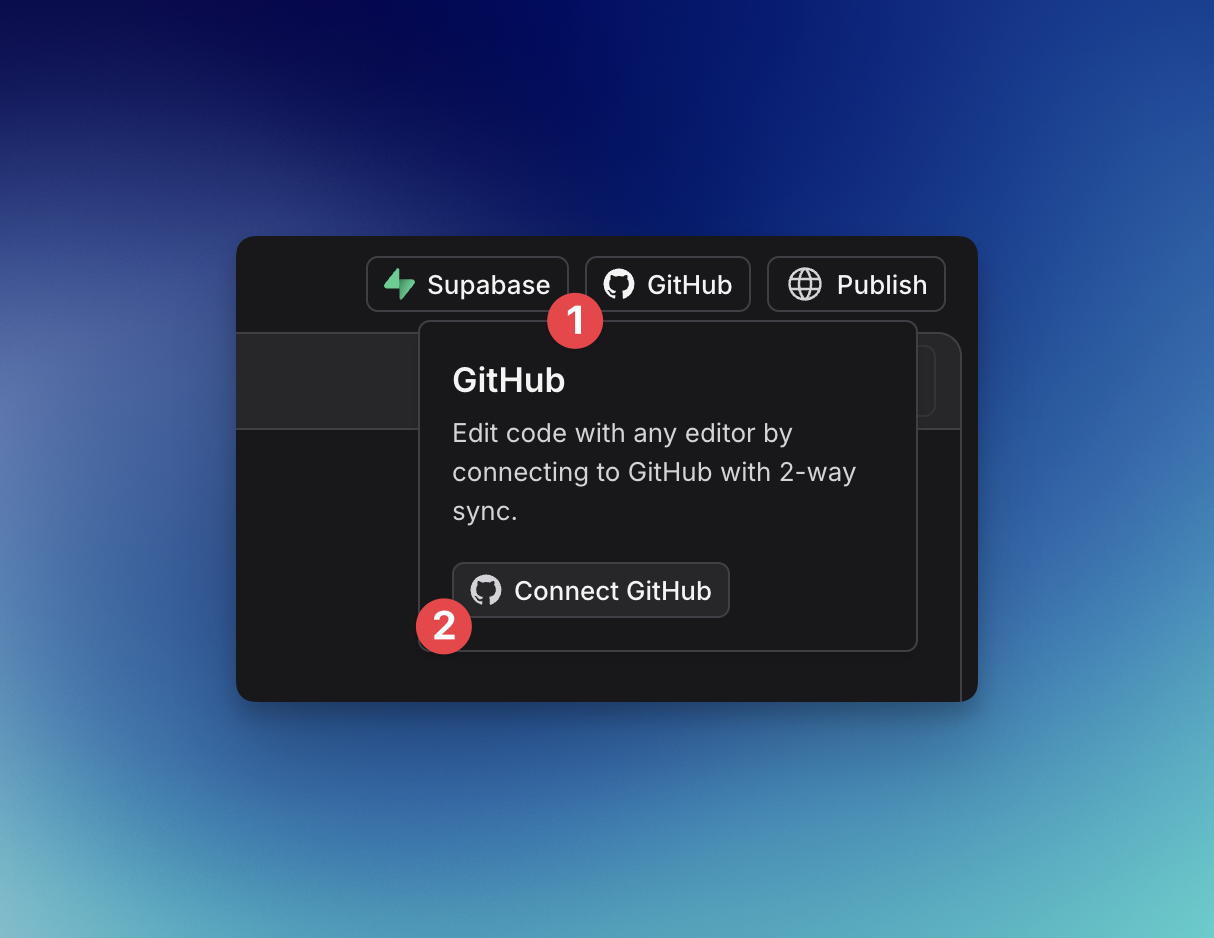
Work through the authentication process, choosing your preferred GitHub account. Once this is complete, the GitHub dropdown will show your repository information.
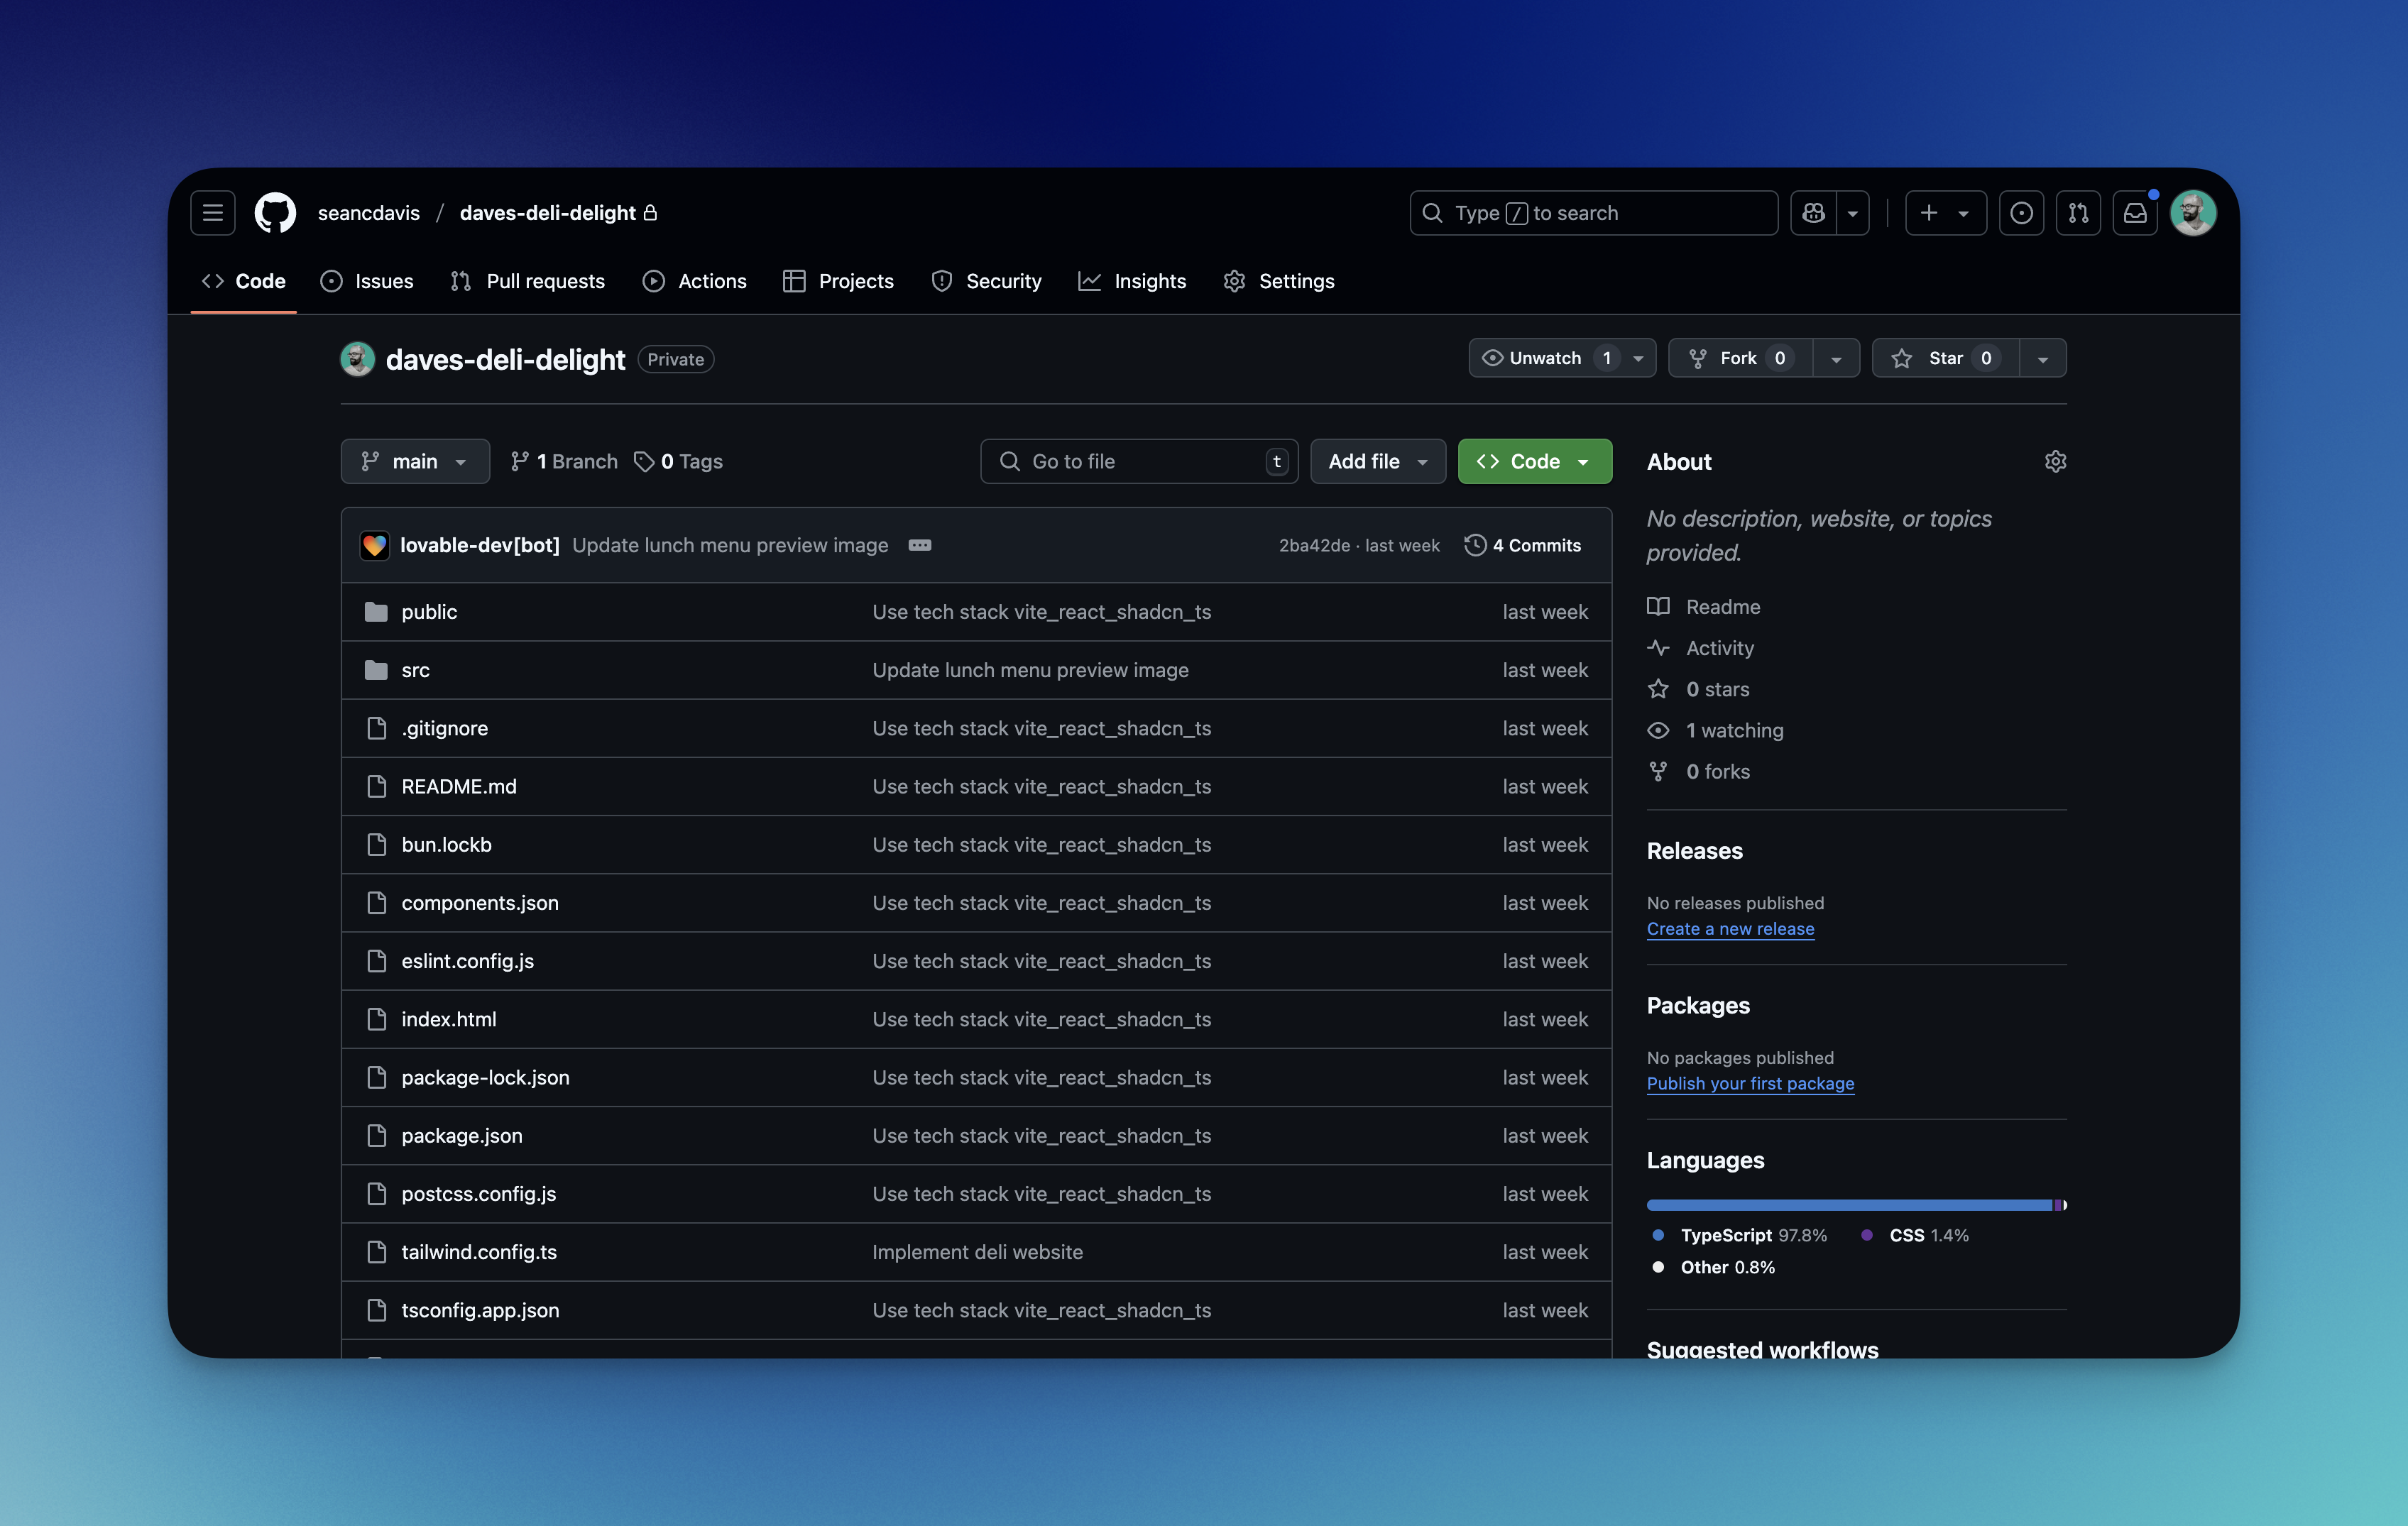
If you select “View on GitHub” (1, above), you’ll see the Lovable site code in the GitHub repository.
Now we have everything we need to deploy to Netlify. As with GitHub, begin by signing into or signing up for a Netlify account. (The easiest way to do this is to use your GitHub account.)
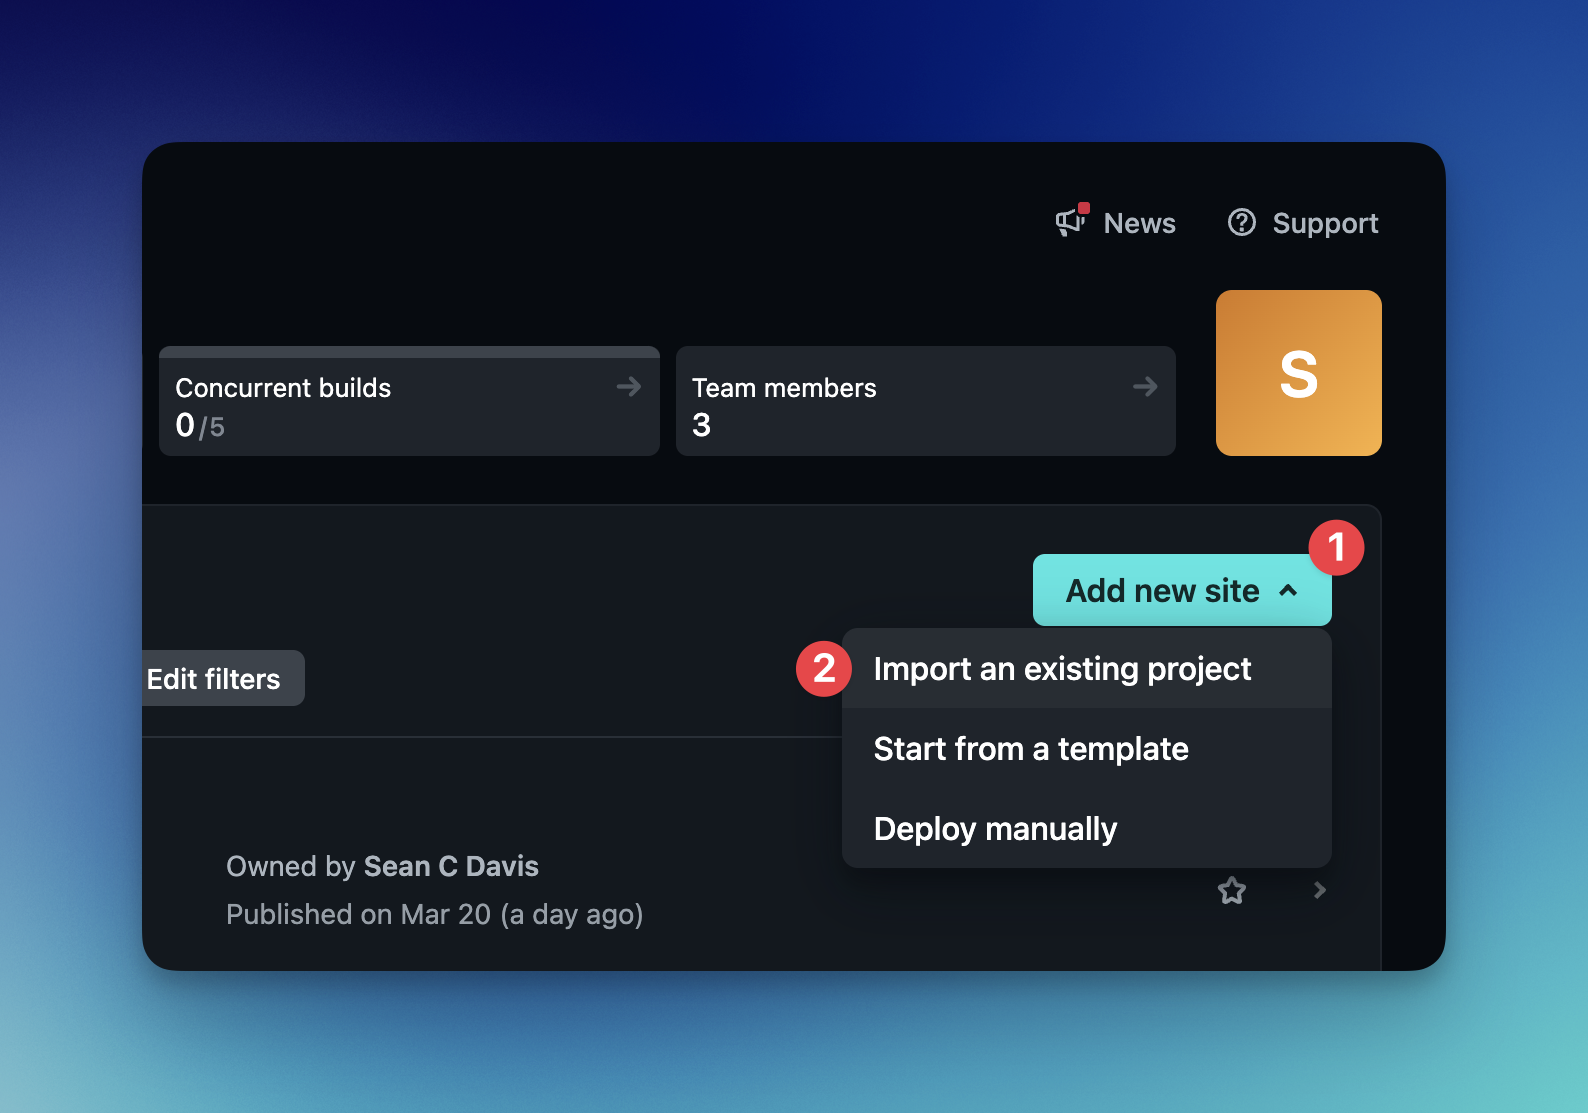
To create a new site, go to the Netlify start page. Or, from your Netlify dashboard, select “Add new site” (1) and choose “Import an existing project” (2).
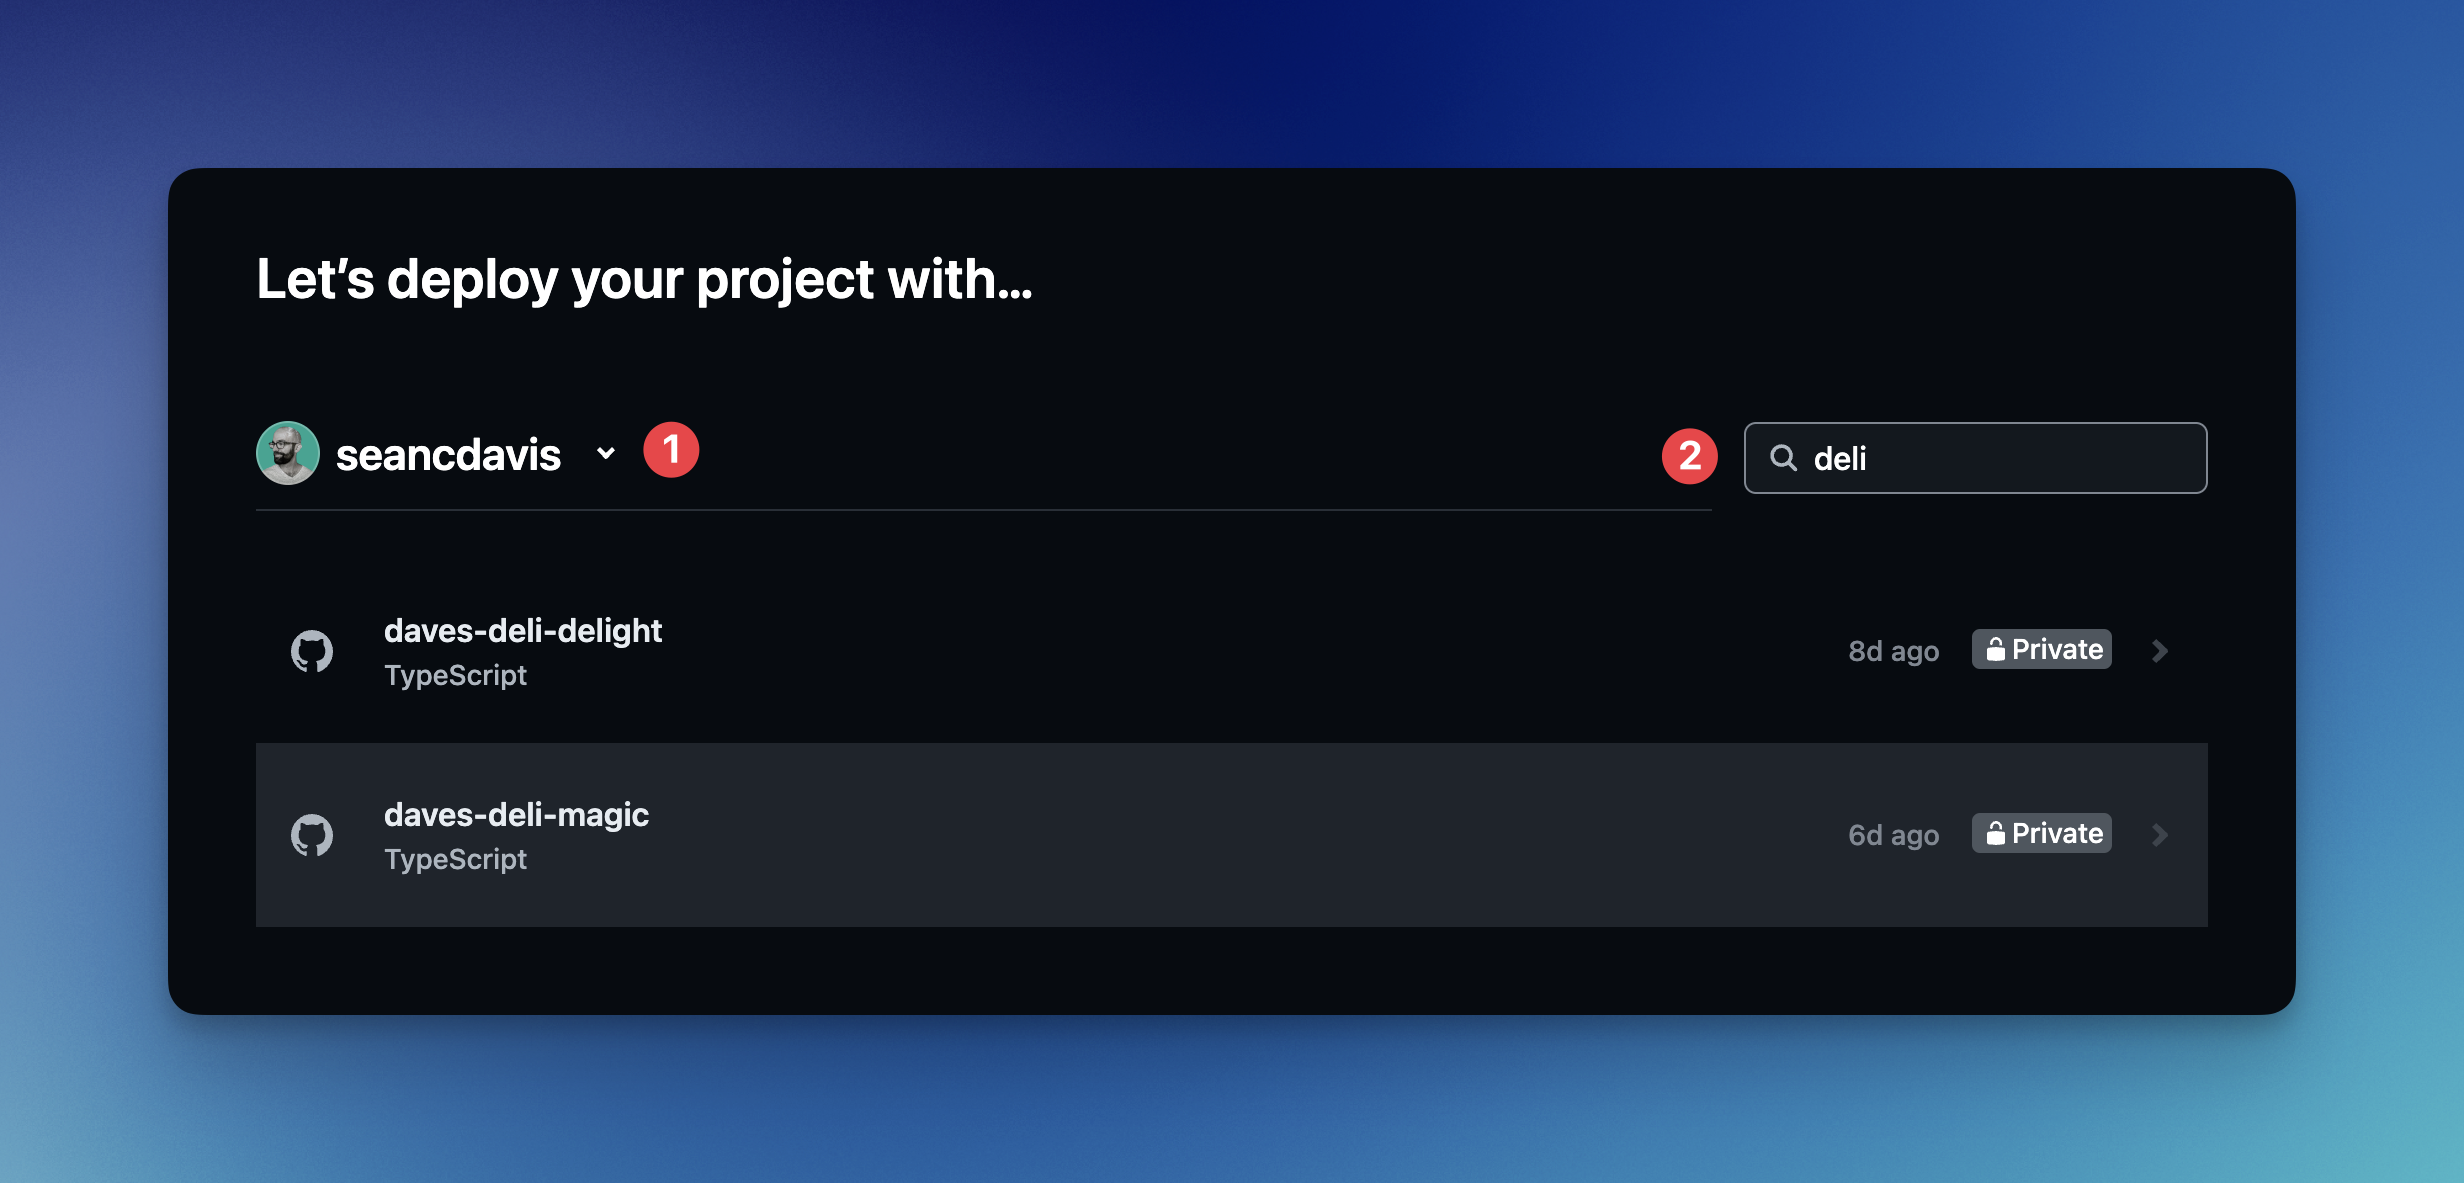
Select “GitHub” to connect Netlify to your GitHub account. Then select the repository you want to deploy. This will be the name of the repository that Lovable created for you. To find the correct repository, ensure you’ve selected the proper GitHub account. (1). And you can use the search bar (2) to narrow the list of options.
The next screen presents a list of options. If you’re building a simple site, you can ignore them. If you’d prefer, give it a name, and scroll down to select the deploy button.
This will kick off the first deployment, and you’ll be directed to your new site’s overview page in the Netlify dashboard where you can manage your site.
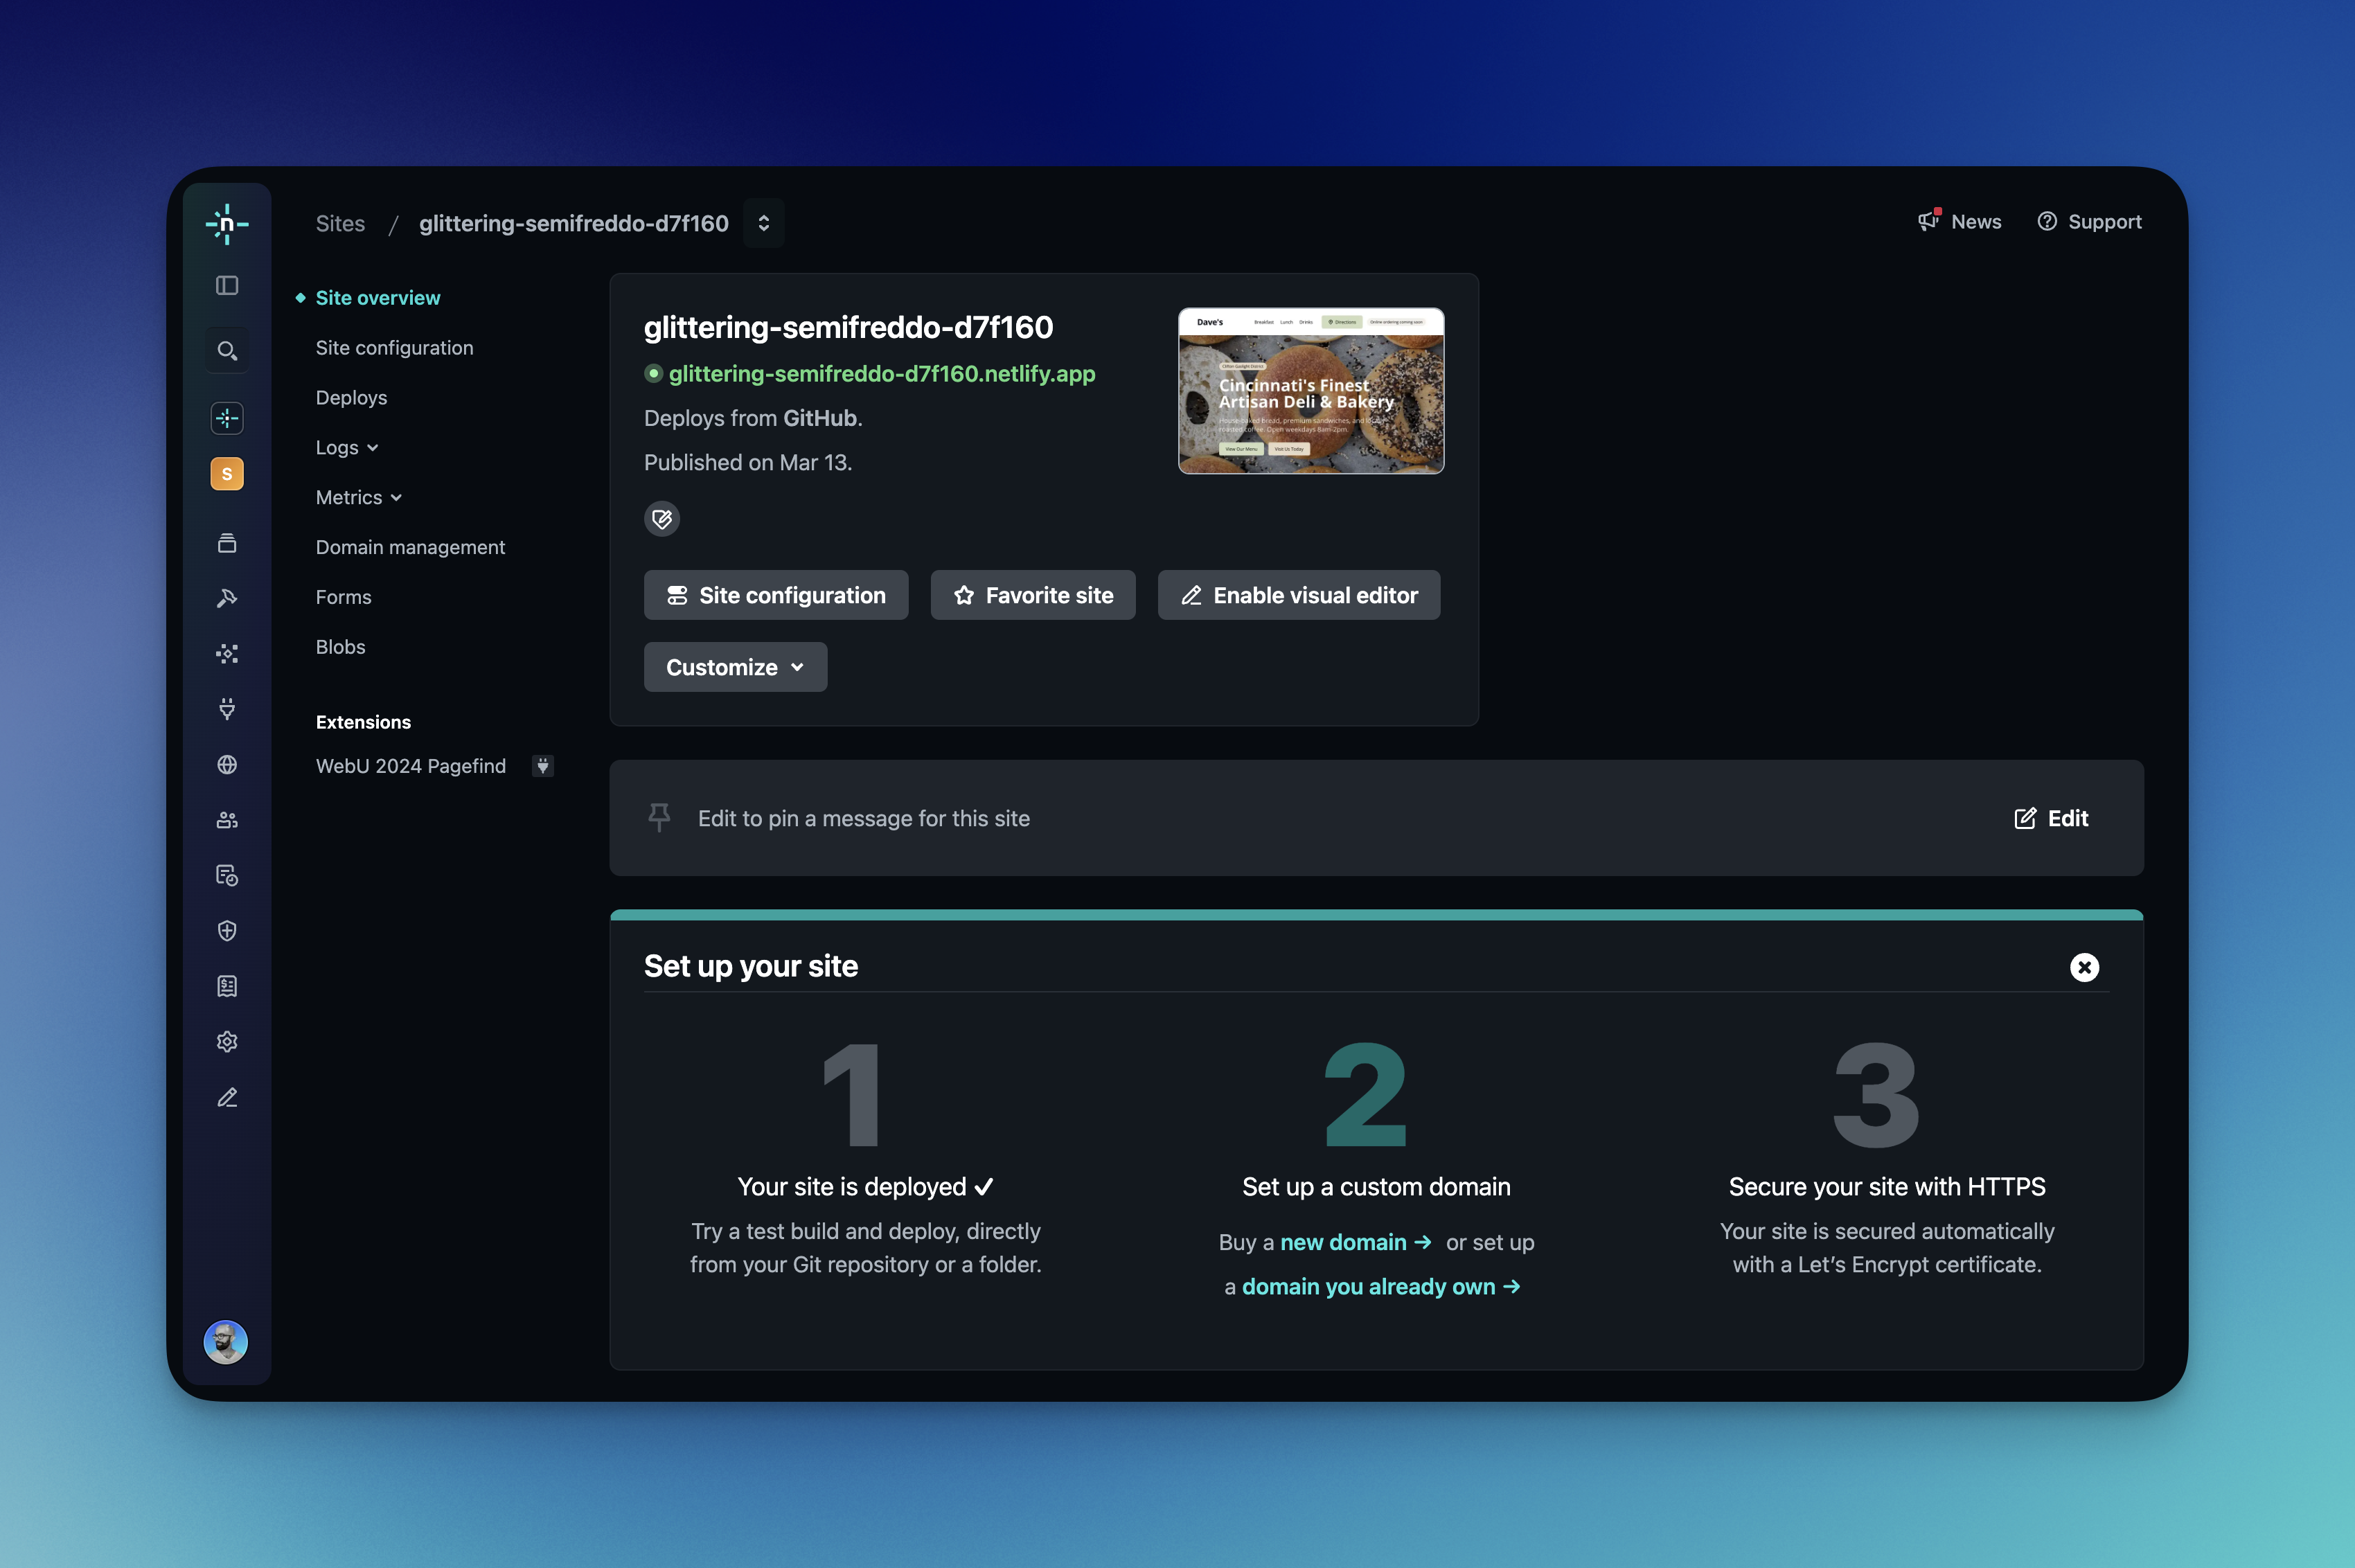
Once the deployment is complete, the site overview will show the site’s URL. You can visit this URL and see that you now have a site in production, which means it’s live on the internet for others to visit!
One of the really great things about this configuration is that you can now edit code in GitHub repo or in the Lovable editor. When you do, the changes will be synced to the other service, and Netlify will automatically deploy the changes. More on this next.
When you save code that you edit in GitHub, you’re required to add a commit message, which gets attached to the changes.
Lovable will immediately update the site with the changes. And if the changes are made on the default production branch, Netlify will automatically deploy them to your production site.
While you can’t make direct code changes in Lovable, you can continue to use chat prompts to tell Lovable to make changes.
When Lovable makes changes, it will create a new commit on the main branch in your GitHub repository. Netlify will then automatically deploy the changes to your production site.
The last step to make this new project feel truly like your own is to add a custom domain.
In Netlify, navigate to the “Domain management” page for your site (1). Select “Add custom domain” (2) and then choose between “Buy a new domain” (3) or “Add a domain you already own” (4).
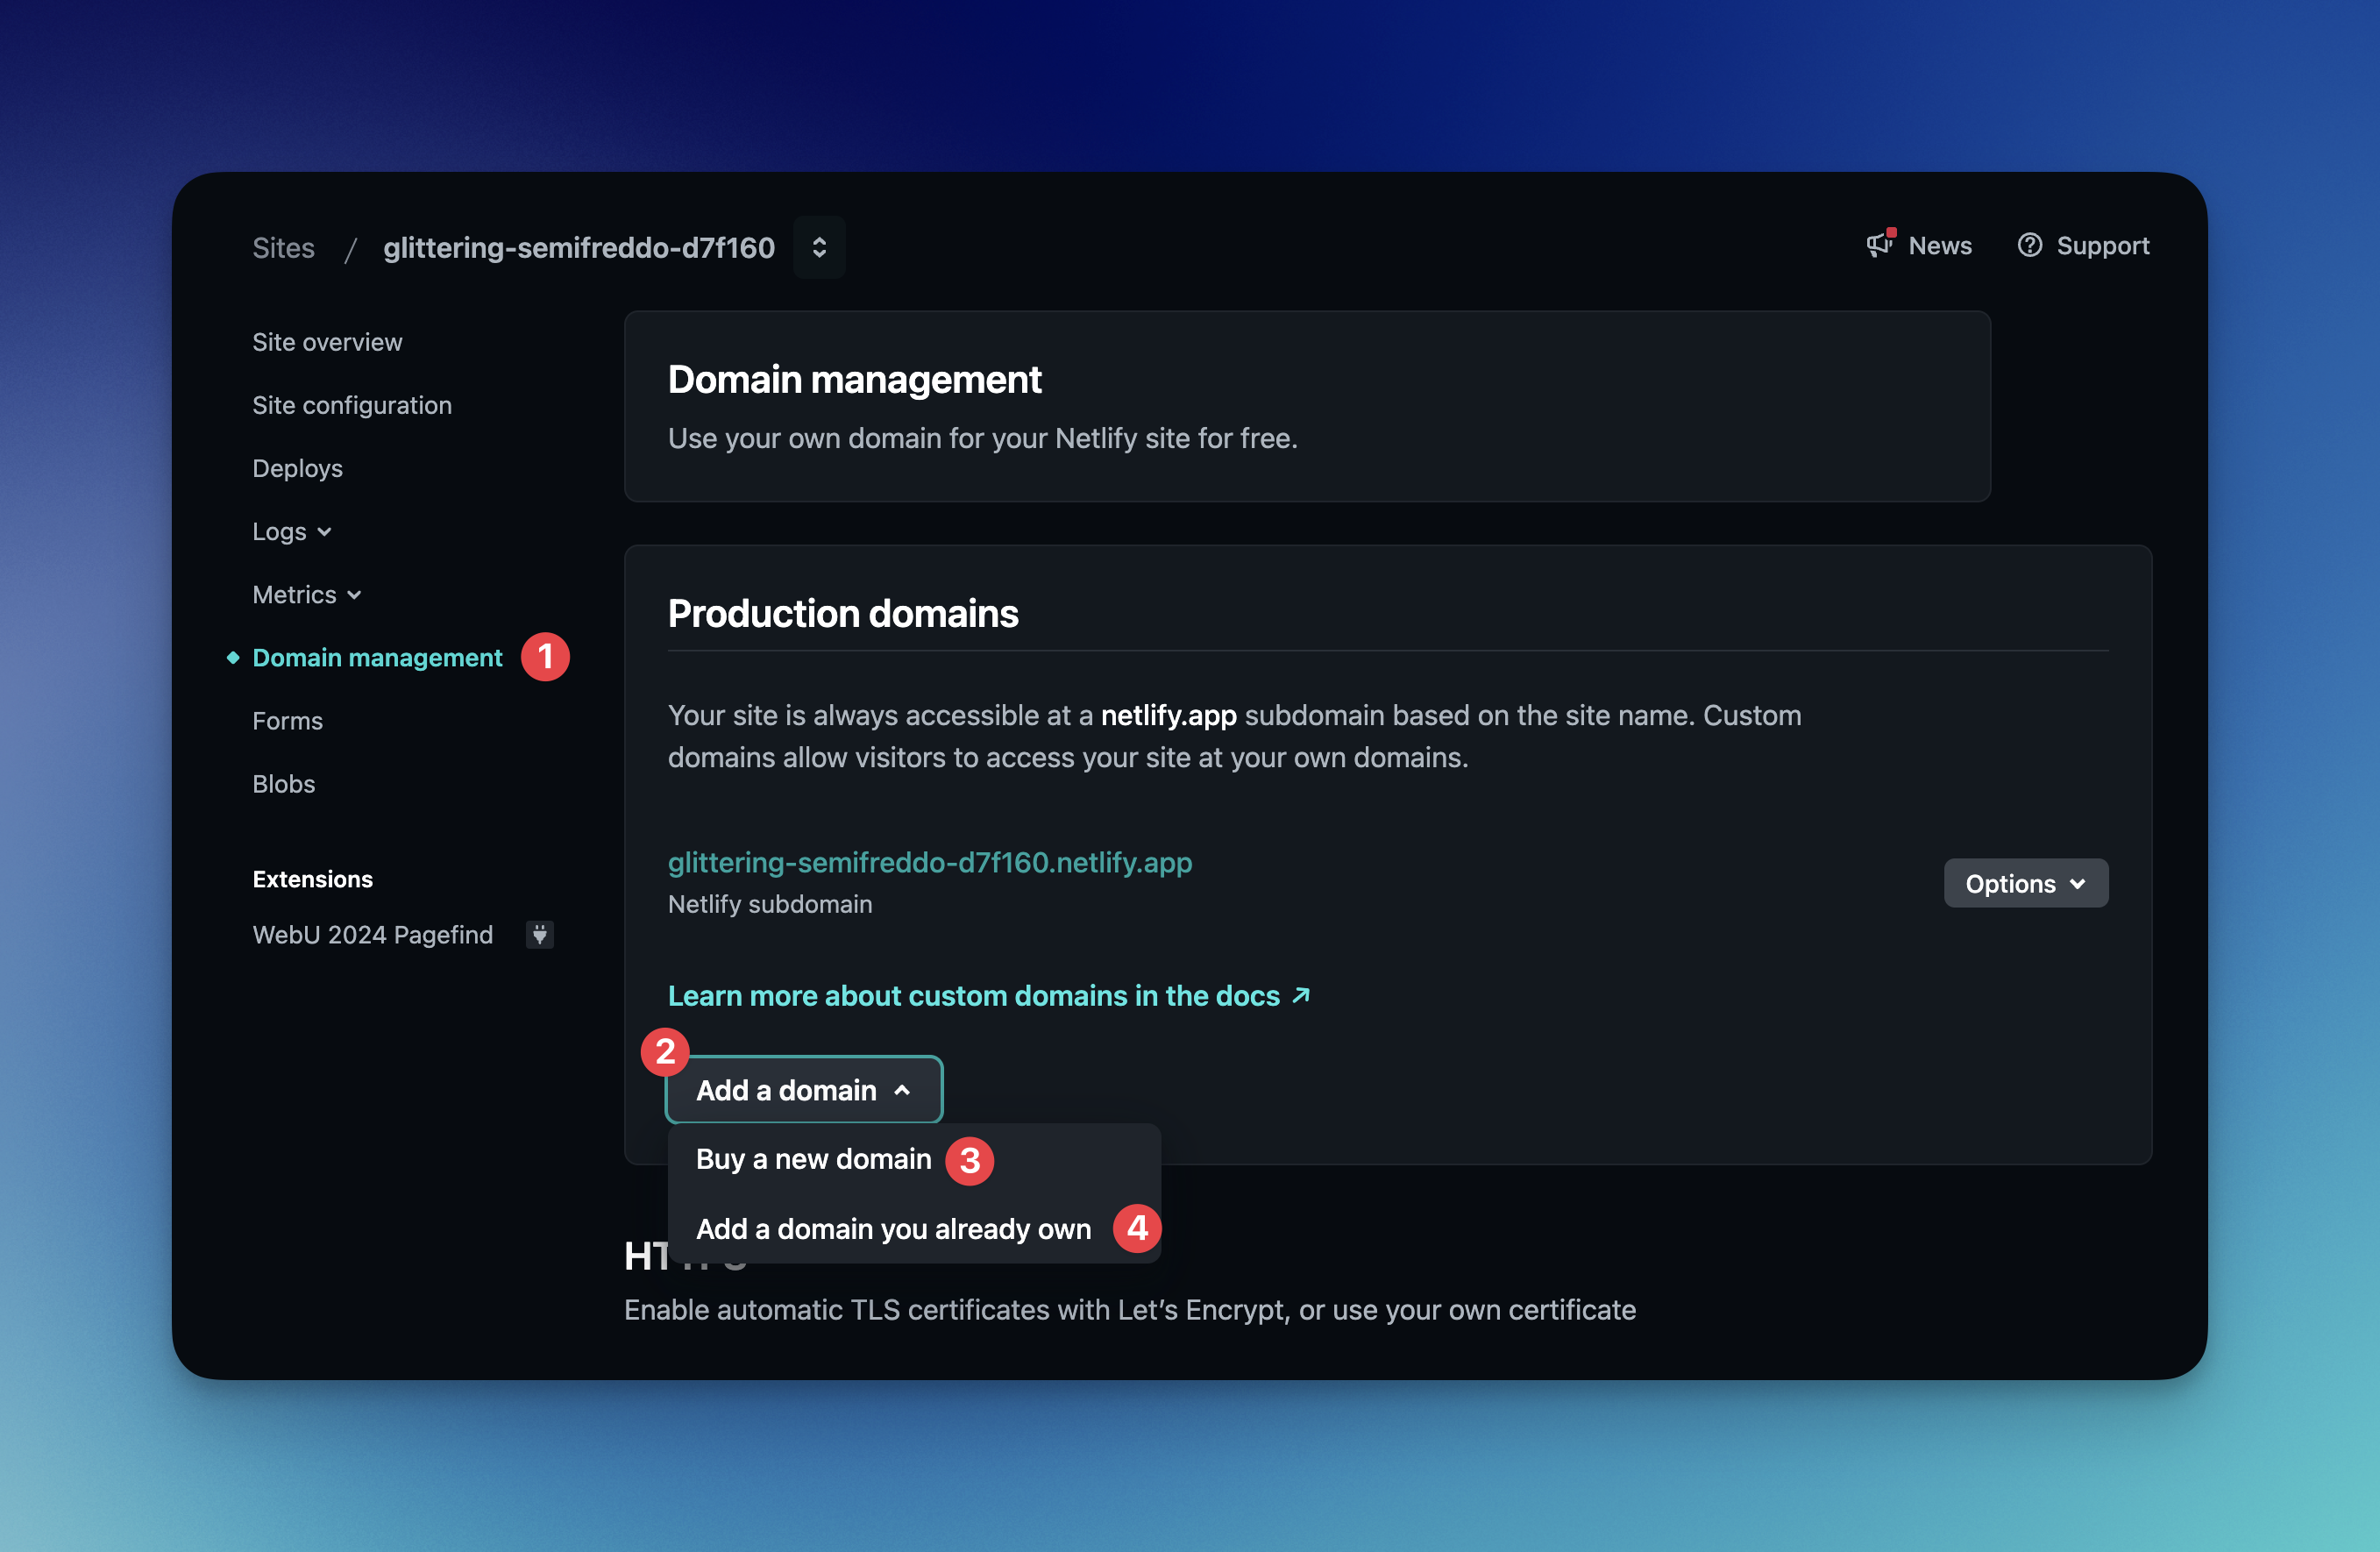
If you’re looking to buy a new domain, the process is straightforward. Learn more about buying domains on Netlify in our docs.
If you’re looking to add a domain you already own, there are a number of options, which vary based on your registrar and desired management configuration. Learn more about the typical process for adding a domain you already own in our docs.
ALL DONE! You’ve generated a site using Lovable, connected it to GitHub, and deployed it to Netlify.
Now, you can continue iteration on your site to keep it secure, updated, and personalized with a custom domain and all the benefits of Git version control and Netlify’s site management tools.
You’ll be able to see your changes in both Lovable and GitHub in real time.
此内容由惯性聚合(RSS阅读器)自动聚合整理,仅供阅读参考。 原文来自 — 版权归原作者所有。