When visiting a website, many elements are shared across its different pages, like the navigation bar, footer, meta tags, scripts, and stylesheets. Including these elements individually on every page of your theme is time-consuming, error-prone, and, let’s face it, tedious 🫠 Save yourself time, effort, and errors by utilizing Ghost’s default template. It packs all these common elements of your site into one powerful, reusable base layer.
In this tutorial, you’ll learn everything you need to know about this exceedingly convenient template. The first order of business will be to understand what the default template is and how to use it. Then, the tutorial will cover common elements included in it, based on an example from Of Record, a publication specializing in vinyl records. Let’s dive in!
The default template is a special file in a Ghost theme. Using it is simple. Add a file to the theme folder called default.hbs. Doing so makes the Handlebars file the base layer for your theme, meaning that all other content gets inserted into it.
Think of the default template as a picture frame. Although you might change the content inside it, the frame stays the same. Likewise, default.hbs frames all your content, from the homepage to the post page to everything else.
0:00
/0:36

Ghost doesn’t require the default.hbs file for a theme to be valid, but almost all developers include it because it’s fantastically useful.
default.hbs is rendered on every page of your site. That means the template should include those elements that typically appear on every page. In the next section, we’ll look at an example of the default.hbs template and the elements included in it.
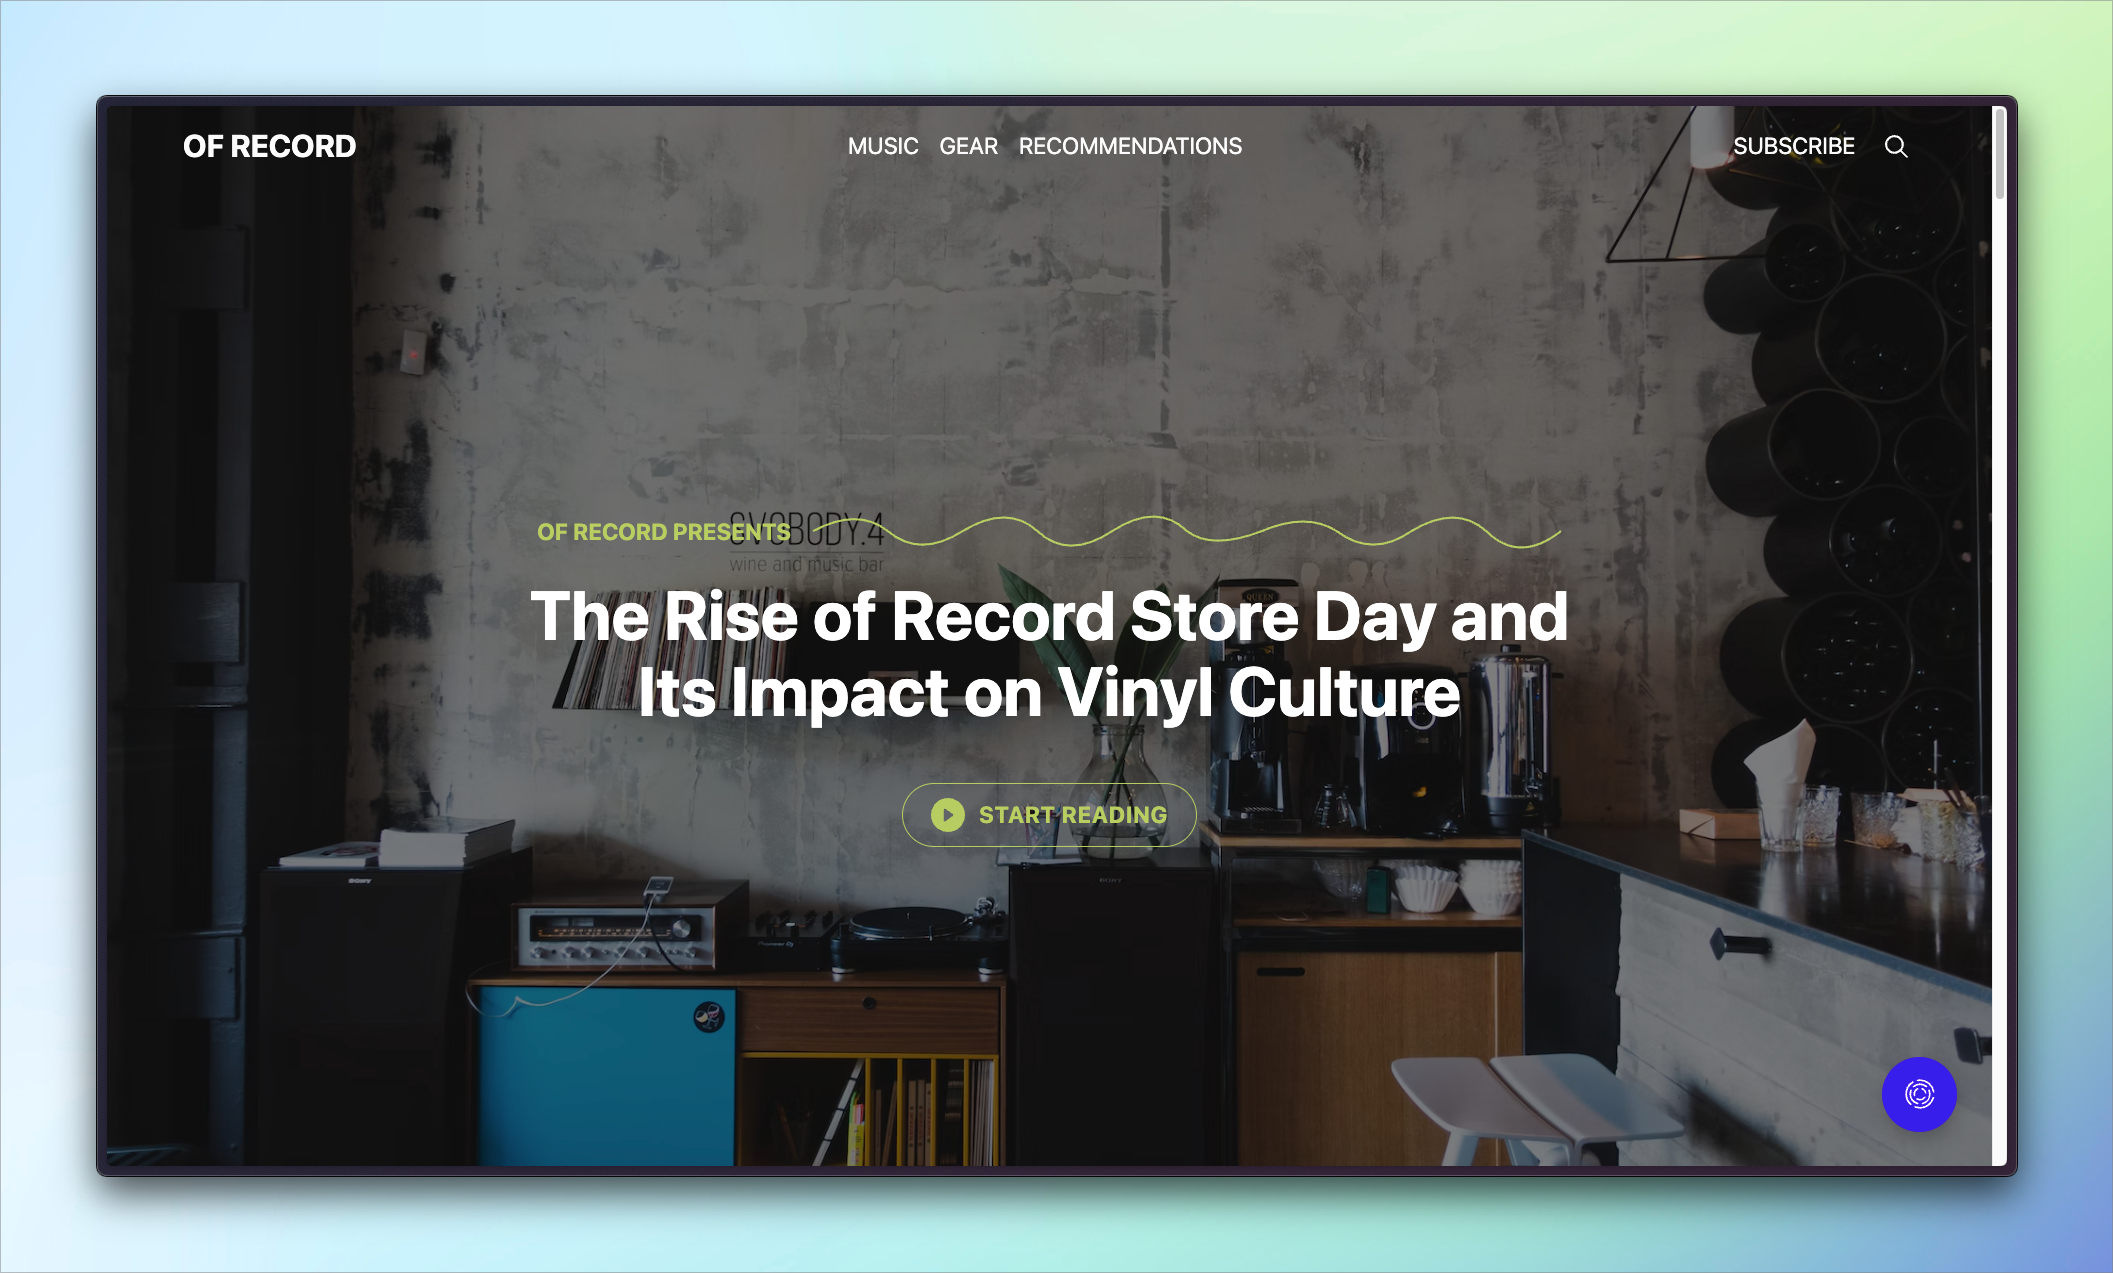
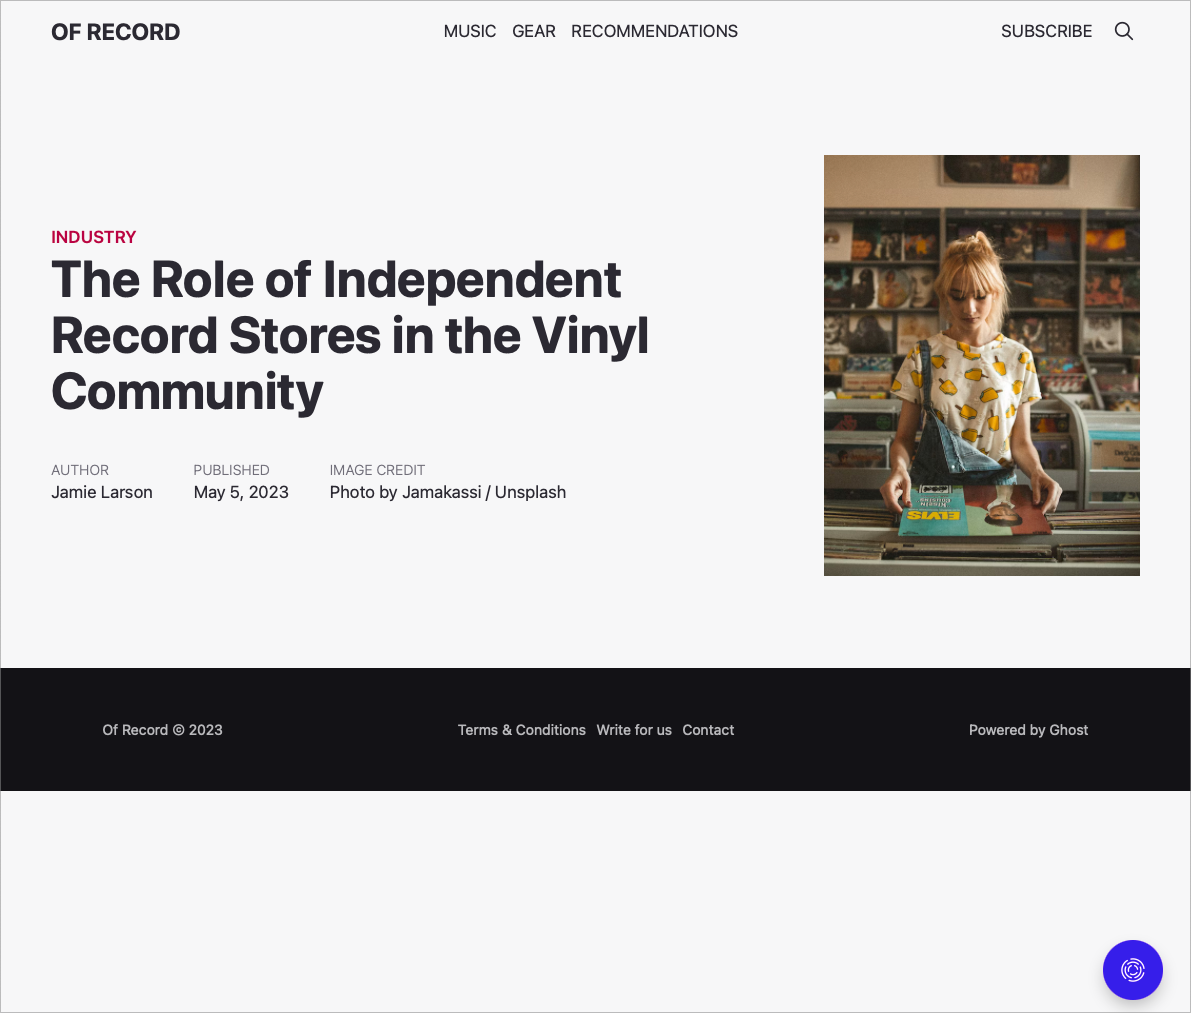
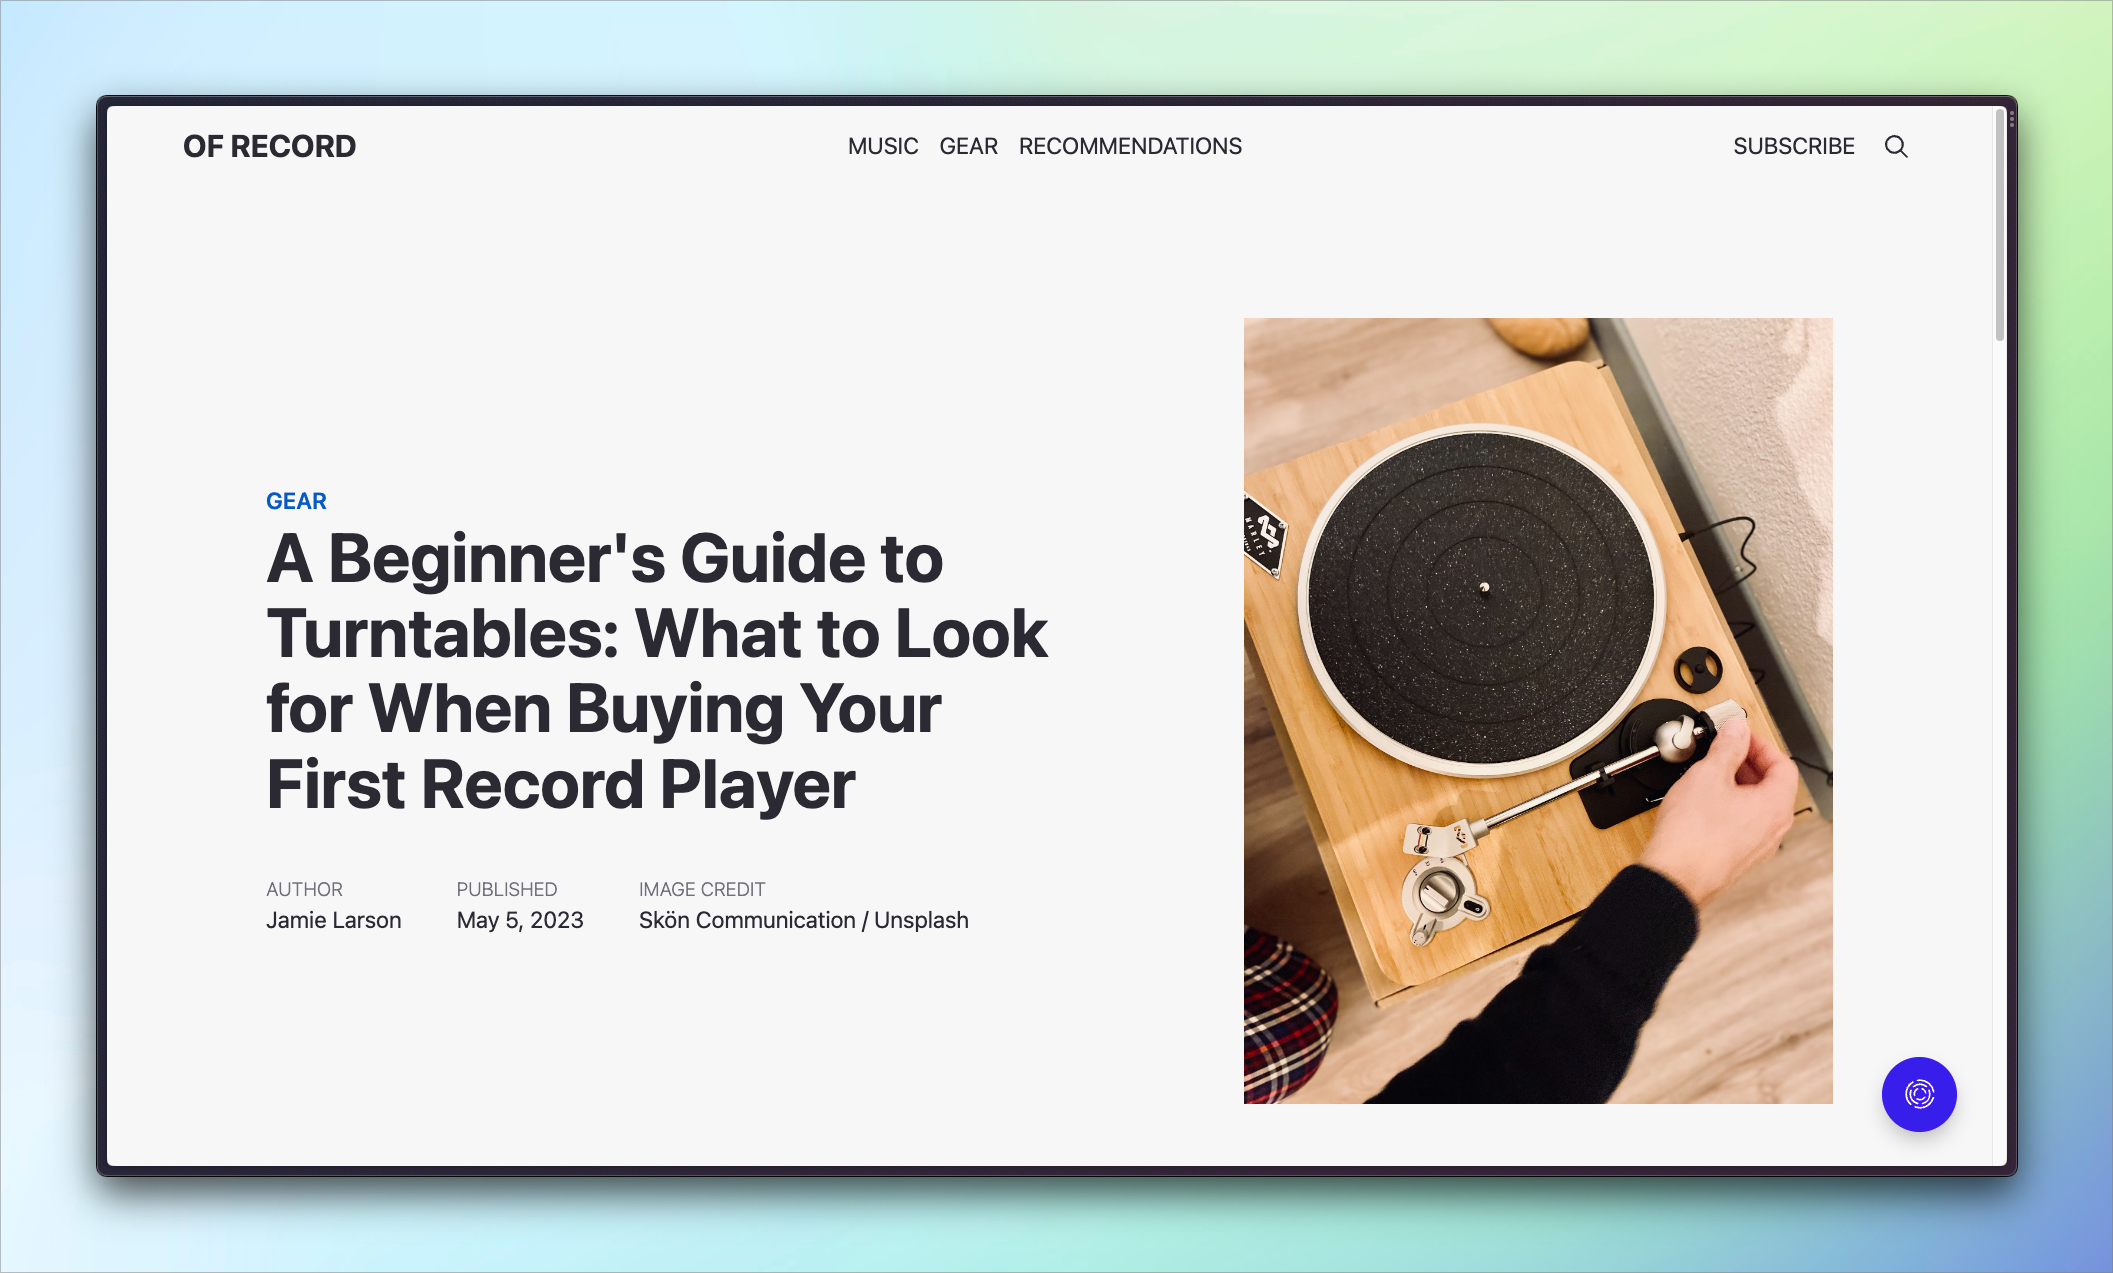
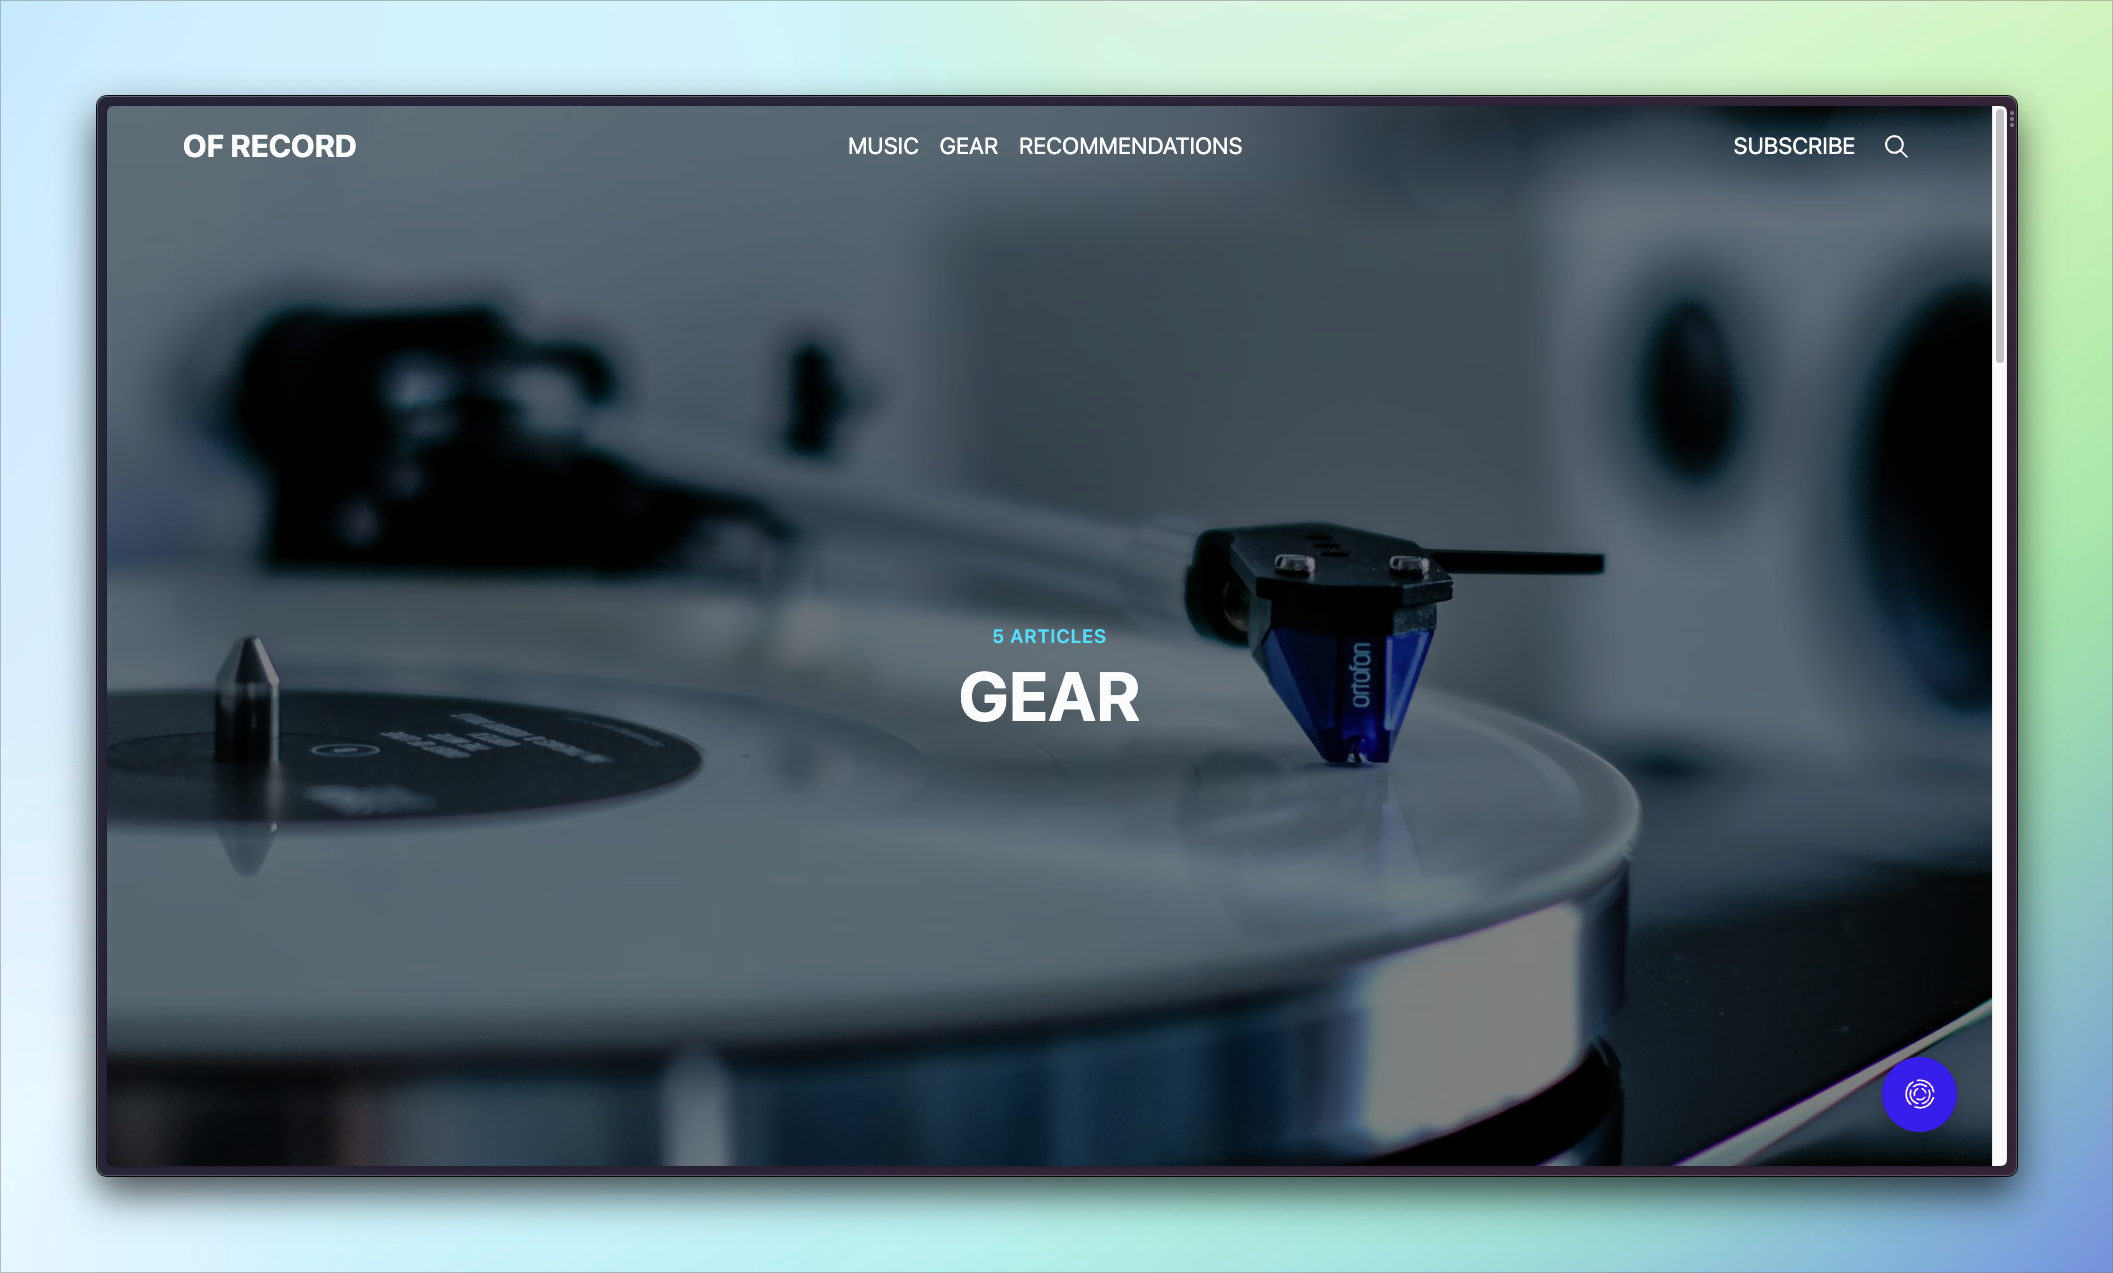
The default.hbs file below is taken from Of Record’s custom theme. As mentioned, they’re a fictional publication that focuses on vinyl records — listening to them, collecting them, and cursing that collection when they move into a tiny house.
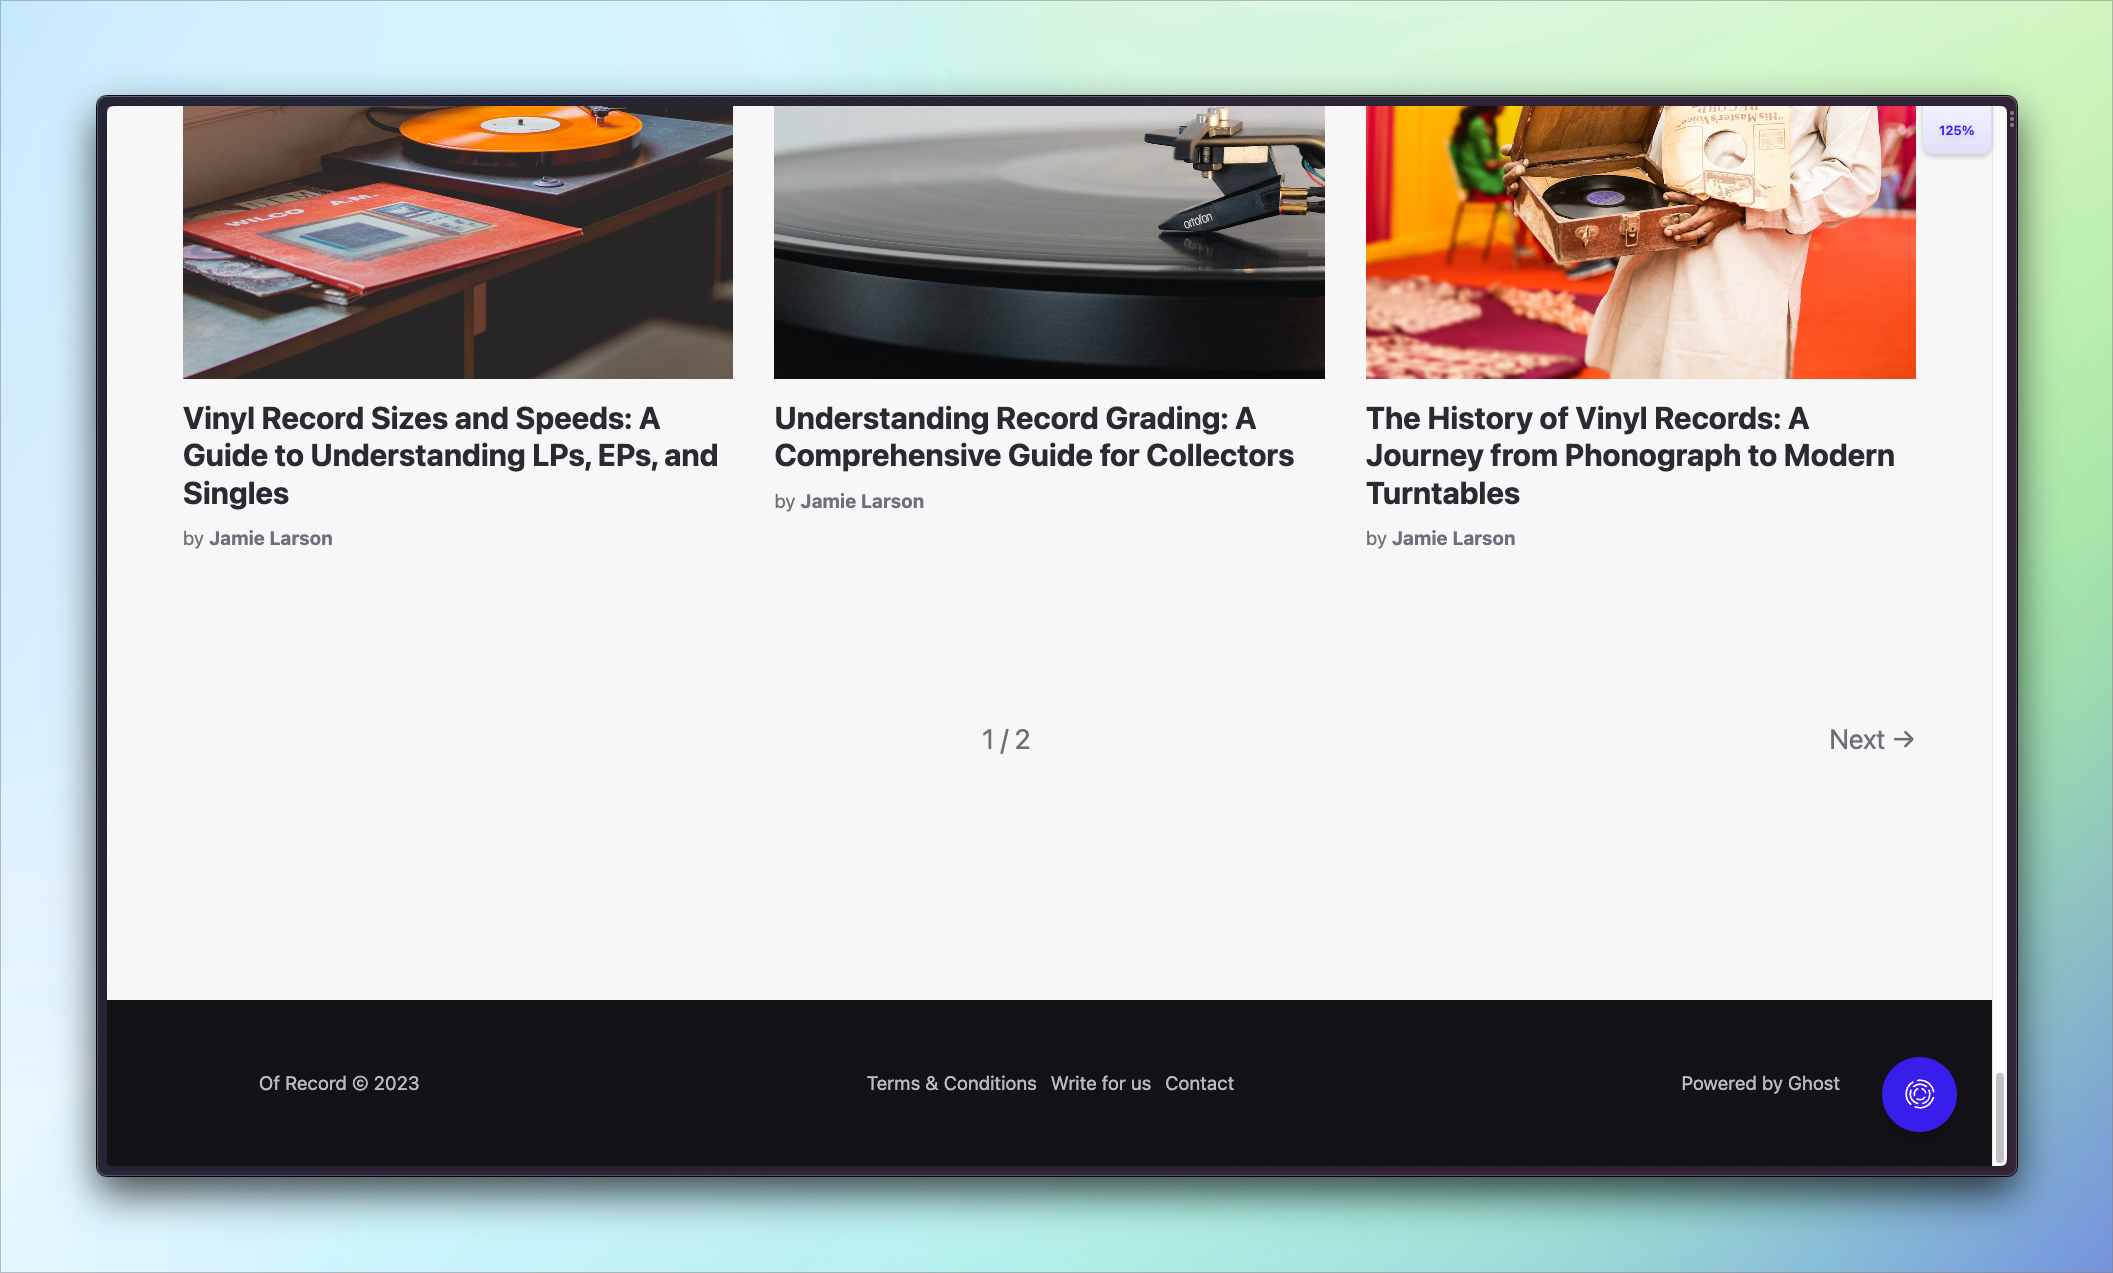
Here’s a screenshot of the site's homepage:
And here's the code for its default.hbs file:
<!DOCTYPE html>
<html lang="{{@site.locale}}">
<head>
<meta charset="utf-8" />
<meta name="viewport" content="width=device-width, initial-scale=1">
<title>{{meta_title}}</title>
<link rel="stylesheet" href="{{asset "built/index.css"}}" />
<script src="{{asset "built/index.js"}}" defer></script>
{{ghost_head}}
{{!-- Outputs important meta data and settings, should always be in <head> --}}
</head>
<body class="{{body_class}}">
<div class="or-viewport">
{{#is "post,page"}}
{{> "navbar"}}
{{else}}
{{> "header"}}
{{/is}}
{{{body}}}
{{!-- All content gets inserted here, index.hbs, post.hbs, etc --}}
<footer class="or-footer">
<div class="or-flex or-container">
<p>{{@site.title}} © {{date format="YYYY"}}</p>
{{navigation type="secondary"}}
<p>Published with <a href="<https://ghost.org>" target="_blank" rel="noopener">Ghost</a></p>
</div>
</footer>
</div>
{{ghost_foot}}
{{!-- Outputs important scripts - should always be included before closing body tag --}}
</body>
</html>
In the above default.hbs file, the overall structure can be simplified into this:
<!DOCTYPE html>
<html>
  <head></head>
  <body></body>
</html>
Remember that the whole point of the template is to capture elements that are mandatory on every page. From that perspective, the elements included here make sense because, on every page, we need these elements to have valid HTML.
Here's what each of these elements does. <!DOCTYPE html> informs the browser we’re using HTML or, for the longwinded, hypertext markup language.
Next, we open the HTML document with <html lang="{{@site.locale}}">. On this HTML tag, we include the lang attribute, which tells the browser your site’s language. But what’s that {{@site.locale}} doing in there? It’s a Ghost Handlebars helper that dynamically inserts the right language based on what’s entered in Ghost Admin.
Now, let's dissect the head and body and see the guts of this thing.
The head tag is used to include metadata about the page and load assets (styles and scripts) for it. Let’s go through each line of it and explain what’s happening.
<meta charset="utf-8">
<meta name="viewport" content="width=device-width, initial-scale=1">
The first two lines are meta tags, vital for your site's look and feel. The first one, <meta charset="utf-8">, informs the browser of the character encoding used on your page. It ensures your text appears as intended. The second, <meta name="viewport" content="width=device-width, initial-scale=1">, is the cornerstone of responsive design. It controls page dimensions and scaling to ensure your site looks fantastic on any device.
<title>{{meta_title}}</title>
The title tag, powered by Ghost’s meta_title helper, furnishes the page’s title that shows up in browser tabs and search results.
<link rel="stylesheet" href="{{asset "built/index.css"}}" />
<script src="{{asset "built/index.js"}}" defer></script>
The link and script tags are the workhorses that bring your CSS and JS files to life. Ghost requires the use of the asset helper to load them. This ensures your assets are cached (and cache-busted) to boost your site's performance.
{{ghost_head}}
ghost_head, the final element in the head tag, is a special helper Ghost uses to load crucial metadata for SEO and additional scripts and styles.
Using default.hbs means that these elements need not be repeated with every template file, saving you time and a lot of copying and pasting 😰
Let’s now hop on the Magic School Bus and get into the body. This is where all the content visible to the user appears.
On the body tag, we find another Ghost helper: <body class="{{body_class}}">. This helper outputs different class names based on the page and context. That means, for example, that when you're on the homepage, the body will have the home-template class. But when on a post page, it’ll have the post-template class. These classes are supremely helpful for targeting different contexts with conditional styles.
Next up is <div class="or-viewport">. This div wraps the page's content and helps with the layout. Note that its inclusion here is dependent on the current theme and totally optional, but let's spell out its purpose for the curious.
Have you ever visited a website that has a footer that shows up in the middle of the page, like someone who has their pants pulled up way too high? In this theme, <div class="or-viewport"></div> is used to prevent that through the following CSS:
.or-viewport {
    display: flex;
    flex-direction: column;
    justify-content: space-between; // Make the footer stick to the bottom
    min-height: 100vh; // Make the div at least as tall as the viewport
}
💡
Why is the class prefixed with "or-"? Great question! The prefix "or-" is short for "Of Record," the theme’s name. There are two reasons for the convention of prefixing classes like this. First, it ensures that the class doesn’t interfere with any Ghost or user classes. Second, it makes it easy to identify when a class is coming from the theme, rather than from some other source.
{{#is "post,page"}}
  {{> "navbar"}}
{{else}}
  {{> "header"}}
{{/is}}
We finally come to some content! This block of code introduces the site’s navigation bar. However, because the navigation bar text color needs to change when on a post or page, we use the is helper to conditionally render the output.
Ghost Handlebars Theme Helpers: is
The #is helper allows theme developers to check the context of the current route. Read more about custom Ghost themes! 👻
Ghost - The Professional Publishing Platform

{{#is "post,page"}} checks whether the current context is a post or not. If so, it renders the simple navbar with dark text. Otherwise, it renders the header partial.

Make your inbox fire
Build a better internet with early access to features, tools, and tutorials.
No spam. Once a month. Unsubscribe any time.
A concept reiterated in this tutorial is that the default template is a base layer that gets included on every page. This means that the specific content for each of those pages — like an author page or post — needs somewhere to go. The {{{body}}} helper does exactly that: it tells Ghost where to render the template’s content. You can imagine copying the entire code of the post template and pasting it over the {{{body}}} helper, except Ghost does it for you. Everything in the post template will be rendered between the navbar and footer in the default template. This is also why you’ll see {{!< default}} at the top of most templates. It’s telling Ghost to put the template’s contents into the default file.
The final bit of content for default.hbs is the footer:
<footer class="or-footer">
<div class="or-flex or-container">
<p>{{@site.title}} © {{date format="YYYY"}}</p>
{{navigation type="secondary"}}
<p>Powered by <a href="<https://ghost.org>" target="_blank" rel="noopener">Ghost</a></p>
</div>
</footer>The markup for the footer begins with the footer tag followed by a div. The styling for these elements reduces the font size and text opacity. .or-container is an important class that helps define the max width of the element, provide padding, and center it. Again, its inclusion is dependent on the current theme, but its use illustrates a method of keeping sizing consistent across a theme. Here's the CSS for the class:
.or-container {
    width: min(100%, var(--max-width)); // max-width = 80rem
    padding: var(--gutter); // gutter = max(2.5rem, 4vmax);
    margin-inline: auto; // logical prop for margin-left: auto; margin-right: auto;
}
Inside the footer, there are three items:
Let's walk through each one.
<p>{{@site.title}} © {{date format="YYYY"}}</p>The copyright uses a standard paragraph tag. The @site object is used to bring in the site’s title. © is the HTML code for the copyright symbol (©). {{date format="YYYY"}} is Ghost’s date helper. Usually, you use it to output the date an article is published. However, when it’s used without a property (like published_at), then it defaults to the current date. It also accepts a wide variety of formatting options. Here, we opt for the four-digit year. The benefit of using the helper, as opposed to just saying “My Site © 2023” is that it’ll always be current — you won’t have to manually update it every year. One less thing to worry about 😅
Next, we use the navigation helper to output the secondary navigation items, as set in Ghost Admin. While these links can be whatever you want, we see users often opt to use the secondary navigation area for things like their privacy policy, terms and conditions, contact form, and similar pages. The actual markup Ghost uses to output the navigation is listed in the docs but can also be fully customized.
The final element is a “Powered by Ghost” link, set to open in a new tab. There’s nothing special here. It’s just straight HTML.
Then, a few closing tags bring us to the end of the default.hbs file. You made it 🥳
You now have a comprehensive overview of Ghost’s default template. This base layer is a key building block for any and all theme development. Since it provides the underlying structure for every page, it’s the perfect place for any element that shows up everywhere like meta tags, scripts, stylesheets, navigation bars, and footers. The real reason to use it, though, is its practicality: default.hbs saves you time, minimizes errors, and makes you an efficient theme-creation machine.
And now that you’ve completed this tutorial and have a better understanding of how Ghost themes work, you’re well on your way to becoming that machine. So don’t let the learning stop here 🤖
Explore other tutorials to learn more tips and tricks, sign up for the Build with Ghost newsletter for a monthly dose of inspiration, or connect with a vibrant community of Ghost enthusiasts over on the Forum.
此内容由惯性聚合(RSS阅读器)自动聚合整理,仅供阅读参考。 原文来自 — 版权归原作者所有。