


Every evening I spend a few hours in my workshop filming videos, designing parts, editing, or just working on projects. It’s only about three by four and a half metres, and because I don’t want dust blowing in and I’m often filming, I normally keep the door and windows shut.
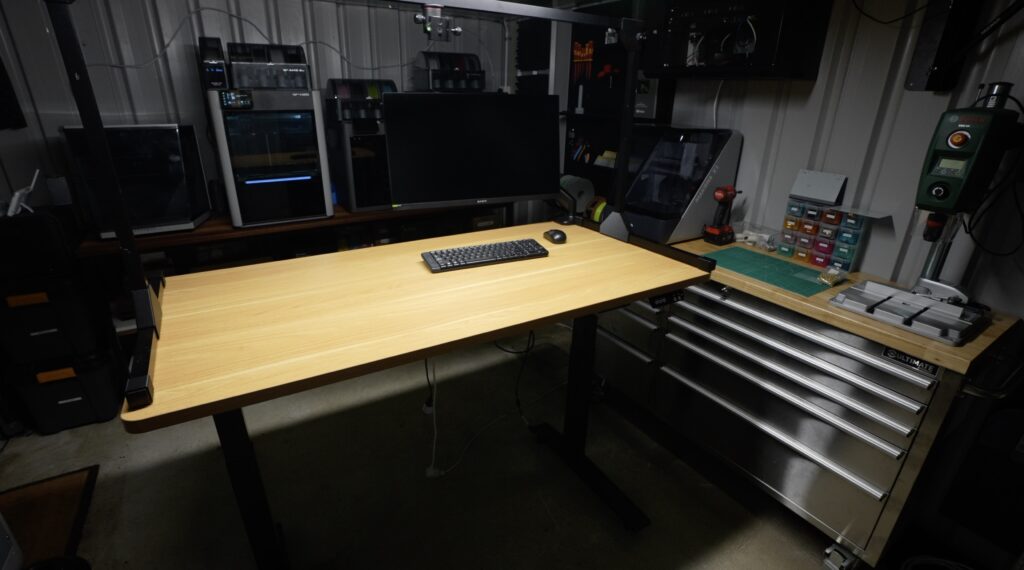
But recently that had me wondering… What’s actually happening to the air in there? I’ve got printers, printers, dust from outside fumes from soldering, or is there something else I should be worrying about?
So over the past week I’ve been measuring the air quality, and the results weren’t quite what I expected.
Here’s my video of the project, read on for the write-up:
Some of the above parts are affiliate links. By purchasing products through the above links, you’ll be supporting my projects, at no additional cost to you.
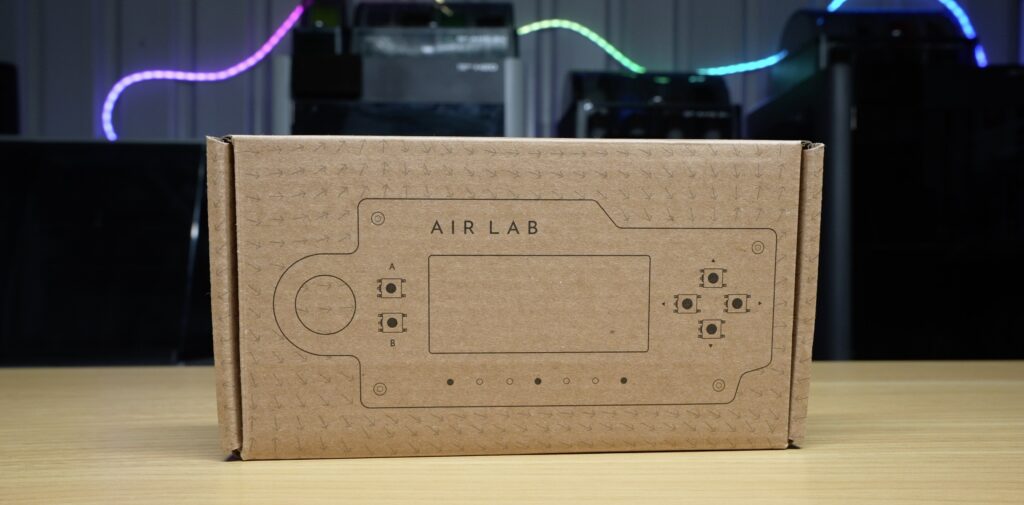
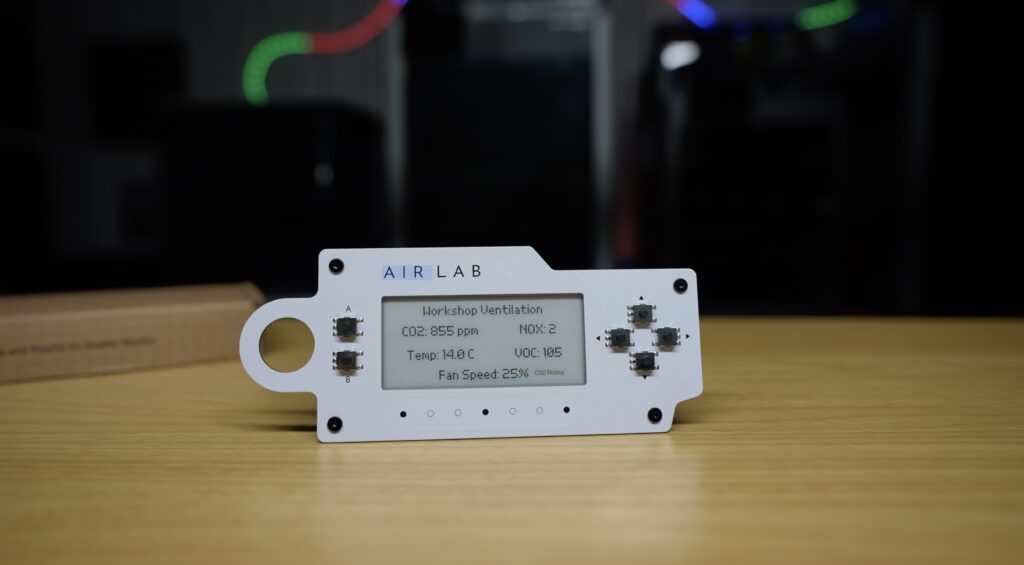
Networked Artifacts recently sent me one of their Air Lab air quality monitors. Rather than doing a traditional review where I spend ten minutes talking through specifications, I thought it’d be more interesting to actually use it to answer a few questions that I’ve had about my workshop.
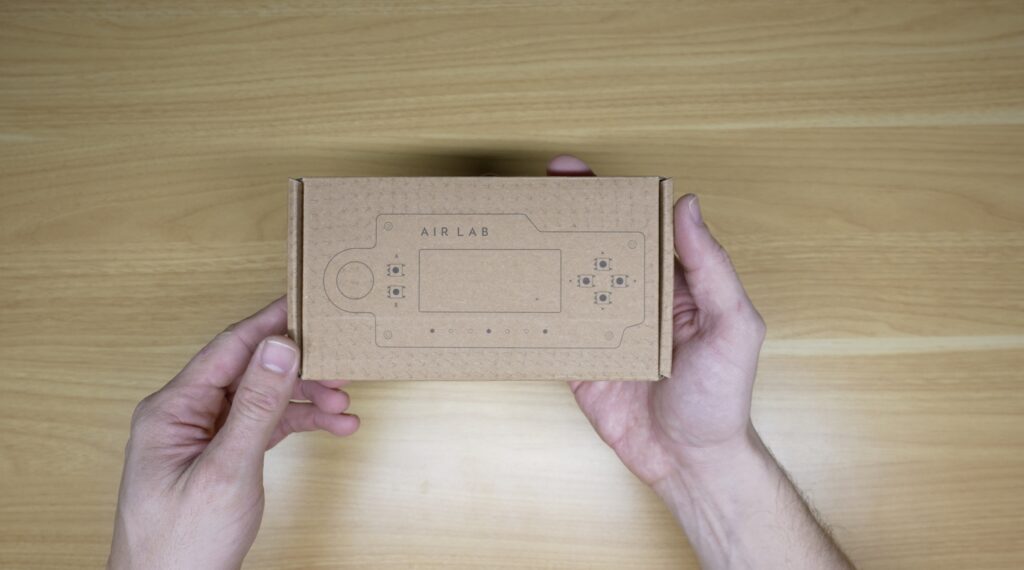
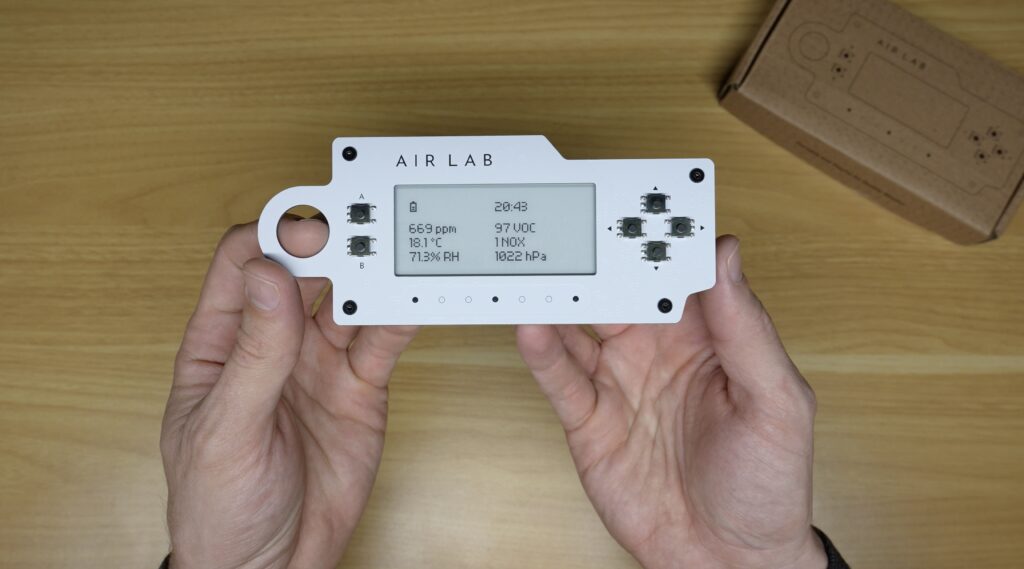
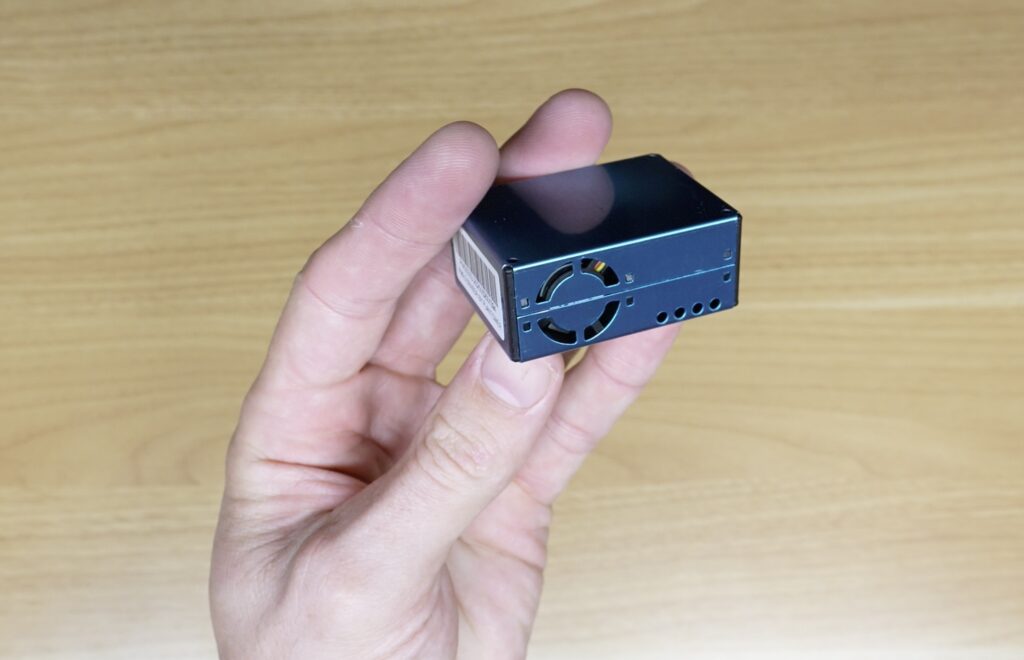
The Air Lab measures a range of metrics including temperature, humidity, carbon dioxide, volatile organic compounds, nitrogen oxides and pressure and it continuously logs all of that data over time. That logging is really the important feature here because instead of looking at one measurement, we can actually see how the environment changes over an entire evening.
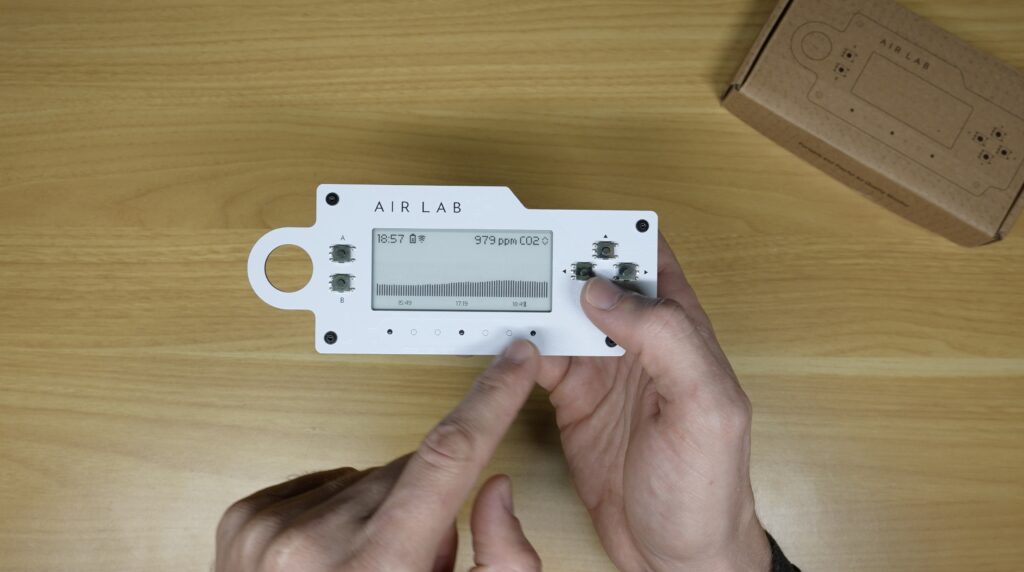
So I set up three different tests, each running for 2 hours in the evening, a baseline, a 3D printing test and then an evening working.
First I wanted to establish a baseline. What does the workshop actually look like when nothing’s happening? So I left the monitor running for an evening with no printers running and nobody working inside.
As you’d expect everything stayed pretty stable. CO2 stayed around an average of just over 500ppm. Temperature slowly dropped through the evening and humidity increased. VOCs stabilised because I moved the Air Lab to my workshop and then trended towards the average of 100 and NOx didn’t have any notable change.
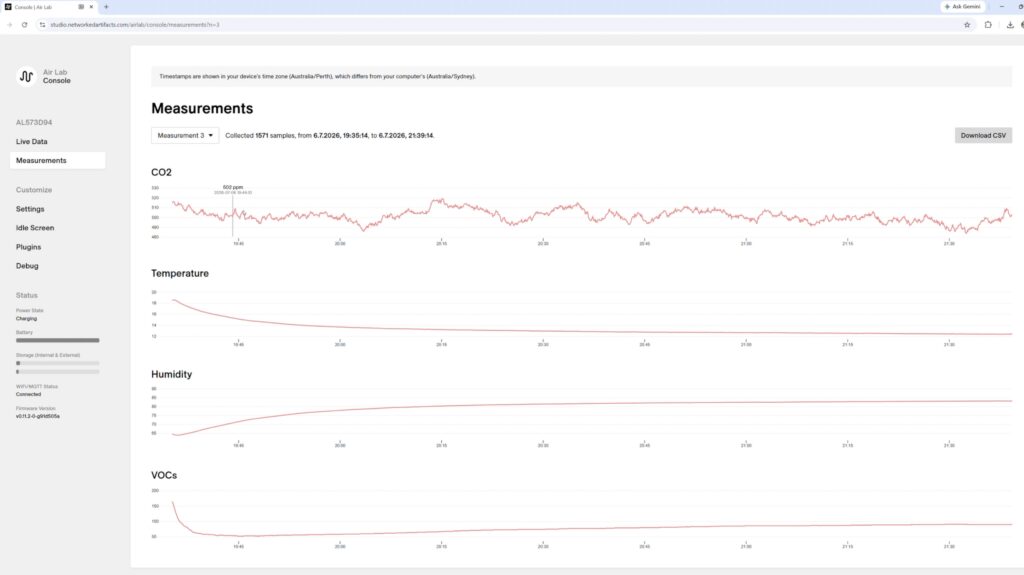
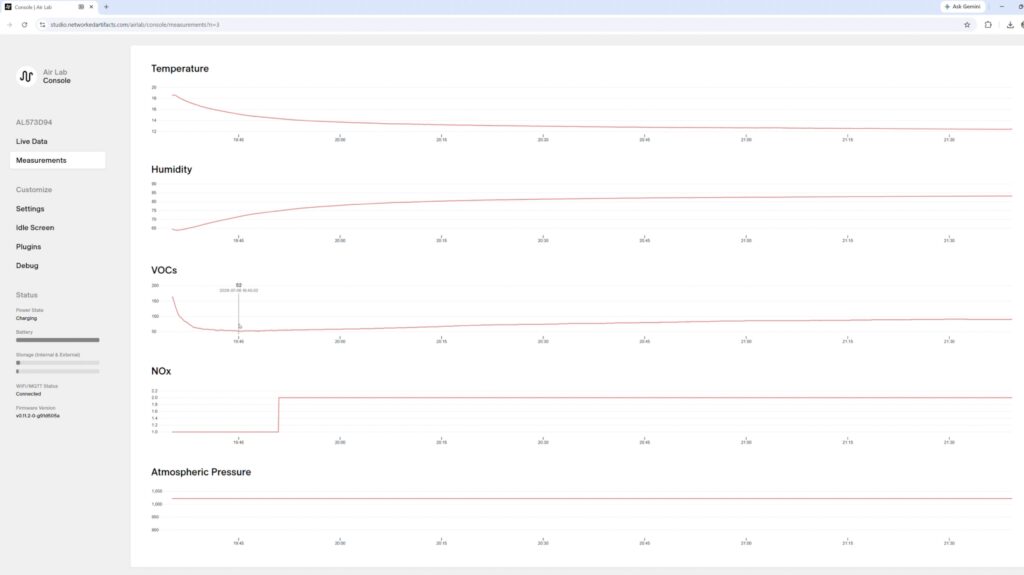
So nothing particularly surprising here, but this gives us a useful reference point before we start changing things.
The next question was one I’ve seen discussed online countless times. What effect do 3D printers actually have on air quality? To find out I loaded up all three printers with roughly two-hour prints, closed everything up, and let the AirLab continuously record what happened.
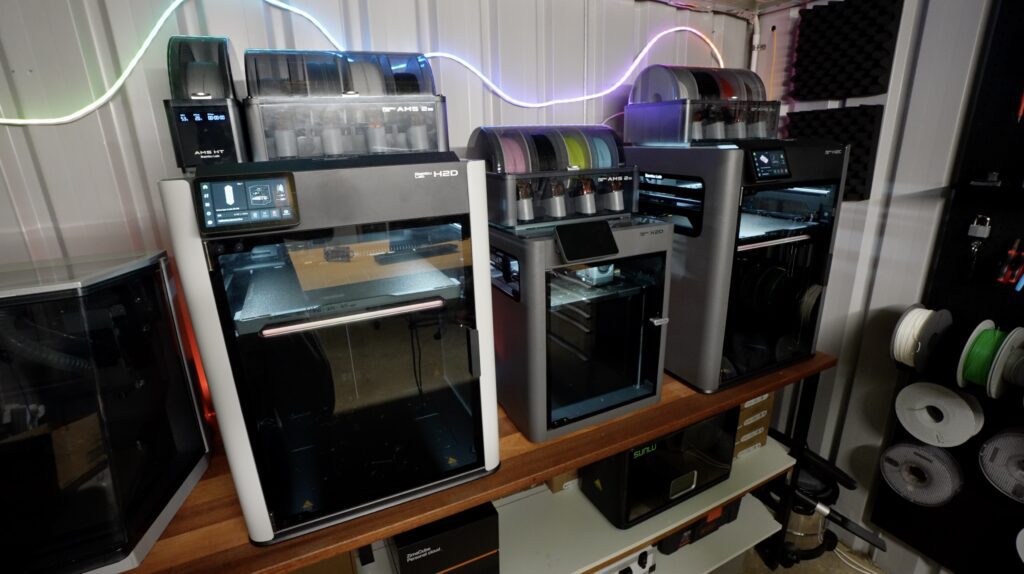
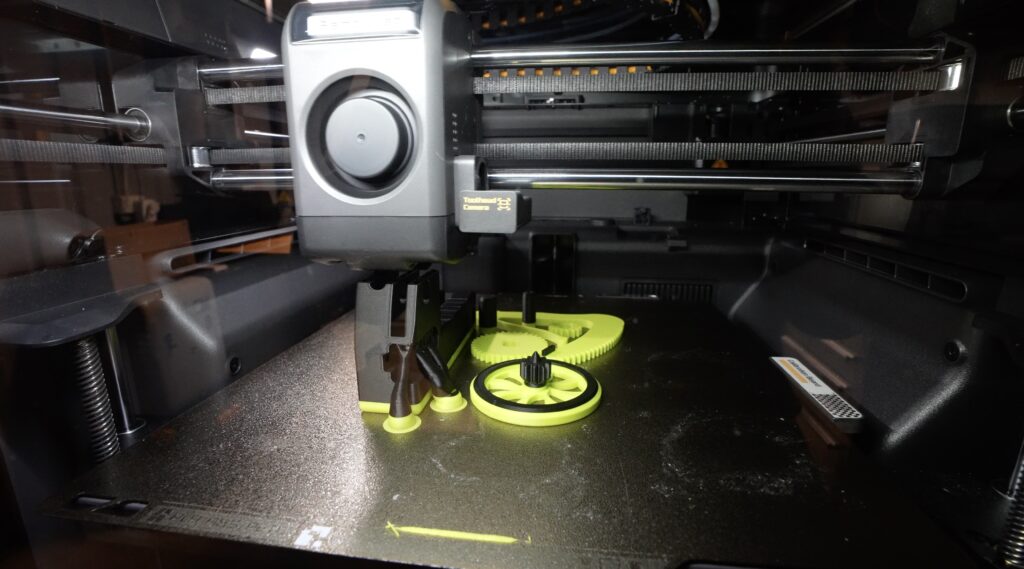
This wasn’t intended to be a lab test. It’s simply representative of a pretty typical evening in my workshop and within the capabilities of the airlabs sensors. It would have been great if it had a PM2.5 sensor too, but perhaps that can be a followup video.
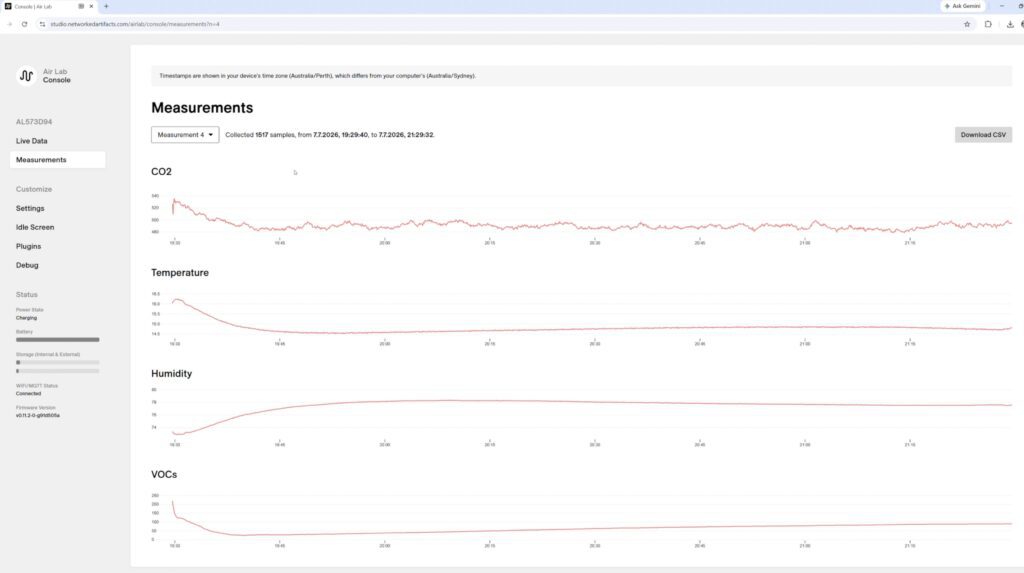
After two hours of printing, the results were somewhat unexpected. I only really print in PLA and PETG, which are considered cleaner filaments but I didn’t expect there to be hardly any change over time. CO2 was similar to the previous evening, this time just under 500ppm. Temperature and humidity looked similar to the previous evening too. Despite the printers dumping heat into the workshop, it’s quite poorly insulated as you can see from the ambient temperature and so the temperature doesn’t increase over the 2 hour period.
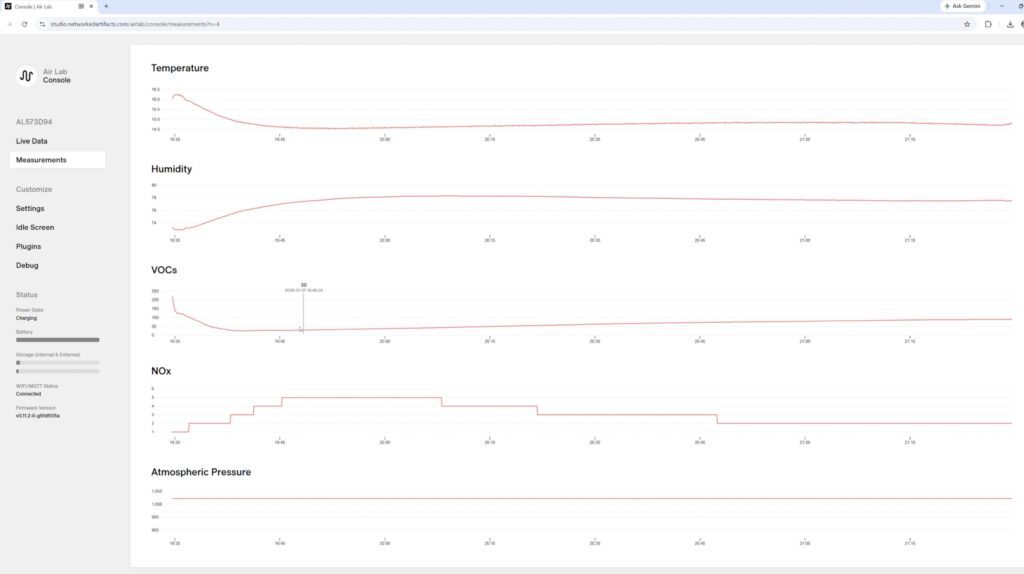
The most interesting is VOCs, I expected this graph to slowly trend upwards and instead there is hardly any change. It looks almost identical to the previous evening too. NOX is again expectedly uneventful as printers don’t give off any nitrogen oxides, that’s usually increase by burning fossil fuels.
But interestingly… as I discovered working in my workshop on this third evening. The printers weren’t actually the biggest issue. I was.
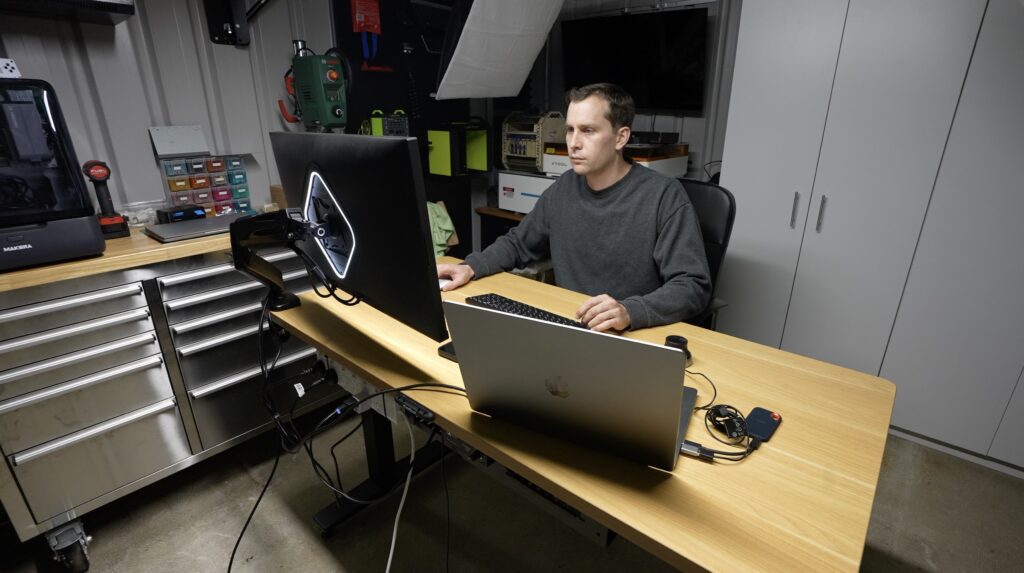
Carbon dioxide steadily climbed throughout the evening. This room only has a volume of round thirty-two cubic metres. With the windows closed and me sitting in here for a couple of hours, I was gradually replacing fresh air with exhaled carbon dioxide.
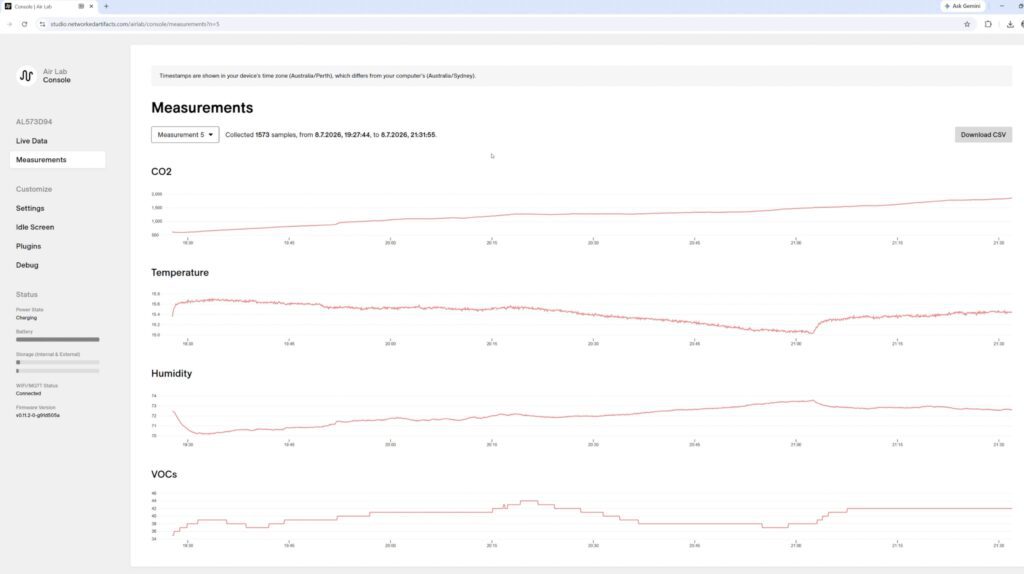
Over the evening, it climbed to just under 2000 parts per million. As a rough guide, clean outdoor air is around 400-500ppm, good indoor air is under 1000ppm and anything over that could do with some ventilation improvement. Over 1500ppm you’ll start noticing signs of fatigue and sleepiness, and over 2000ppm you may experience headaches and drowsiness. So an increase to over 1800ppm in only 2 hours with just me in the workshop is quite bad.
Once I saw this graph, it made sense why after editing for a few hours I’d sometimes walk back into the house feeling a little sluggish.
So now I had a problem. I clearly needed more fresh air and the obvious answer is simply opening a window, but that creates other problems. Dust, noise and rain. What I really wanted was filtered fresh air entering the workshop automatically whenever it was actually needed.
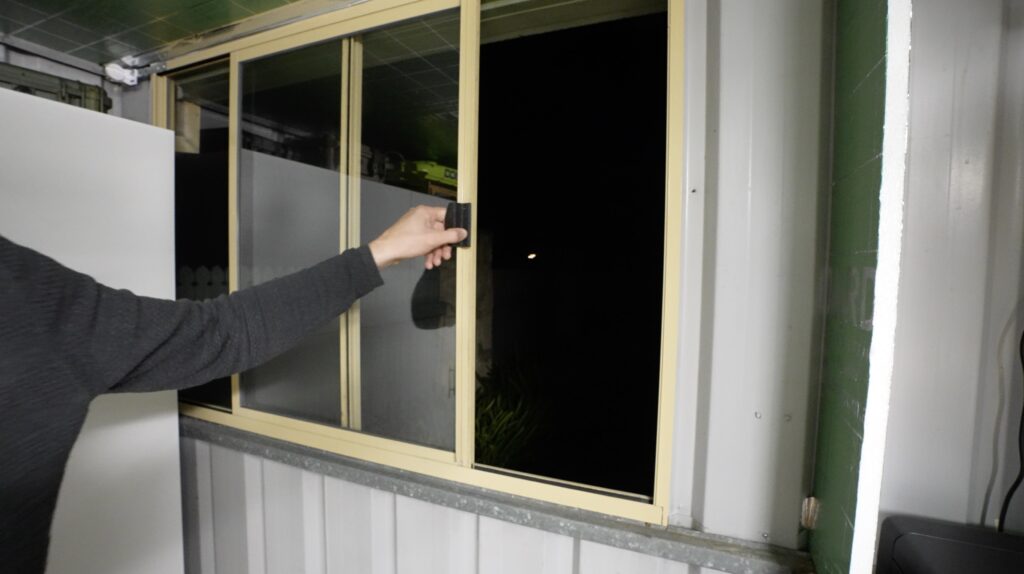
So naturally… I opened Fusion and started designing this ventilation system.
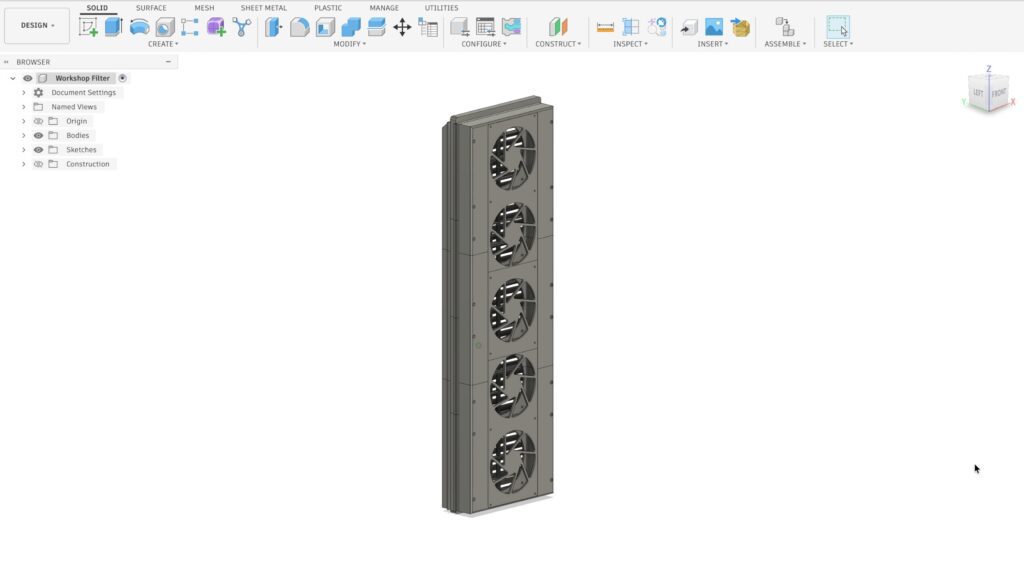
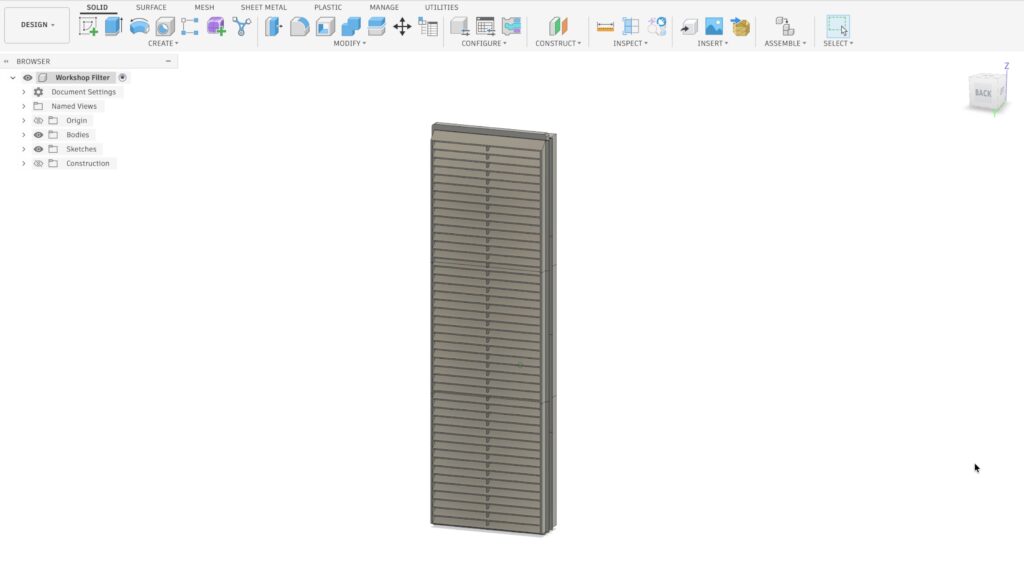
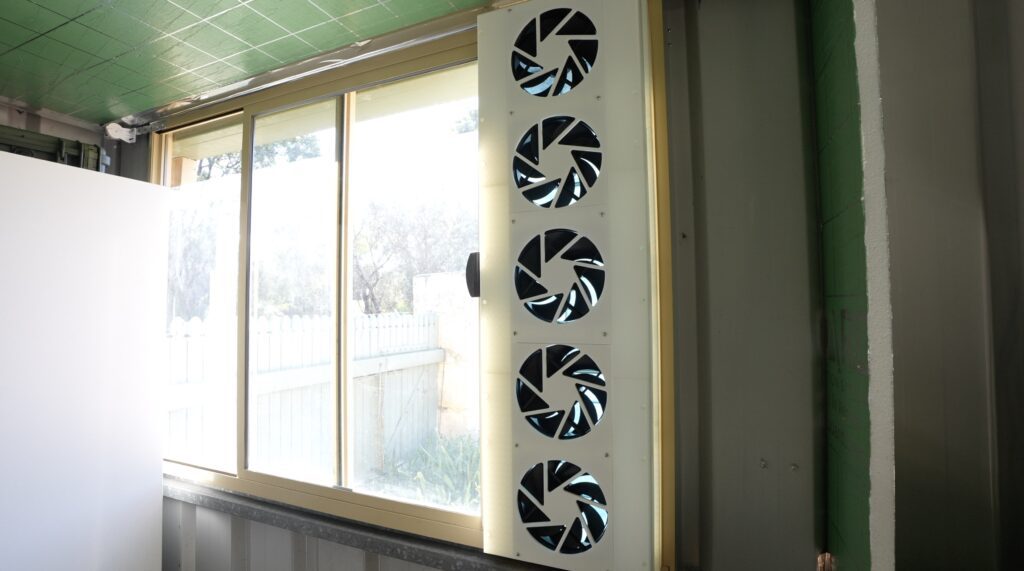
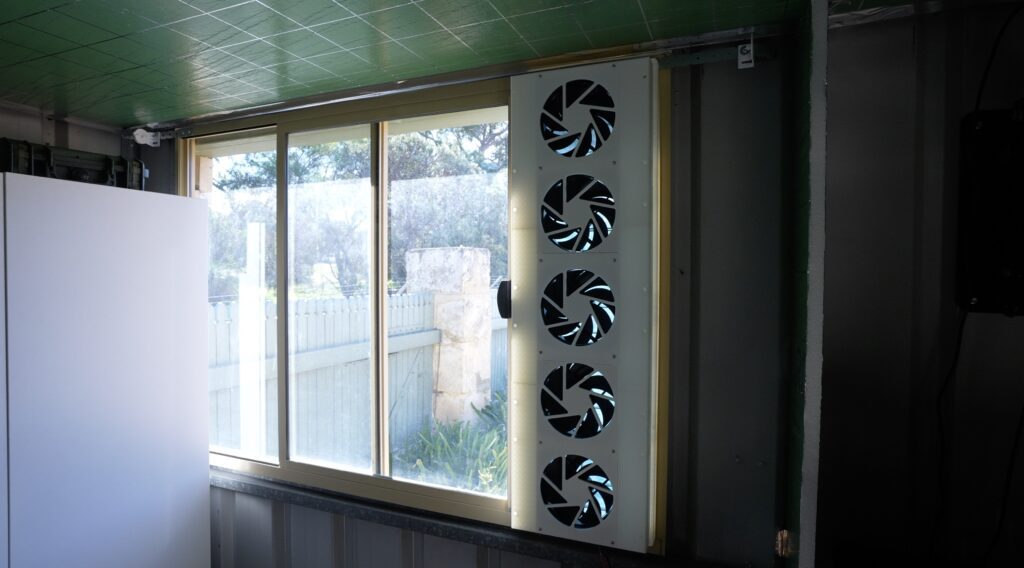
On the outside is a rain hood to stop water entering. Behind that is a removable filter which uses inexpensive air-conditioning filter media to catch most of the dust. Then five 140-millimetre Arctic fans draw the filtered outside air into the workshop.
The whole assembly is designed to slot into my open window tracks and seal off any gaps around the fans
The assembly is 3D printed from PETG so it’ll happily survive being partially outdoors. I had to split it up quite a bit to allow it to be printed on the bed of my printers.
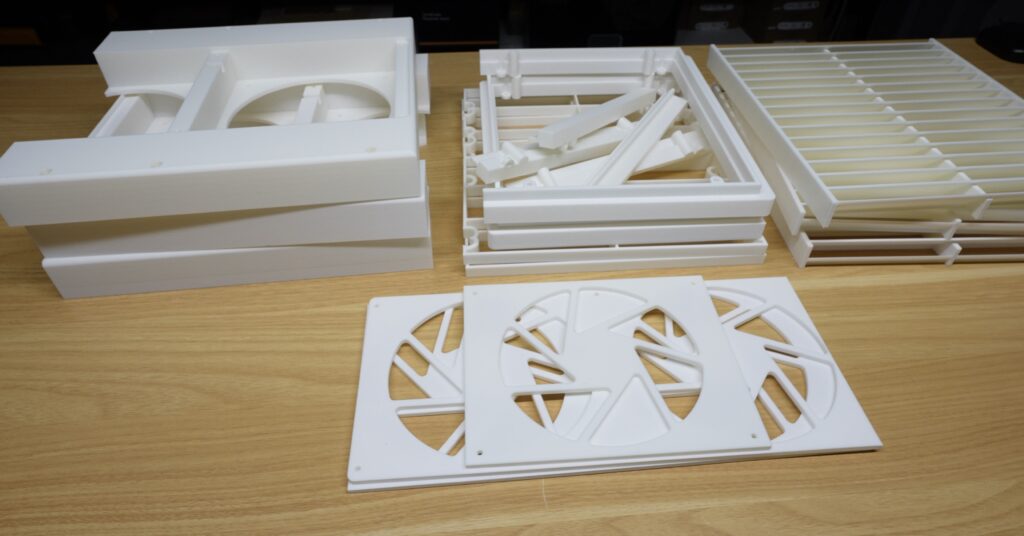
The parts then all screw together using a combination of brass inserts and M3 button head screws.
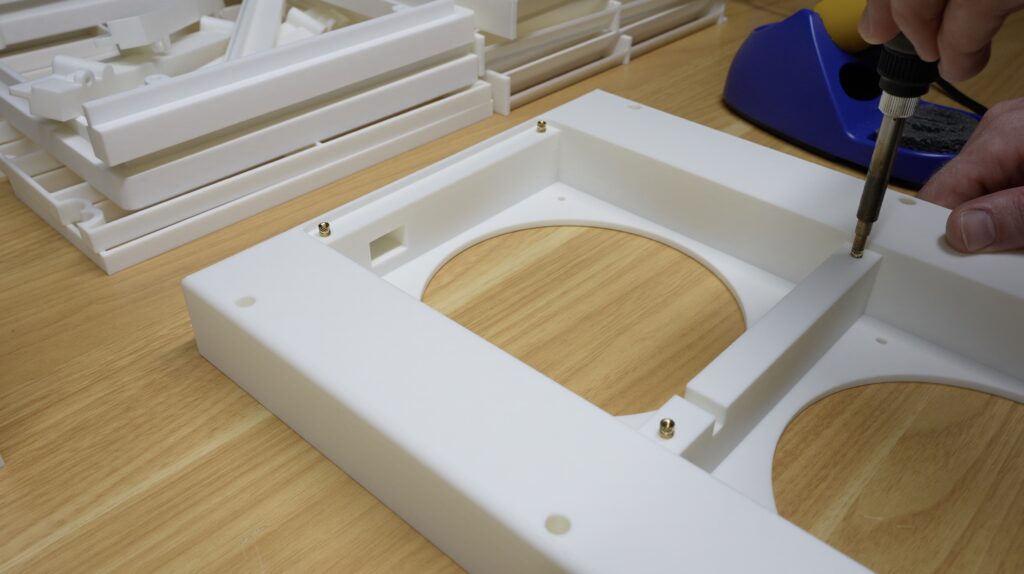
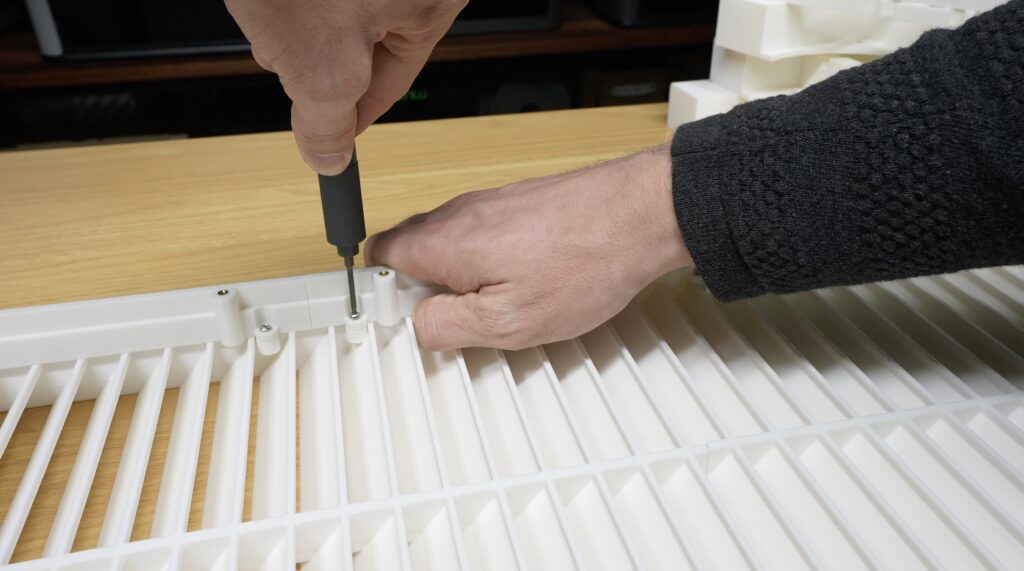
Internally, I’ve cut a section of air conditioning filter media which sits between the rain hood and the fans. This is held in place by some 3D printed retainers and behind that sits the five fans.
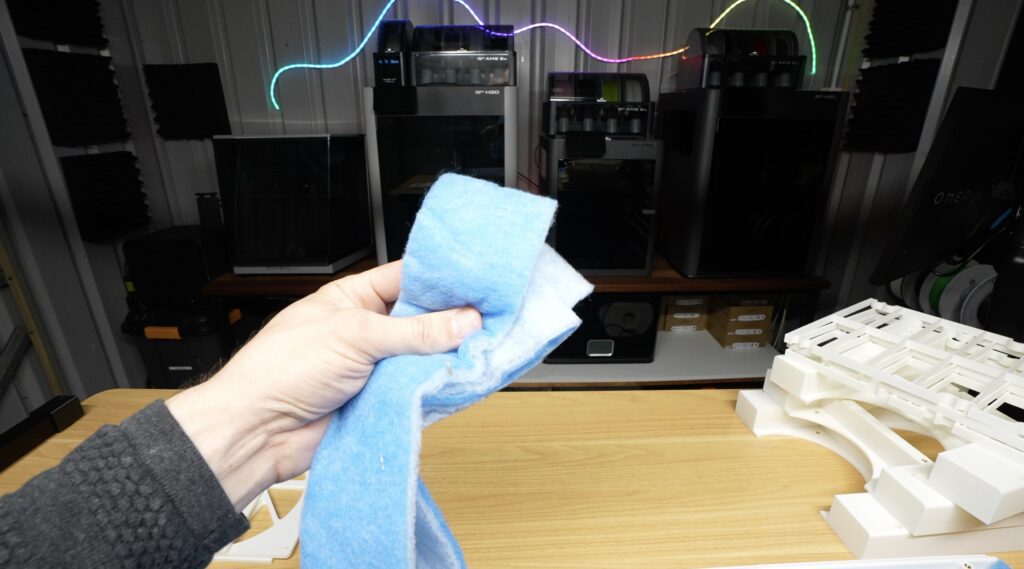
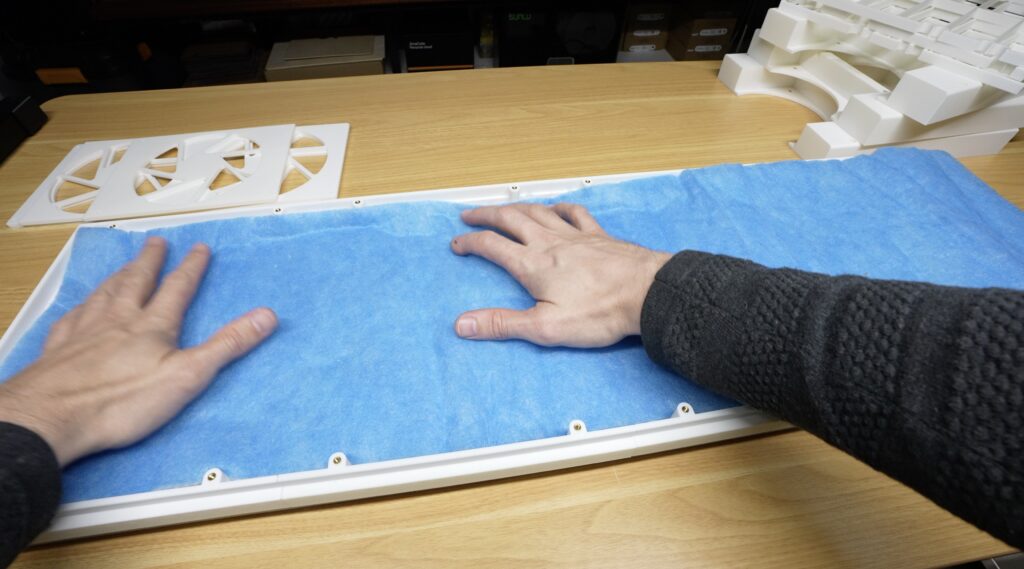
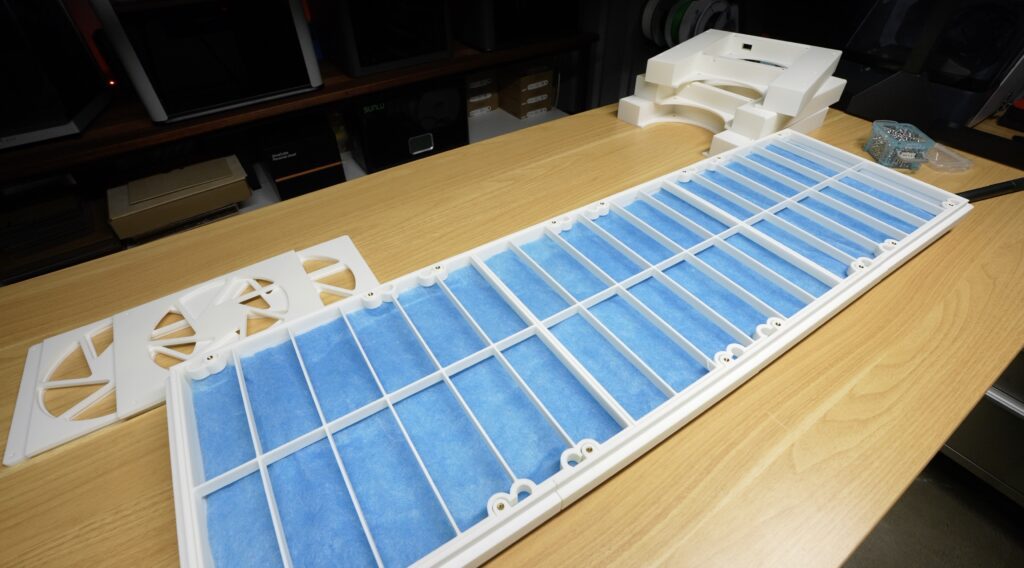
I bought a 5 pack of 140mm Arctic P14 PWM fans which should be good for the pressure restriction that the filter media creates and that leads me to the next design addition.
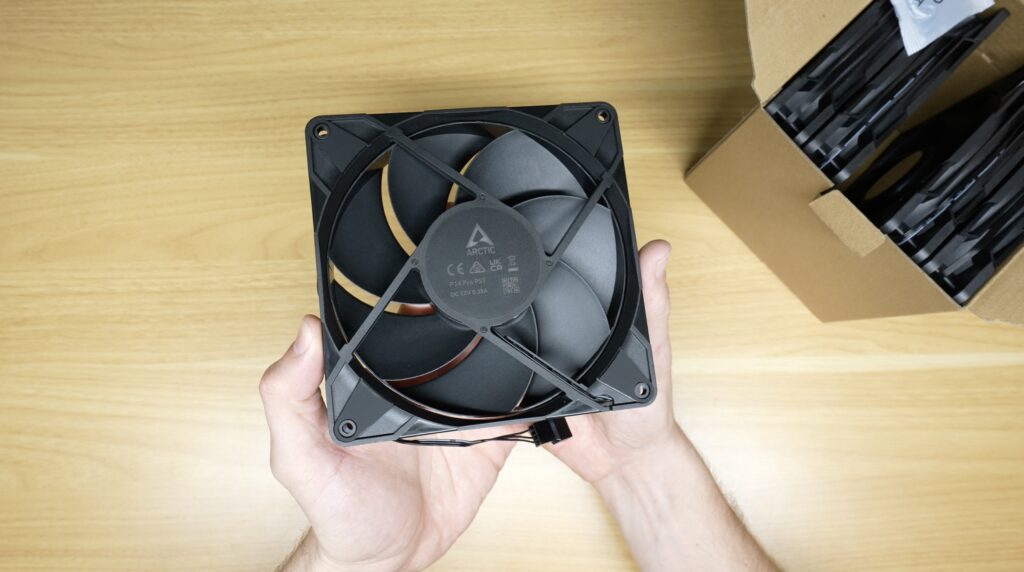
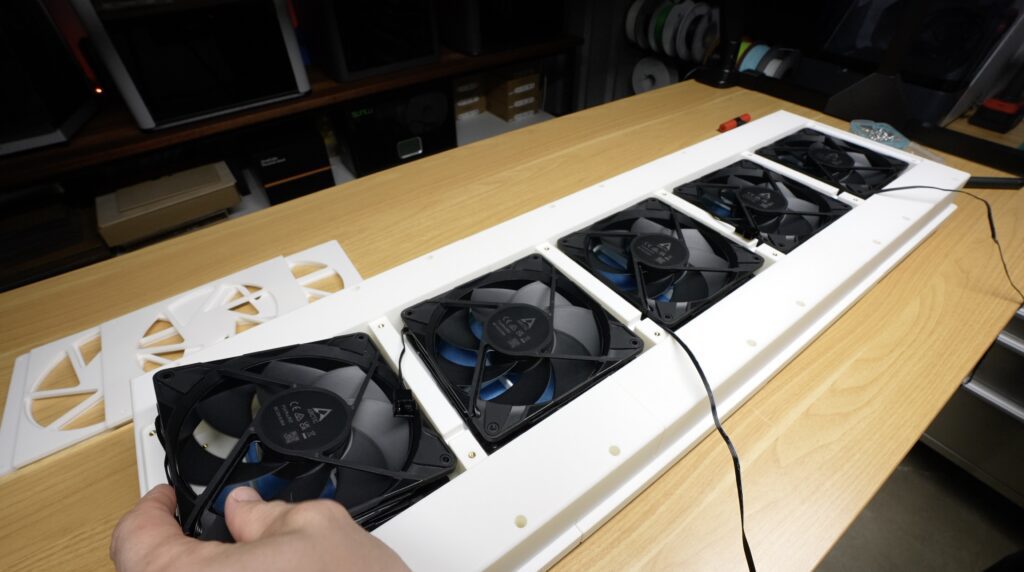
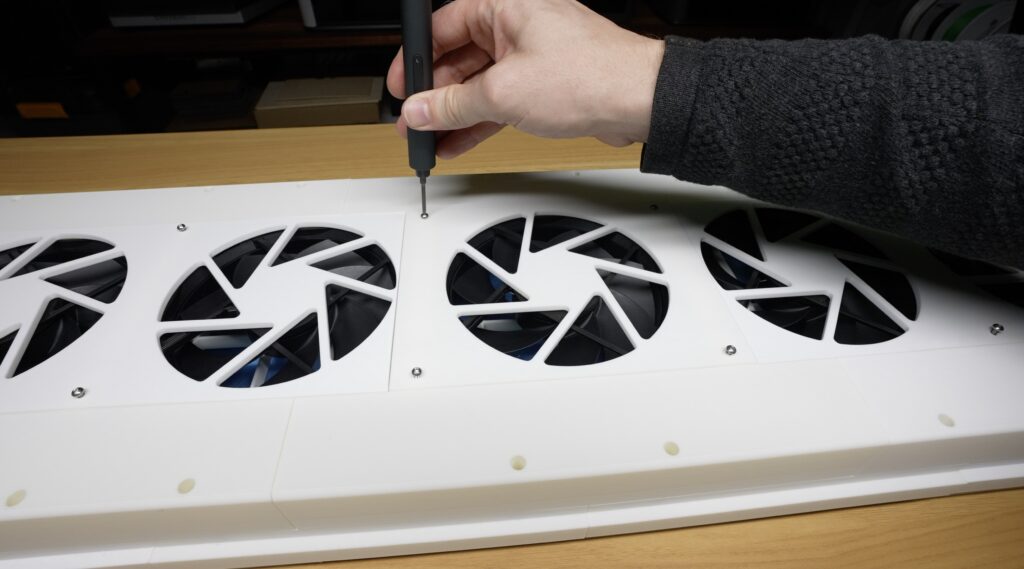
Although the fans solve the air quality issues, I don’t really want five fans running flat out continuously. Most of the time the air quality in my workshop is perfectly fine.
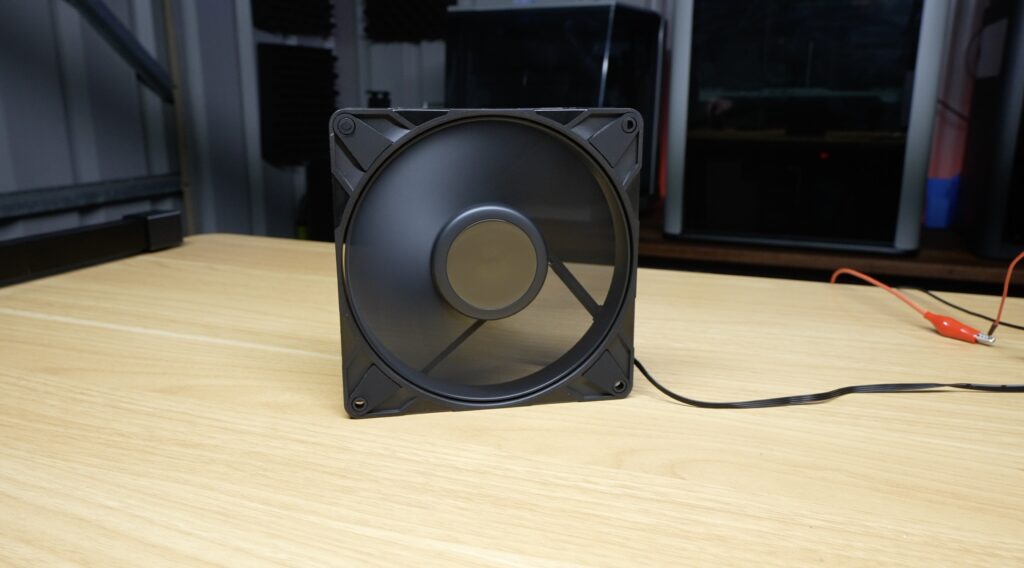
So instead of building a simple fan system, why not use the Air Lab to make it smart?
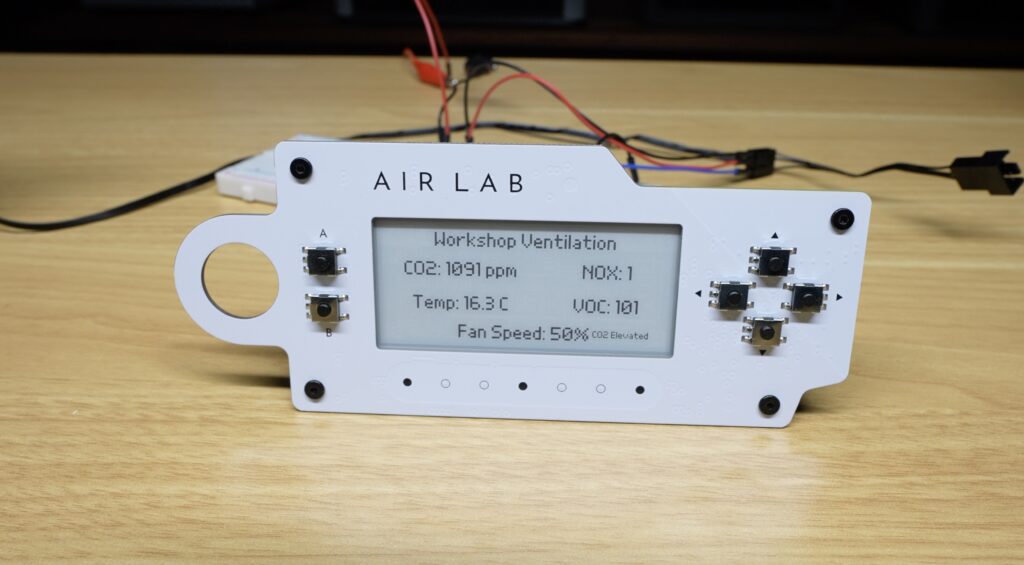
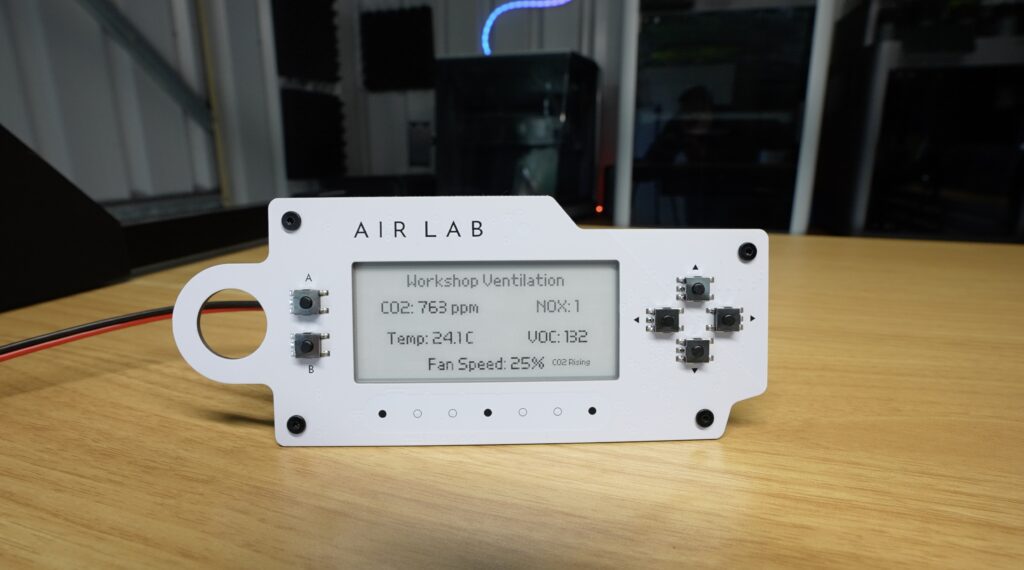
One of the nice things about Air Lab is that it’s got some GPIO pins. These can be configured as PWM output pins, which is perfect to control the fans.
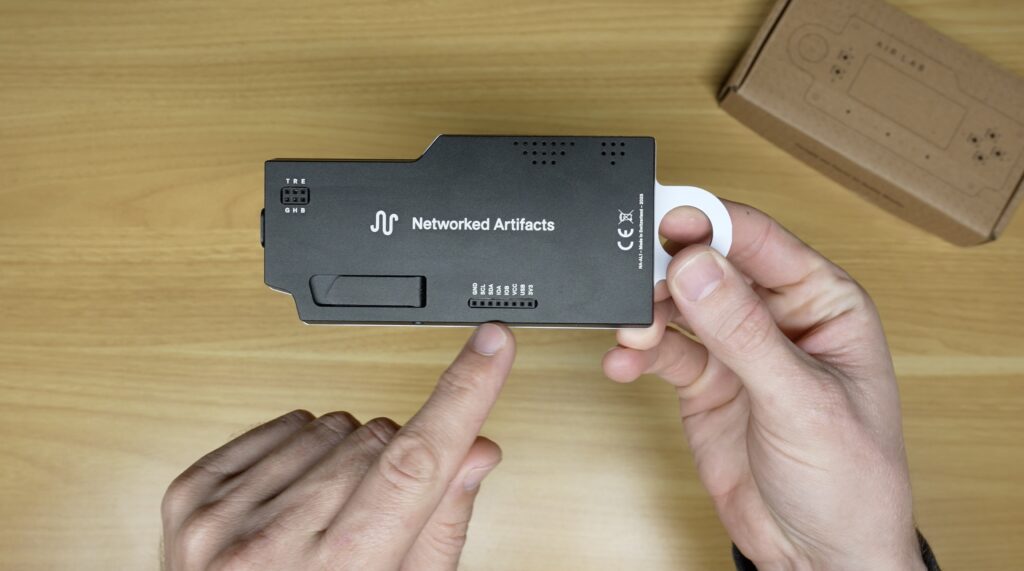
The Air Lab is open source, so you can edit or write your own firmware for it to use these pins to add functionality, but they’ve also cleverly included an option to create and run your own plugins on the device. So, I wrote a custom plugin that continuously monitors the sensor data and automatically adjusts the fan speed on the stack accordingly.
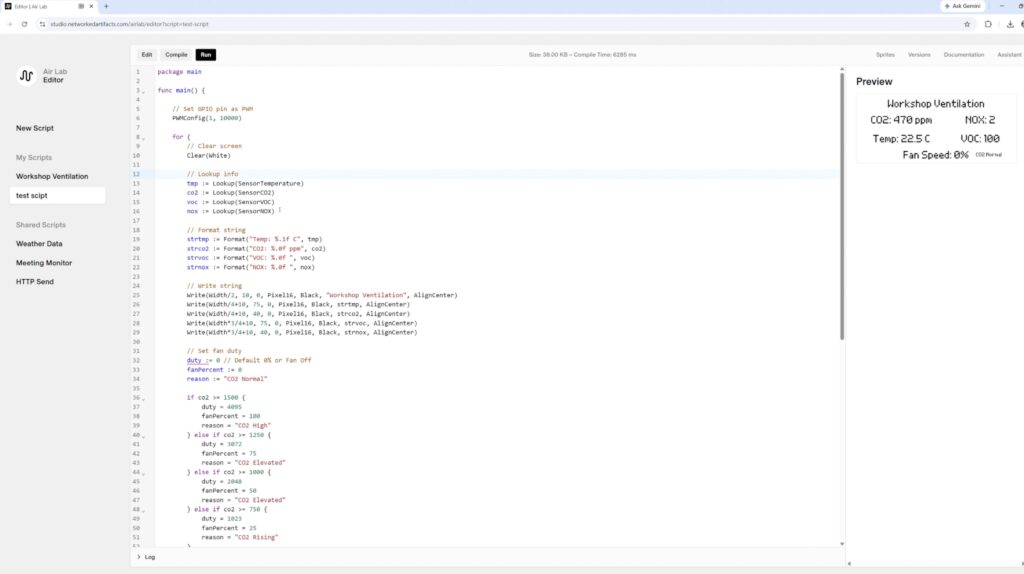
If CO₂ starts climbing, the fans slowly increase over four different levels.
Similarly, if VOCs, NOx or temperature increase, airflow increases too.
The workshop effectively ventilates itself only when it actually needs to, and the rest of the time the fans are off.
Of course, nothing ever works perfectly the first time. I connected a fan up and nothing happened, it just ran at full speed even when the Air Lab said it should be off or at a low speed.
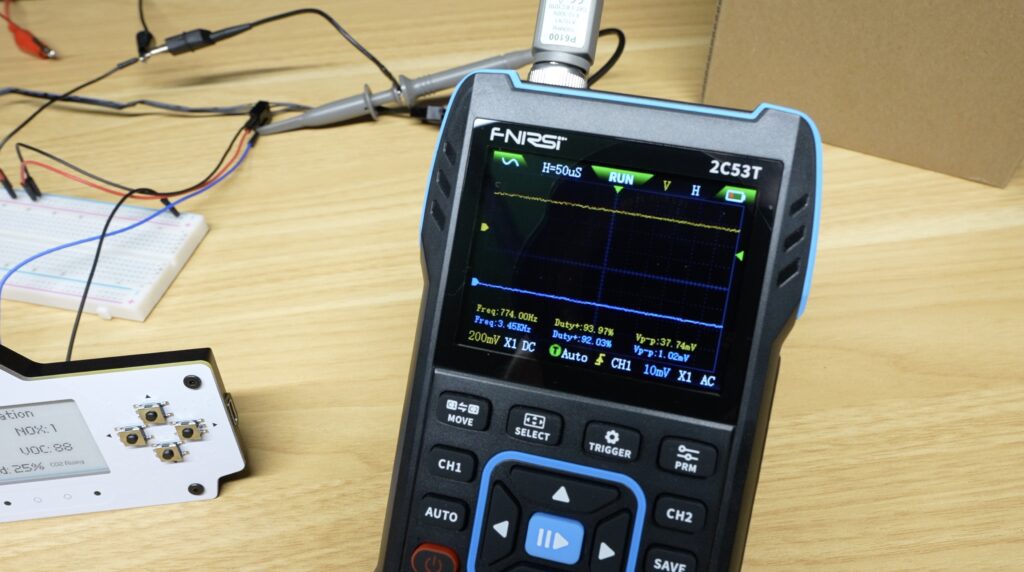
So out came the oscilloscope. It turns out I had set the PWM frequency to 25kHz, which is ideal for the fans I’m using, but that seems to be out of the range that the ESP32 in the Air Lab can produce, so it just outputted nothing.
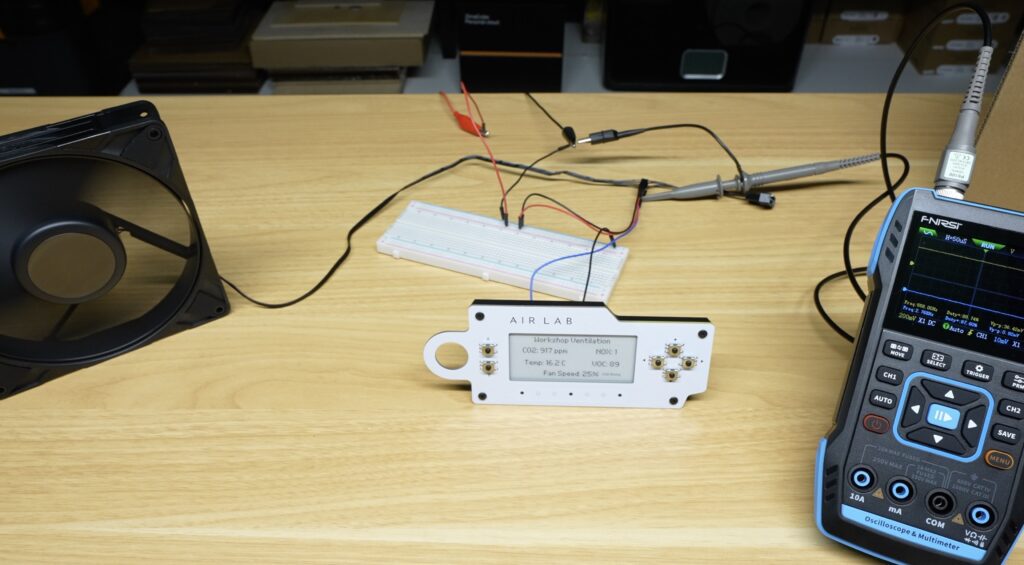
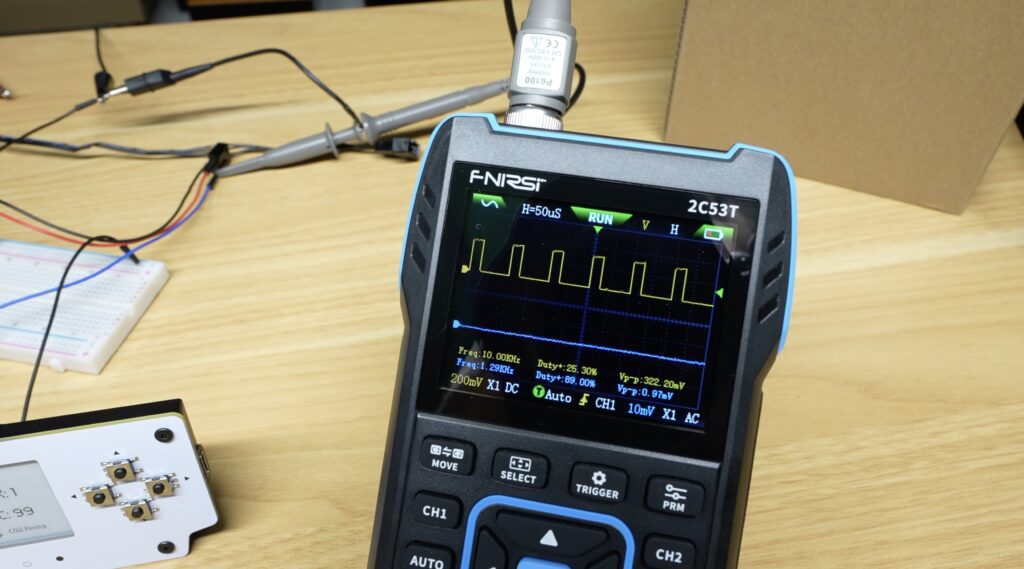
After a few iterations, I reduced the frequency to 10kHz, which then seem to work on the Air Lab and the fans seem happy with it. So then I could get this fan reinstalled and try it out.
The fans now spin up when CO2 increases and automatically stop when it comes back down again.
Now for the real test. I repeated the same two hour work experiment the following evening, but this time with the automatic ventilation running and the difference was immediately obvious.
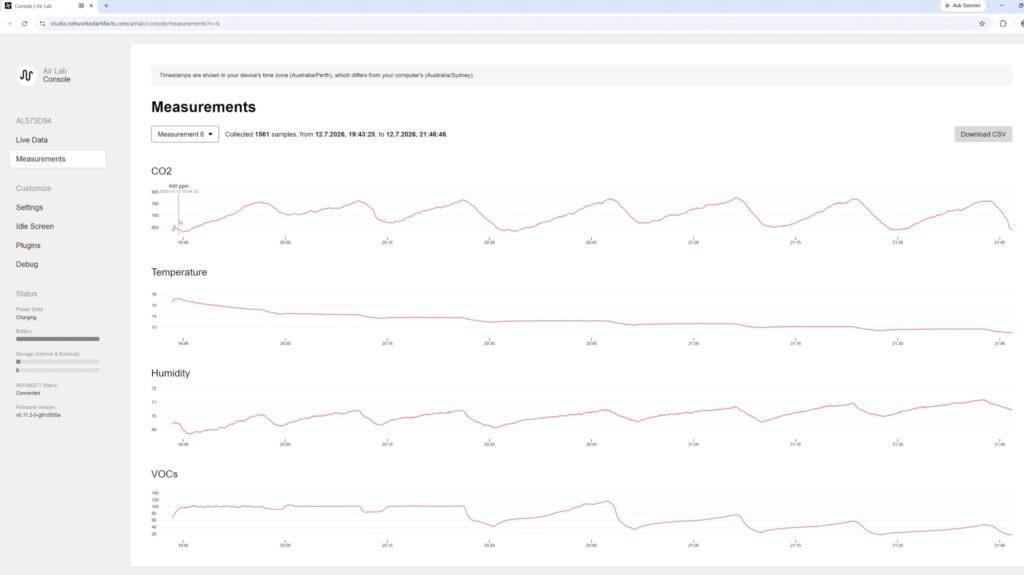
Instead of continuously climbing, as CO2 rises, the fans ramp up automatically, fresh air is brought in and the CO₂ level drops again. This keeps the average at a much healthier level.
Better yet, when I’m not in here or I’m only in here briefly, the fans simply stop.
This actually turned out to be a much more interesting project than I expected.
I originally set out just to see what was happening to the air in my workshop and instead I discovered that the biggest issue wasn’t the printers as I had thought, it was simply me spending hours in a small sealed up room.
Now the workshop monitors itself, logs everything continuously and automatically brings in fresh filtered air whenever it needs to, and because it’s driven directly from AirLab, I can keep extending it with additional logic or changing parameters as I think of new ideas. They even have integration with Home Assistant.
Let me know in the comments section below what you think of my Workshop Ventilation System.
Hi, my name is Michael and I started this blog in 2016 to share my DIY journey with you. I love tinkering with electronics, making, fixing, and building - I'm always looking for new projects and exciting DIY ideas. If you do too, grab a cup of coffee and settle in, I'm happy to have you here.
此内容由惯性聚合(RSS阅读器)自动聚合整理,仅供阅读参考。 原文来自 — 版权归原作者所有。
