主机版本为 Centos7.4,docker 版本为 docker-ce-18.09.7-3.el7.x86_64
修改 daemon.json 配置文件,添加 label,用于区别两台 docker 主机
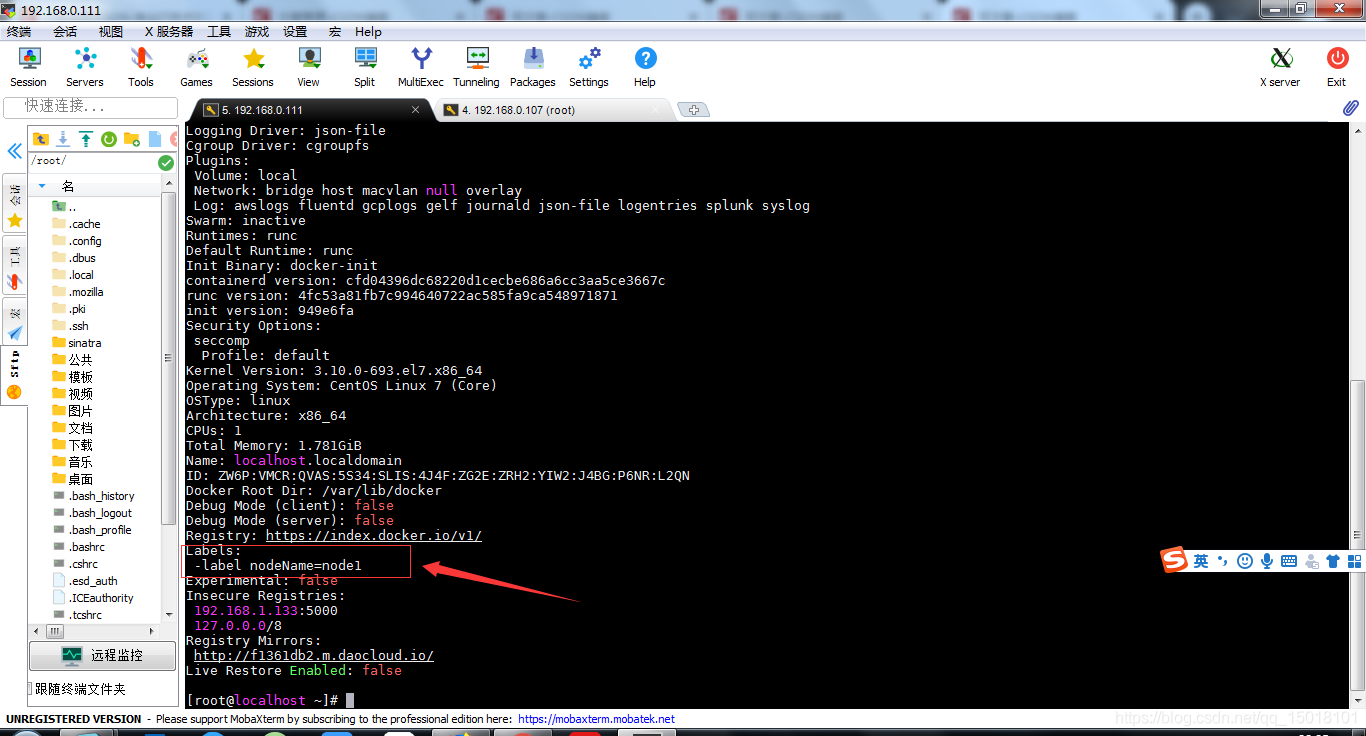
node1:
[root@localhost ~]# vim /etc/docker/daemon.json
{
"registry-mirrors": ["http://f1361db2.m.daocloud.io"],
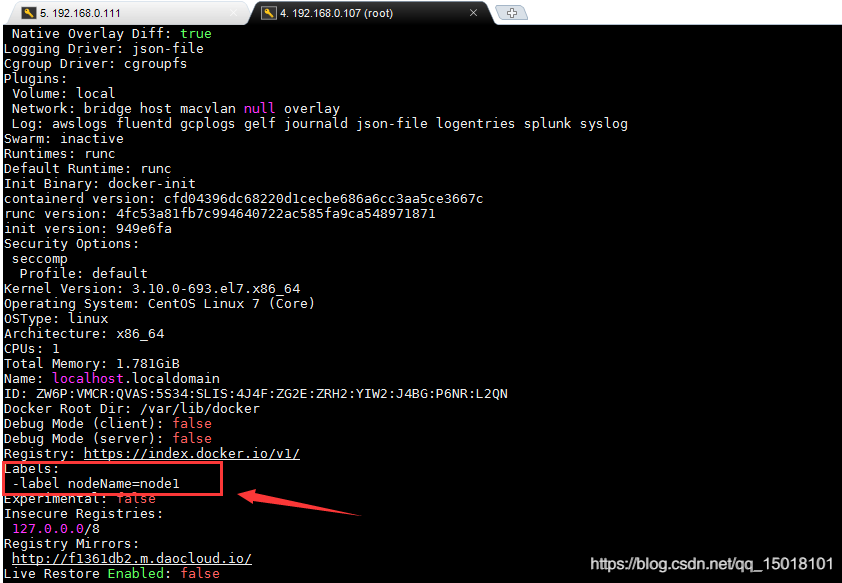
"labels": ["-label nodeName=node1"] #添加label
}
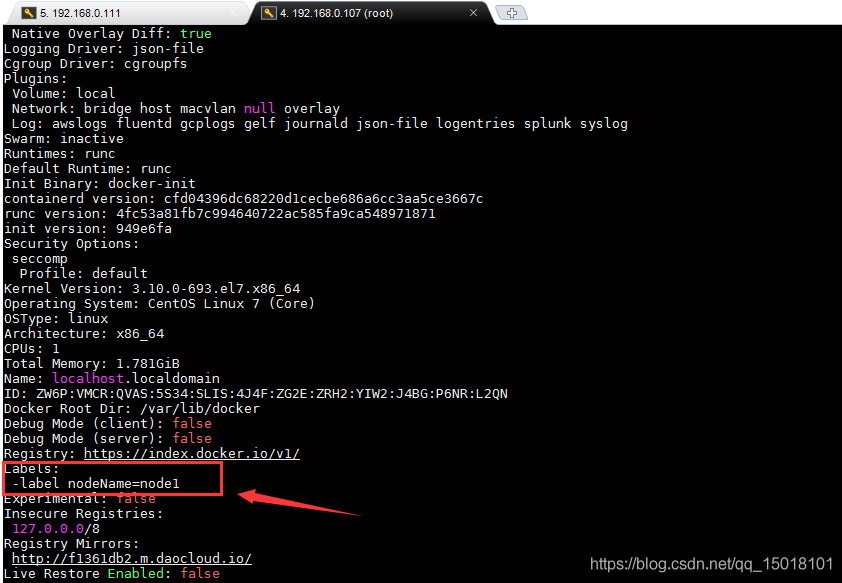
查看效果
[root@localhost ~]# systemctl restart docker
[root@localhost ~]# docker info
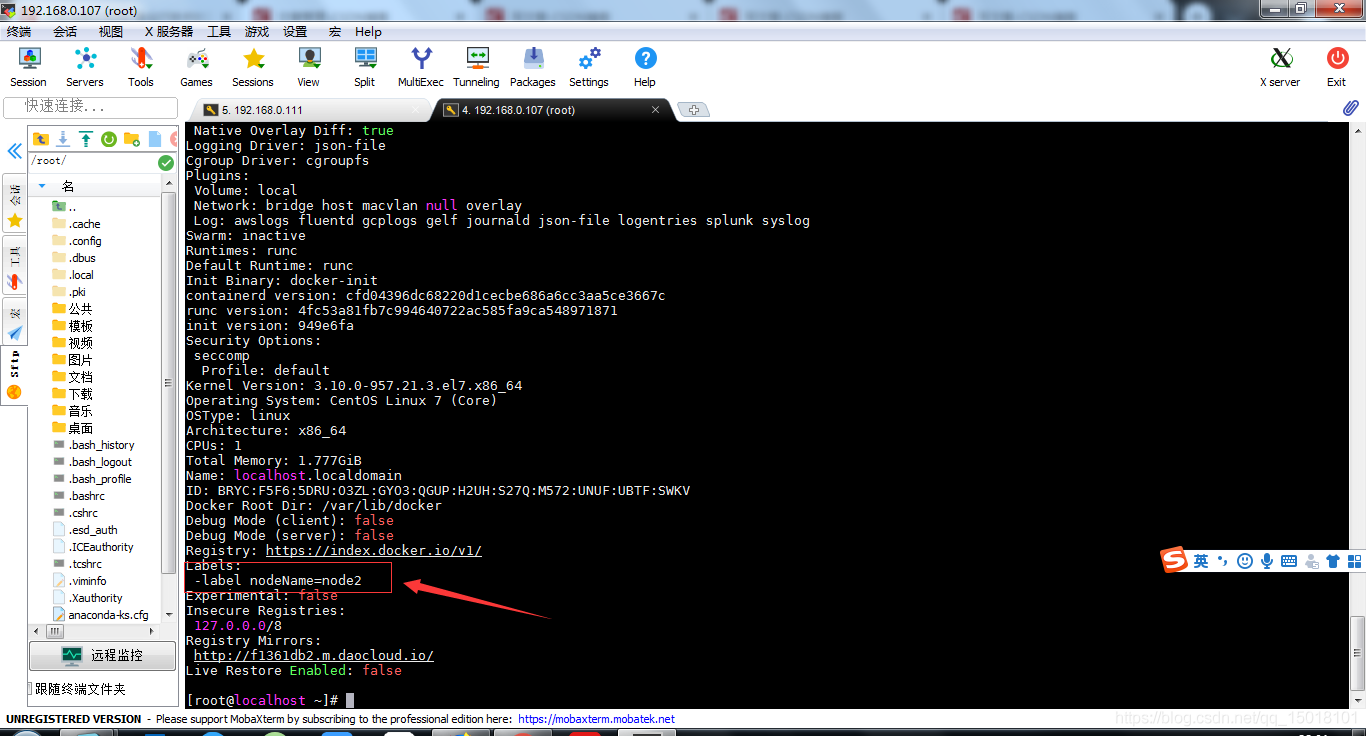
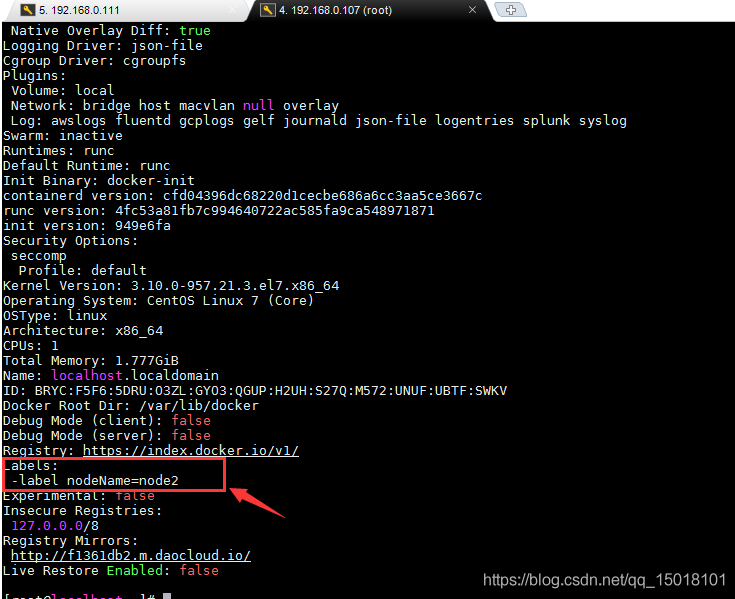
node2:
修改通信方式共有三种方式:
"hosts": ["tcp://0.0.0.0:2375"]ExecStart=/usr/bin/docker -H <tcp://0.0.0.0:2375>dockerd -H <tcp://0.0.0.0:2375>Centos7 中/etc/docker/daemon.json 会被 docker.service 的配置文件覆盖,直接添加 daemon.json 不起作用
所以我使用的是第二种方式
node1:
[root@localhost ~]# vim /lib/systemd/system/docker.service
ExecStart=/usr/bin/docker -H tcp://0.0.0.0:2375
[root@localhost ~]# systemctl daemon-reload
[root@localhost ~]# systemctl restart docker
[root@localhost ~]# ps -ef | grep docker
root       5775      1  3 23:17 ?        00:00:00 /usr/bin/dockerd -H tcp://0.0.0.0:2375
root       5779   5775  0 23:17 ?        00:00:00 docker-containerd --config /var/run/docker/containerd/containerd.toml
root       5879   3919  0 23:17 pts/1    00:00:00 grep --color=auto docker
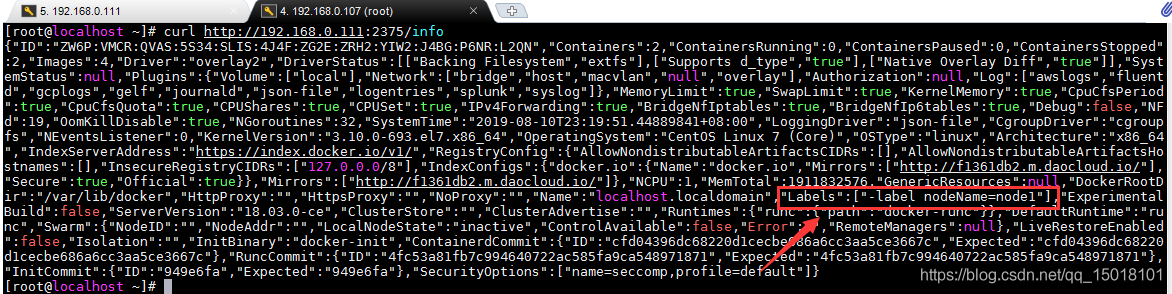
node2:
[root@localhost ~]# curl http://192.168.0.111:2375/info
[root@localhost ~]# docker -H tcp://192.168.0.111:2375 info
如果频繁使用 -H 选项未免太过于麻烦,可以修改 DOCKER_HOST 这个环境变量的值,node2 就可以像使用本地的 docker 一样来远程连接 node1 的守护进程
[root@localhost ~]# export DOCKER_HOST="tcp://192.168.0.111:2375"
[root@localhost ~]# docker info
当无需再远程连接 node1 的守护进程时,将 DOCKER_HOST 环境变量置空即可
[root@localhost ~]# export DOCKER_HOST=""
[root@localhost ~]# docker info
node1:
因为 node1 设置了修改 Client 与守护进程的通信方式,所以本地无法再通过默认的 socket 进行连接,必须使用 -H 选项通过 tcp 来进行连接,也可以通过 DOCKER_HOST 来修改
[root@localhost ~]# docker info
Cannot connect to the Docker daemon at unix:///var/run/docker.sock. Is the docker daemon running?
[root@localhost ~]# docker -H 0.0.0.0:2375 info
如果本机依旧希望使用默认的 socket 进行连接,可以在 docker.service 中再添加一个 -H 选项
[root@localhost ~]# vim /lib/systemd/system/docker.service
ExecStart=/usr/bin/dockerd -H tcp://0.0.0.0:2375 -H unix:///var/run/docker.sock
[root@localhost ~]# systemctl daemon-reload
[root@localhost ~]# systemctl restart docker
[root@localhost ~]# ps -ef | grep docker
root       6462      1  2 23:40 ?        00:00:00 /usr/bin/dockerd -H tcp://0.0.0.0:2375 -H unix:///var/run/docker.sock
root       6467   6462  0 23:40 ?        00:00:00 docker-containerd --config /var/run/docker/containerd/containerd.toml
root       6567   3919  0 23:40 pts/1    00:00:00 grep --color=auto docker
[root@localhost ~]# docker info
以上
此内容由惯性聚合(RSS阅读器)自动聚合整理,仅供阅读参考。 原文来自 — 版权归原作者所有。