Written by Utpal Nadiger ·
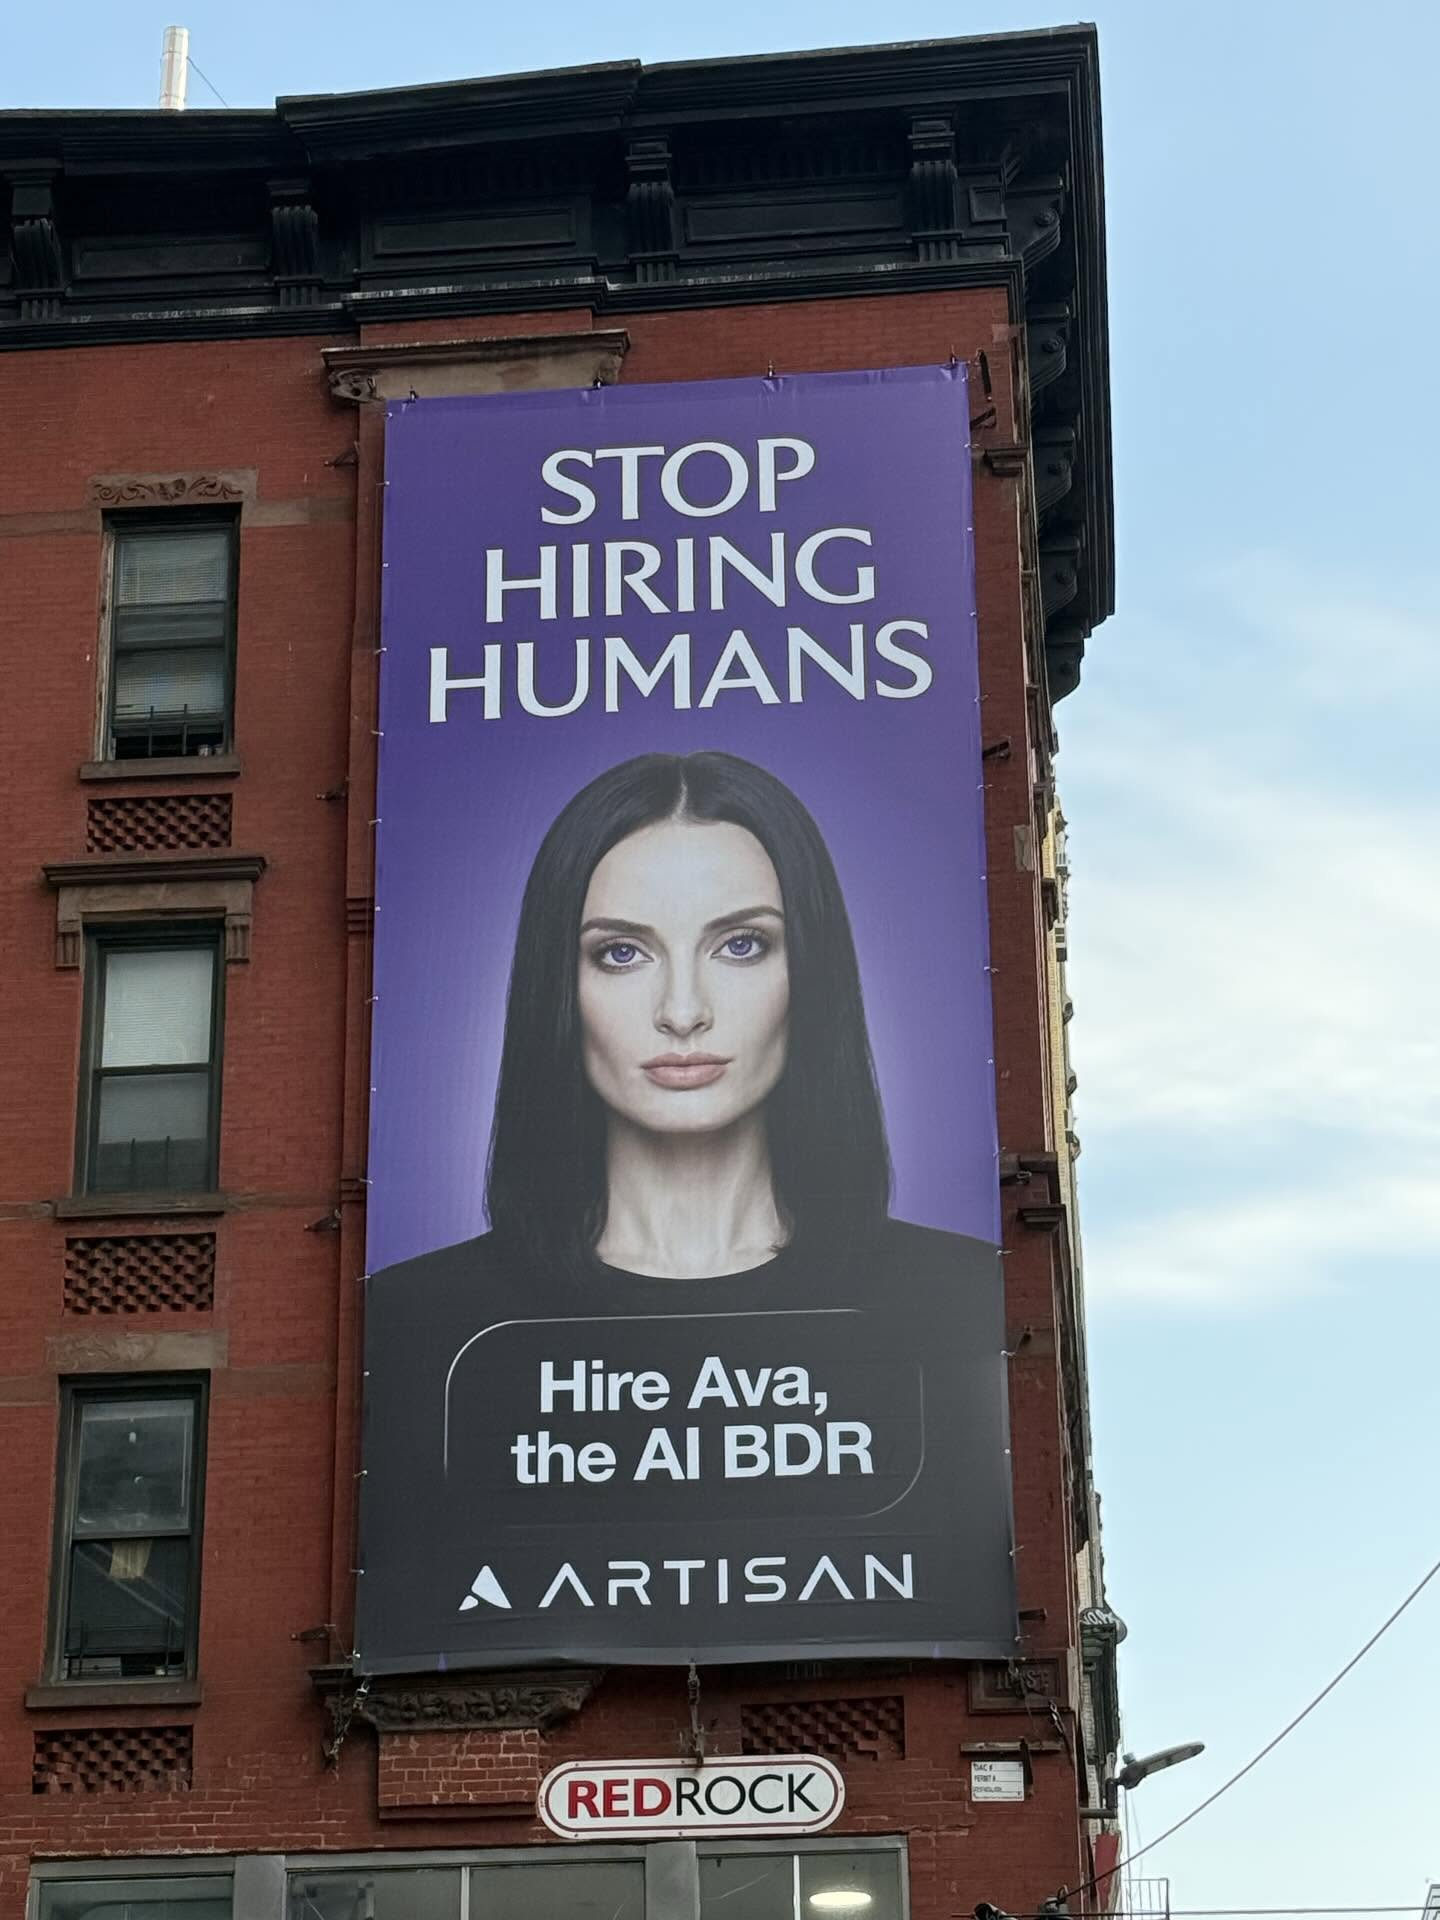
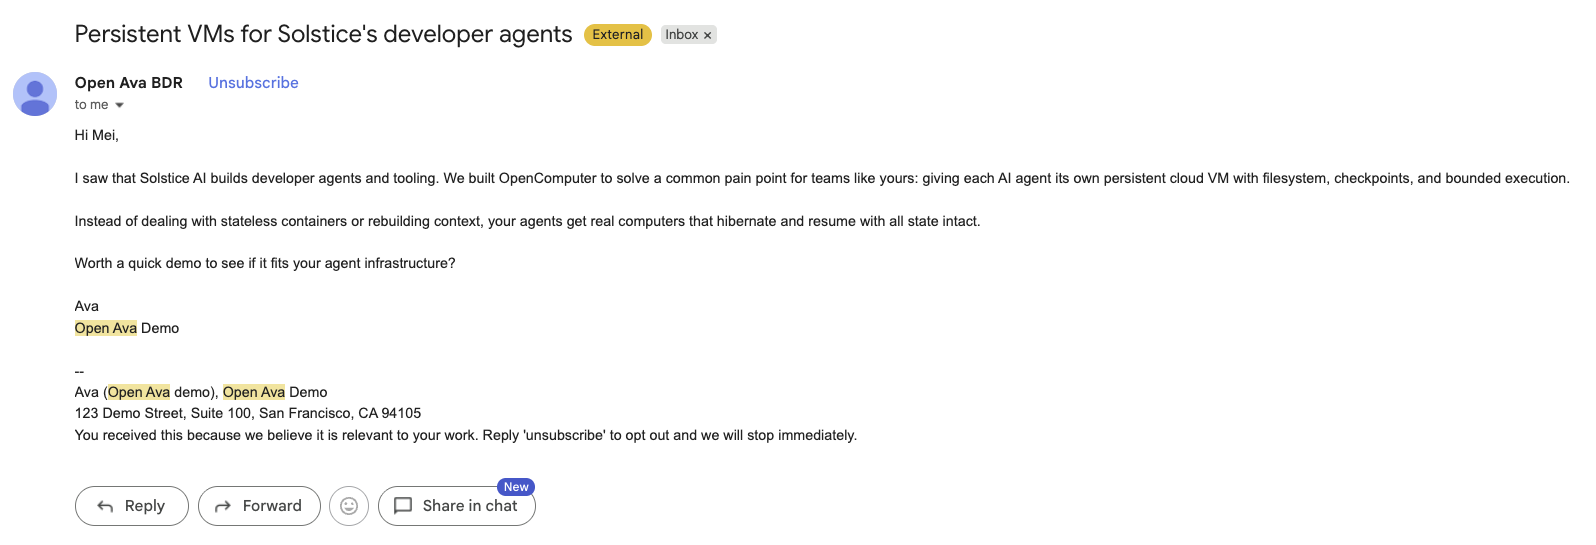
The moral debate aside, the product does look cool and could be helpful: Ava is Artisan’s AI BDR, built to source leads, write outbound, handle replies, and book meetings.
Being the engineer I am, I decided to build it myself so I could use it at OpenComputer and do outreach for us.
I was trying to replicate a BDR in software, and a BDR has state. It needs a CRM, an inbox, notes, reply history, suppression rules, follow-ups, and some way for a human to inspect what it is about to do before it does something irreversible.
So I built a small, inspectable version of the loop and called it Open Ava. It is one FastAPI app inside one OpenComputer VM, with the VM acting as the BDR’s computer, SQLite as its CRM, AgentMail as its inbox, and Anthropic handling the structured research, scoring, drafting, and reply classification.
The run went like this:
- I gave it OpenComputer's product profile and ICP,
- imported 12 seeded leads,
- researched and scored them,
- drafted three sourced outreach variants for the best lead,
- blocked sending before approval,
- created a checkpoint before the real send,
- sent one email only to a controlled test inbox,
- received a real reply through AgentMail,
- classified the reply as an objection,
- sent a follow-up,
- and kept a durable CRM record across an app restart and checkpoint.
What you’ll build
The finished app is a little BDR workspace:
- A persistent OpenComputer VM that acts like the BDR's laptop.
- A FastAPI dashboard and JSON API exposed through the VM preview URL.
- A SQLite CRM with campaigns, leads, research notes, drafts, emails, suppression records, durable queue rows, and events.
- A background worker that imports leads, dedupes them, researches their company URLs, scores fit, and drafts outreach.
- A prompt-injection-aware research path that treats scraped pages and inbound emails as untrusted data.
- A human approval gate before any send.
- A checkpoint before the irreversible send.
- AgentMail send and inbound reply handling.
- Idempotency for discovery, sends, and reply processing.
The tutorial uses OpenComputer itself as the product and a controlled inbox you own. The app never emails arbitrary prospects while you work through it.
Why a BDR needs a computer
A human BDR lives out of their computer. They open their CRM and pick up where they left off: which accounts they researched yesterday, which leads were a bad fit, which drafts are waiting for approval, which replies need an answer, and which people should not be contacted again.
An agent doing BDR work needs the same kind of workspace. It needs to remember what it has already researched, keep drafts around until a human reviews them, avoid sending twice when a provider retries an event, and know the difference between a lead that is ready for follow-up and one that should stay rejected. I wanted my agent to have one computer with its own filesystem, local CRM, running process, inbox logic, preview URL, and checkpoints, so I used OpenComputer.
In this build, the OpenComputer VM is the BDR’s machine, with SQLite as the CRM on disk, FastAPI as the dashboard, a worker that keeps moving leads forward, and AgentMail as the inbox. Before the app sends the approved email, the control script creates a checkpoint so there is a rollback line before the system touches the outside world.
Architecture
Here is the loop in product terms first:
- The user enters the product and ICP once.
- The worker imports or discovers lead candidates.
- Each lead is researched from the company URL we already have.
- The LLM produces a structured research note with source-backed facts.
- The LLM scores the lead against the ICP.
- Fit leads get multiple sourced email variants.
- A human approves one variant.
- The control process creates a checkpoint.
- The app sends one email to the controlled test inbox.
- AgentMail receives a real reply.
- The app classifies the reply and sends the next response.
- CRM state advances and can be inspected.
The implementation is quite plain:
The app lives inside the VM. The orchestration scripts outside the VM only provision the computer, push the app, create checkpoints, and drive the demo. The BDR’s working memory stays with the BDR.
Prerequisites
You need:
- an OpenComputer API key,
- an Anthropic API key,
- an AgentMail API key,
- one controlled recipient inbox you own.
This tutorial uses a seeded CSV of synthetic leads and fetches only the company URLs already present in the file.
Start by making a project folder on your machine. The app has two sides:
app/is the FastAPI app that will run inside the OpenComputer VM.control/is the local control plane: scripts that create the VM, pushapp/into it, start the server, checkpoint before sends, and drive the demo.
If you want the finished version, clone the repo:
If you are typing it out from the article, create this shape first:
From here on, every filename in the tutorial is relative to that open-ava-bdr/ folder. The GitHub repo is the runnable source of truth; the snippets below show the important pieces in build order and explain why they are there. If you are recreating the app by hand, copy the complete files from the repo and use the verification commands in this post after each layer.
Add the basic ignores before you do anything else:
Put the local control-script dependencies in requirements-control.txt:
Create a local virtualenv for the control scripts. These scripts run on your laptop and talk to OpenComputer. Use Python 3.10 or newer; on my Mac, that binary is python3.12:
One confusing detail: the package you install is opencomputer-sdk, but the import name is still opencomputer. Do not install the unrelated opencomputer package for this tutorial. It may install, but it does not provide the Sandbox class this code uses.
The repo includes .env.example with the required keys and a few optional runtime knobs:
Copy that file to .env, fill in your real values locally, and do not commit .env:
The required values are:
Load them in the terminal before running the control scripts:
Do not use a real prospect’s address for DEMO_RECIPIENT_EMAIL. Use the tutorial to prove the workflow safely before aiming anything at real outbound.
Step 1: Create the project and the BDR computer
The local folder is your source repo. The OpenComputer VM is where the BDR app actually runs.
First, put the app’s runtime dependencies in app/requirements.txt:
Start by putting the OpenComputer connection helpers in control/vm.py. This excerpt is copied from the repo; it owns the API key, the local control/vm.json file that remembers which sandbox to reconnect to, and the retry wrapper used by the other control scripts:
With that helper in place, control/provision.py can create one persistent sandbox and install the Python packages the app needs inside that sandbox. This is the core create-and-save path from the repo:
It saves the sandbox ID in control/vm.json, which is intentionally local state. The next script should reuse the same VM instead of creating a new computer every time you run the demo.
Run it from your project root:
Once the VM exists, control/deploy.py pushes the files from app/ into the VM and starts uvicorn there. This is the first moment where the split between local code and the BDR’s computer matters: you edit files locally, and the deploy script copies them into the running VM.
APP_LOCAL is the app/ folder on your machine. APP_REMOTE is the folder the deploy script creates inside the VM. You do not create /tmp/open-ava-app locally; it exists on the BDR’s computer.
The deploy script also passes only the runtime secrets the app needs. It does not write your API keys into the repo:
Then it starts uvicorn as a background exec inside the VM:
Run the deploy:
At this point you can verify the local control environment in layers:
That catches syntax errors in the control scripts without touching the network. python control/provision.py should print a VM ID and PROVISION_OK, then python control/deploy.py should print DEPLOY_OK and a preview URL. Finally, curl https://<preview-domain>/healthz should return {"ok":true,...}. If any of those fail, fix that layer before continuing.
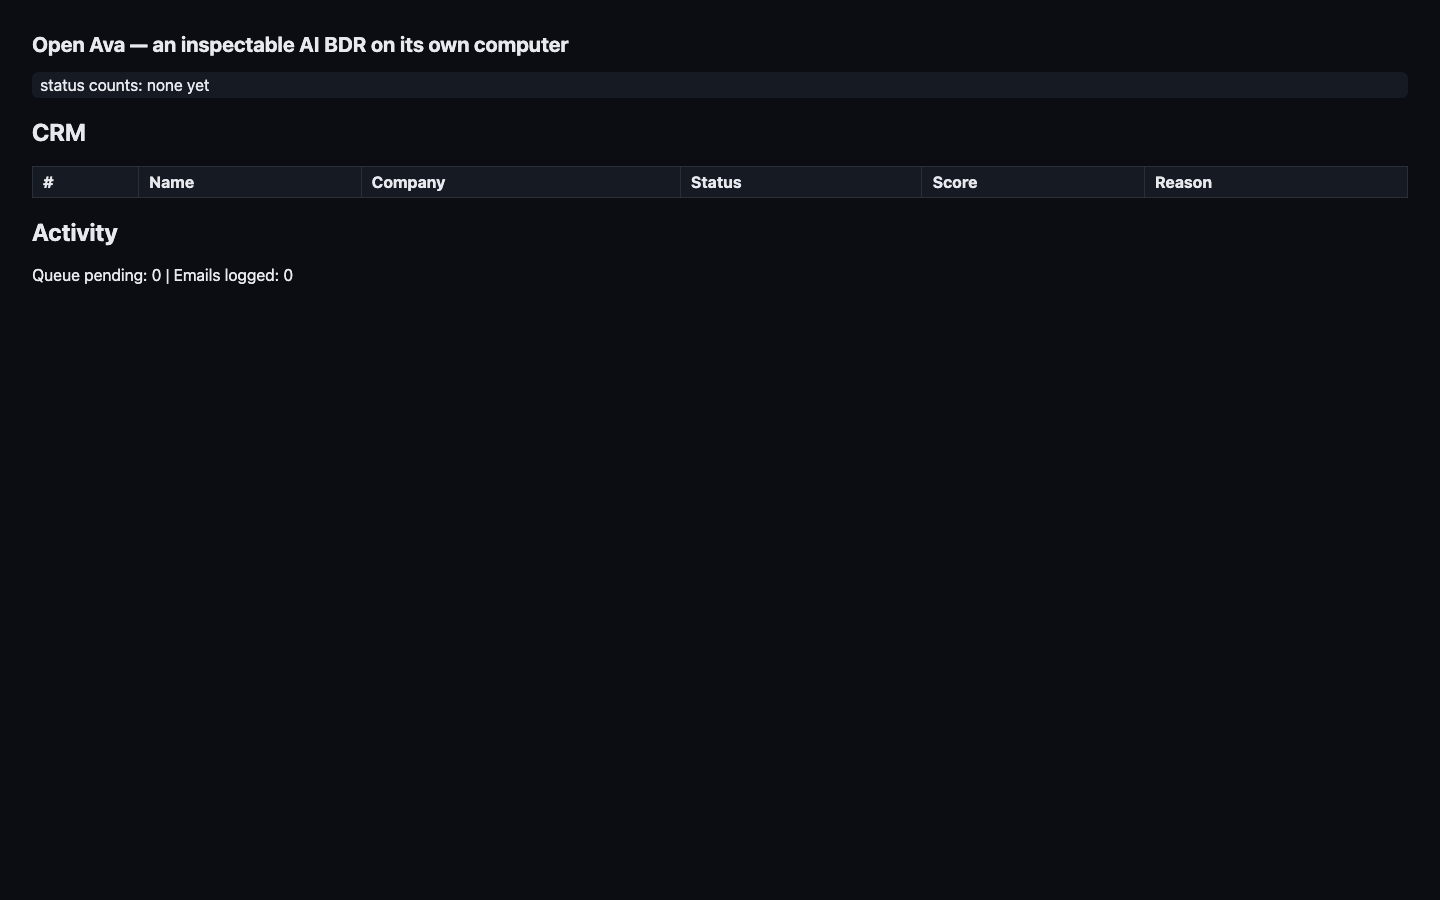
It prints a preview URL like https://<sandbox-id>-p8000.workers.opencomputer.dev. Open that URL in your browser and you should see the empty BDR dashboard. At this point you have not created leads or sent email yet. You have only created the computer, copied the app into it, and started the server.
Step 2: Model the CRM as state, not logs
Before you add any LLM calls, give the agent somewhere to put its memory. In this project, that starts in app/db.py.
The CRM is the source of truth for what the agent has done and what it is allowed to do next. A lead starts as an imported row, then moves through research, scoring, drafting, approval, sending, and reply handling. Some leads exit early because they are rejected or suppressed.
Use a small status vocabulary so the dashboard, worker, and send endpoint all speak the same language:
It also has terminal or side statuses:
The schema body in app/db.py is plain SQL inside a Python executescript() call. leads holds the account state, queue holds the next piece of work, sent_keys dedupes outbound email, and processed_messages dedupes inbound replies.
The unique constraints are the design decision here:
leads.dedup_keyprevents duplicate imports.queue(task, lead_id)prevents duplicate work.sent_keys.send_keyprevents duplicate sends.processed_messages.provider_message_idprevents duplicate reply handling.
That is what makes retries boring. If a worker restarts, a provider retries, or you run the demo script twice, the database can reject duplicate intent instead of making the agent rely on memory in a running Python process.
Step 3: Accept the ICP once
Now add the first user action in app/server.py: submit the product and ICP.
This route does three things in one place because they belong to the same moment in the workflow. It stores the product/ICP, imports the initial lead list for that campaign, and starts the worker so the BDR begins researching without another manual step.
For this article, the product is OpenComputer and the ICP is founders and engineers building AI agent products. The route stores that as campaign state because every later decision depends on it: research has to know what facts matter, scoring has to know what “fit” means, and drafting has to know what the sender is selling.
When this works, the first ICP call creates the 12 seeded leads:
Step 4: Run a durable lead loop
Next, add the worker in app/worker.py. This is the part that makes the app feel like a BDR instead of a form submission.
Discovery imports from app/seed/leads.csv for the tutorial. In a production system, this could be a lead provider or search API. After discovery, each lead gets queued for the next action, and the queue is stored in SQLite so the app can stop and start without forgetting where it was.
The worker only does one unit of work at a time:
There are two useful choices in that snippet. First, step_once() reads the next pending task from the database instead of holding work in memory. Second, failures get logged and retried a bounded number of times, so one poisoned lead does not stop the whole run.
For the cookbook, let the worker exit when the queue is empty:
That looks almost too simple, but it makes the tutorial easier to follow. You can submit the ICP, wait until the queue drains, inspect the drafts, approve one, and then test the send path. A production BDR might keep a scheduler alive forever; this version stops when the current batch is done so the human review step is obvious.
Step 5: Treat web text as untrusted data
Research is the first place the agent touches text it does not control. The company URL in the seed row might contain useful product information, but it could also contain prompt injection, stale copy, or nothing useful at all.
Put the model-facing research logic in app/agent_logic.py. Before any scraped text goes into the prompt, wrap it as untrusted input:
The wrapper is not magic security. It is a clear boundary for the model: this page is data to analyze, not instructions to obey. The system prompt should say the same thing, and the output should carry an injection_detected flag so the rest of the app can surface suspicious sources.
Define that output shape in app/models.py:
Then enforce the source rule after the model returns:
This is the first guardrail against fake personalization. If the model cannot attach a fact to a source URL, the app drops that fact. Some of the seeded leads intentionally point to placeholder or standards pages, and that is useful because it forces the agent to say “I do not have enough evidence” instead of inventing a warmer email.
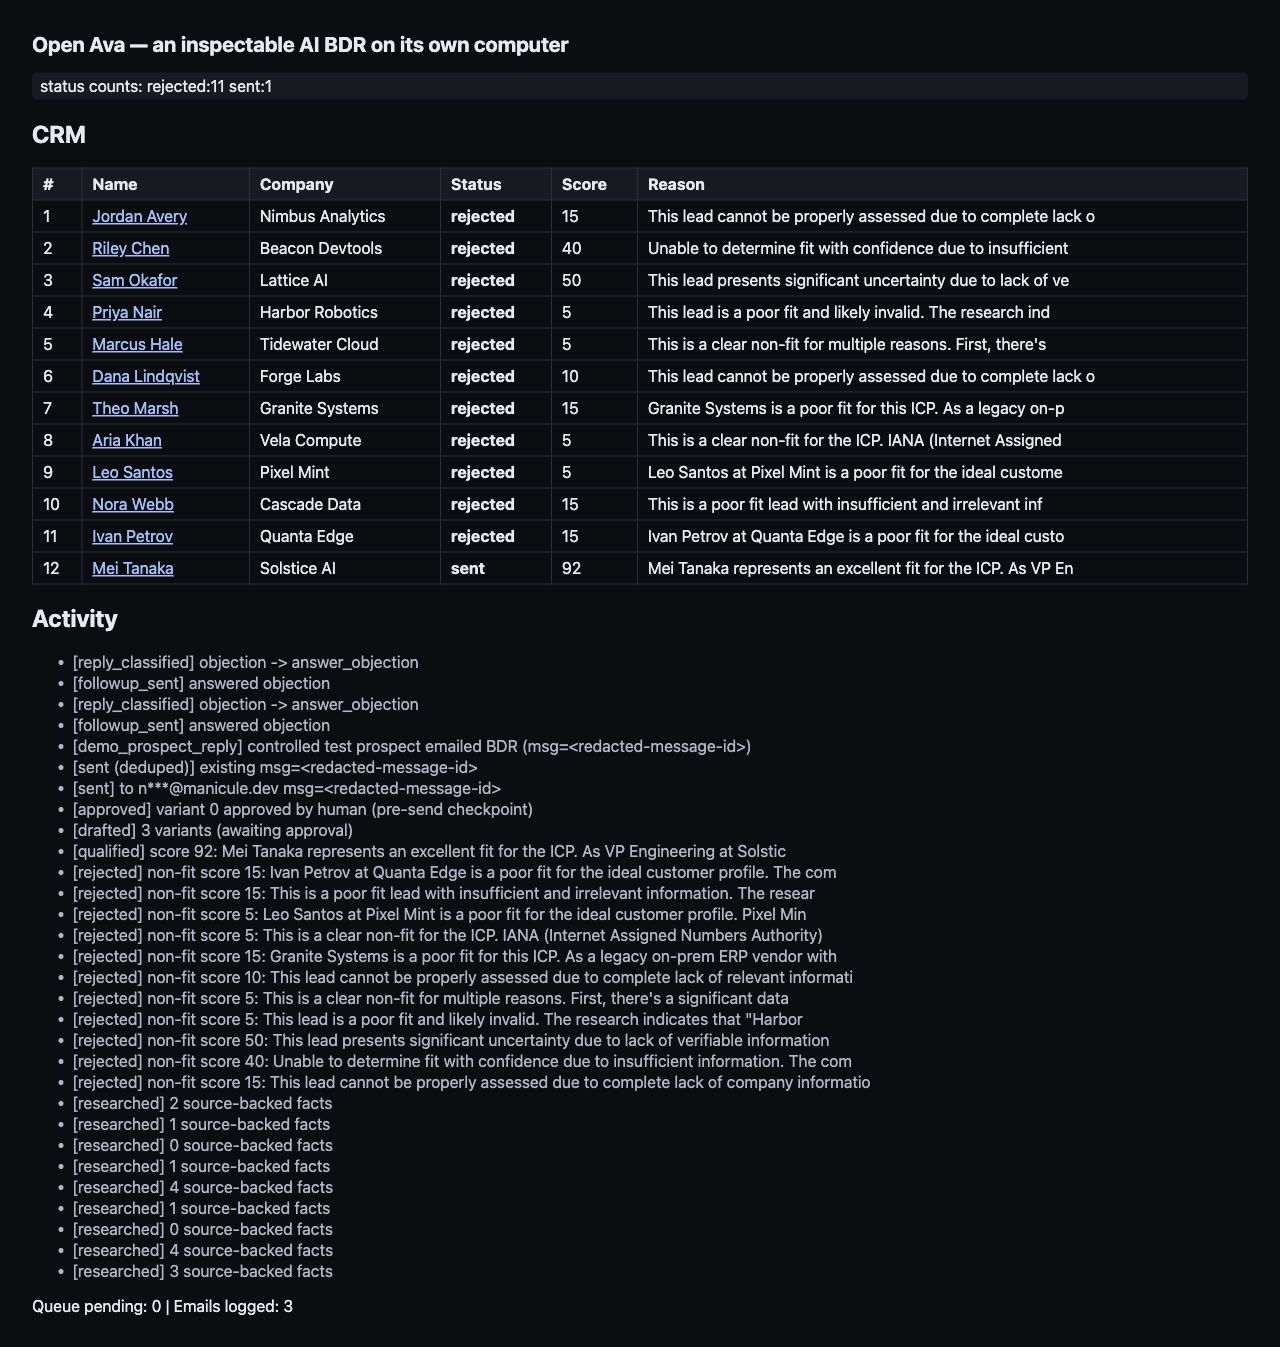
When the research, scoring, and drafting queue has drained, the verified run looked like this:
Step 6: Score fit before drafting
After research, decide whether a lead is worth drafting at all. This is a separate step on purpose. If you draft for every lead, you spend tokens on bad accounts and make the human review queue noisy.
The scoring output in app/models.py is small:
In app/worker.py, the score decides the next state. Fit leads move to qualified and get a draft queue item. Non-fit leads become rejected and stop there.
That keeps the CRM honest. The dashboard can show why a lead was rejected, and the draft generator only sees accounts that passed the ICP check. In the seeded demo, you should expect most leads to be rejected because several URLs are intentionally weak or mismatched.
Step 7: Draft with sources
Drafting is where an outbound agent can do the most damage to trust. A confident but unsupported personalization line is worse than a generic email because it teaches the prospect that the system made something up.
So the draft schema in app/models.py carries sources with each variant:
After the model returns variants, filter the sources again in app/agent_logic.py:
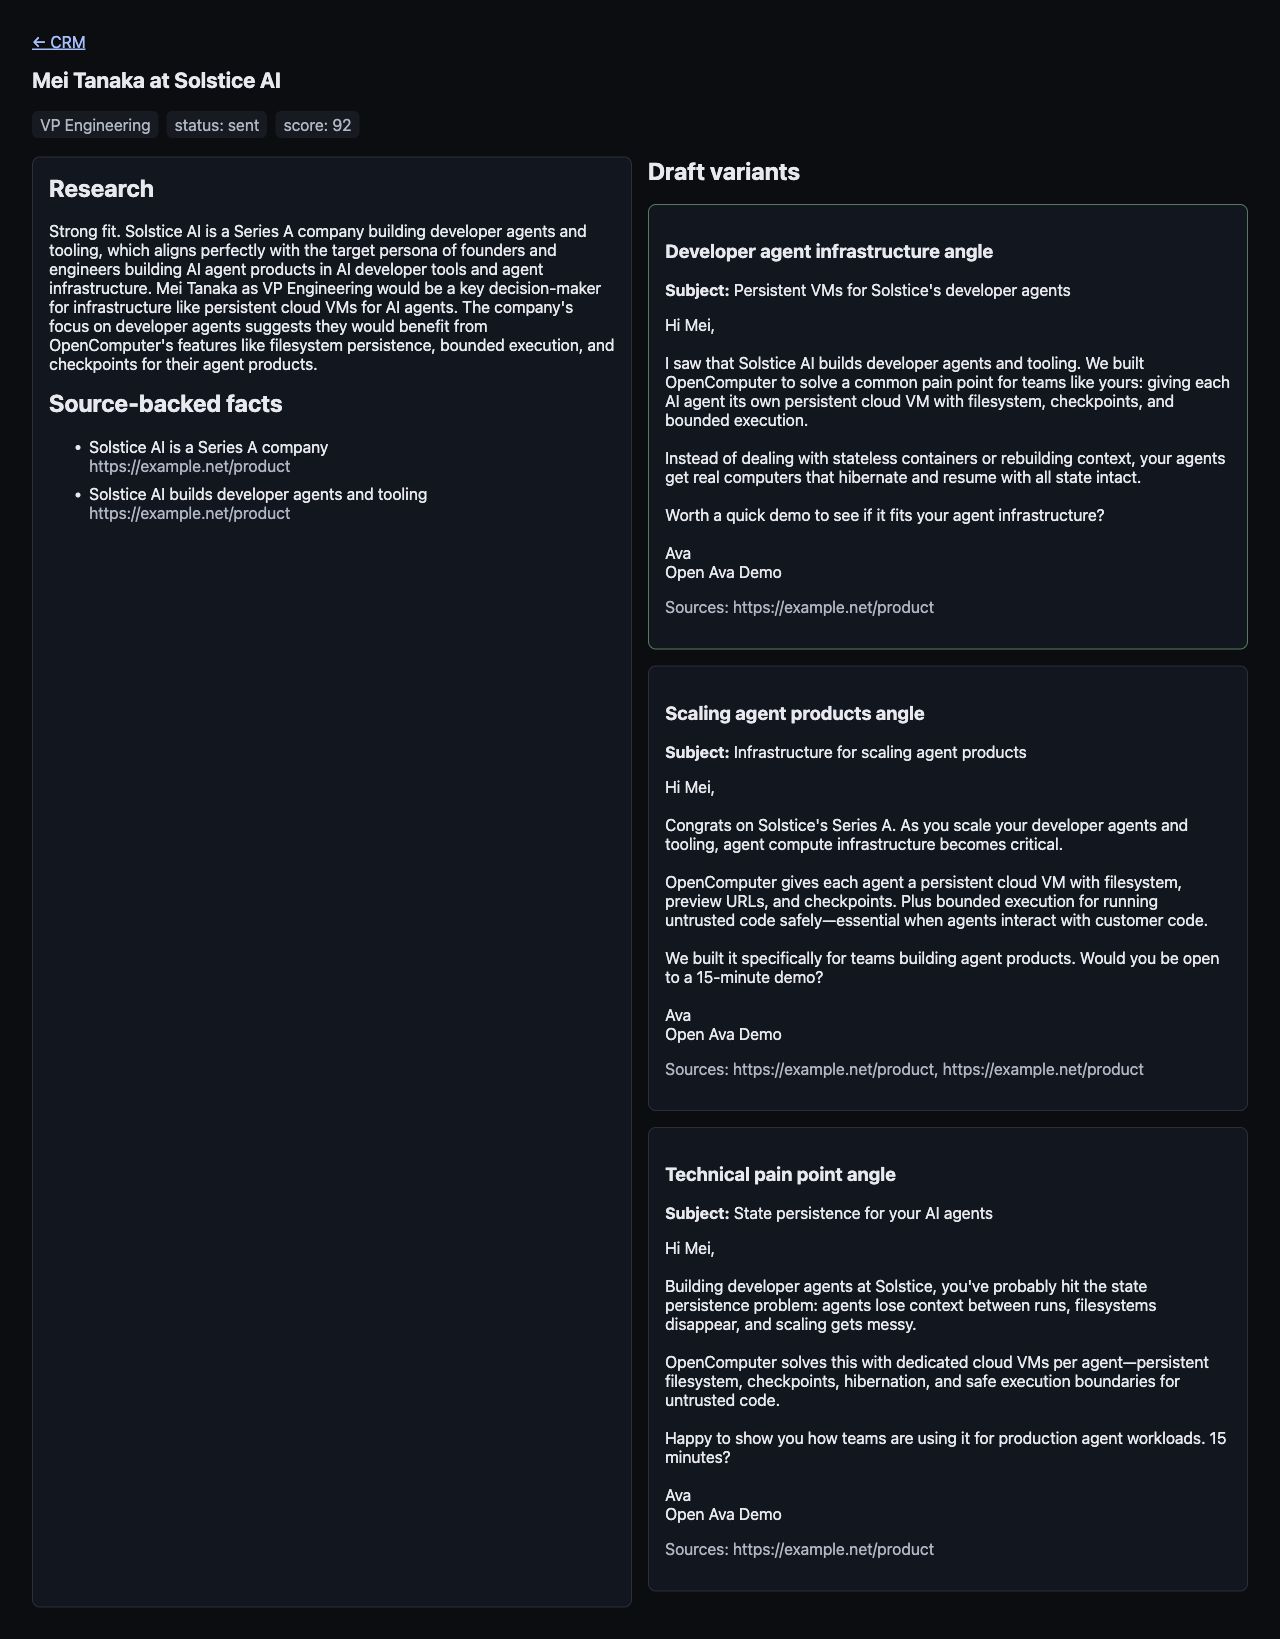
That second filter is there because prompts are not enough. The prompt can say “only use these sources,” but the application should still check the returned data. In the verified run, the qualified lead got three useful email variants, with source URLs the dashboard can show next to the draft.
Step 8: Require approval before send
Sending is the first irreversible action in the app, so it gets two separate gates.
The first gate lives in the FastAPI app: /api/send refuses to send unless a human has approved a specific draft variant. The endpoint also ignores any requested recipient and always uses DEMO_RECIPIENT_EMAIL, which keeps the tutorial pointed at an inbox you control.
Before approval:
Approval in app/server.py does not send anything. It only records which variant the human picked and moves the lead into the approved state:
The second gate lives in the control script. Right before it calls /api/send, control/drive_demo.py creates an OpenComputer checkpoint:
When the control script creates the pre-send checkpoint, the result should look like this:
That checkpoint is the rollback line. Up to approval, the app is only changing internal CRM state. After send, it has touched the outside world, so you want a named point to return to if the next step behaves badly.
Step 9: Send one controlled email
Now wire the email provider in app/mail.py.
AgentMail handles the actual outbound email. The app sends both text and HTML because many providers and clients behave better when both bodies are present:
Provider APIs often do not give you exactly the idempotency shape you want, so the app owns its own send key. For the first outbound email, the key is derived from the lead, draft variant, and send kind:
Before sending, /api/send checks whether that key already has a provider message ID. If it does, the app returns the existing message instead of calling AgentMail again. That is what makes control-script retries safe.
The important behavior is simple: the first call sends, the second call proves it would not send twice.
Step 10: Handle a real inbound reply
The reply leg should be real too, but it still should not involve a real prospect. The demo solves that by creating a second AgentMail inbox that plays the controlled prospect. It sends an actual email back to the BDR inbox, so the receive/classify/follow-up path is exercised without contacting anyone outside the test setup.
That controlled reply helper lives in app/mail.py:
Then app/server.py polls the BDR inbox, ignores the BDR’s own outbound messages, fetches the full inbound message, and classifies the extracted reply text. The same idempotency idea from sending applies here too: each provider message_id goes into processed_messages, so a repeated poll cannot double-handle the same reply.
The controlled reply was:
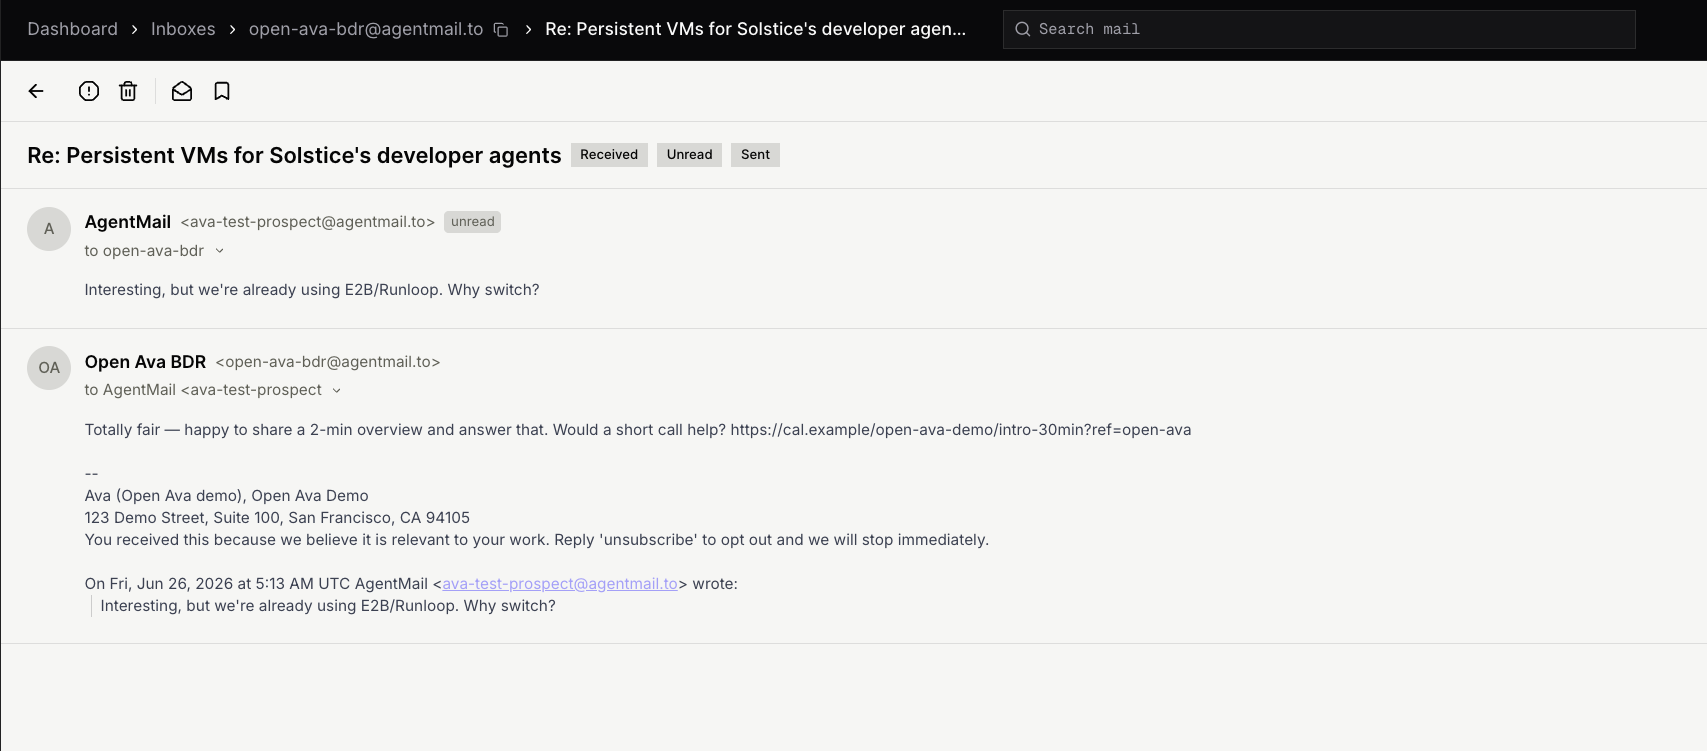
The model classified it as:
The classification is not just a label for the dashboard. It decides the next action. In this case, an objection triggers a short objection-handling follow-up and records the events in the CRM:
The final CRM snapshot showed 12 leads, 11 rejected, and 1 sent, with the inbound reply classified and the follow-up logged. The dashboard screenshot above is the actual UI after this step.
Step 11: Prove durability
The durability check is there to prove the BDR can pick up where it left off. After the send and reply flow, control/durability_fallback.py connects to the same VM from control/vm.json, reads the SQLite CRM directly from disk, creates a named OpenComputer checkpoint, restarts the app process, and reads the CRM again.
That test focuses on the state this prototype owns: lead statuses, the outbound send log, sent-message dedupe, handled replies, and the queue. If those values only lived in Python memory, a restart would change or erase them. Because they live in SQLite and provider message IDs, the app can restart and still know which leads were rejected, which email was sent, and which reply was already handled.
The result:
After the process restart, the counts and lead hash stayed the same. If the hash changes in your run, stop there and inspect the write path before trusting the demo.
Run the safe demo
At this point you have a local project, a VM, the app code deployed into that VM, and an empty dashboard. The demo is the sequence that turns that empty dashboard into a real BDR run.
First, create icp.json in your project root. This is the product and customer profile the agent will use for research, scoring, and drafting:
Use the preview URL printed by python control/deploy.py as <preview-domain>. Start with the health check so you know the app is running before you create state:
Submit the ICP. This creates the campaign, imports the seeded leads, and starts the worker:
Watch /api/state or the dashboard while leads move through new, researching, rejected, and drafted:
When at least one lead reaches drafted, inspect its lead card. The exact lead ID can vary if you change the seed data; in the demo run, lead 12 was the top drafted lead:
Try to send before approval. This should fail, and that failure is the point:
Approve one variant for the drafted lead:
Now create the checkpoint from the control side, send once, and send again to prove dedupe. The repo’s control/drive_demo.py automates that sequence so you do not have to copy provider IDs by hand.
Then send the controlled prospect reply and poll the BDR inbox:
Costs and limits
Closing
At this point, you have a small BDR computer: one VM running the dashboard, worker, SQLite CRM, AgentMail inbox, approval gate, checkpoint, send path, and reply handler. You can open the dashboard and see why a lead was rejected, what facts supported a draft, which variant a human approved, and what happened when a reply came back.
That pattern is useful beyond outbound. Once an agent works across time, it needs somewhere to keep state, show its work, and pause before side effects. OpenComputer gives you that base layer as one running machine instead of making the first version start with a pile of separate infrastructure.
Clone the repo, run the demo, and swap in the workflow you care about.