最近换工作以后,结结实实的写了几个月的业务。需求完结以后,就找找自己喜欢的东西写写,换个口味。
撸码最难的就是给变量取名字了。所以就写一个变量生成器吧。
演示如下
实现思路
使用了 Mac 上最出名的效率工具 Alfred。利用 Alfred 调用本地的 python 脚本,利用 http 模块,请求远程的 API 接口。
远程 API 获取查询的字符后,首先使用结巴分词,对查询的句子进行分词,然后调用有道词典的 API 翻译,拼接以后返回。
最终,一个回车就能把结果输入到我们的 IDE 里面减少很多操作,妈妈再也不会担心我取不出变量名啦。
API 的实现
既然说换个口味,那 API 我肯定不会使用 ‘Spring mvc’ 啦。
主要采用的是 ‘vertx’ 这个基于’netty’ 的全异步的 java 库。有兴趣的同学可以参考 http://vartx.io 。
使用 Spring boot 管理对象的生命周期。
使用 “结巴分词” 对查询的语句进行分词。
使用 guava cache 来对查询结果进行缓存。为啥要缓存?主要是有道的翻译API是收费的,查完把结果缓存起来能节约一点算一点。
至于为什么使用本地缓存而不是 Redis?因为阿里云的 Redis 一个月要25块钱啊。自己搭一个?我的vps 一共只有 1G 内存啊。
说到底,架构设计需要考虑实际情况,一味上高大上的技术也不可取。适合的才是最好的。
vertx-web
写过 netty 的同学就知道,netty 的业务逻辑是写在一个个的 handler中的。
同样 vertx 也类似于 netty 也是使用 handler 来处理请求。
vertx 通过 Router 这个类,将请求路由到不同的 Handler 中。所以我们直接看代码:
1
2
3
4
5
6
7
8
9
10
11
12
13
14
| @Component
public class StaticServer extends AbstractVerticle {
@Autowired
private VariableHandler variableHandler;
@Override
public void start() throws Exception {
Router router = Router.router(vertx);
router.route().handler(BodyHandler.create());
router.post("/api/hump").handler(routingContext ->variableHandler.get(routingContext));
vertx.createHttpServer().requestHandler(router::accept).listen(8080);
}
}
|
我们把 VariableHandler 绑定到了 ’/api/hump‘ 这个 uri 的 post 方法上了。服务器启动以后会监听 ’8080‘ 端口。 vertx-web的运行是不需要类似 tomcat 这样的容器的。
RestTemplate
我们一般是用 Httpclient 在代码中调用 http 接口。但是我觉得 HTTPClient 封装的不是很好。我们可以直接使用 Spring boot web 提供的 RestTemplate (真香)。直接看代码:
1
2
3
4
5
6
7
8
9
10
11
12
13
14
15
| private ApiResponse requestYoudao(String param){
long timeMillis = System.currentTimeMillis();
String salt = String.valueOf(timeMillis);
String sign = Md5Utils.md5(appKey + param + salt + secretKey);
MultiValueMap<String,String> bodyMap = new LinkedMultiValueMap<>();
bodyMap.add("q",param);
bodyMap.add("from","auto");
bodyMap.add("to","auto");
bodyMap.add("appKey",appKey);
bodyMap.add("salt",salt);
bodyMap.add("sign",sign);
MultiValueMap<String,String> headersMap = new LinkedMultiValueMap<>();
HttpEntity<MultiValueMap<String, String>> requestEntity = new HttpEntity<>(bodyMap, headersMap);
return restTemplate.postForObject(url, requestEntity,ApiResponse.class);
}
|
Guava
Guava 是 google 提供的一个java 基础库类,如果会使用 Guava 的话,会成倍的提升你的开发效率。在本项目中主要使用 Guava 提供的本地缓存和字符串操作:
Guava cache 的使用很简单直接看代码:
1
2
3
4
5
6
7
8
9
10
11
12
| @Autowired
private Cache<String,ApiResponse> cache;
private ApiResponse cachedResponse(String param){
try {
return cache.get(param, () -> requestYoudao(param));
}catch (Exception e){
log.error("error",e);
}
return null;
}
|
Guava 对提供了很多给力的字符串的操作。尤其是对字符串下划线,大小写,驼峰形式,提供的强有力的支持。这样使得我们的 API 提供各种风格的变量形式。我们直接看代:
1
2
3
4
5
6
7
8
9
10
11
12
13
14
15
16
|
switch (status){
    case Constants.LOWER_CAMEL:
        return CaseFormat.LOWER_UNDERSCORE.to(CaseFormat.LOWER_CAMEL,underline);
    case Constants.LOWER_HYPHEN:
        return CaseFormat.LOWER_UNDERSCORE.to(CaseFormat.LOWER_HYPHEN,underline);
    case Constants.LOWER_UNDERSCORE:
        return CaseFormat.LOWER_UNDERSCORE.to(CaseFormat.LOWER_UNDERSCORE,underline);
    case Constants.UPPER_CAMEL:
        return CaseFormat.LOWER_UNDERSCORE.to(CaseFormat.UPPER_CAMEL,underline);
    case Constants.UPPER_UNDERSCORE:
        return CaseFormat.LOWER_UNDERSCORE.to(CaseFormat.UPPER_UNDERSCORE,underline);
    default:
        return  CaseFormat.LOWER_UNDERSCORE.to(CaseFormat.LOWER_CAMEL,underline);
}
|
以上就是 API 接口的实现。
python 脚本
本地的python 脚本就极其简单了:
1
2
3
4
5
6
7
8
9
10
11
12
13
14
15
16
17
18
19
20
21
22
23
24
25
26
27
28
29
30
31
32
33
34
35
36
37
38
39
40
41
42
43
44
45
46
47
48
49
|
import httplib,urllib,json

url = 'xilidou.com'


def query(q,status=0):
    response = get(q,status)
    dates = json.loads(response.read())
    items = list()
    for date in dates:
        item = {}
        item['title'] = date.encode('utf-8')
        item['arg'] = date.encode('utf-8')
        item['subtitle'] = '回车复制'
        item['icon'] = getIcon()
        items.append(item)
    jsonBean = {}
    jsonBean['items'] = items
    json_str = json.dumps(jsonBean)
    if json_str:
        print json_str
    return str


def get(q,status=0):
    parameters= dict()
    parameters['q'] = q
    parameters['status'] = status

    parameters = urllib.urlencode(parameters)
    headers = {"Content-type": "application/x-www-form-urlencoded"}

    conn = httplib.HTTPSConnection(url)
    conn.request('POST','/api/hump',parameters,headers)
    response = conn.getresponse()
    return response

def getIcon():
    icon = {}
    icon['path'] = 'icon.png'
    return icon


if __name__ == '__main__':
    query('中文')
|
干两件事情:
- 从 Alfred 中获取用户输入的待查询字符串。
- 调用远程的 API 接口获取返回后格式化然后打印结果。
Alfred
大家可以直接下载 github 代码。在 python 文件夹里面找到 hump.alfredworkflow 双击。就安装到你的 Mac 上了。
前提是你的 Mac 安装了 aflred 且付费成为高级用户。
最后
老规矩 github 地址:https://github.com/diaozxin007/HumpApi
workflow 下载地址:下载
我之前还开发了一个利用 alfred 直接查询有道词典的 workflow。效果如下图:
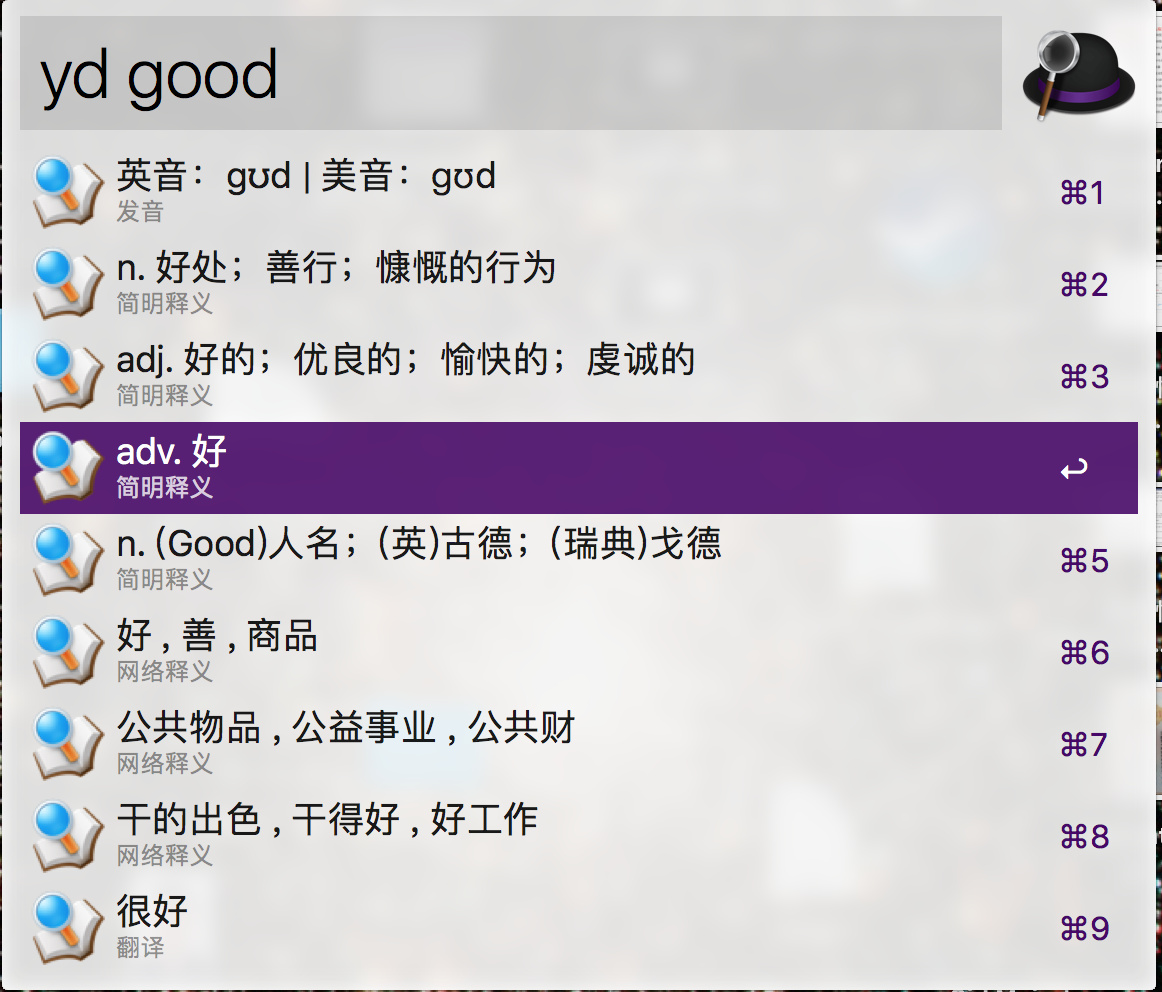
下载地址如下:https://www.xilidou.com/2017/10/24/%E6%9C%89%E9%81%93-Alfred-Workflow-%E5%A8%81%E5%8A%9B%E5%8A%A0%E5%BC%BA%E7%89%88/
欢迎关注我的微信公众号: