惯性聚合 高效追踪和阅读你感兴趣的博客、新闻、科技资讯
阅读原文 在惯性聚合中打开

推荐订阅源

The Register - Security
云风的 BLOG
云风的 BLOG
U
Unit 42
F
Fortinet All Blogs
The GitHub Blog
The GitHub Blog
cs.CV updates on arXiv.org
D
Docker
Cyber Security Advisories - MS-ISAC
S
Secure Thoughts
Hacker News: Ask HN
Hacker News: Ask HN
Vercel News
Vercel News
S
Security @ Cisco Blogs
GbyAI
GbyAI
Stack Overflow Blog
Stack Overflow Blog
Exploit-DB.com RSS Feed
I
Intezer
MongoDB | Blog
MongoDB | Blog
AI
AI
MyScale Blog
MyScale Blog
Engineering at Meta
Engineering at Meta
Y
Y Combinator Blog
Threat Intelligence Blog | Flashpoint
P
Proofpoint News Feed
钛媒体:引领未来商业与生活新知
钛媒体:引领未来商业与生活新知
W
WeLiveSecurity
博客园 - 叶小钗
S
SegmentFault 最新的问题
N
News | PayPal Newsroom
WordPress大学
WordPress大学
freeCodeCamp Programming Tutorials: Python, JavaScript, Git & More
D
DataBreaches.Net
小众软件
小众软件
Microsoft Azure Blog
Spread Privacy
Spread Privacy
H
Help Net Security
美团技术团队
博客园 - 司徒正美
T
Threat Research - Cisco Blogs
cs.AI updates on arXiv.org
K
Kaspersky official blog
Application and Cybersecurity Blog
K
KPMG report finds enterprise disconnect between AI and its ROI | CIO
V
Vulnerabilities – Threatpost
TaoSecurity Blog
TaoSecurity Blog
N
Netflix TechBlog - Medium
L
Lohrmann on Cybersecurity
J
Java Code Geeks
量子位
Martin Fowler
Martin Fowler
博客园_首页

博客园 - chan_炽烽

J4125 - OPNsense 配置 MGMT(管理口) J4125 - OPNsense 系统配置备份及恢复 J4125 - OPNsense 简单使用 J4125 安装 OPNsense 【VMware Workstation】Debian 13 安装 sing-box(Claaash配置转换sing-box配置) Radxa E20C 安装 飞牛 fnOS Radxa E20C 升级 LEDE(含编译过程) Radxa E20C 安装 LEDE(含编译过程) 【VMware Workstation】Debian 13 桌面版安装 docker-compose + macvlan + Elasticsearch - 9.1.4 + Kibana - 9.1.4 安装 elasticsearch-9.1.4的 IK分词器 安装 elasticsearch-9.1.4 - 集群 和 kibana-9.1.4 Radxa E20C 安装 OpenWrt 【VMware Workstation】Rocky Linux 10 桌面版安装 iStoreOS + 旁路由 + openClash - chan_炽烽 iStoreOS + 旁路由 【推荐 - 源码安装】Redis - 安装 fastDFS - 单机部署 + nginx MySQL - 安装时的安全配置 【推荐 - glibc安装】MySQL - 安装 【推荐 - rpm安装】MySQL - 安装 修复PG.conf文件出现的问题 [七月挑选]树莓派Raspberrypi上配置Git [七月挑选]IntelliJ IDEA常用设置
【推荐 - 源码安装】nginx - 安装
chan_炽烽 · 2024-09-15 · via 博客园 - chan_炽烽

准备

  1. 查看操作系统的版本信息
[root@lab10 ~]# cat /etc/redhat-release 
CentOS Linux release 7.9.2009 (Core)
  1. 查看操作系统的网卡地址
[root@lab10 ~]# ip address show ens32
2: ens32: <BROADCAST,MULTICAST,UP,LOWER_UP> mtu 1500 qdisc pfifo_fast state UP group default qlen 1000
    link/ether 00:0c:29:ec:f2:1b brd ff:ff:ff:ff:ff:ff
    inet 10.1.1.10/24 brd 10.1.1.255 scope global ens32
       valid_lft forever preferred_lft forever
    inet6 fe80::20c:29ff:feec:f21b/64 scope link 
       valid_lft forever preferred_lft forever

创建nginx的源码目录

mkdir -p /opt/nginx

下载

  1. 访问https://nginx.org/en/download.html,下载 nginx

下载链接:https://nginx.org/download/nginx-1.26.2.tar.gz
文件全称:nginx-1.26.2.tar.gz
文件md5:1588676BE2A01A63D3A150FAE6C3F4A9

上传

将上述 下载 的5个安装包上传至 /opt/nginx

安装编译环境

yum -y install make gcc pcre-devel openssl-devel zlib-devel perl-ExtUtils-Embed

创建 nginx 用户

useradd -s /sbin/nologin -r nginx

进入nginx源码目录

cd /opt/nginx

解压

tar -zxvf nginx-1.26.2.tar.gz

进入解压目录

cd /opt/nginx/nginx-1.26.2

执行配置

./configure \
  --user=nginx \
  --group=nginx \
  --with-stream \
  --with-http_ssl_module \
  --with-http_v2_module \
  --with-http_realip_module \
  --with-http_stub_status_module \
  --with-http_gzip_static_module \
  --with-pcre \
  --with-stream_ssl_module \
  --with-stream_realip_module \
  --with-file-aio

编译

make

安装

make install

添加脚本

echo "/usr/local/nginx/sbin:${PATH}" > /etc/profile.d/nginx.sh

配置服务

vim /lib/systemd/system/nginx.service

内容如下:

[Unit]
Description=The nginx HTTP and reverse proxy server
Documentation=http://nginx.org/en/docs/
After=network.target remote-fs.target nss-lookup.target

[Service]
Type=forking
PidFile=/usr/local/nginx/logs/nginx.pid
ExecStartPre=/usr/local/nginx/sbin/nginx -t -c /usr/local/nginx/conf/nginx.conf
ExecStart=/usr/local/nginx/sbin/nginx -c /usr/local/nginx/conf/nginx.conf
ExecReload=/bin/kill -s hup $mainpid
ExecStop=/bin/kill -s quit $mainpid
PrivateTmp=true

[Install]
WantedBy=multi-user.target

重载

systemctl daemon-reload

设置自动启动与启动nginx服务

systemctl enable --now nginx

访问

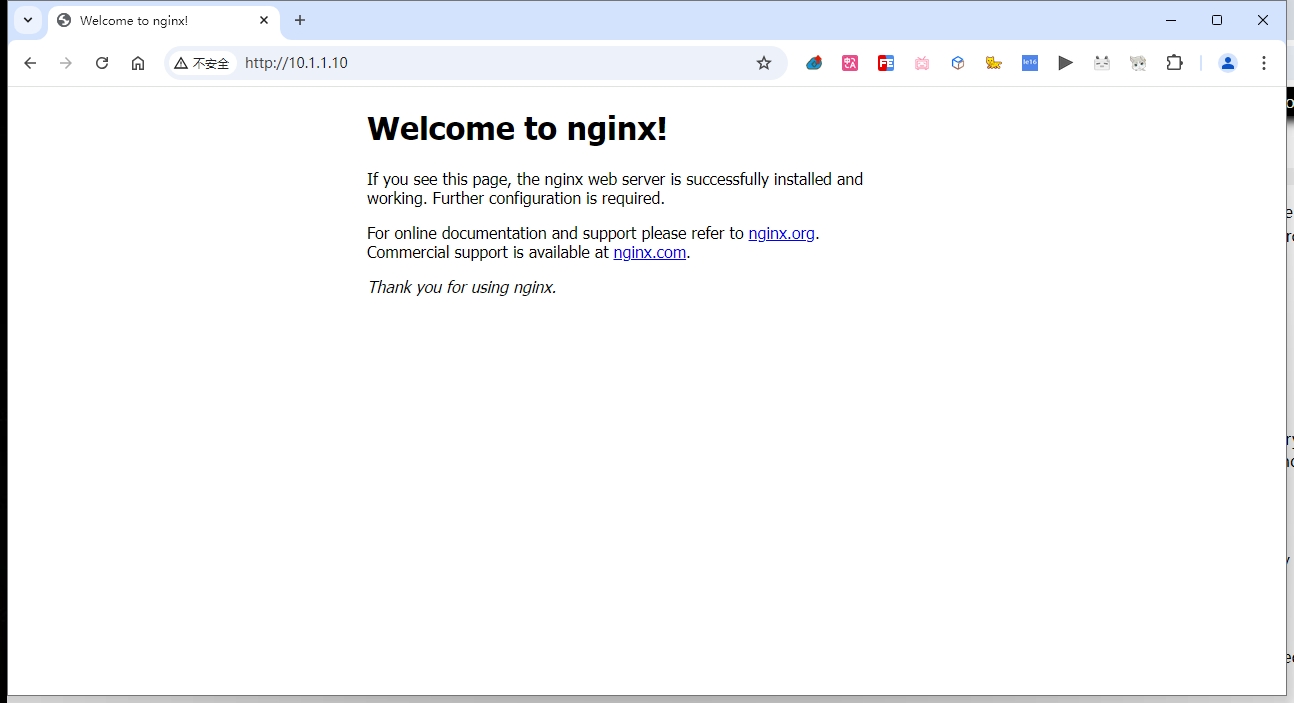
浏览器访问 https://10.1.1.10 ,效果如下

参考链接:

  1. 官网安装文档
  2. nginx编译 make 和 make install区别 nginx编译安装所有模块