







虚拟机 -> 快照 -> 完成IP设置以及关闭屏幕保护,转到快照状态
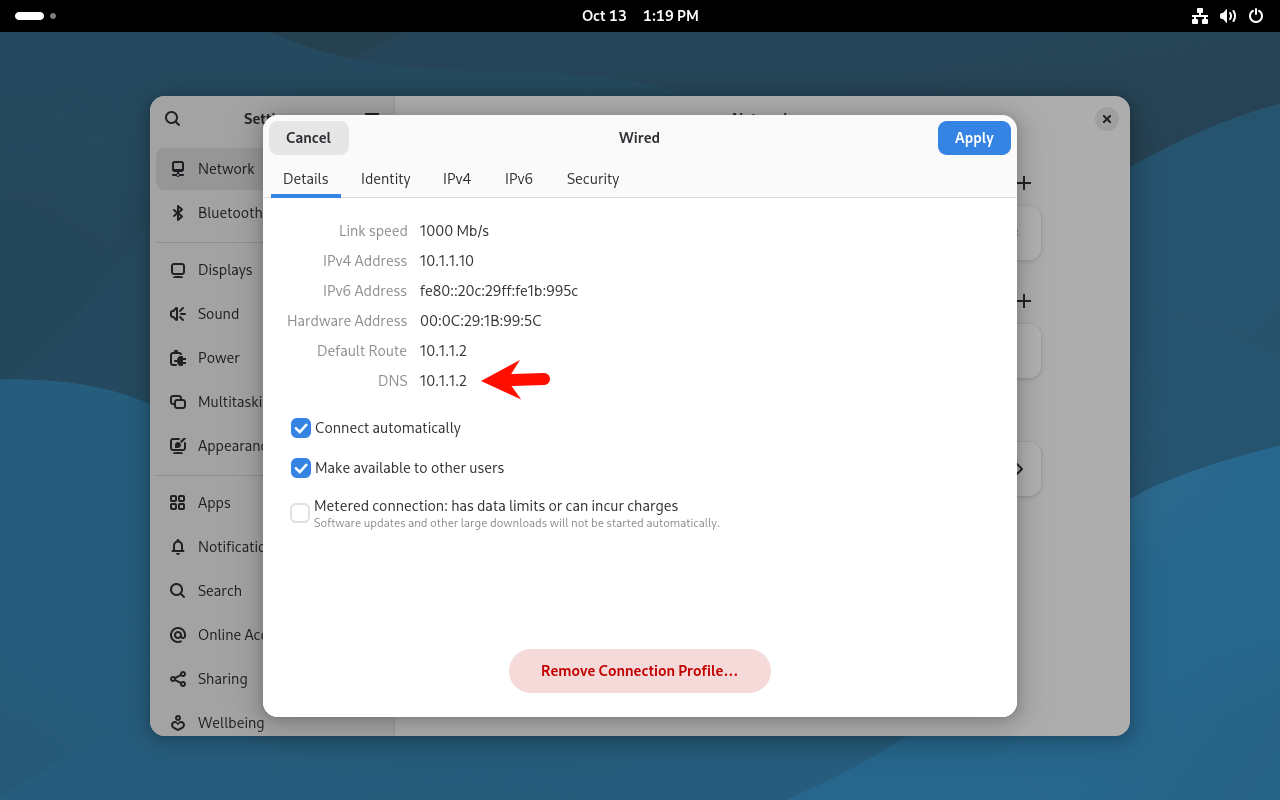
Wired Settings 中的 IPv4 中设置 DNS 为网关地址 10.1.1.2

完成 DNS 设置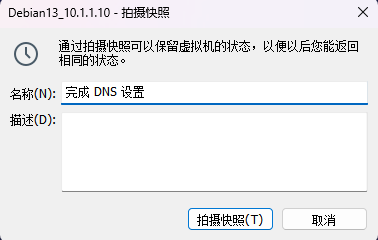
CD/DVD(IDE) 中取消勾选 启动时连接 选项
添加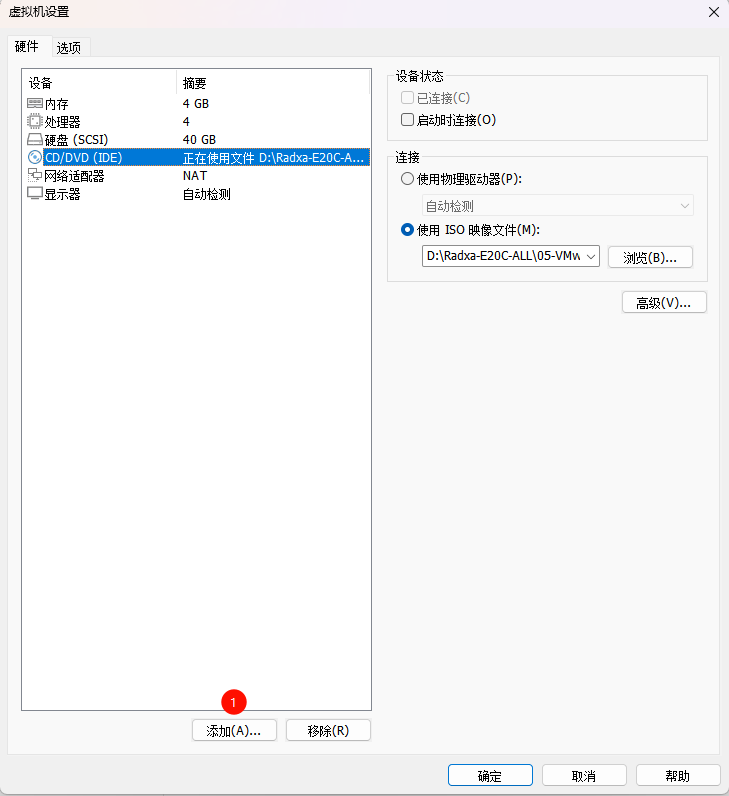
下一步
下一步
下一步
最大磁盘大小 填写 50 ,点击 下一步
完成
确定
更多 图标
System
Disks
设置 图标
Format Partition...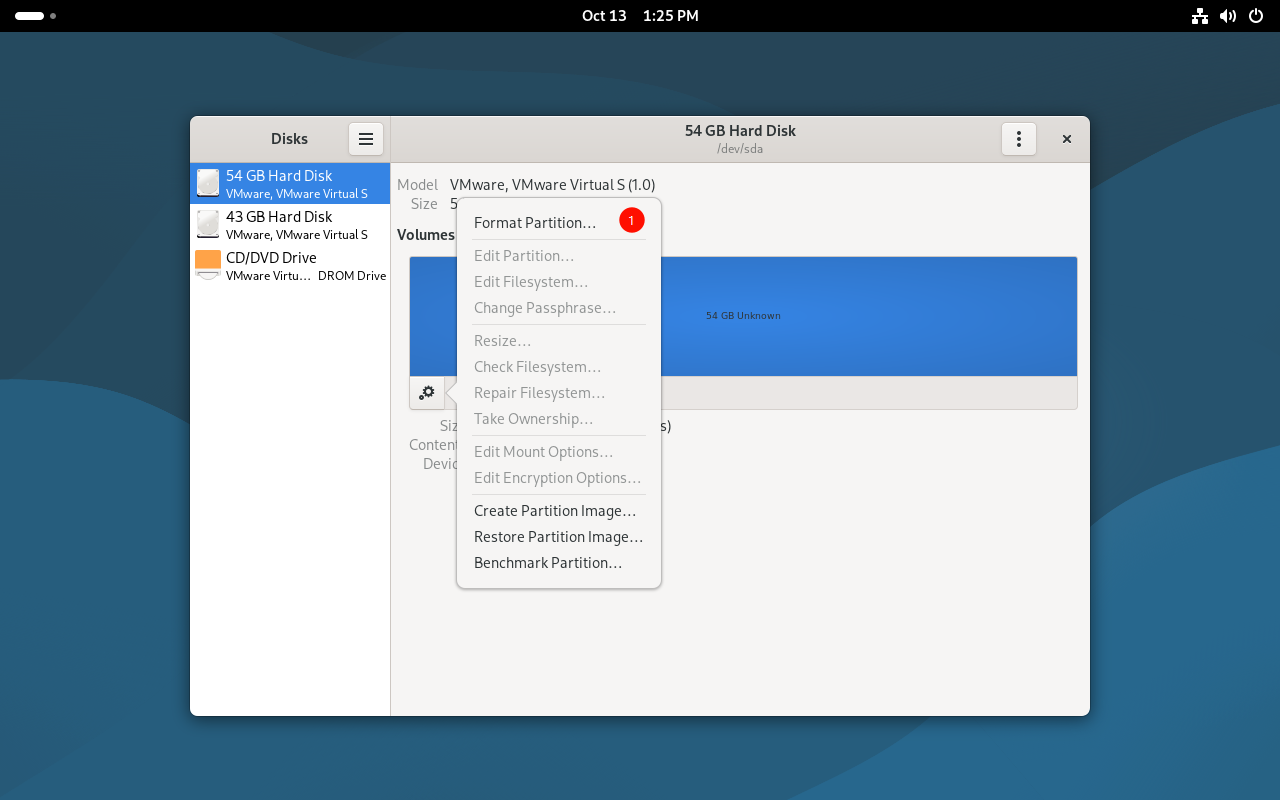
Volume Name 填写 lede.project,点击 Next
Format
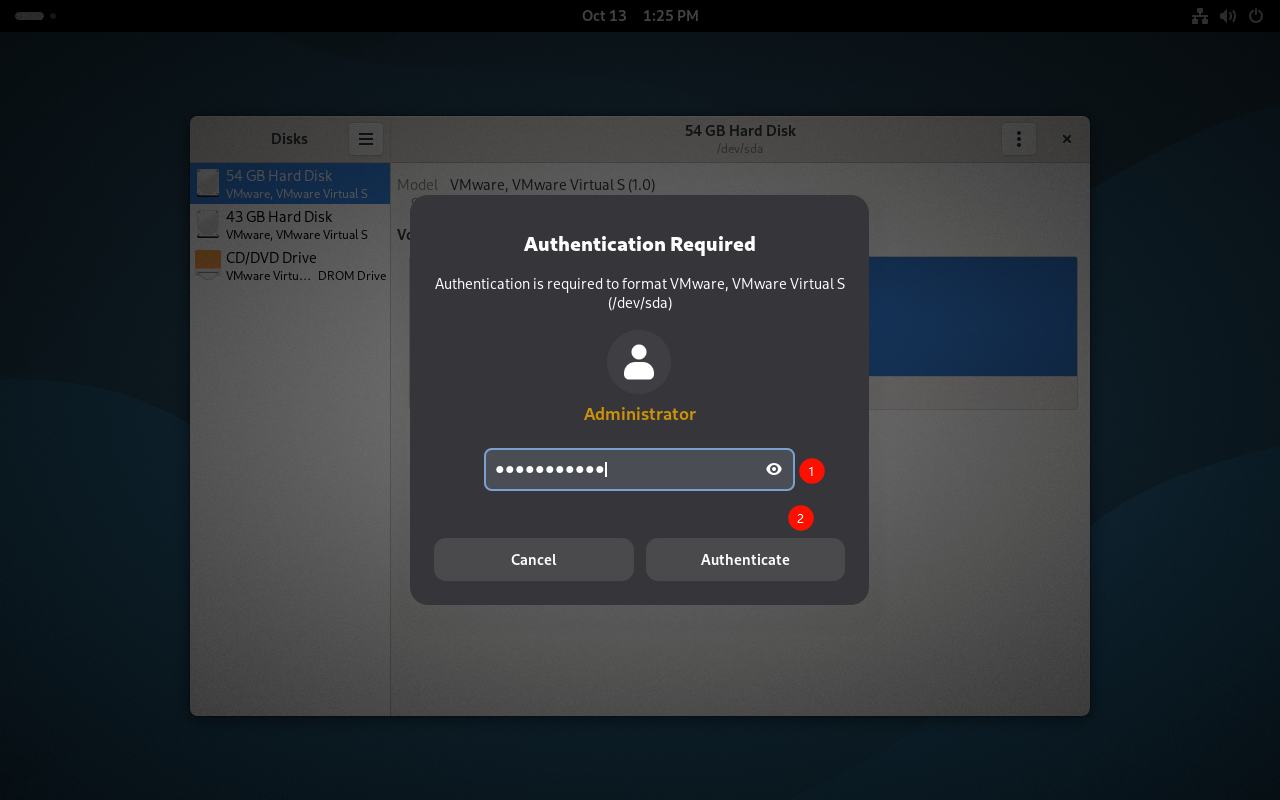
挂载 图标

/media/porschan/lede.project
关闭CD自动连接和添加50G硬盘
porschan 用户登录(porschan替换为您自己账号)su - root
porschan 用户拥有 sudo 权限(porschan替换为您自己账号)sudo usermod -aG sudo porschan
关闭当前会话
新建会话,使用 porschan 用户登录(porschan替换为您自己账号)
使用 清华大学开源软件镜像站
使用命令
sudo nano /etc/apt/sources.list
修改内容为
# 注释 cd/dvd
# deb cdrom:[Debian GNU/Linux 13.1.0 _Trixie_ - Official amd64 DVD Binary-1 with firmware 20250906-10:24]/ trixie contrib main non-free-firmware

# 默认注释了源码镜像以提高 apt update 速度,如有需要可自行取消注释
deb https://mirrors.tuna.tsinghua.edu.cn/debian/ trixie main contrib non-free non-free-firmware
# deb-src https://mirrors.tuna.tsinghua.edu.cn/debian/ trixie main contrib non-free non-free-firmware

deb https://mirrors.tuna.tsinghua.edu.cn/debian/ trixie-updates main contrib non-free non-free-firmware
# deb-src https://mirrors.tuna.tsinghua.edu.cn/debian/ trixie-updates main contrib non-free non-free-firmware

deb https://mirrors.tuna.tsinghua.edu.cn/debian/ trixie-backports main contrib non-free non-free-firmware
# deb-src https://mirrors.tuna.tsinghua.edu.cn/debian/ trixie-backports main contrib non-free non-free-firmware

# 以下安全更新软件源包含了官方源与镜像站配置,如有需要可自行修改注释切换
deb https://security.debian.org/debian-security trixie-security main contrib non-free non-free-firmware
# deb-src https://security.debian.org/debian-security trixie-security main contrib non-free non-free-firmware
sudo apt update -y
sudo apt full-upgrade -y
sudo apt install -y ack antlr3 asciidoc autoconf automake autopoint binutils bison build-essential bzip2 ccache clang cmake cpio curl device-tree-compiler flex gawk gcc-multilib g++-multilib gettext genisoimage git gperf haveged help2man intltool libc6-dev-i386 libelf-dev libfuse-dev libglib2.0-dev libgmp3-dev libltdl-dev libmpc-dev libmpfr-dev libncurses5-dev libncursesw5-dev libpython3-dev libreadline-dev libssl-dev libtool llvm lrzsz libnsl-dev ninja-build p7zip p7zip-full patch pkgconf python3 python3-pyelftools python3-setuptools qemu-utils rsync scons squashfs-tools subversion swig texinfo uglifyjs upx-ucl unzip vim wget xmlto xxd zlib1g-dev
cd /media/porschan/lede.project
git clone https://github.com/coolsnowwolf/lede
cd lede
./scripts/feeds update -a
./scripts/feeds install -a
make menuconfig
这里只配置了以下 3 项内容,可根据自己需求添加额外的功能模块
Target System 选择了 RockchipSubtarget 默认选择了 RK33xx/RK35xx boards (64bit)Target Profile 选择了 Radxa E20Cmake download -j8
make V=s -j$(nproc)
注意:上述操作建议使用作者推荐的单线程编译
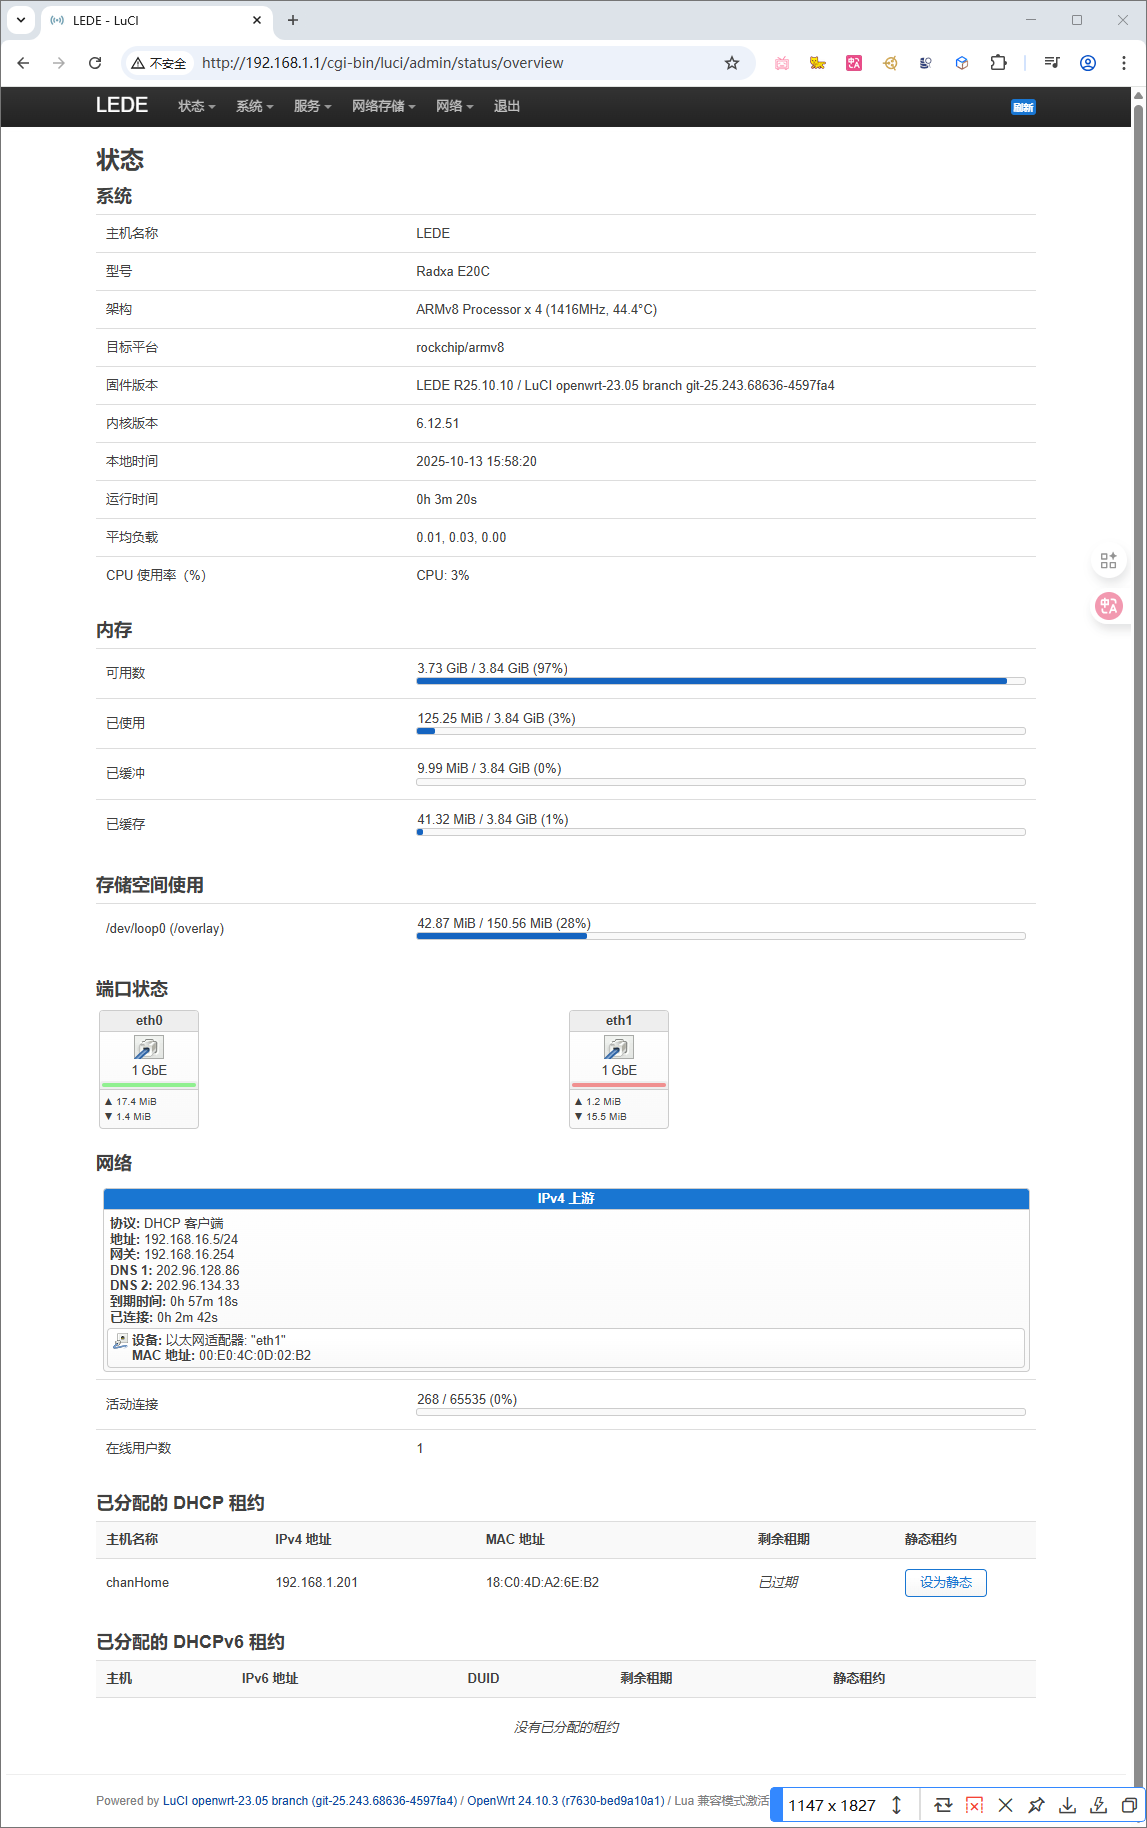
/media/porschan/lede.project/lede/bin/targets/rockchip/armv8其中 openwrt-rockchip-armv8-radxa_e20c-squashfs-sysupgrade.img.gz 为本次安装 LEDE 的系统镜像
移动到本地,并安装 LEDE 系统,操作过程参考过往教程,本次略过
将 E20C 正确安装成功并且连接正确网线后,使用浏览器访问 192.168.1.1,默认账号:root 密码 password

参考链接:
此内容由惯性聚合(RSS阅读器)自动聚合整理,仅供阅读参考。 原文来自 — 版权归原作者所有。