






系统管理 -> 管理插件,安装如下插件。
#如果搜索不到去掉Plugin在搜索
GitLab Plugin
Gitlab Hook Plugin
#使用Gitlab账号做用户权限管理,可选(也可集成LDAP)
Gitlab Authentication plugin

Docker plugin
docker-build-step

SSH plugin
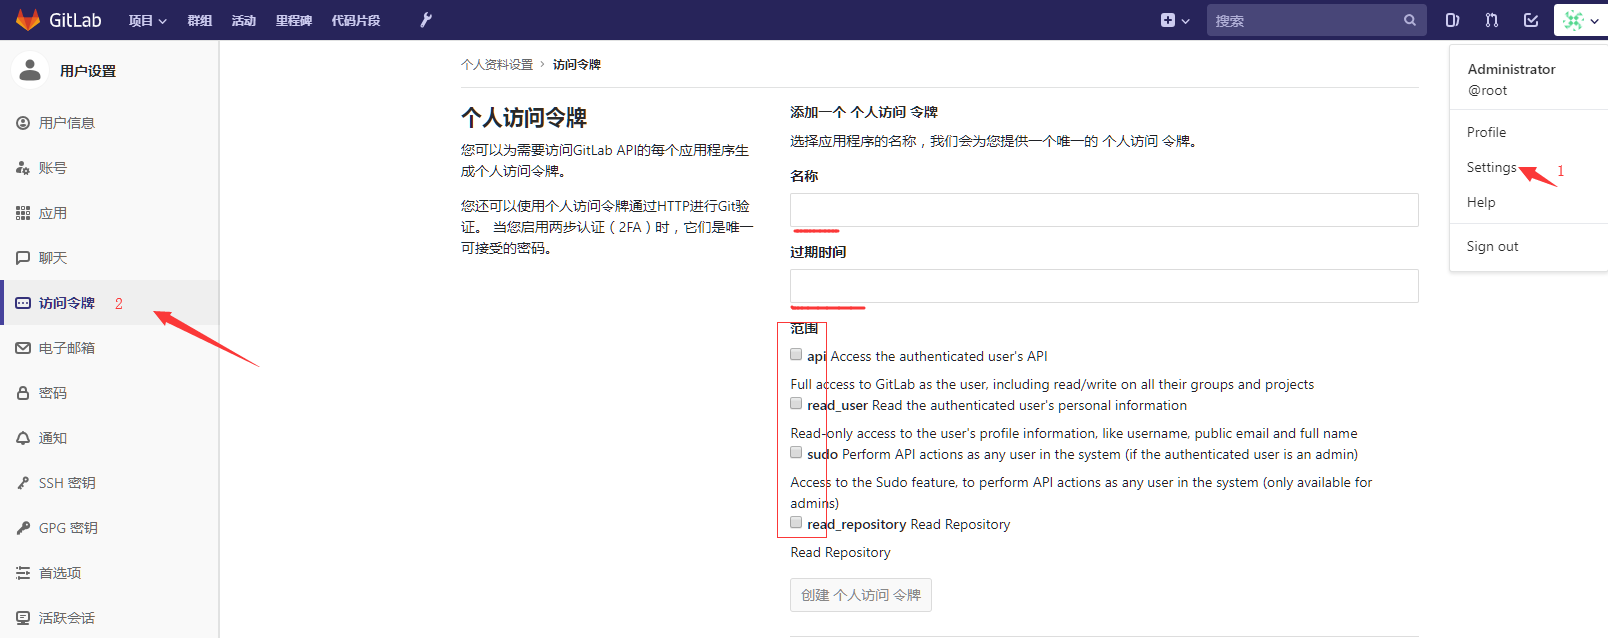
在GitLab中配置,创建个人访问令牌后获取到令牌备用
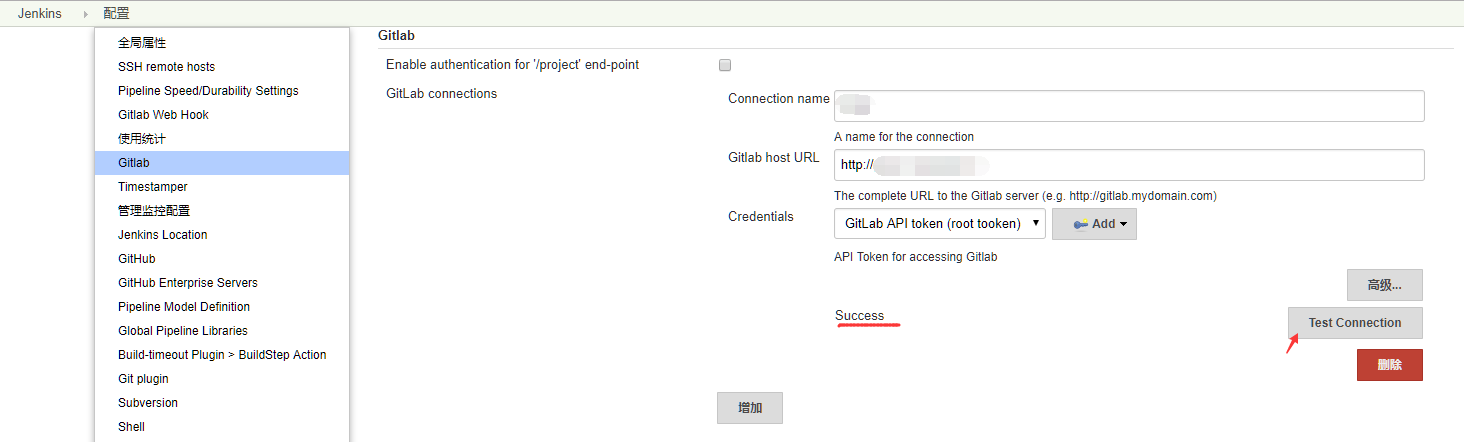
系统管理 -> 系统设置 中 左上角 'Jenkins > 配置' 选择GitLab

Credentials配置
新建任务 -> 输入名称 选择构建一个自由风格的软件项目;完成后进入配置。
源码管理 -> Git;
Repository URL:中填入gitlab项目对应的ssh路径(eg:git@git.cn:group/sample.app.git);

Credentials:设置添加SSH私钥;
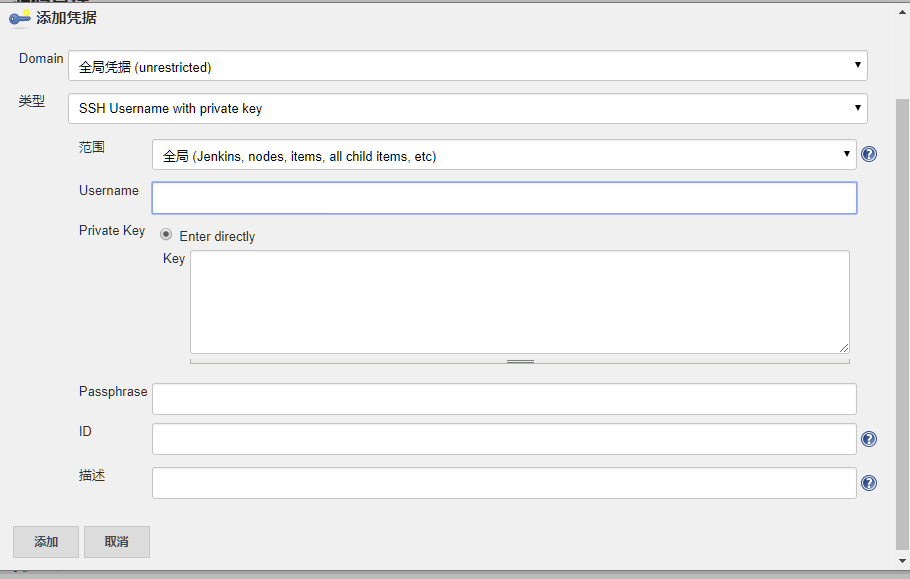
同时在gitlab( http://xxx/profile/keys )添加ssh公钥

将GitLab webhook URL: http://xxx/group/sample.app 、Secret token添加到gitlab( http://xxx/group/sample.app/settings/integrations )


构建环境 -> 勾选Delete workspace before build starts、Add timestamps to the Console Output;
构建 -> 增加构建步骤 -> 执行 shell;
添加sh脚本,jenkins服务需要安装dotnet。
如果需要.netcore多版本环境参考CentOS 7 下安装部署.NET Core多版本环境。
#!/bin/sh

pwd
ls
echo $PATH
whoami
which dotnet
dotnet --info
dotnet --version

echo '=====dotnet 方式====='
dotnet restore
cd ./src/sample.app
rm -rf $WORKSPACE/jenkins_publish
mkdir -p $WORKSPACE/jenkins_publish
dotnet publish -o $WORKSPACE/jenkins_publish
scp -r $WORKSPACE/jenkins_publish/* root@xx.xx.xx.xx:/home/Web

echo '=====Docker swarm方式====='
GITHASH=`git rev-parse --short HEAD`
echo $GITHASH

cd $WORKSPACE
docker login xx.xx.xx.xx -u admin -p HarborPwd
docker build -t img-name:$GITHASH . -f src/Dockerfile
docker tag img-name:$GITHASH xx.xx.xx.xx/img-name:$GITHASH
docker push xx.xx.xx.xx/img-name:$GITHASH

#清理容器
docker rm $(sudo docker ps -a -q)
#清理image
docker images|grep none|awk '{print $3}'|xargs docker rmi

cat>test.yml<<EOF
version: '3.4'

services:
 img-name:
   image: xx.xx.xx.xx/img-name:$GITHASH
   environment:
     ASPNETCORE_ENVIRONMENT: 'dev'
   volumes:
     - /etc/localtime:/etc/localtime:ro
   ports:
     - target: 80
       published: 9527
       mode: host
   deploy:
     mode: global
EOF
#拷贝到docker swarm所在服务器
scp test.yml root@xx.xx.xx.xx:/root


echo '=====K8s 方式====='
GITHASH=`git rev-parse --short HEAD`
echo $GITHASH

cd $WORKSPACE
docker login xx.xx.xx.xx -u admin -p HarborPwd
docker build -t img-name:$GITHASH . -f src/Dockerfile
docker tag img-name:$GITHASH xx.xx.xx.xx/img-name:$GITHASH
docker push xx.xx.xx.xx/img-name:$GITHASH

#清理容器
docker rm $(sudo docker ps -a -q)
#清理image
docker images|grep none|awk '{print $3}'|xargs docker rmi

cat>test.yaml<<EOF
apiVersion: v1
kind: Service
metadata:
 labels:
   app: api-service
 name: api-service
spec:
 #type: NodePort  #nodeport方式暴露
 selector:
   app: api-service
 ports:
 - protocol: TCP
   port: 80
   targetPort: 80
   #nodePort: 30002  #端口范围只能是 30000-32767,不指定随机分配
---
apiVersion: extensions/v1beta1
kind: Ingress
metadata:
 name: api-service-ingress
 namespace: default
spec:
 rules:
 - host: api.xxxx.com  #域名
   http:
     paths:
     - path: /
       backend:
         serviceName: api-service
         servicePort: 80
---
apiVersion: apps/v1
kind: Deployment
metadata:
 name: api-service-deployment
spec:
 selector:
   matchLabels:
     app: api-service
 replicas: 1
 template:
   metadata:
     labels:
       app: api-service
   spec:
     containers:
       - name: api-service
         image: xx.xx.xx.xx/api-service:$GITHASH
         imagePullPolicy: Always
         ports:
           - containerPort: 80
         volumeMounts:
           - name: timezone
             mountPath: /etc/localtime
     volumes:
       - name: timezone
         hostPath:
           path: /etc/localtime
     imagePullSecrets:
       - name: secret-name
EOF
#拷贝到k8s master所在服务器
scp test.yaml root@xx.xx.xx.xx:/usr/local/src
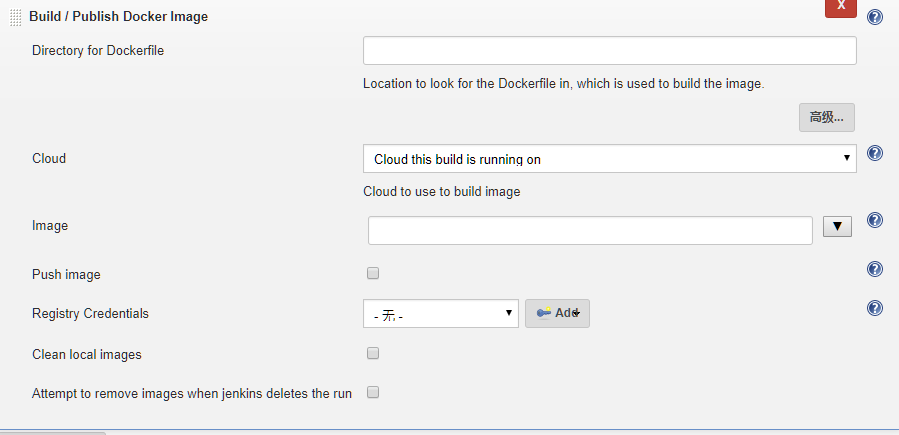
在上面直接使用shell命令,未使用此功能
部署

#Command中shell脚本
echo '=====虚拟机方式====='
supervisorctl restart youserver-name

echo '=====Docker swarm 方式====='
docker -v
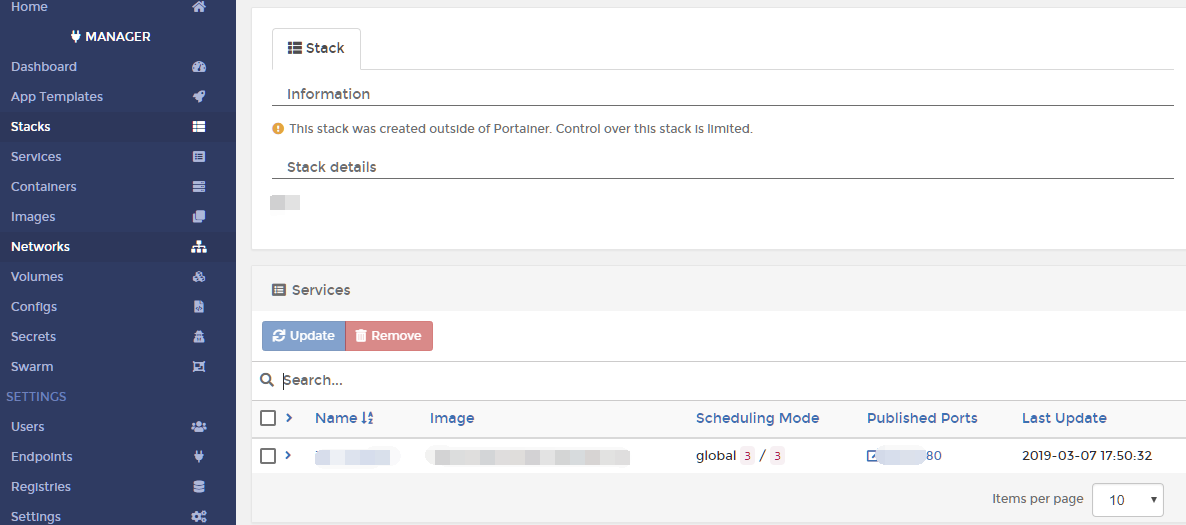
docker stack deploy -c test.yml --with-registry-auth test

echo '=====K8s 方式====='
cd /usr/local/src
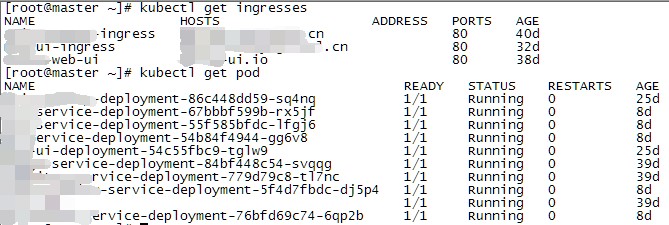
kubectl apply -f .
kubectl get pod
虚拟机方式

Docker swarm方式
K8s 方式
此内容由惯性聚合(RSS阅读器)自动聚合整理,仅供阅读参考。 原文来自 — 版权归原作者所有。