Planning is now done, so now it’s time to get stuck into a basic version of my website. It’s important to do this part well because even though the UI is incredibly temporary, the system behind it is not, so we want to make sure our foundations are solid.
I say a HTML-only build but I’m talking rubbish there. I’ll mostly only be writing HTML (via Astro components) here, but there is CSS. Over the last couple of years at the studio we’ve been trying to “solve” global styles. We repeat ourselves over and over with client work, so in an attempt to reduce that repetition (because it’s ever so boring), we wrote incredibly versatile, custom-property configurable global styles. They’re going to be loaded by default, thanks to our base project.
It means we start with a UI, albeit basic, but still, not just plain un-styled HTML. Plain HTML is really hard to read, so I don’t want to ship that, but also, we’re building foundations here. When it comes to applying the new UI, I’ll still be using the same global styles we are today, but instead, configuring them specifically based on the look and feel I come up with later in this project.
Future me will be happy I did this stuff now, too. Always think of future you!
Like I mentioned, we have a base monorepo project at the studio that contains:
The Astro web app doesn’t have much in it to start with, aside from some base layouts and components:
---
import MetaInfo from '../components/core/MetaInfo.astro';
import Header from '../components/core/SiteHeader.astro';
import SiteFooter from '../components/core/SiteFooter.astro';
import Trackers from '../components/core/Trackers.astro';
import IconSprite from '@repo/ui/IconSprite';

import '@repo/css/global';

const { title, summary, socialImage, allowRobots } = Astro.props;
const canonicalURL = new URL(Astro.url.pathname, Astro.site);
---

<html lang="en">
  <head>
    <meta charset="utf-8" />
    <meta name="viewport" content="width=device-width" />
    <meta name="generator" content={Astro.generator} />
    <MetaInfo
      title={title}
      summary={summary}
      canonicalURL={canonicalURL}
      socialImage={socialImage}
    />
    {allowRobots === false && <meta name="robots" content="noindex, nofollow" />}
  </head>
  <body>
    <Header />
    <main tabindex="-1" id="main-content">
      <slot />
    </main>
    <SiteFooter />
    <IconSprite />
    {import.meta.env.PUBLIC_FATHOM_API_KEY && <Trackers />}
  </body>
</html>
Although I have a ui “package” for presentational components, I keep core, infrastructural components for only the website in the Astro web “app”, such as <MetaInfo /> and <Trackers />.
The job of this layout is to provide the outer shell to every single page. Any sub-layouts leverage the <slot> element, which is replaced with their content at build time. All we need to remember for the rest of this series is that this layout — BaseLayout.astro — is ever-present and doing a lot of the legwork for us.

I’ve done enough chatting and configuring now, so let’s get coding something tangible. As I outlined earlier in this series, the blog part of the website is going to remain powered by WordPress which already exists. All I need to do is get content via the API.
I also know that I’m going to be integrating Bluesky posts, so in order to keep local development as speedy as possible (and to avoid API round trips) I’m going to need a little memory cache system that stores data temporarily for us.
I added this memoryCache.js to the data “package”:
const cache = {};

/**
 * Retrieves cached data if it's available and not expired.
 * @param {string} key - The cache key.
 * @returns {*} The cached data or null if expired/not found.
 */
export function getCache(key) {
  const cachedEntry = cache[key];

  if (!cachedEntry) return null;

  if (Date.now() > cachedEntry.expiry) {
    delete cache[key]; // Expired, remove from cache
    return null;
  }

  return cachedEntry.data;
}

/**
 * Stores data in cache with a time-to-live (TTL).
 * @param {string} key - The cache key.
 * @param {*} data - The data to cache.
 * @param {number} ttlSeconds - Time-to-live in seconds.
 */
export function setCache(key, data, ttlSeconds) {
  cache[key] = {
    data,
    expiry: Date.now() + ttlSeconds * 1000,
  };
}
All I need to do to store data in the cache is supply a unique key, such as 'wordpress-posts', the data object and a time-to-live (TTL) in seconds. Defining a TTL enables me to auto expire cached data to keep things as fresh as you need them to be.
Is this utility perfect? Absolutely not, no, but does it do the job, allowing me to do more fun things? Hell yeh it does.
AdvertWordPress has a great REST API so the job now is to leverage that and pull my existing blog posts into something the Astro front-end can present to users.
import { getCache, setCache } from './memoryCache';

export async function fetchAllWordPressPosts() {
  const url = `${process.env.WP_API_POSTS}?per_page=100`;
  const cacheKey = 'wordPressPosts';
  const cacheTimeout = 300; // 300 seconds -> 5 mins
  const cached = getCache(cacheKey);

  if (cached) {
    return cached;
  }

  // Grab the first page of posts
  let res = await fetch(url);

  // Use the header to determine how many pages there are left to get
  const totalPages = parseInt(res.headers.get(['x-wp-totalpages']));

  // Turn the initial page into consumable JSON
  let data = await res.json();

  // Set a counter and a return array, setting the initial page of data as it's value
  let pageCount = 0;
  let items = data;

  // Loop until page limit exceeded
  while (pageCount < totalPages) {
    pageCount++;

    // Ditch this iteration if we're on page one
    if (pageCount === 1) {
      continue;
    }

    // Smoosh the rest of the data in
    res = await fetch(url + `&page=${pageCount}`);
    data = await res.json();
    items = [...items, data].flat();
    continue;
  }

  items.forEach((item) => {
    // Replace images from WordPress with image CDN
    item.content.rendered = item.content.rendered.replace(
      new RegExp(process.env.MEDIA_URL_CMS, 'g'),
      process.env.MEDIA_URL_CDN
    );

    item.content.rendered = item.content.rendered.replace(
      new RegExp(process.env.MEDIA_URL_CMS_LEGACY, 'g'),
      process.env.MEDIA_URL_CDN
    );

    // Replace API url with live site url
    item.content.rendered = item.content.rendered.replace(
      new RegExp(process.env.WP_API, 'g'),
      process.env.SITE_URL
    );

    item.jetpack_featured_media_url = item.jetpack_featured_media_url.replace(
      new RegExp(process.env.MEDIA_URL_CMS, 'g'),
      process.env.MEDIA_URL_CDN
    );
  });

  setCache(cacheKey, items, cacheTimeout);
  return items;
}
I’ve commented the life out of that function, so I don’t need to go into this too much, but let’s break down the important bits.
Right at the top of the fetchAllWordPressPosts() function, I’m first trying to load posts from the cache. If there is data in cache, this function has done its job and I can go on with my life.
If there is no cache data (or that data has expired), I pull posts from the API. WordPress is quite handy because it tells me how many pages of data I have to work through with their x-wp-totalpages header. I can use that knowledge to iterate over pages, appending &page=${pageCount} to get the next set.
From there, it’s all about stripping out crap from the content. For example, WordPress uses full URLs instead of relative URLs, so I have to replace the WordPress system domain with my live site url: process.env.SITE_URL. I also treat image paths to use my CDN instead of the CMS itself because I don’t want to expose that domain at all, but also, a CDN is much faster and has much more bandwidth than where I host the CMS!
Now I’ve got the data, let’s pull it into a simple index.astro page to make sure everything works.
---
import PageLayout from '../layouts/PageLayout.astro';
import { fetchHomePageData } from '@repo/data/homePageData';
import { fetchAllWordPressPosts } from '@repo/data/wordPressData';

const content = await fetchHomePageData();

const blogTest = await fetchAllWordPressPosts();
console.log(blogTest[0]);
---

<PageLayout title="" summary="" socialImage="" allowRobots="">
  <div class="region">
    <div class="wrapper flow">
      <h1>Andy Bell’s personal website</h1>
      <div class="flow" set:html={blogTest[0].content.rendered} />
    </div>
  </div>
</PageLayout>
Who amongst us doesn’t use a nice console.log to make sure everything’s working (or not working)? Anyway, to get our WordPress data:
import { fetchAllWordPressPosts } from '@repo/data/wordPressData';const content = await fetchHomePageData();set:html={blogTest[0].content.rendered}With that simple test case in place, this is what we see:
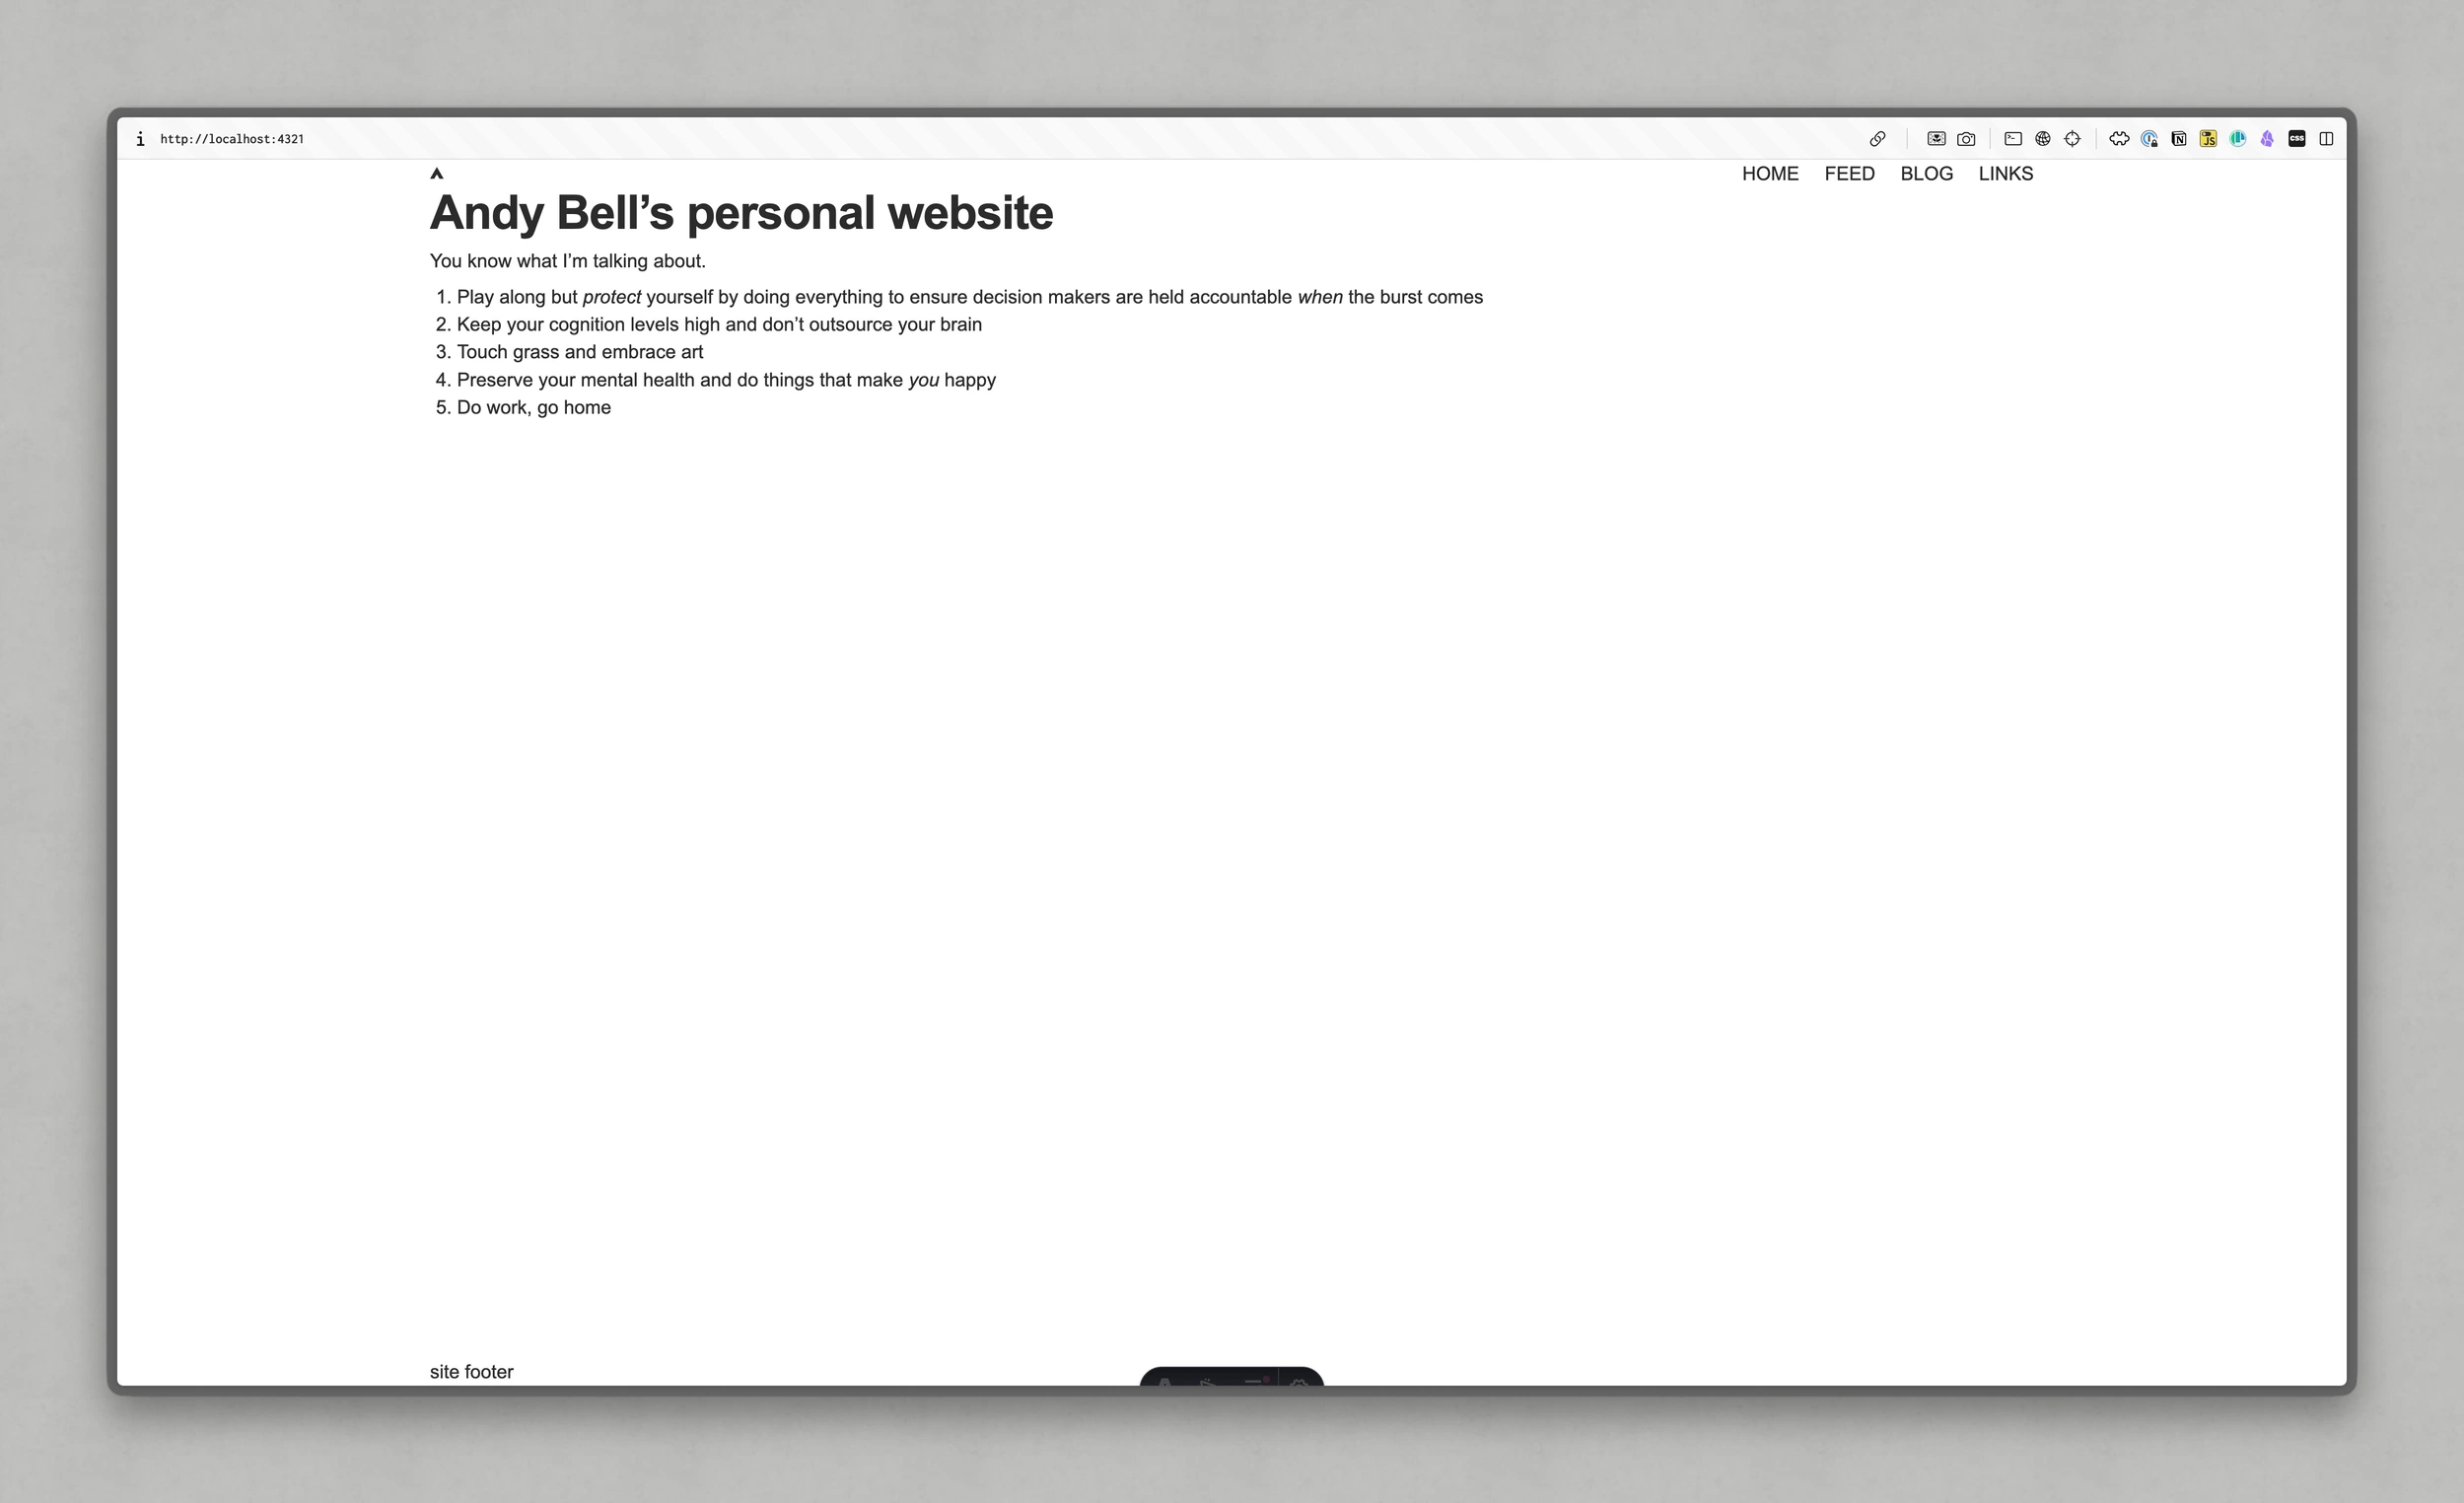
It’s my index page, rendering the content from this post which was the latest at the time of writing.
Alright, let’s put a pin in it here because next, we’re going to add some shell components and properly implement this WordPress stuff with pagination. It’s a lot, so we’re gonna need a whole article to make sure I don’t overwhelm anyone 😅
Catch you in the next one!
Enjoyed this article? You can support us by leaving a tip via Open Collective

此内容由惯性聚合(RSS阅读器)自动聚合整理,仅供阅读参考。 原文来自 — 版权归原作者所有。