If you’re trying to turn real footage into “anime-looking” clips in 2026, the market basically splits into two workflows:
- Video-to-video style transfer (you already have footage; you want an anime “skin” while preserving motion), and
- Generative video (text/image → video, often more cinematic but less faithful to your original shot).
This list is written from a practical, production-minded angle: output consistency, learning curve, control, speed, and cost predictability—with extra weight on “how fast a beginner can get a clean result.”
Quick picks (TL;DR)
| Rank |
Tool |
Best for |
Why it’s here |
| #1 |
LensGo AI |
Fast anime conversion + easy experiments |
The most “all-in-one” beginner workflow (text→video, video→anime, style transfer, image reference) |
| #2 |
Runway |
Higher-end control & editing workflow |
Best if you want pro-style knobs and a broader toolset |
| #3 |
Pika |
Quick creative shorts |
Great for rapid iteration and social-first clips |
| #4 |
Kaiber |
Music-driven, stylized edits |
Strong “vibe” tool for audio-reactive visuals |
| #5 |
GoEnhance (Video Style Transfer) |
Preset-driven restyling |
Straightforward restyle pipeline and lots of styles |
1) LensGo AI (Best Overall for Beginners in 2026)
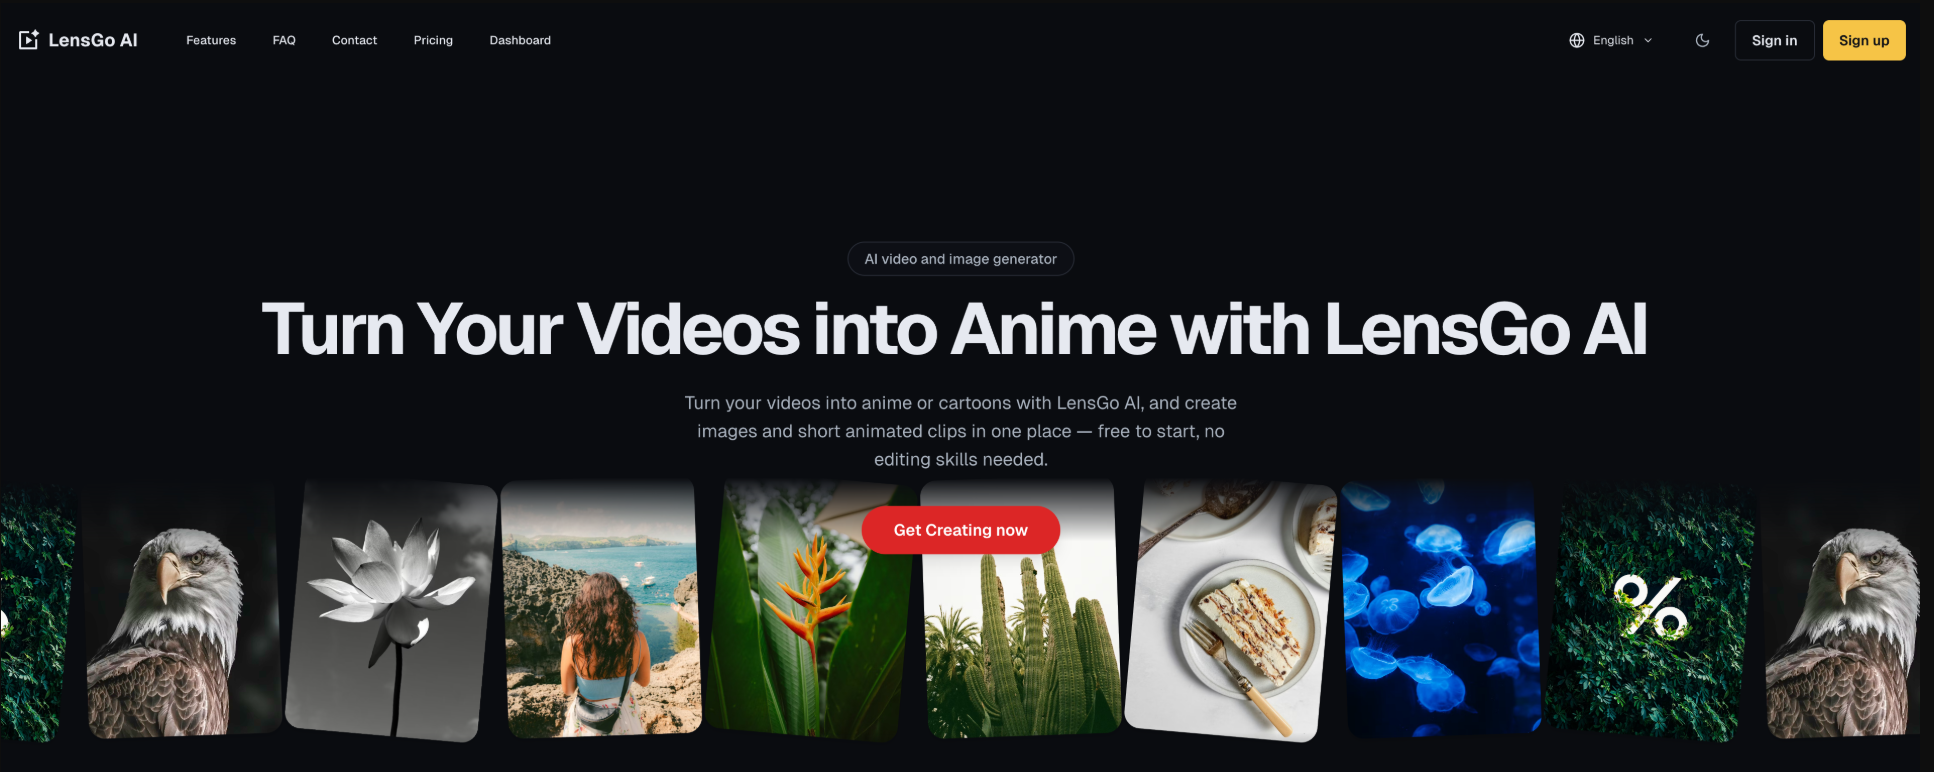
If your goal is “turn my real video into anime” with minimal setup, LensGo AI is the most beginner-friendly on this list, while still giving enough control to avoid the “one-click gimmick” feel.
LensGo AI shines when you want a repeatable workflow:
- Text-to-video: generate short clips from prompts.
- Animate an existing video: upload a clip and guide the transformation with a prompt.
- Style Transfer (Video-to-Video): apply a ready-made anime/cartoon/3D style, or use a single image as a style reference.
- Image-to-video: useful for turning keyframes/illustrations into motion.
In other words: it behaves like a small “browser studio” rather than a single effect.
Beginner workflow (you can follow this today)
Here’s a simple process that consistently works:
-
Start with a short, stable clip
- For “Animate Video,” LensGo expects short uploads (the tutorial example highlights 10 seconds or less for that mode).
-
Pick a model/style first
- Don’t overthink prompts until you’ve locked the look.
-
Write a prompt that describes motion + subject + vibe
- Example:
“Close-up of a skateboarder carving downhill, dynamic anime shading, crisp linework, cinematic lighting, slight handheld camera.”
-
Use Style Transfer when you need fidelity
- When preserving original motion matters, style transfer is usually the safer route than pure text-to-video.
-
Preview, then generate
- LensGo’s style transfer flow emphasizes previewing styles and adjusting style intensity (low/high) before the final render.
LensGo AI strengths (Pros)
-
Low learning curve: the UI is structured around common tasks (generate, animate, style transfer), so beginners don’t get lost.
-
Practical control knobs (without complexity):
- Style intensity
- Option to affect the whole video vs. characters only (useful if you want to keep backgrounds readable)
- Prompt visibility/editability when you choose a preset style (so you can learn what’s driving the look)
-
Good “iteration loop”
- Generate → check → regenerate with new prompt/model is fast and encourages experimentation.
-
Token-based entry makes testing approachable
- The tutorial flow describes claiming starter tokens and a daily refresh mechanic, which is helpful for casual users who don’t want to subscribe immediately.
LensGo AI limitations (Cons / trade-offs)
Pro tips for better anime results (LensGo edition)
-
Stabilize your source first (even basic phone stabilization helps).
-
Avoid fast whip pans; AI hates motion smear.
-
Describe render style, not plot
- “clean lineart, limited palette, cel shading, sharp edges” beats “inspired by my favorite show.”
-
Use “characters only” changes when backgrounds matter (street signs, UI overlays, product shots).
-
Lock a “house style”
- Pick 1–2 styles that fit your channel and reuse them; consistency makes outputs look more professional than endlessly changing aesthetics.
Who should choose LensGo AI?
Choose LensGo AI if you are:
- A beginner making TikToks/Shorts/Reels and want quick anime conversions
- A marketer needing stylized ads without an animation team
- A creator who wants one tool that covers “generate + restyle + animate” without a steep learning curve
2) Runway (Most “Production” Control)
Runway is the pick when you care about workflow control and want something closer to a production tool rather than a style toy. It’s often recommended as the “most complete professional tool” in general AI video comparisons.
Pros
- Strong creative control compared with lighter apps
- Better suited to multi-step workflows (generate → edit → refine)
Cons
- More features = more learning time
- Usually not the cheapest route for high iteration
Best for
- Creators who want higher-end knobs and a more “editor-like” process, not just a filter pass
Pika is excellent for quick, creative generation—especially when you want short clips for social and you plan to iterate a lot.
Pros
- Quick iteration loop (great for experimenting)
- Social-first output style (short clips, rapid concepts)
Cons
- Not always the best when you need strict fidelity to a real source clip
- Can be less “pipeline-ready” than heavier tools
Best for
- Creators who want to explore looks, effects, and fast concepts rather than consistent anime conversion from the same character/footage
4) Kaiber (Best for Music-Driven Anime Edits)
Kaiber stands out when your video is built around music and you want visuals that feel synced to rhythm and mood.
Pros
- Strong “vibe” and stylized motion
- Great for musicians, AMVs, trailer-like edits, and beat-focused content
Cons
- If you want clean “video → anime” fidelity, it’s not always the most direct path
- Some projects still need a second tool for finishing (upscale, stabilization, color, captions)
Best for
- Music videos, audio-reactive shorts, stylized brand edits
5) GoEnhance (Video Style Transfer) — Straightforward Restyle Option
GoEnhance positions its video style transfer as a simple way to restyle clips into anime/Pixar/clay/pop-art looks.
Pros
- Preset-driven, beginner-friendly
- Good when you want quick “restyle variants” for the same clip
Cons
- Like most preset systems, you can hit a ceiling if you need very specific art direction
- Long/complex scenes can still introduce artifacts
Best for
- People who want a clean, simple restyle workflow and don’t need a deep production suite
How to choose (beginner checklist)
Ask yourself these 4 questions:
- Do I already have footage I want to keep?
→ Yes: prioritize LensGo AI (style transfer) or GoEnhance.
→ No: consider Pika or Runway for generative clips.
- Do I need “serious” editing control?
→ Yes: Runway.
→ No: LensGo AI / Pika.
- Is the video built around music?
→ Yes: Kaiber.
- Do I care about consistent results across many posts?
→ Yes: LensGo AI with a locked style + repeatable prompt template.
A simple starter stack (what I’d recommend to a true beginner)
- LensGo AI for the main anime conversion workflow (video-to-anime + style transfer + image reference).
- Optional add-on: a lightweight editor (CapCut/Premiere/Final Cut) for captions, pacing, sound, and branding.
That combination is usually enough to produce “this looks like a channel, not a random experiment” quality.









