








Before you begin, please ensure you have registered your free account with Mendix. If you haven’t signed up yet, you can do so here.
Starting from the Mendix Portal, open the Menu on the left hand side and click “Get Studio Pro,” which is just below “Create new App.”
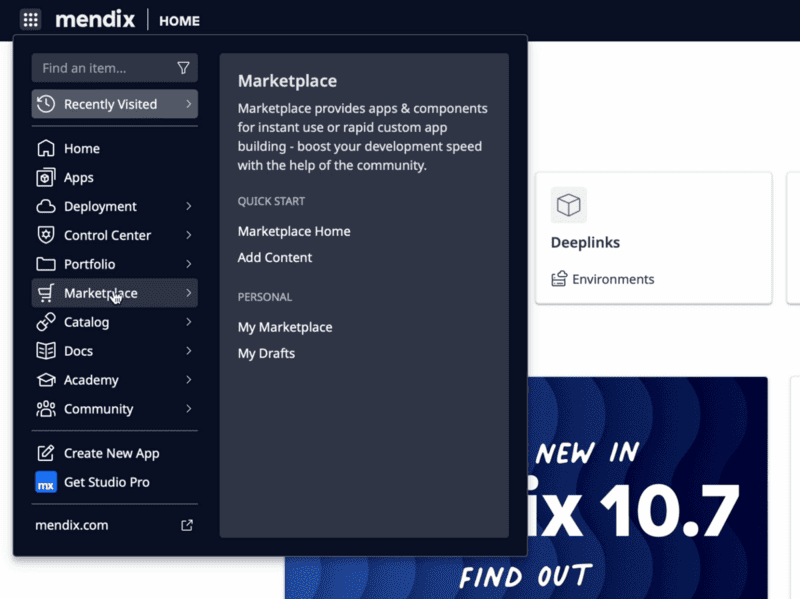
Alternatively, navigate to the Marketplace. Once there, click on “Get Studio Pro” in the top level menu.

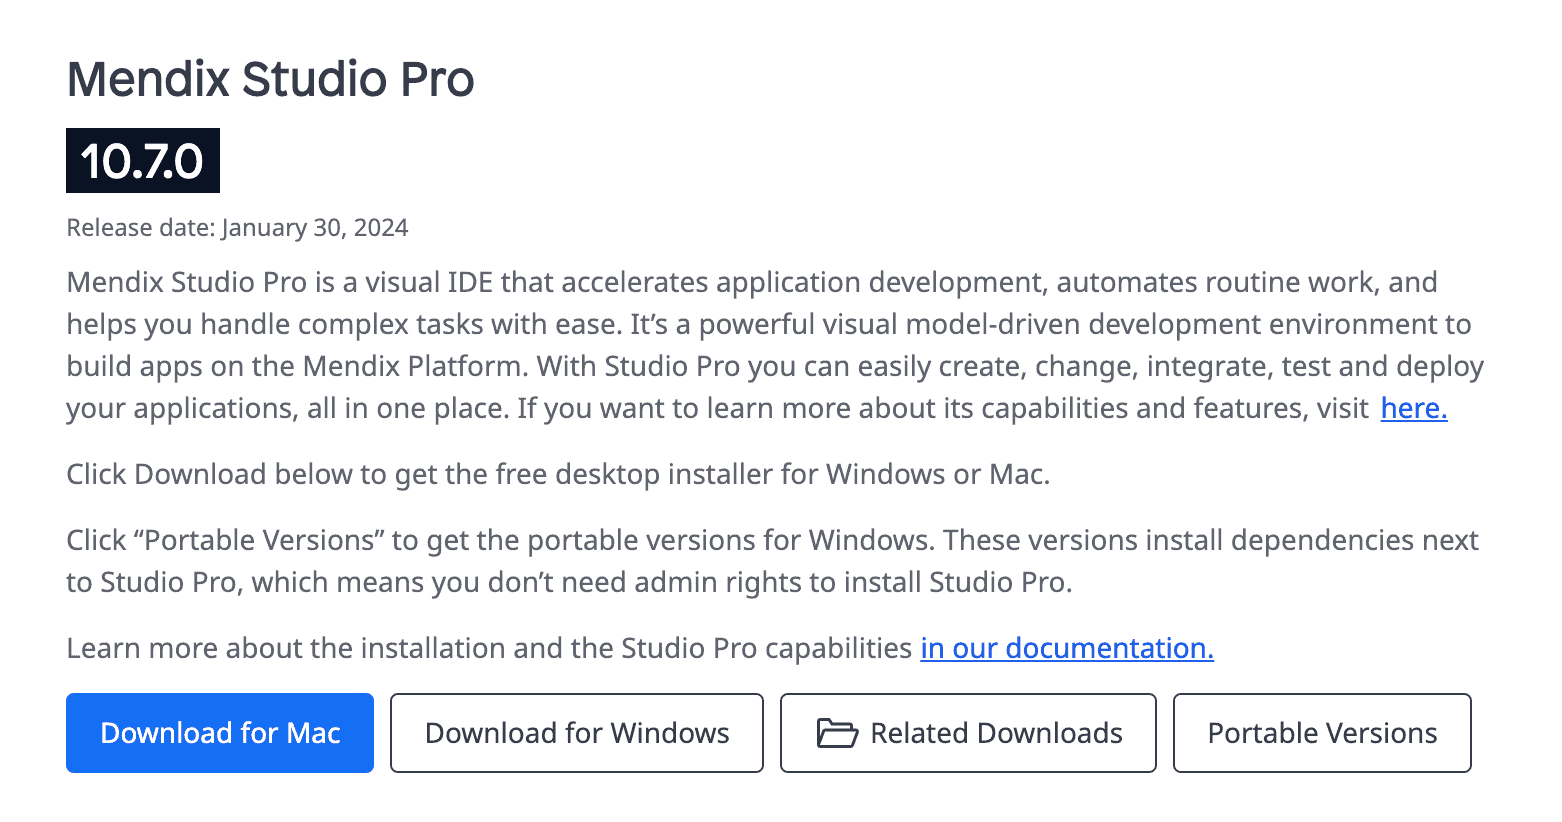
Here you will find the release notes, as well as other information you might find helpful. (Take the time to look around if you haven’t yet.)
When you are ready, click “Download for Mac.”
Once the package has finished downloading, navigate to it using finder. To begin the installation, right-click on the file and select “Open With” and then “Installer(default).” You may see a security message displayed: “macOS cannot verify the developer…Are you sure you want to open it?” Click on “Open” to proceed or “Cancel” to abort the installation.
This step is only required for version 10.7 as Mac support is in Beta. You can skip this step for future releases.
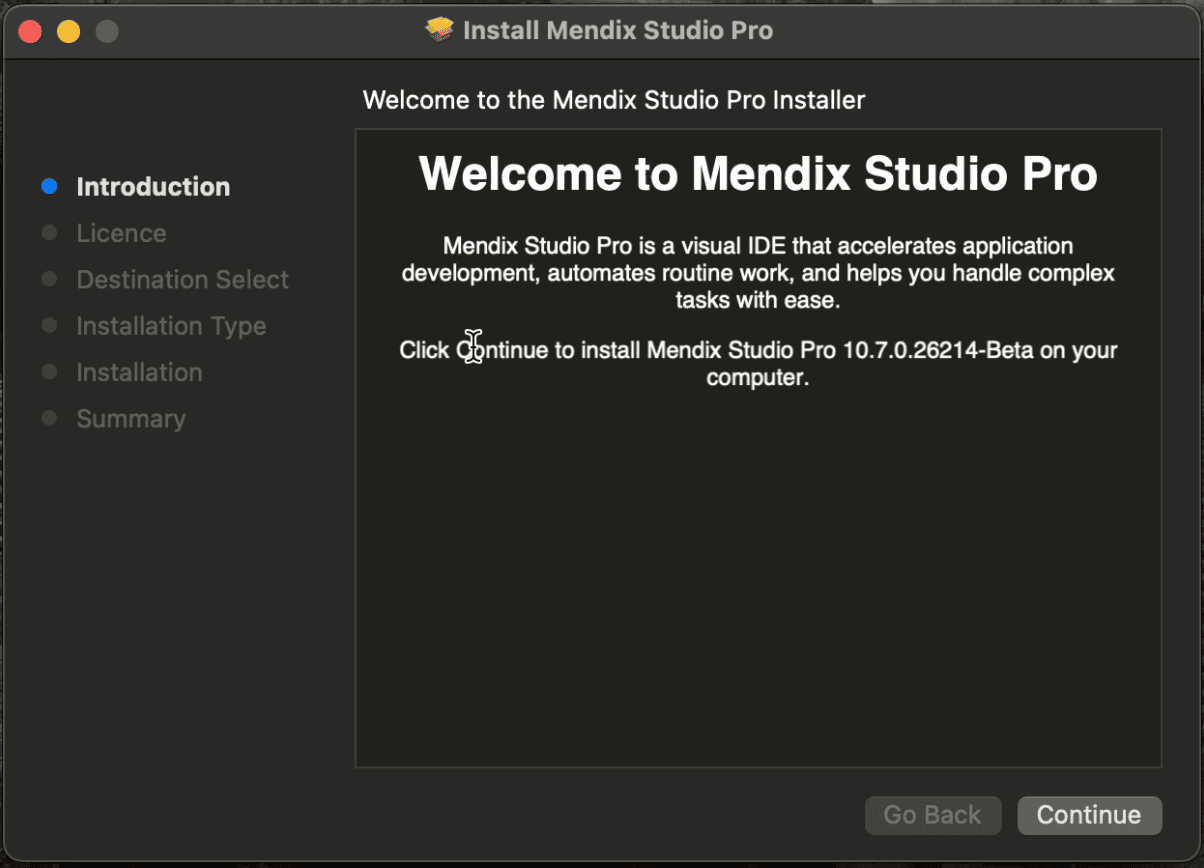
Once the installer has opened, you will see a window titled “Welcome to Mendix Studio Pro.” Click “Continue” to proceed.
On the next page, you will have to accept the software license agreement. Please ensure you have read and understand the Mendix Terms of Use, or click on “Print” or “Save” for later reading. When you are ready to proceed, click “Continue.”
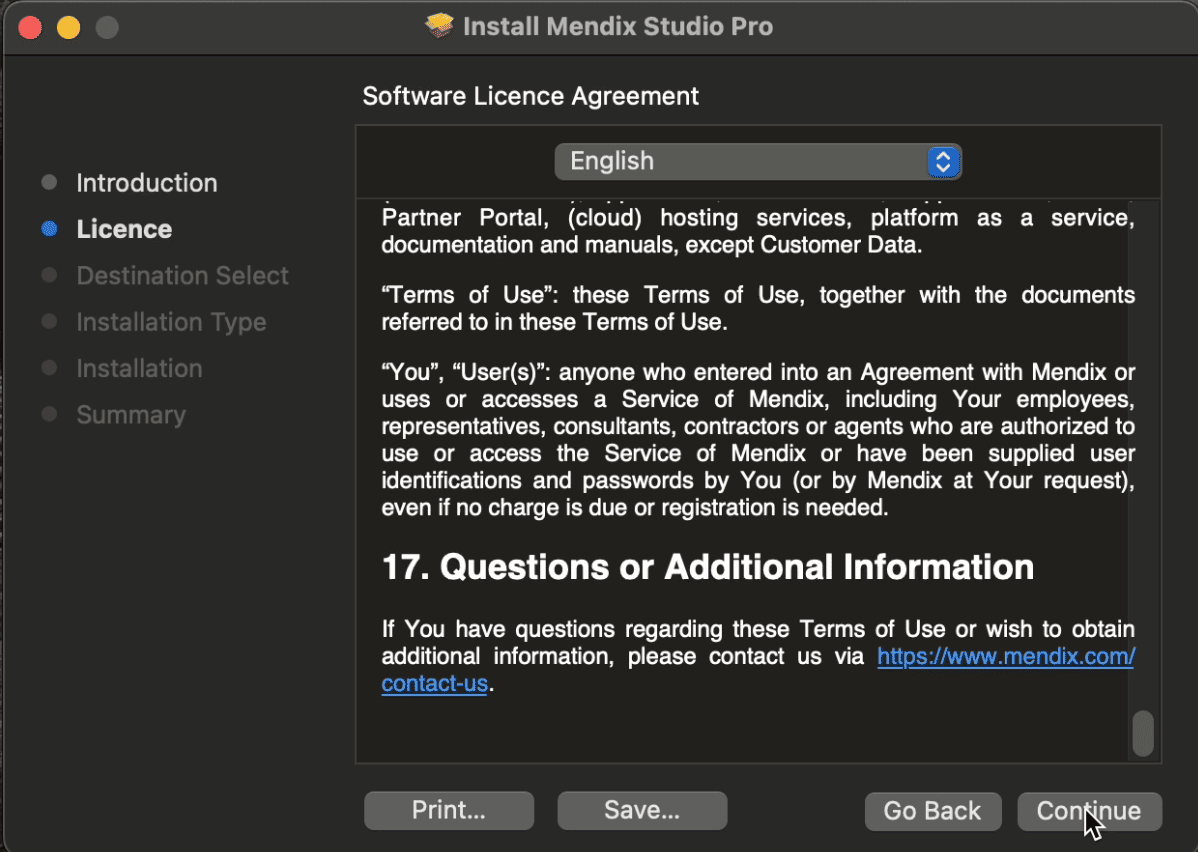
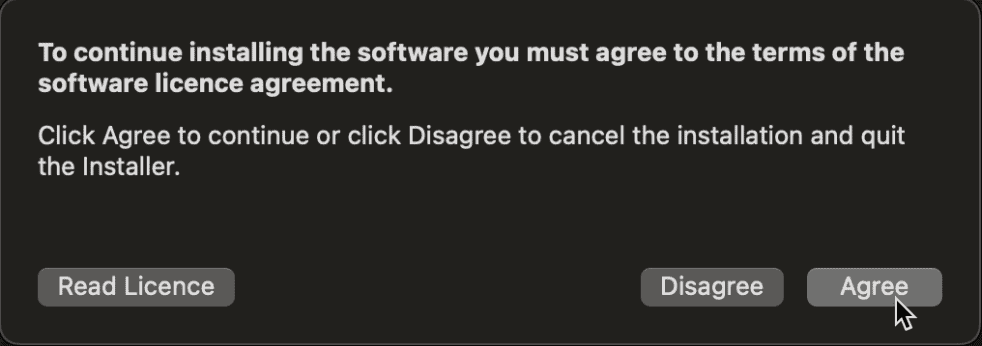
You will see a message stating “To continue installing the software you must agree to the terms of the software licence agreement.” in order to proceed, click “Agree.”
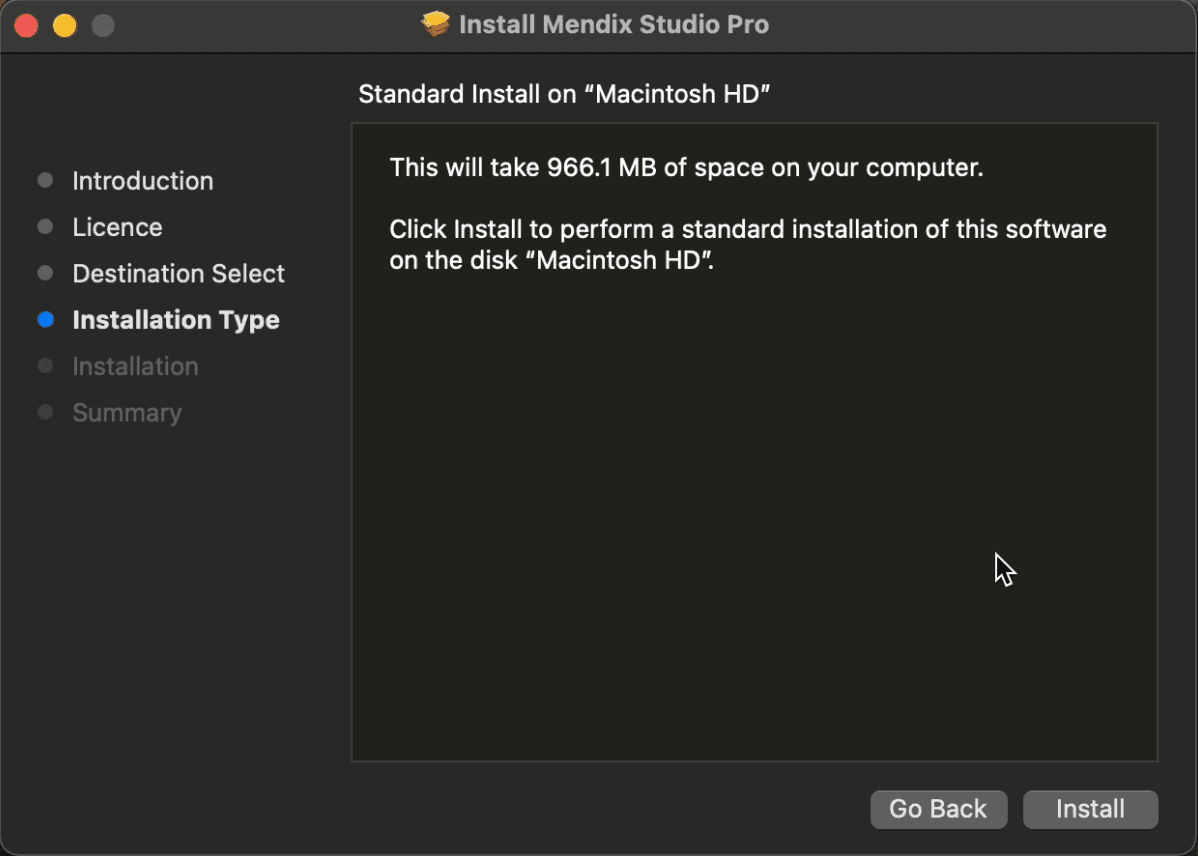
The next screen is the final confirmation before installation completes. Here the installer also informs you of the disk space required to install the software. If you have multiple hard drives or partitions, you will need to select the correct one here. Click “Install” to continue once satisfied with the install location.
You may have to enter your password to authorize the changes to your Mac.
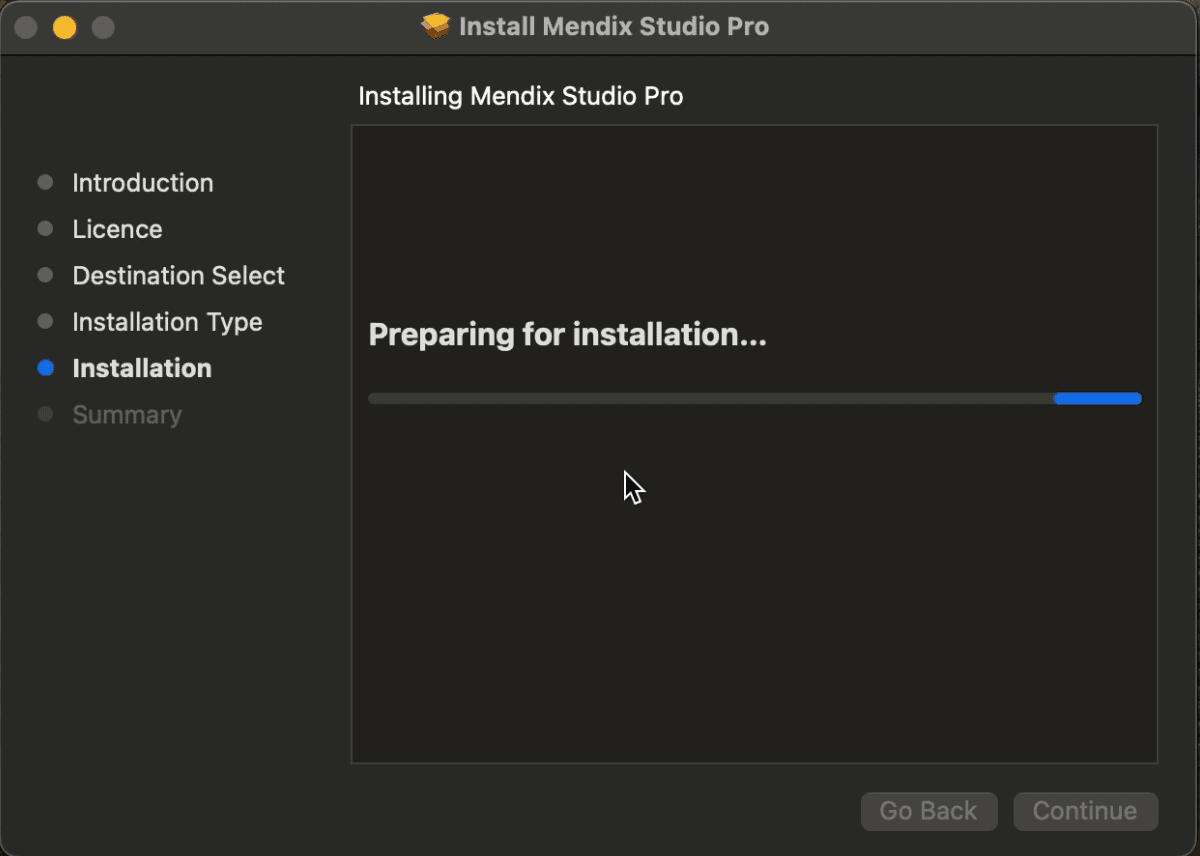
Wait for the installation to complete. You should see a message “The installation was successful.” You can click on the “Close” button to complete. The installer will prompt you to move the installer package to the bin now that it is safe to do so. Click either “Move to Bin” or “Keep,” depending on your preference.
You may open Studio Pro from your launchpad. Once the software opens, you will see the splash screen.

The first time you launch the software, you will be directed to the web in order to sign in to your Mendix account. If you are already logged in to home.mendix.com in your default browser, this should complete automatically. If not, complete the sign in process and you will authenticated inside of Studio Pro.
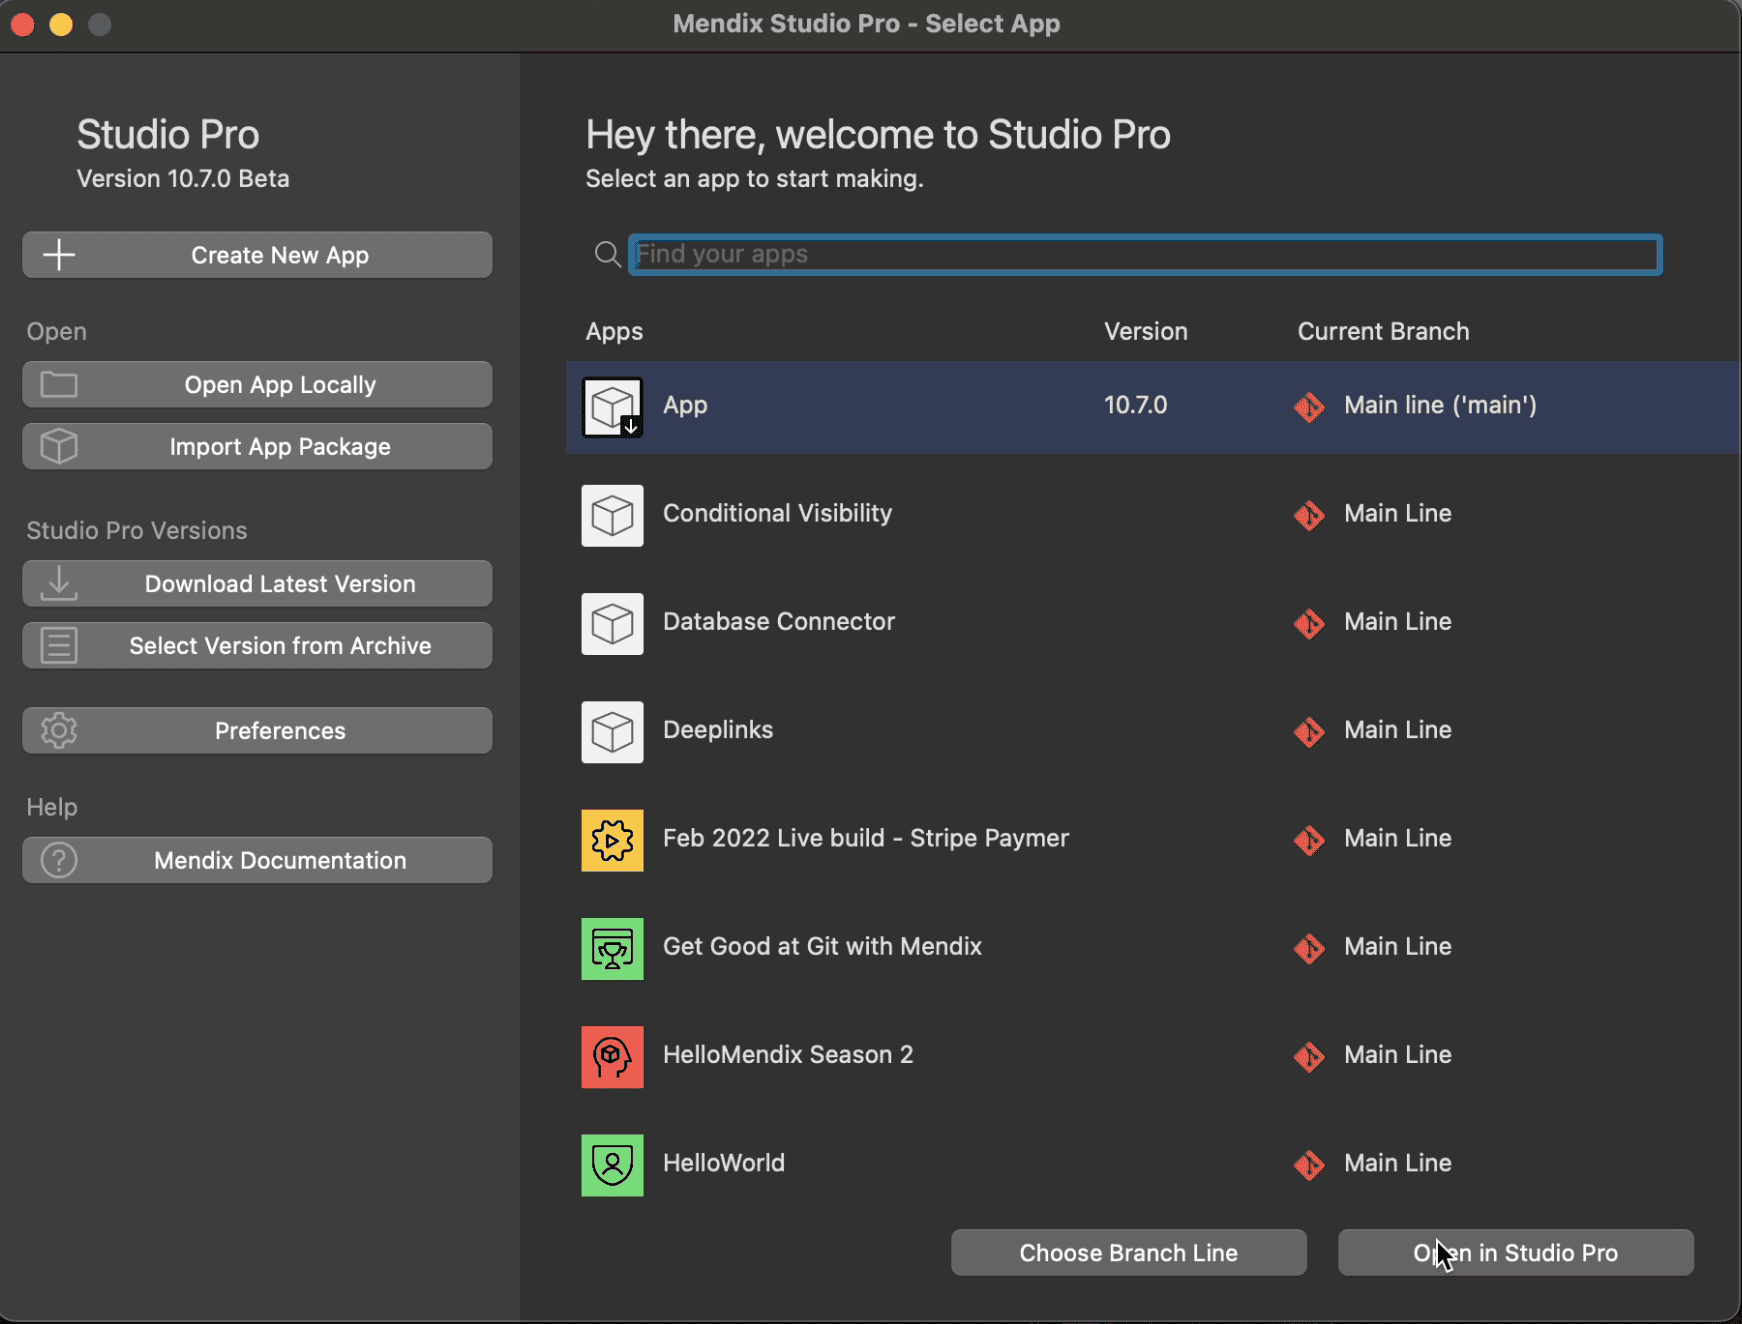
After authenticating successfully, you will see your available apps. Select one or choose to “Create New App.” Studio Pro will then open the project, and you are free to develop as you wish.
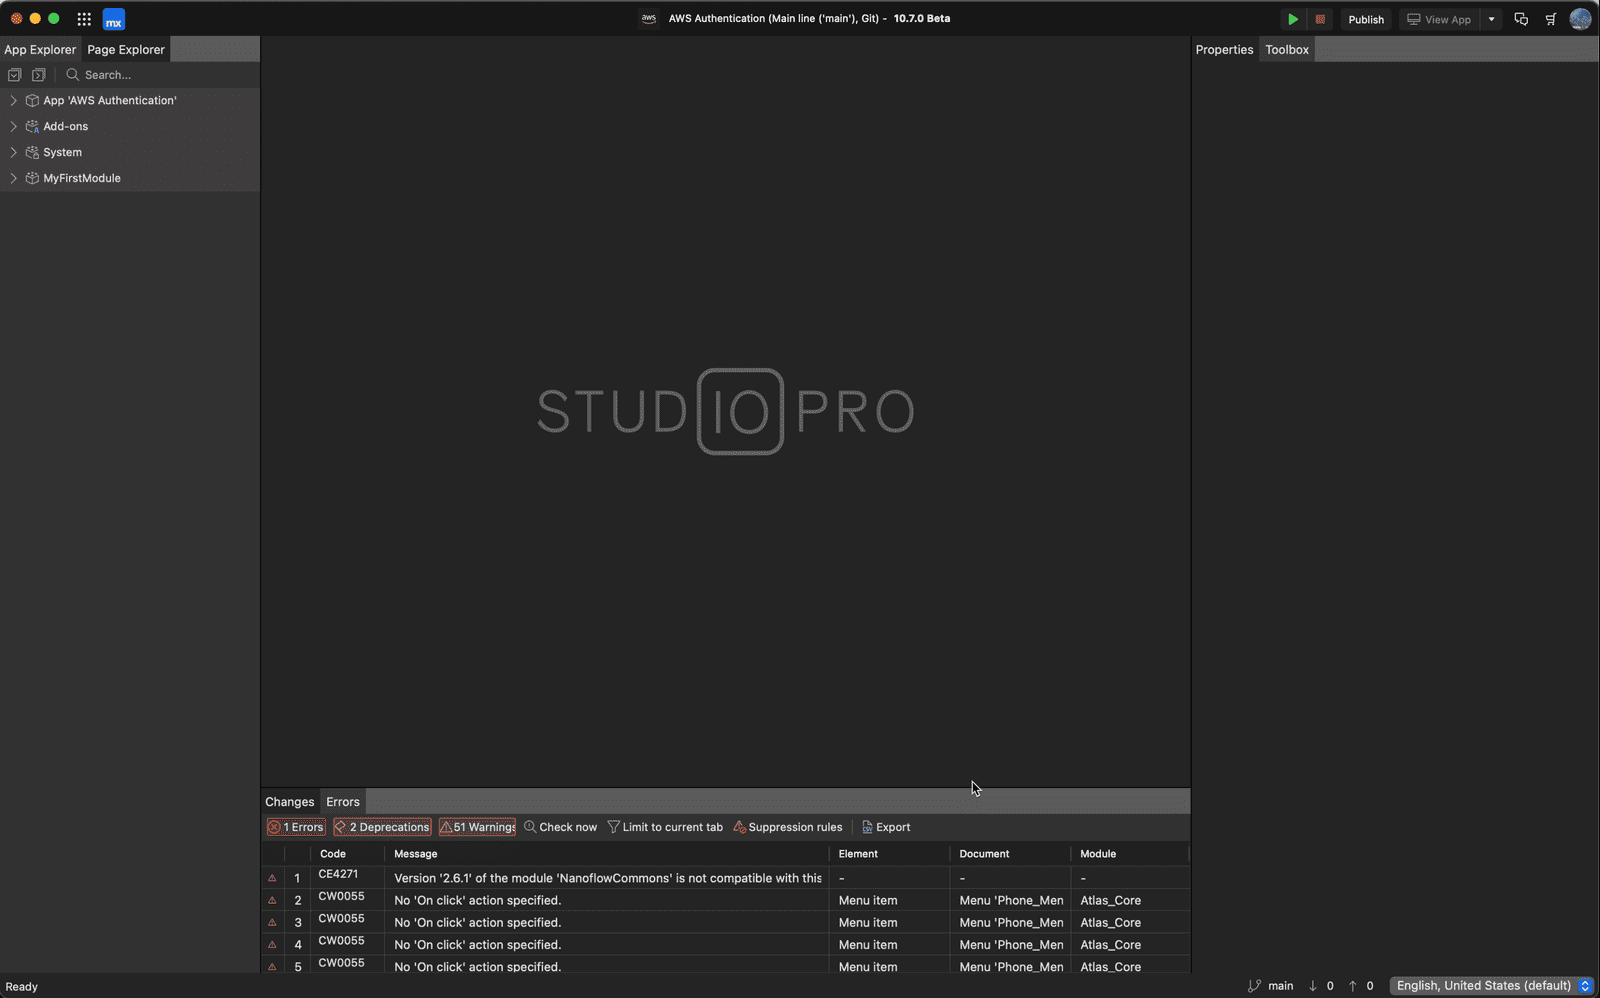
You have successfully installed Mendix Studio Pro on your Mac device! A world of infinite possibility awaits you.
If you are new to the world of Mendix, take a moment to read our Quickstart guides. Looking to start learning? Then head on over to our academy where you can begin building your skills.
You can also read the latest news and updates on our official developer blog or hear what the community is saying on Medium. Speaking of community, get involved with the discussion on our Slack community channel.
For any versions prior to 10.7 you will need to install the Windows edition of Studio Pro, and for that, you will need to use a Virtual Machine. For those of you who are newer to this, a virtual machine is a program used to emulate a computer system – in this case – a Windows system. With the use of a virtual machine, you’ll be able to download and operate programs – like Studio Pro – that typically only run in Windows, on a Mac device.
We recommend using the latest version of Parallels for this. It’s a reliable and relatively simple program to set up. You can find it on their website (linked above), or you can download it from Apple’s App Store. Once you’ve downloaded Parallels, go ahead follow the prompts to complete installation and set up. If you run into any issues during this process, you can always refer to this installation guide written by Parallels.
It’s Important to note that in order for this to work correctly, you will need to pay for the Pro version of Parallels, and once Windows is installed on the virtual machine, you will have to activate the copy of Windows 10 with a license. You can read more about that here: Activating a Windows 10 license
Once everything is set up, there are just a few more steps before you can install and run Studio Pro, starting with port forwarding. (You can always read more about this from the Mendix documentation)
1. To get port forwarding set up, open the Parallels Control Center:
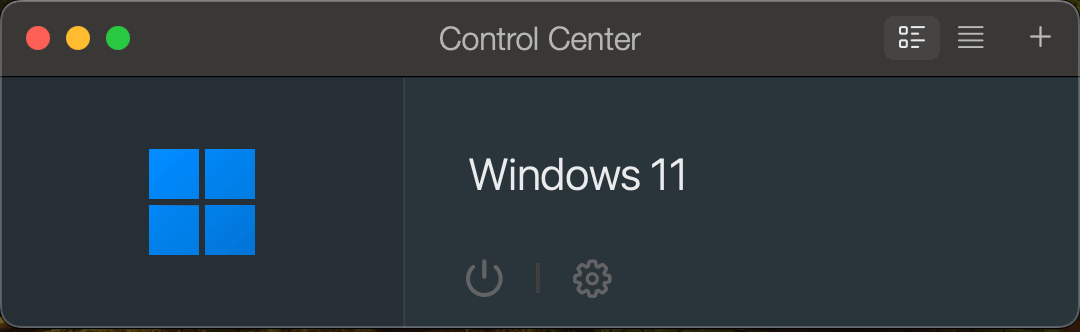
2. Click the gear icon to open the Configuration Panel, and navigate to the Hardware tab where you will select Network from the left panel:
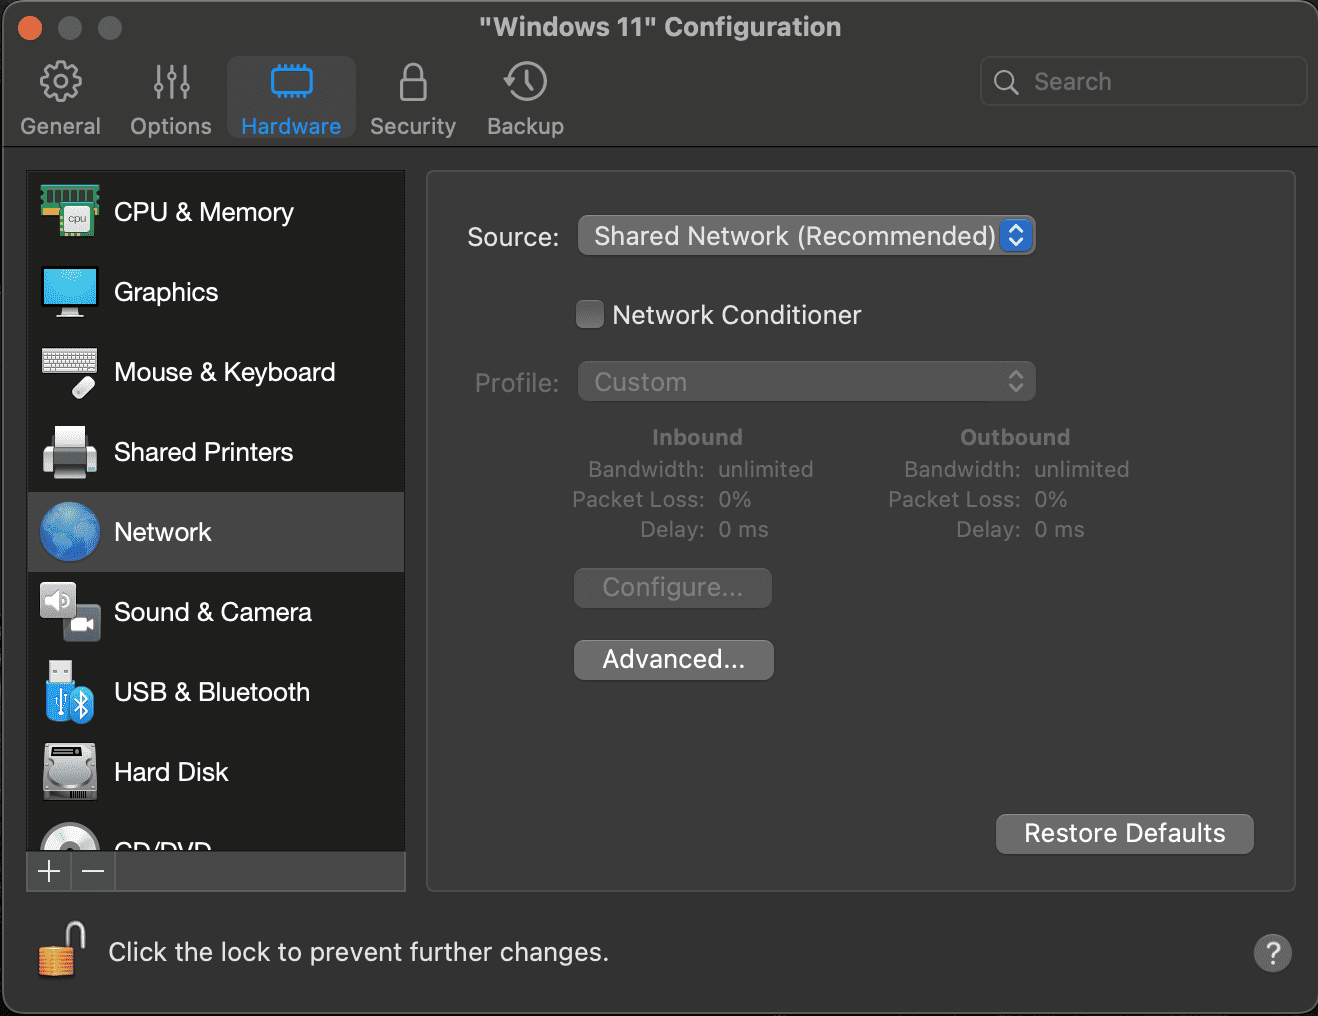
3. Make sure Source is set to Shared Network.
4. Check to ensure that both the Inbound Bandwidth and Outbound Bandwidth show Unlimited. If this is not the case, either enable Network Conditioner and set it to a profile that does not limit bandwidth, or click the Options tab and then the Optimization pane in order to set the Resource usage to No Limit.
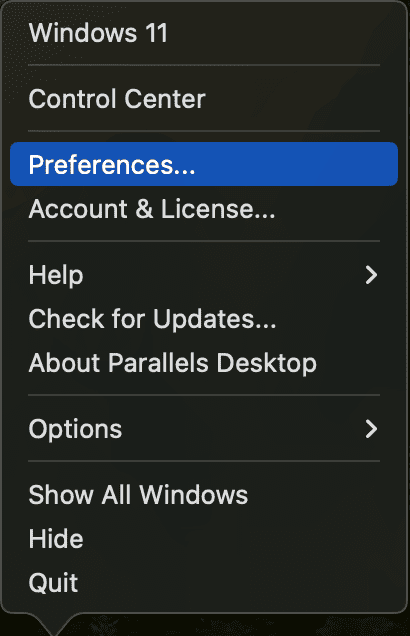
5. In the Parallels drop-down menu, select Preferences:
6. Navigate to the Network tab, and select Shared from the left panel:
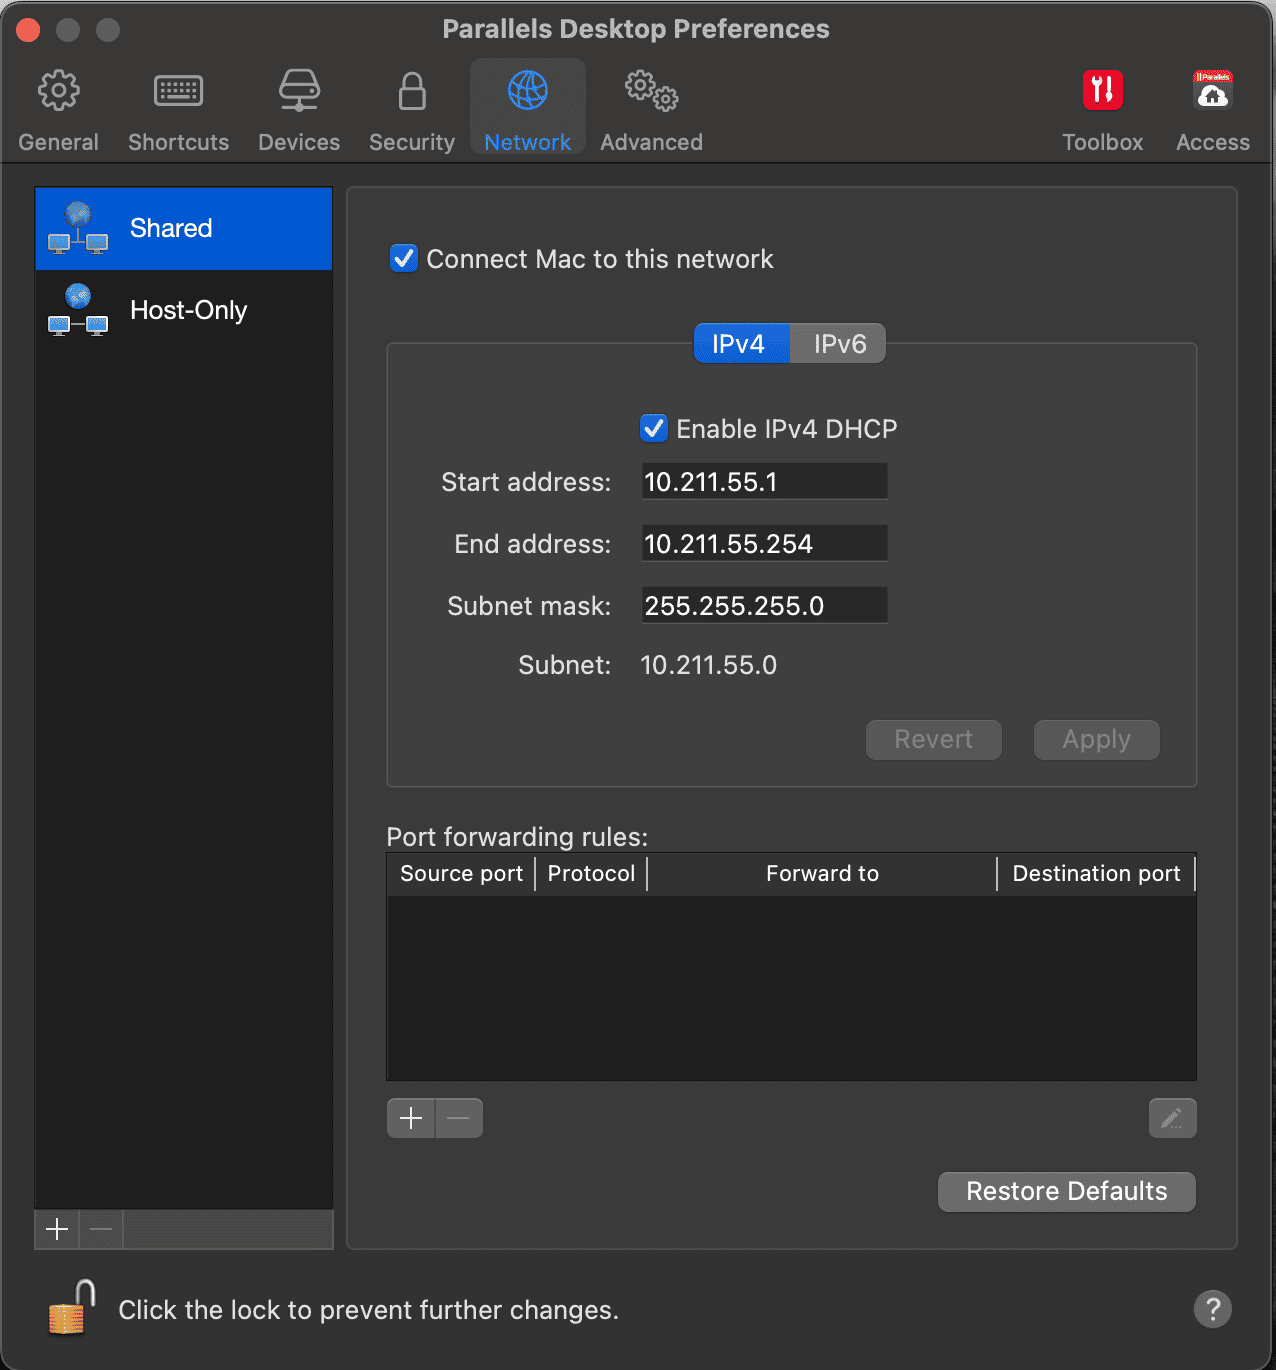
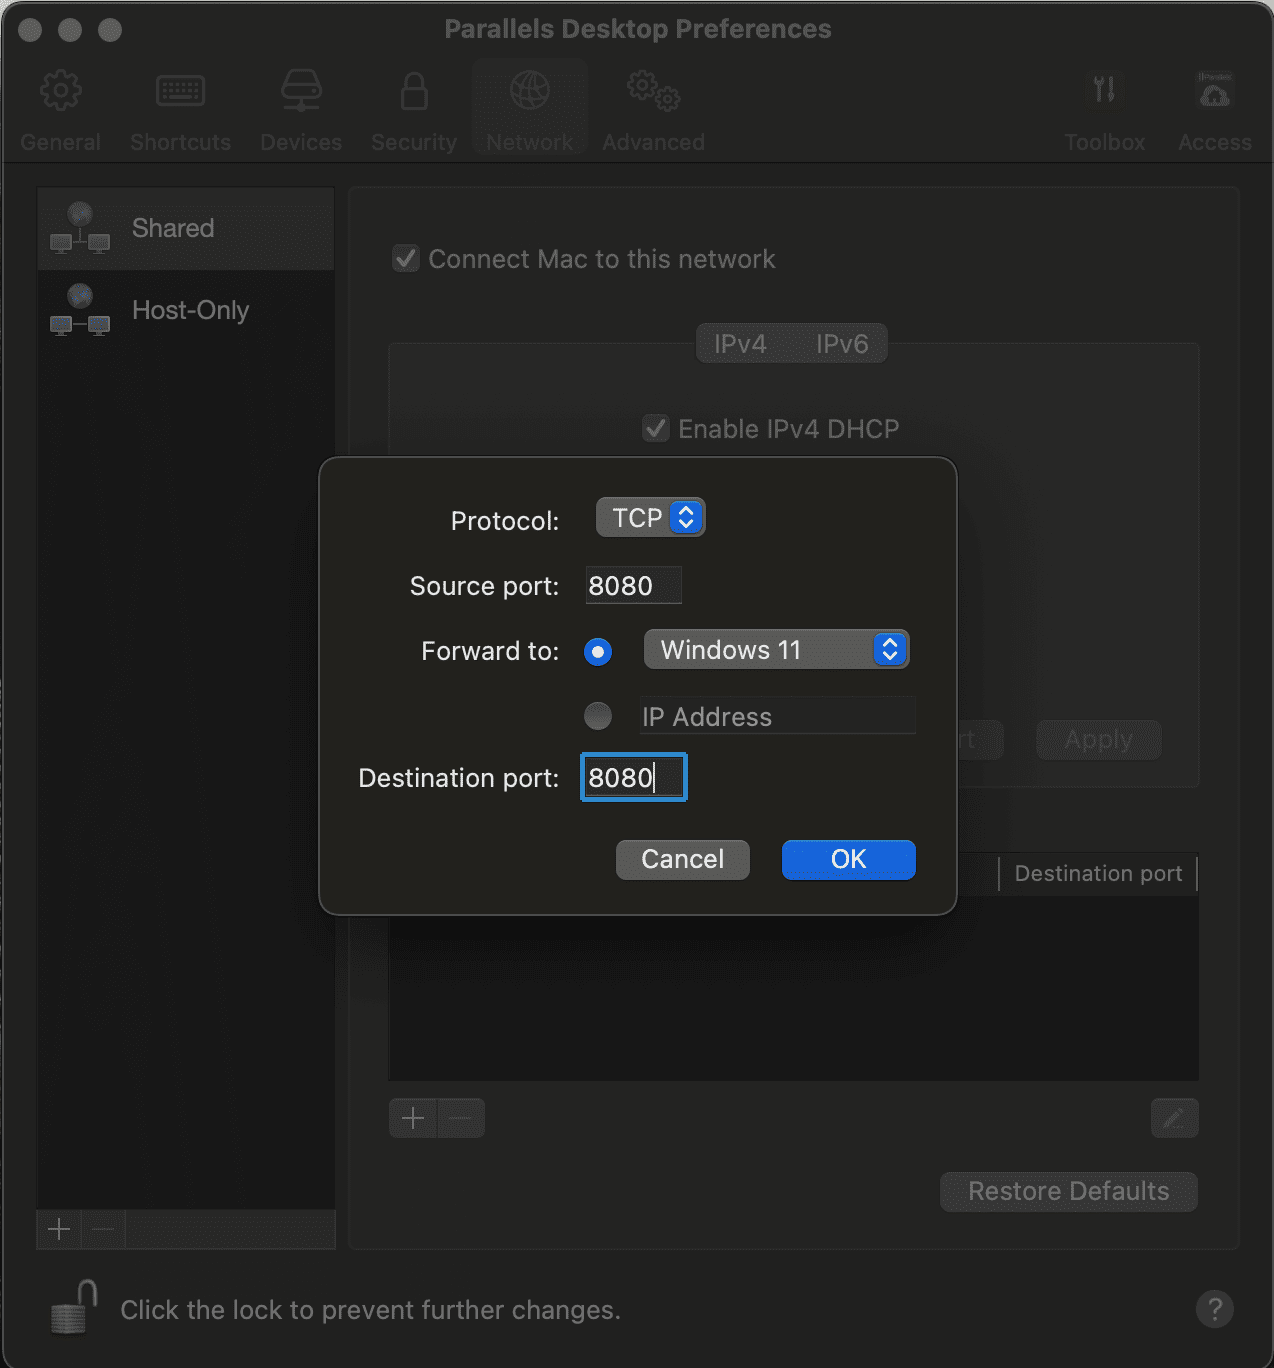
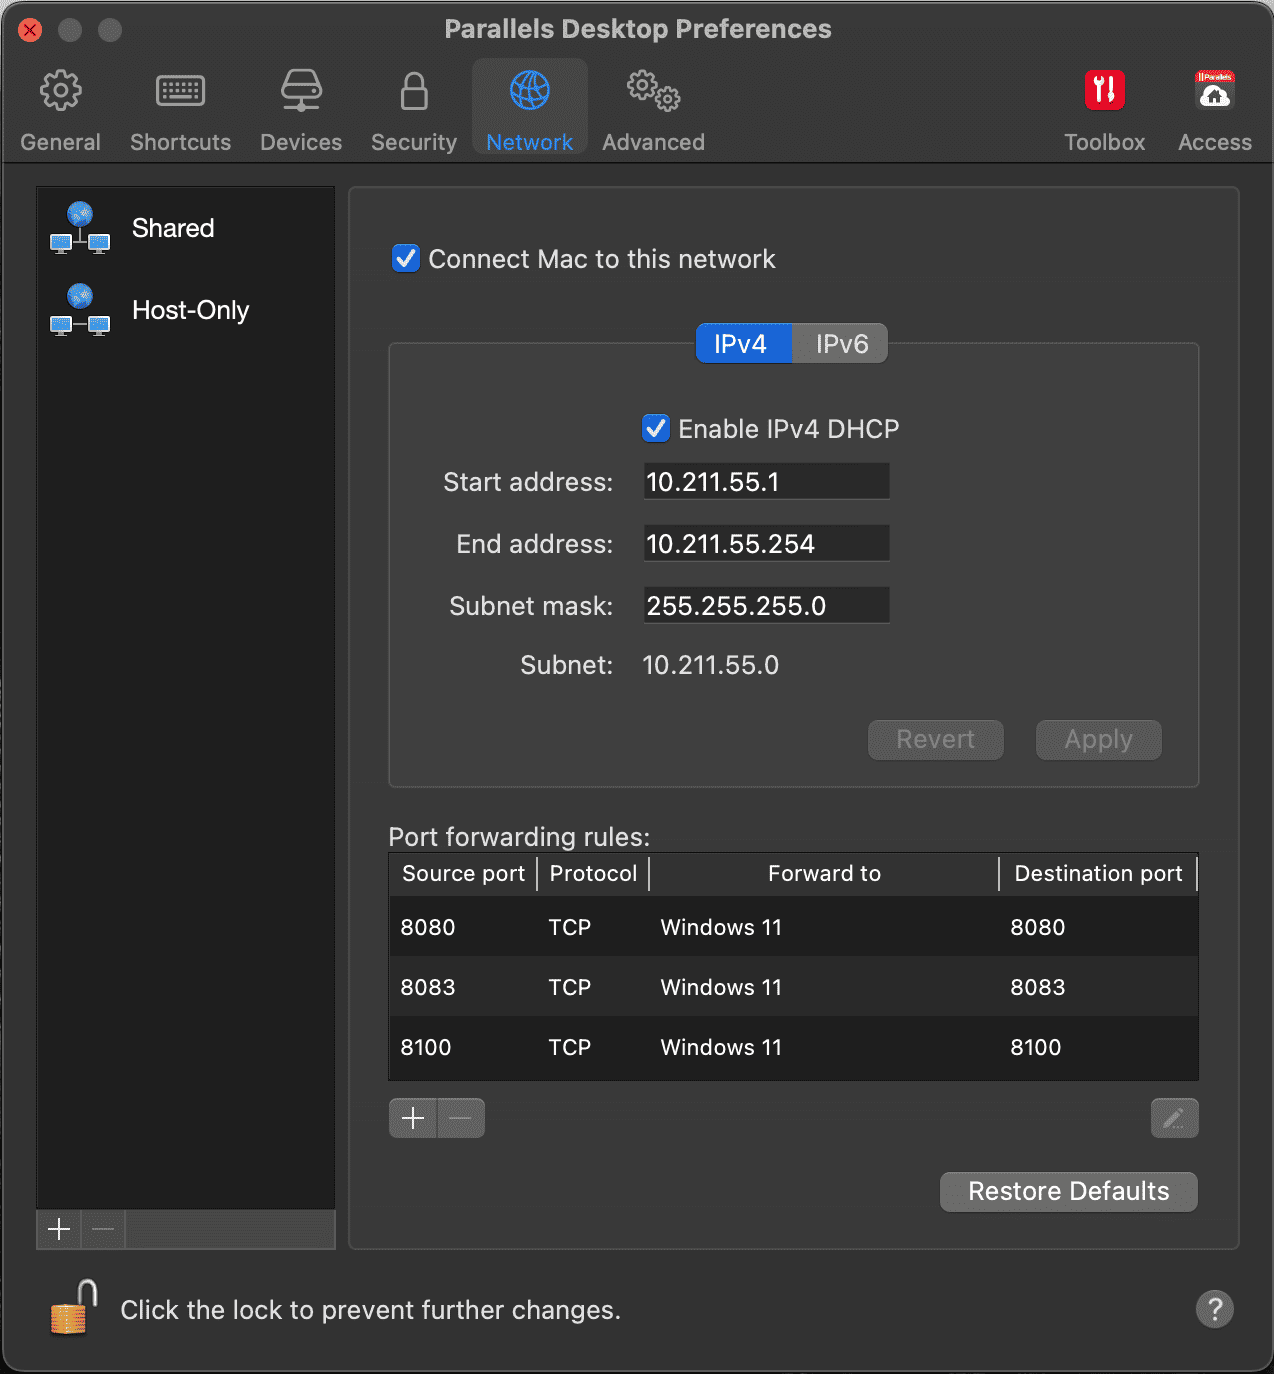
7. Click the + button and add two ports: One for 8080 and one for 8083, both forwarded to your Windows virtual machine (the 8083 port is only necessary for developing native mobile apps):
After adding those two ports, your Port Forwarding Rules should look like this:
By this point you should have successfully
If you have downloaded or are using an older version of Parallels like Parallels 15 or earlier – when testing a native mobile app using the Make it Native App, you may have to manually enter your virtual machine’s IP address for the local network instead of scanning the QR code in Studio Pro. With Parallels 16 and newer, this seems to have been resolved.
Secondly, Studio Pro will need access to the following URLs in order to work. If your firewall is currently blocking these, you will need to whitelist them. A simple Google search can help you out with that if you are unfamiliar with how to go about this.
Lastly, if you’re wanting to run Studio Pro on Apple Silicon Macs, such as the M1, you should know that Studio Pro is enabled and tested to run on all Macs using Parallels 17 and Windows 11 for the following versions:
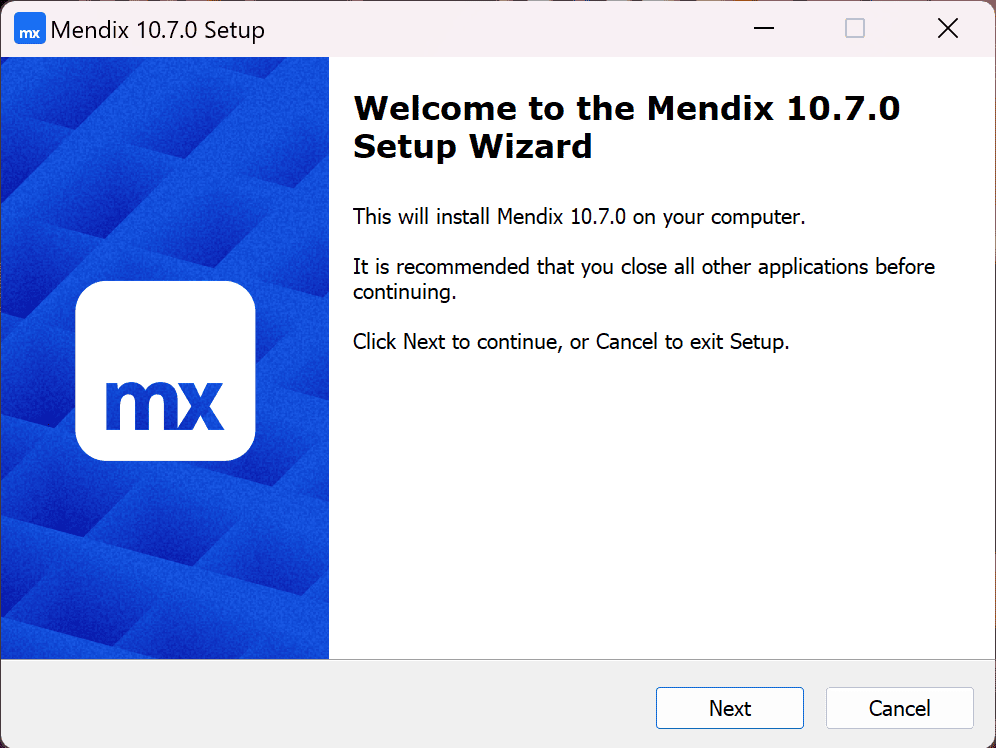
Now that we’ve got your virtual machine installed, it’s time to go ahead and download Studio Pro. Once the install files are ready, go ahead and open them up. The Mendix install wizard should appear. Click Next or press enter on the keyboard to continue.
Go ahead and read through the End-User License Agreement carefully before selecting “I accept the terms in the License Agreement” and clicking Next:
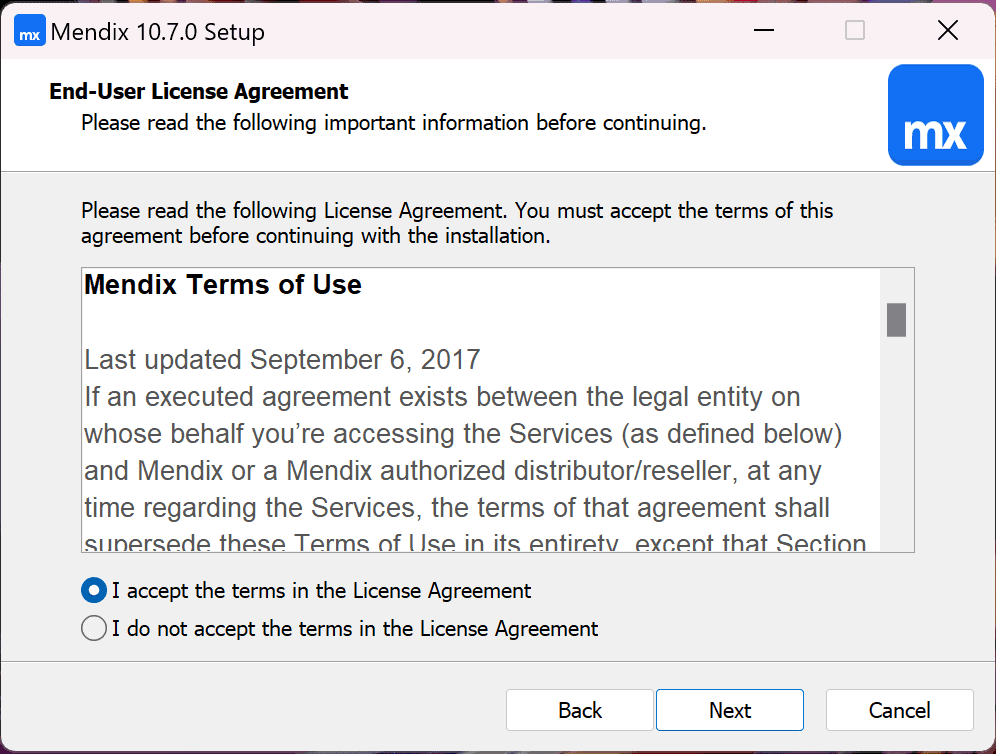
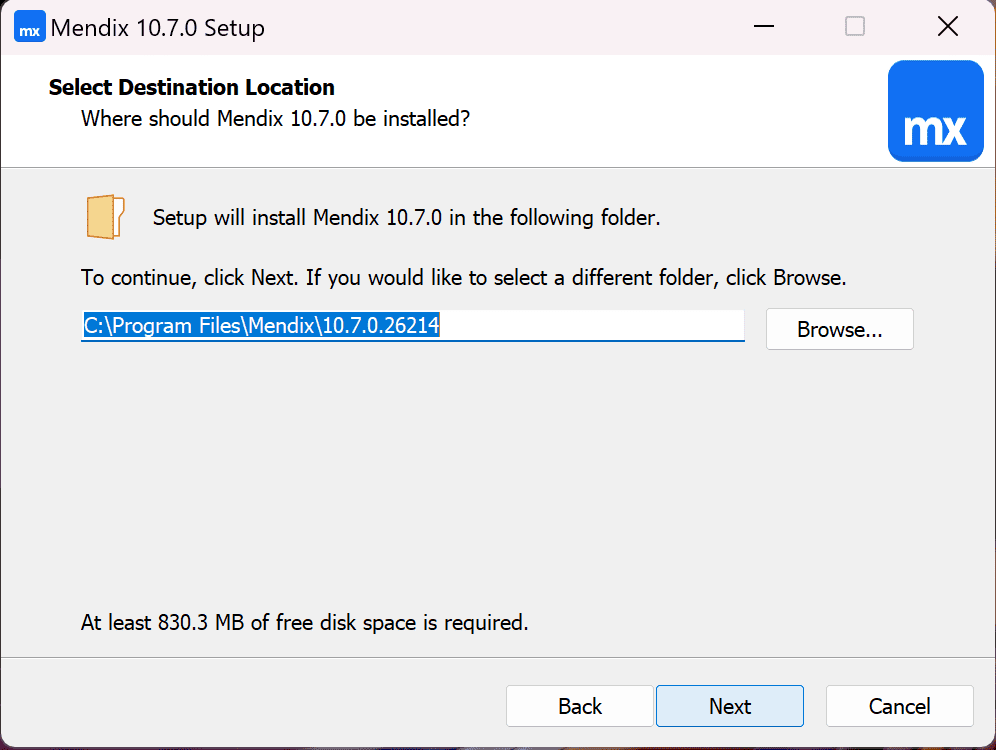
If you know you want to change the install location, click Browse and then select the folder in which you want to install Studio Pro. Otherwise, simply click Next:
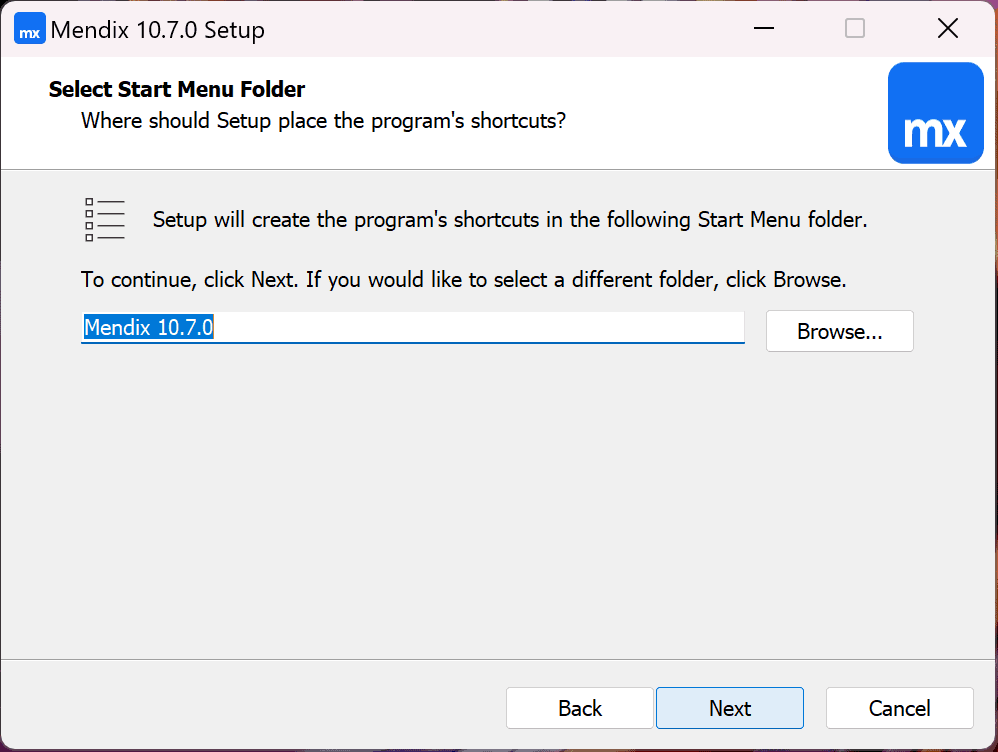
Enter the Start Menu shortcuts folder you want to use and click Next.
If you don’t want to use a desktop shortcut, you can always access Studio Pro using the Mendix version selector.
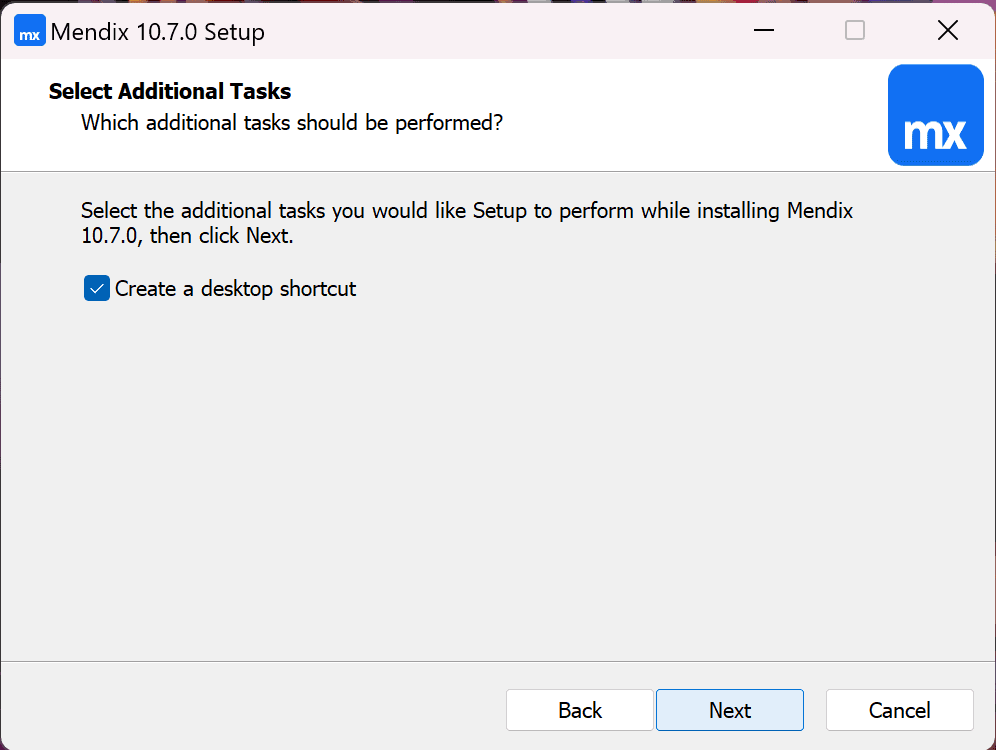
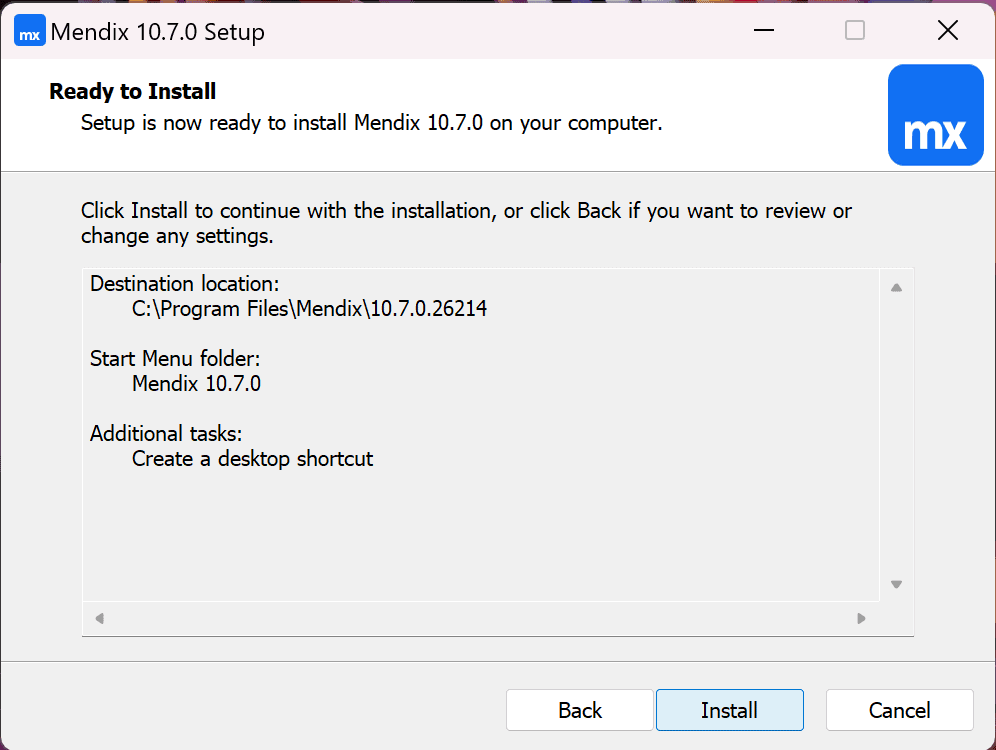
Finally, click the Install button to install Studio Pro on your machine.
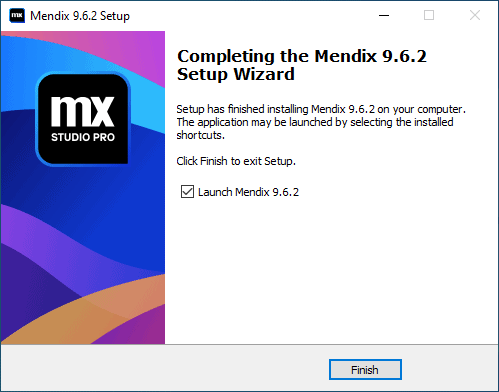
Depending on your machine’s specs the actual install time may vary, but once it’s done, you can check Launch Mendix 9.X.X and click Finish to complete the installation process and launch Studio Pro:
Go ahead and take a look around, get familiar with the development environment. If you prefer a more structured approach, head over to the Mendix Academy and click “Choose an Online Learning Path” to be guided to the correct Mendix Studio Pro tutorial for your needs.
此内容由惯性聚合(RSS阅读器)自动聚合整理,仅供阅读参考。 原文来自 — 版权归原作者所有。