

Principal Product Manager


Custom domains make a project feel real. But for many developers, DNS, the last mile, is also the most frustrating: A records, CNAME entries, TTLs, and that long wait where you’re never quite sure if the internet is broken or you are.
In this post, I’ll walk through how I took a project from an empty repository to a live website on a custom domain, secured with HTTPS, in about 14 minutes without manually editing a single DNS record. The trick is to let GitHub Copilot CLI drive the work, with a community Namecheap skill handling the DNS automation through the registrar’s API.
Here’s what you’ll learn how to do:
What you’ll need
No prior DNS expertise required. That’s the whole point. Let’s get started. ⤵
Every deployment needs something to deploy, so start with a home for the site: a new public repository.
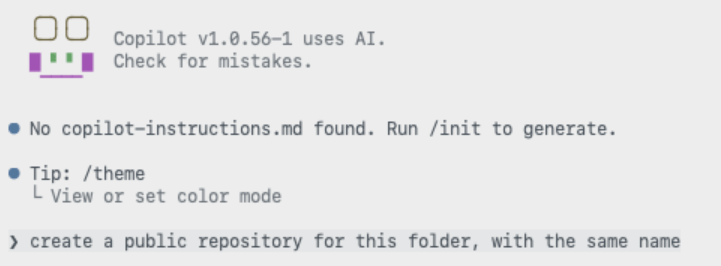

With the repository in place, you don’t have to hand-write an index.html, commit it, and then click through the pages settings yourself. Instead, describe the outcome you want to Copilot CLI and let it create the landing page and enable GitHub Pages for you.
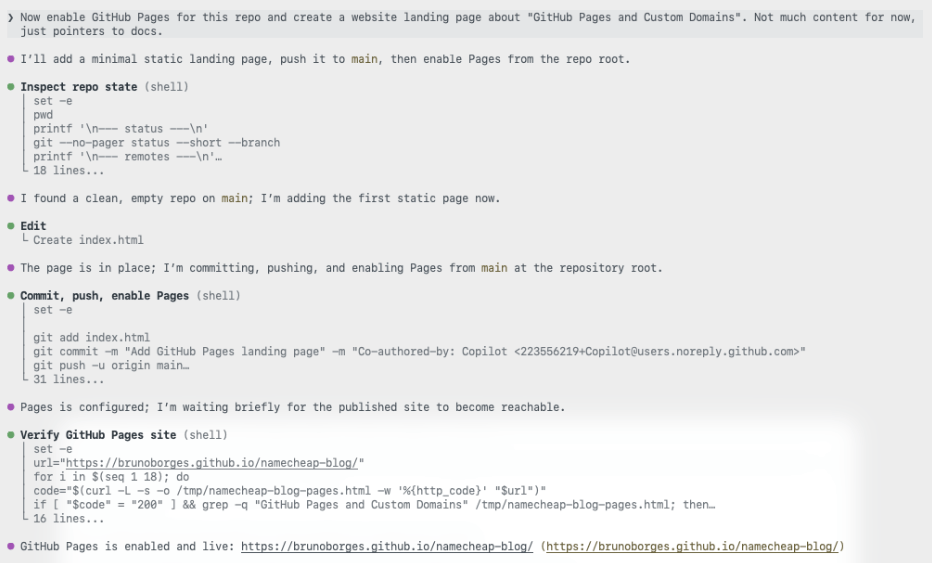
The site is now live on a github.io URL. That’s a solid start. Now let’s give it a proper address.
You don’t need a premium .com to ship a side project. For this walkthrough I chose one of the cheapest top-level domains available, .click, and searched for an available name.
ghpagesblog.click was available, so I moved to checkout.
The total came to USD $2.00, or about CAD $2.46. That’s a low-risk price for trying a custom domain on a side project.
This is the step developers tend to dread. Here, an AI assistant does the repetitive work while you stay in control of the decisions.
Before Copilot CLI can update your DNS, you need to turn on Namecheap’s API. In your Namecheap account, go to Profile → Tools, scroll to Business & Dev Tools, and select Manage under Namecheap API Access.
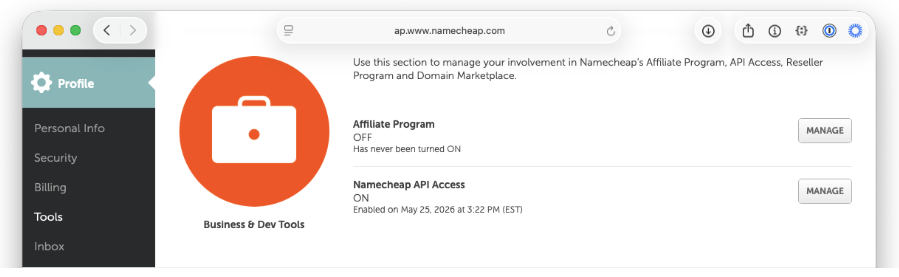
You can also navigate directly to the API access settings page (note that this URL may change over time).
On that page, complete three steps:
For more detail on what the API offers, see Namecheap’s API introduction.
Next, give Copilot CLI the ability to talk to Namecheap by installing the Namecheap skill. It’s a single command:
gh skill install github/awesome-copilot namecheap --scope userThe first time you ask Copilot to do something like “list my Namecheap domains, it confirms the skill is configured and prompts you for your username.
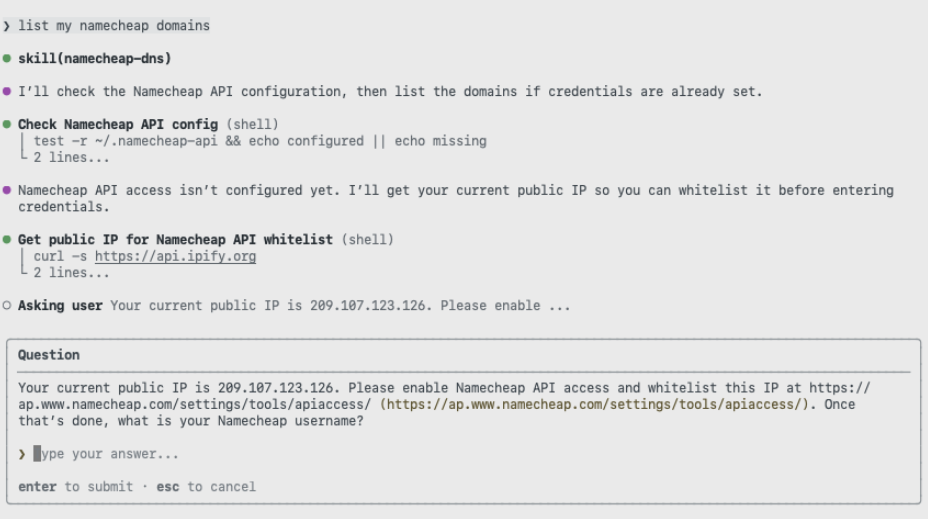
Then it asks for the API key you copied earlier.
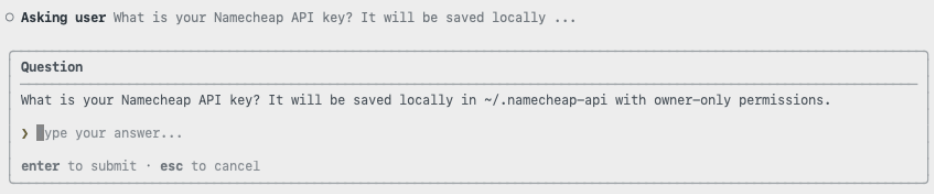
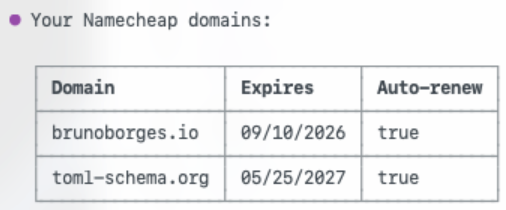
With credentials in place, Copilot returns the list of domains in your account. It’s a quick way to confirm everything is wired up correctly before making any changes.
Now connect the domain to the site. Ask Copilot to configure the custom domain using the skill.

A good automation asks before it acts. The skill pauses to confirm the change before touching any records.
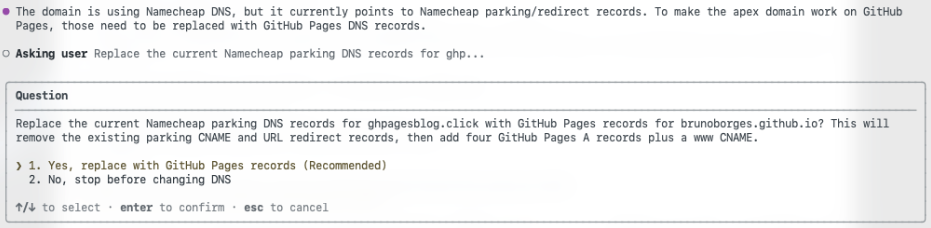
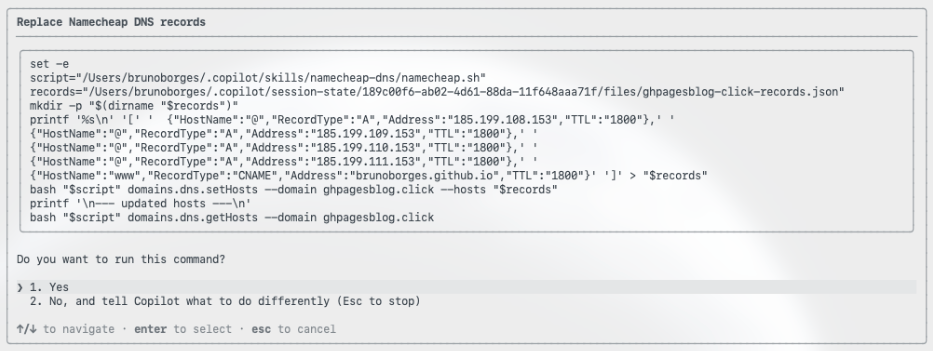
Once you approve, it replaces the existing parking records with the GitHub Pages A records and a CNAME for the WWW subdomain, which is the exact configuration GitHub Pages expects. This matches GitHub’s documented steps for configuring a custom domain for your GitHub Pages site.
It also handles the repository side, committing a CNAME file that tells GitHub Pages which custom domain the site should answer to.
Not using Namecheap? The same approach works with any registrar that offers an API. You don’t need a purpose-built skill: point Copilot CLI at your registrar’s API documentation and ask it to read, understand, and use that API to set the GitHub Pages records for your domain. The registrar changes; the workflow doesn’t.
Rather than assuming success, Copilot CLI checks its own work. First, it confirms the domain resolves.

Then it confirms that the site returns a healthy HTTP 200 response.
If you’d like to review every prompt and response, the full Copilot CLI session is available as a gist.
Now for the timeline. The domain was purchased at 11:21:27 a.m. ET.
The site was live on the custom domain, served over HTTPS, at around 11:35 a.m. ET. That’s roughly 14 minutes from owning nothing to a fully deployed site, including API setup, skill installation, DNS configuration, propagation, and verification.
DNS isn’t hard, exactly, but it’s fiddly, easy to get wrong, and slow to give feedback. By pairing GitHub Pages with GitHub Copilot CLI and the Namecheap skill, the repetitive parts of a custom-domain deployment fade into a short conversation: you make the decisions and approve the changes, and the tooling handles the plumbing.
If you’ve been putting off a custom domain because the DNS step feels like a chore, this workflow removes the friction. To go further, explore the GitHub Pages documentation and the guide to configuring a custom domain for your GitHub Pages site, then try it on your next project.
Principal Product Manager

Build what’s next on GitHub, the place for anyone from anywhere to build anything.

Join us October 28-29 in San Francisco or online for GitHub Universe, our flagship developer event uniting people, agents, and the world’s code.
此内容由惯性聚合(RSS阅读器)自动聚合整理,仅供阅读参考。 原文来自 — 版权归原作者所有。

