







Nick has been tinkering with technology for the last 20 years in both professional and personal capacities. He has held a variety of technical roles and has experience with an array of software and hardware solutions used in enterprise environments. As a security analyst for Black Hills Information Security, Nick continues to pursue his passion of learning how a systems works, how to misuse it, and how to protect it.
GoPhish provides a nice platform for creating and running phishing campaigns. This blog will guide you through installing GoPhish and creating a campaign.
For this blog we will target our fictitious company, InfoTekExpress. A look-a-like domain, infotekexpNess.com, was purchased for the sending domain and landing pages. Additionally, other things were done behind the scenes:
We are using Debian 12 and GoPhish version 0.12.1 for this blog.
First, we downloaded GoPhish with the following command:
wget "https://github.com/gophish/gophish/releases/download/v0.12.1/gophish-v0.12.1-linux-64bit.zip"Next, we executed the following commands to extract the archive into a folder named GoPhish, open the directory, and add the execute permission to the GoPhish binary.
unzip gophish-v0.12.1-linux-64bit.zip -d gophish
cd gophish
chmod +x gophish
Create a screen session and launch GoPhish:
screen -S gophish
./gophish
When GoPhish starts for the first time it will display the admin password and the admin URL.
If your operating system has a GUI, you can connect to the URL with a browser.
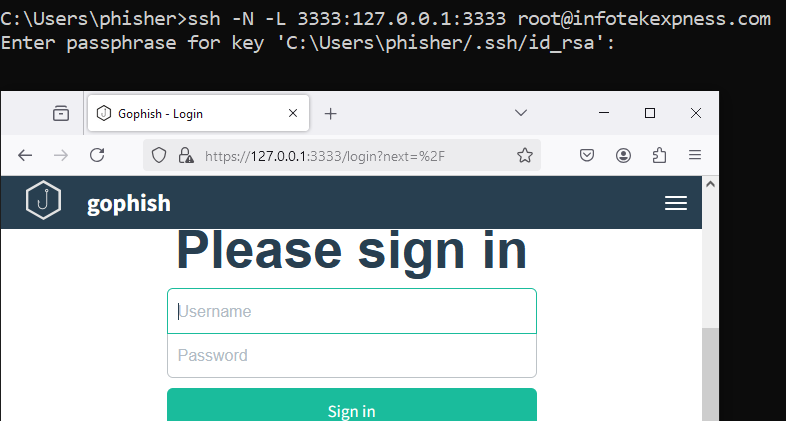
If your GoPhish server does not have a GUI, you can use a system with a GUI and SSH client you can create a local port forward using:
ssh -N -L 3333:127.0.0.1:3333 <username>@<GoPhishServer>Log in to the GoPhish admin URL with the password from the terminal, and don’t forget to update the password.
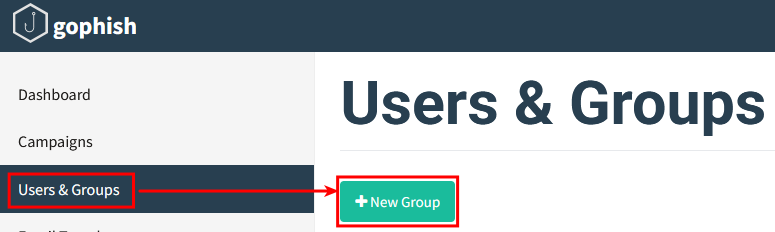
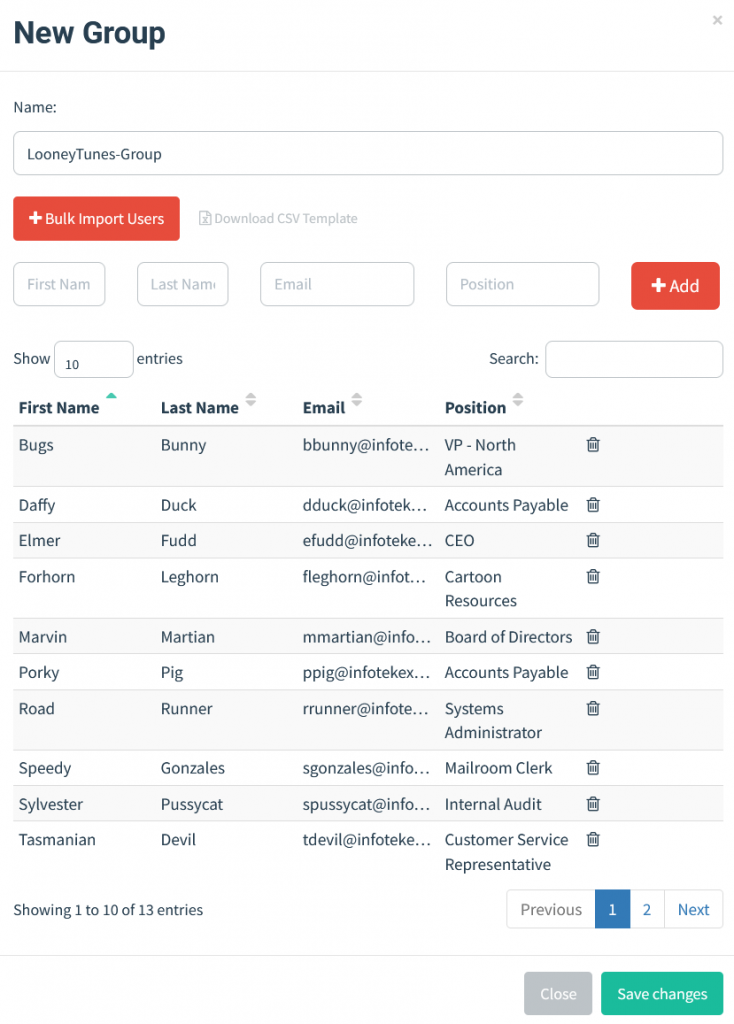
Add your targets to GoPhish by creating a new group under User & Groups > New Group.
You can import users through a comma-delimited CSV file or manually enter their information.
Create a new sending profile by navigating to Sending Profiles > New Profile.
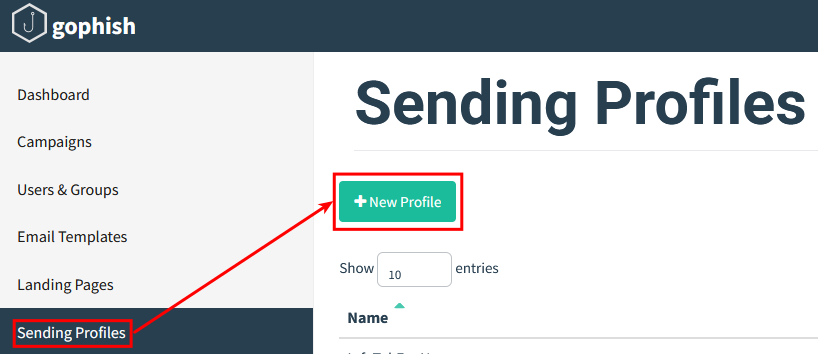
Configure sending profiles for any sending domain you’ll use.
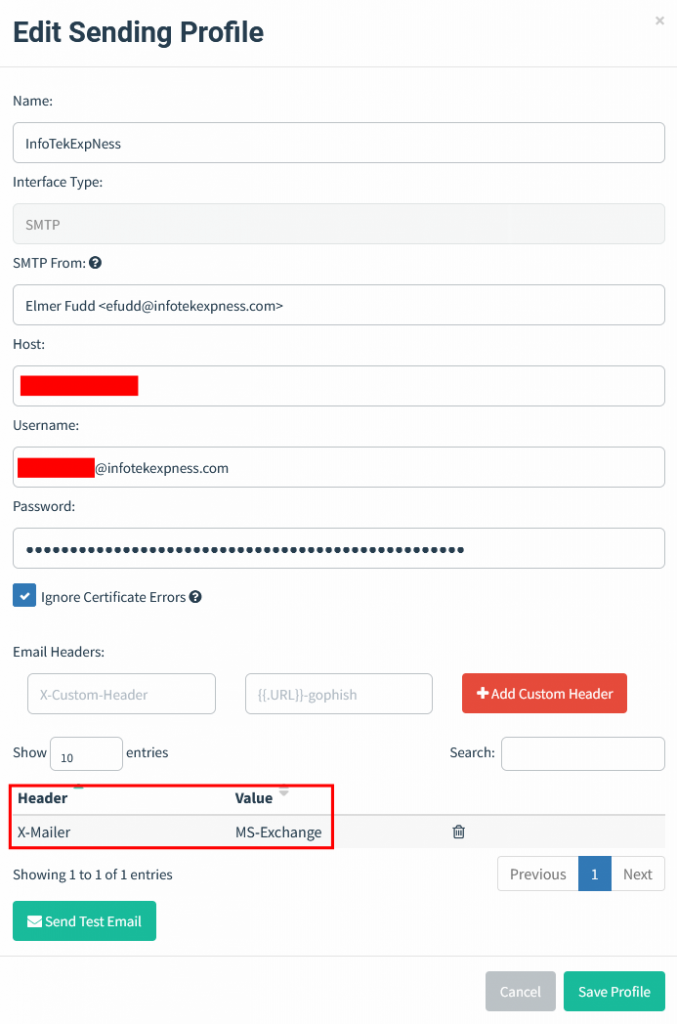
Make sure you configure the “SMTP From” to an email address with your sending domain. This domain will be used to perform SPF checks on sent messages.
By default, GoPhish includes an X-Mailer header with a value of “GoPhish”. This is a huge red flag for most email security products.
Create an email template under Email Templates > New Template.
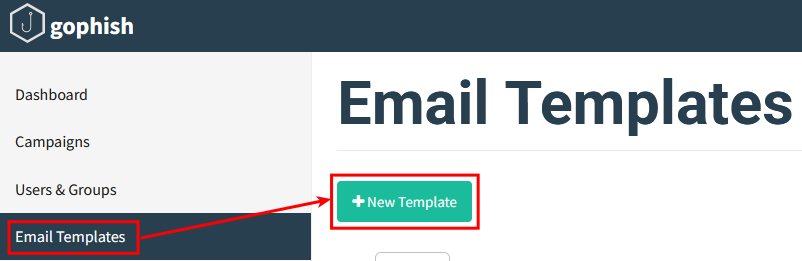
Templates can be created from scratch or imported from an email.
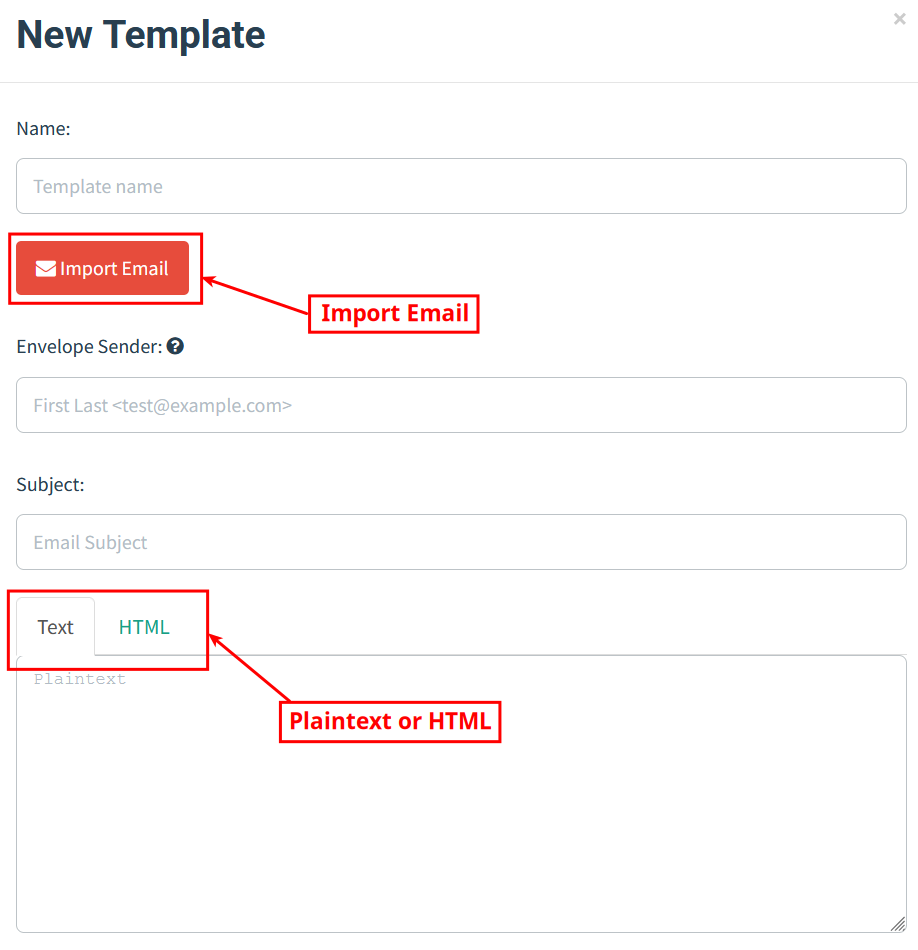
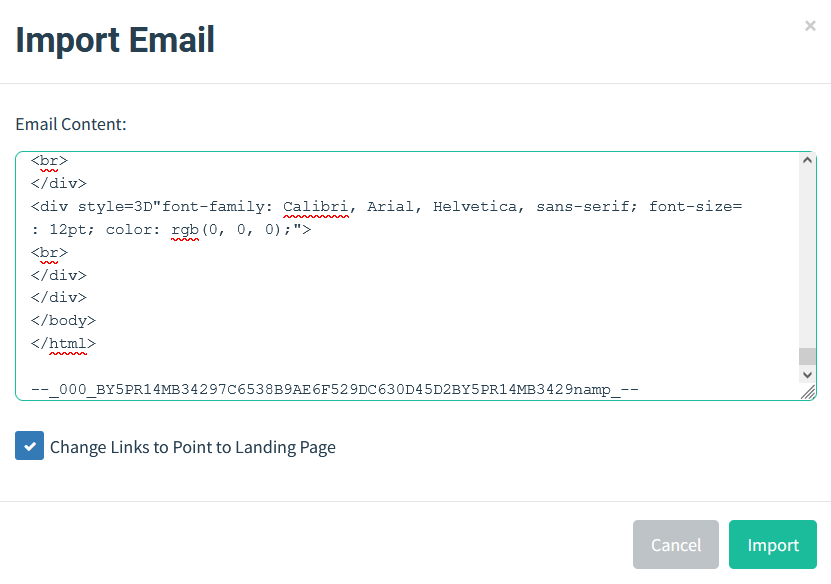
To import an email, simply save the desired message as an .eml file and open it in a text editor. Next, copy the .eml file contents and paste them into GoPhish.
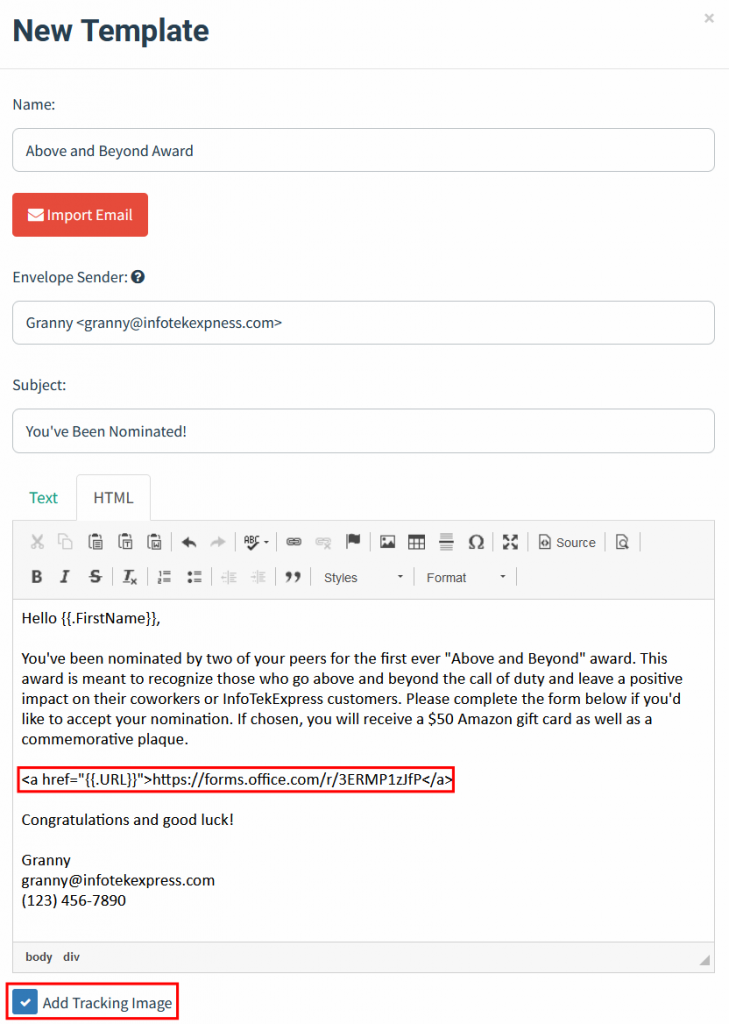
The template configuration also includes an option for “Add Tracking Image” for capture “Email Opened” metrics.
GoPhish templates support Template Variables. Template Variables can personalize messages by inserting the target’s name, position, or email address. For this blog, we will use the “{{.FirstName}}” Template Variable in the greeting and specify the “{{.URL}}” Template Variable where we want the link for our landing page.
Email Templates also support file attachments, including Office, HTML, and ICS file types. Template Variables can also be used in Office files to track file opens or macros being enabled.
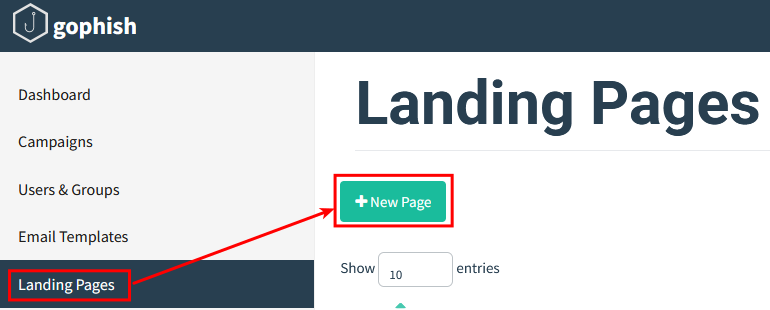
Create a landing page by navigating to Landing Page > New Page.
Create a landing page by supplying the HTML code for your desired landing page.
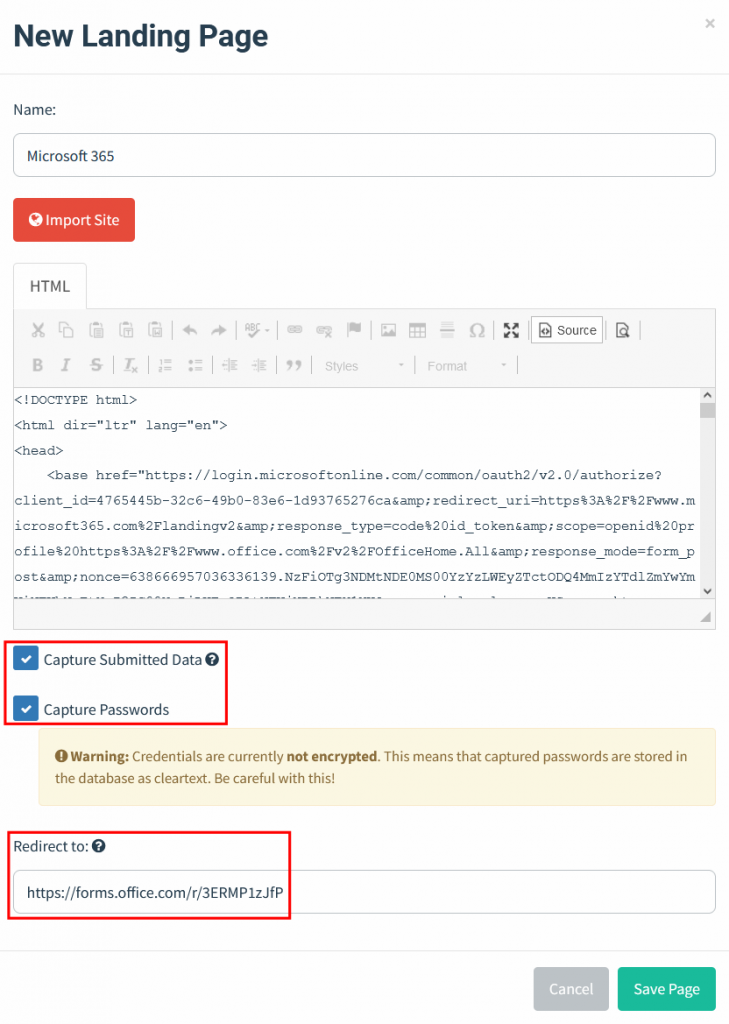
The Landing Page configuration supports capturing data that is submitted to the page, including passwords.
For credential harvesting Landing Pages, make sure SSL is configured.
Whether it’s your first phishing campaign or your 100th, make sure to send the ruse to yourself and other team members first. This will help ensure your message will go through and land in the target inbox as expected. Furthermore, it allows you an opportunity to verify the message looks like you expect and validate that the Email Opened and URL Clicked trackers are working properly.
Create a new Campaign under Campaigns > New Campaign
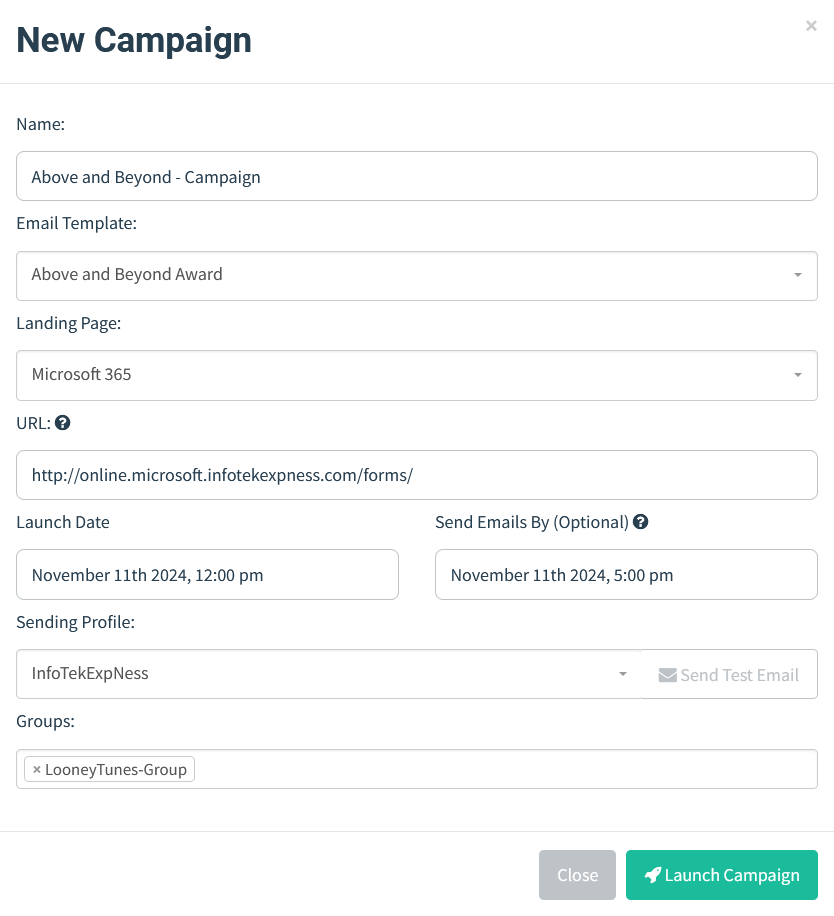
Configure your Campaign with the appropriate Email Template, Landing Page, and Sending Profile. The configured URL will be the GoPhish server URL that hosts the Landing Page and “Email Opened” image tracker.
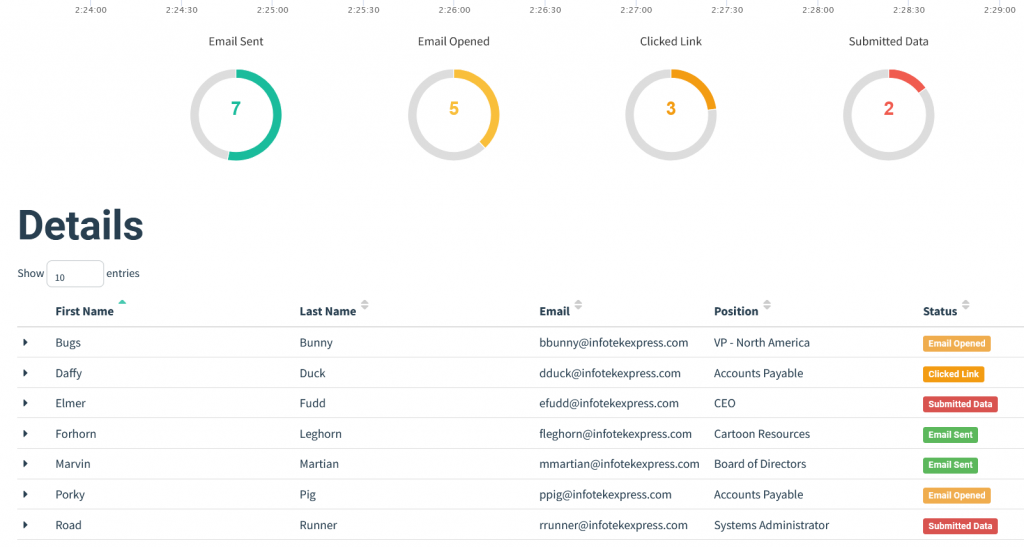
When your campaign is complete, you can export the results to CSV, and then build your own reporting tool using the Gophish API or use something like GoReport to generate reports about the campaign.
Ready to learn more?
Level up your skills with affordable classes from Antisyphon!
Available live/virtual and on-demand
此内容由惯性聚合(RSS阅读器)自动聚合整理,仅供阅读参考。 原文来自 — 版权归原作者所有。