



Resizing images is an integral part of the web, whether to display images on your website or app, store lower-resolution images, or generate a training set for neural networks.
Python offers a rich set of options to perform some of the routine image resizing tasks. This article will walk you through those options and look at ImageKit - a cloud-based, ready-to-use solution that offers real-time image manipulation.
We will look at
- Resizing Images using Pillow
- Resizing Images using OpenCV
- Simplify all of it by using ImageKit, a complete image optimization product
Before we get started
Make sure you have a recent version of Python installed on your system, preferably Python 3.6+, then spin up a virtual environment.
# create virtual env
Python3 -m venv image-resize

# activate
source image-resize/bin/activate
When we get to ImageKit later in this article, you will need to sign up for a free account on ImageKit's website. The free plan has access to all the features we need for image resizing and other transformations.
We will be using an image by Asad from Pexels for all examples in this article. This image is also hosted on ImageKit.
https://ik.imagekit.io/ikmedia/python-resizing/sunset_SLoRHsWVo.jpgResizing Images using Pillow (PIL)
Pillow is one of the most popular options for performing basic image manipulation tasks such as cropping, resizing, or adding watermarks.
Install the latest version of Pillow with pip.
Python3 -m pip install PillowPillow provides the resize() method, which takes a (width, height) tuple as an argument.
from PIL import Image

image = Image.open('sunset.jpg')
print(f"Original size : {image.size}") # 5464x3640

sunset_resized = image.resize((400, 400))
sunset_resized.save('sunset_400.jpeg')
We read our image using the open() method from the Image module. Then we use resize with a tuple, representing the width and height of the output image, respectively, as an argument containing the new size.
Here is how our resized image looks like

Maintain Aspect Ratio while Resizing
The resize method is pretty handy and quick to work with, but it doesn't always give the best results. Images resized using this method may be stretched or forced to fit in a box and therefore skewed.
ImageKit makes it ridiculously easy to resize images while maintaining the aspect ratio. See how ImageKit works for resizing.
Although the thumbnail() method can address the problem of skewing, it creates a thumbnail version of the image whose size does not exceed the dimensions specified in the arguments.
image.thumbnail((400, 400))image.save("sunset-aspect.jpeg")The thumbnail method resizes the image in place without returning an image object. Therefore, make sure to save the file with a different name.

Cropping an image with Pillow
The crop() method used to crop an image accepts a 4-tuple of the x and y coordinates of the top-left and the bottom-right corner of the crop area.
So, if we want to crop an image from the (300,300) point to (700,900) point, the code would be
# Crop the image
box = (300, 300, 700, 900)
cropped_image = image.crop(box)
cropped_image.save('cropped-image.jpg')

# 400x600 size of the image
print(cropped_image.size) 
There is an easier method of using ImageOps. The ImageOps.crop() method accepts two arguments:
img- The image to cropborder- The width of the area to be removed. The same width is removed from all four sides of the image.
from PIL import Image, ImageOps

image = Image.open('sunset.jpg')
cropped = ImageOps.crop(image, 600)
cropped.save("crop-imageops-600.jpg")
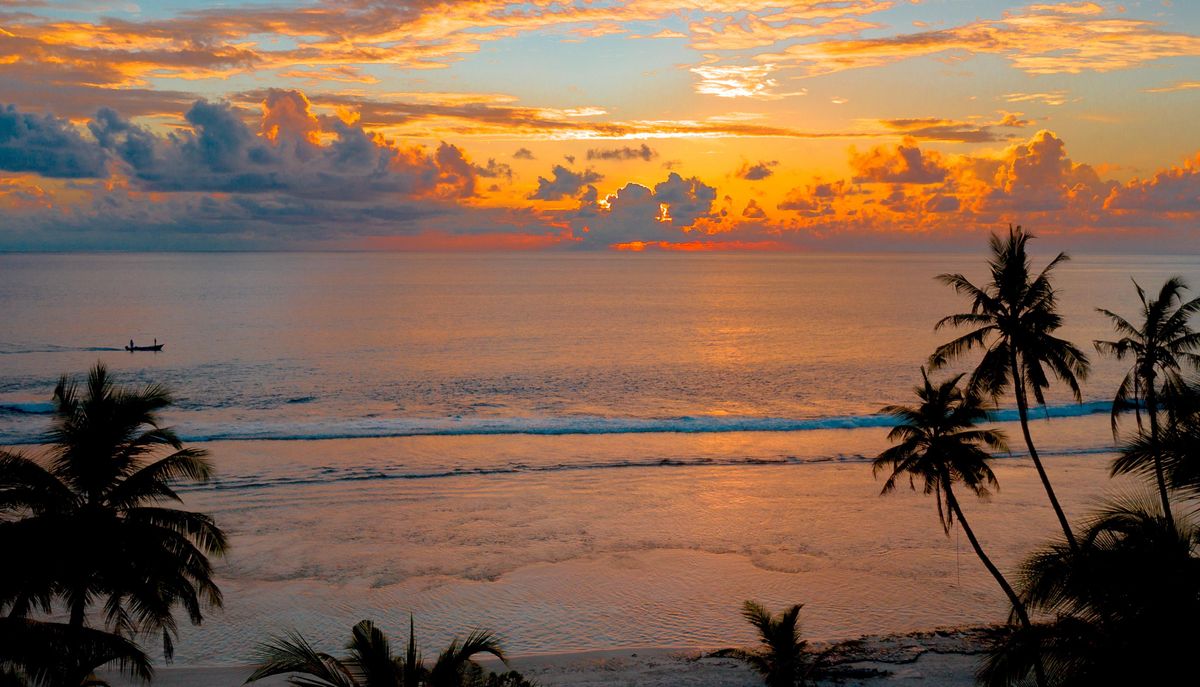
Here is our sample image cropped by 600px from all sides.
You should check out the pillow handbook for more complex image operations.
Bonus: Adding a watermark to an image
To add watermarks, we need to use the ImageDraw and ImageFont methods. The ImageDraw module provides simple-to-use APIs for working with 2D graphics, from creating polygons to writing text. ImageFont sets the font of the watermark text.
from PIL import Image, ImageDraw, ImageFont

im = Image.open('sunset-aspect.jpg')
width, height = im.size # 400x266

draw = ImageDraw.Draw(im)
text = "Sunset"

font = ImageFont.truetype('/usr/share/fonts/truetype/ubuntu/UbuntuMono-RI.ttf', 20)
textwidth, textheight = draw.textsize(text, font)

# calculate new x,y coordinates of the text
x = (width - textwidth)/2
y = (height - textheight)/2

# draw watermark in the center
draw.text((x, y), text, font=font)

im.save('pillow-watermark.jpg')
Make sure to choose a font that is available on your system. You can set the position, fill, anchor, or language. You can also download a font of your choice and provide the path to it.
Here is the sample output -

Resizing images using OpenCV
OpenCV is the de-facto library used to perform complex image processing tasks such as face detection, pixel transformations, and 3D modeling. But, it can perform more generic tasks like image resizing as well.
First, let's install the latest opencv for Python using pip.
Python3 -m pip install opencv-PythonNote that we are using OpenCV 4.5 for this tutorial. cv2 is the name of the Python wrapper.
Resizing with OpenCV
Although OpenCV is a viable choice for image resizing, it is best suited for heavy-duty tasks like object detection. Stick to Pillow for basic image manipulation or scroll below to see how ImageKit does that.
Resizing images can be done by cv2.resize() method.
import cv2

img = cv2.imread('sunset.jpg')

# Get original height and width
print(f"Original Dimensions : {img.shape}")

# resize image by specifying custom width and height
resized = cv2.resize(img, (2000, 1500))

print(f"Resized Dimensions : {resized.shape}")
cv2.imwrite('resized_imaged.jpg', resized)
Cropping an image with OpenCV
OpenCV uses a NumPy array under the hood for representing images. We can leverage array slicing to extract the part of the pixels we need, i.e., crop the image.
Since this is a 2D array, we need to specify the start and end coordinates, just like we did while cropping images with Pillow. Though, the syntax here is slightly different.
If we want to crop an image starting at (0,0) point to (2732, 3640) point, then we can do this with OpenCV as shown below
# image[startY:endY, startX:endX]
cropped_image = img[0:3640, 0:2732]
cv2.imwrite('cropped-image-opencv.jpg', cropped_image)
print(f"Cropped Image Dimensions : {cropped_image.shape}") # 2732x3640
You can read more about image processing tutorials from OpenCV.
Using ImageKit to resize and crop images
Both Pillow and OpenCV are good options to resize and crop images. But these solutions require extensive setup and maintenance in line with the changing business needs.
This might not be the best utilization of your or your team's time when tools like ImageKit.io can do the same job for you with minimal effort.
ImageKit.io is a real-time image and video optimization, manipulation, and storage product that can help you do basic resizing and cropping on your images and more.
You have the flexibility to either upload your images to the integrated media library or attach your existing cloud storage or servers to ImageKit and start delivering optimized files. Several image and video optimizations are done automatically, considering multiple factors, whereas resizing, cropping, and other transformations can be done by simply modifying the URL in real-time.
Setup with ImageKit
In our example, we have already uploaded the sample image to ImageKit.
https://ik.imagekit.io/ikmedia/python-resizing/sunset_SLoRHsWVo.jpgYou should sign up for a free account on ImageKit that comes with an ample amount of storage and delivery bandwidth. You can download the original image from Pexels from here and upload it to your media library.
We will be using ImageKit's Python SDK to create the resized and cropped image URLs. You can install this SDK using the following command -
Python3 -m pip install imagekitio Python-dotenvBasic resizing by changing height and width
Resizing images in ImageKit is simple. Just add the required dimension transformation to the URL, and you will get the resized image in real-time.
For example, to get the sample image with a width of 200px, the URL will be -
https://ik.imagekit.io/ikmedia/python-resizing/sunset_SLoRHsWVo.jpg?tr=w-200Image resized to width 200px using URL-based transformation parameters
While this is a simple string append operation, the Python SDK makes the code simpler and readable.
image_url = imagekit.url({
    "path": "/python-resizing/sunset_SLoRHsWVo.jpg",
    "transformation_position": "query",
    "transformation": [
      {"width": "200"}
    ]
})
Example of generating a URL at width 200px with the Python SDK
Similarly, if we want to get a 400 x 300px resized image from ImageKit, the URL will contain height and width transformation parameters.
https://ik.imagekit.io/ikmedia/python-resizing/sunset_SLoRHsWVo.jpg?tr=w-400,h-300The corresponding code with the Python SDK will be
image_url = imagekit.url({
    "path": "/python-resizing/sunset_SLoRHsWVo.jpg",
    "transformation_position": "query",
    "transformation": [
      {"width": "400", height : "300"}
    ]
})
There are several other image transformation options with ImageKit. You can read about them from the product documentation or from the Python SDK documentation.
Cropping images with a specific aspect ratio
Another transformation available in ImageKit is the aspect ratio transformation. You can use it with either the width or the height transformation to fix the output image's aspect ratio and transformations.
For example, to get an image at 800px width with an aspect ratio 4:3, the URL will be
https://ik.imagekit.io/ikmedia/python-resizing/sunset_SLoRHsWVo.jpg?tr=w-800,ar-4-3Cropping options available with ImageKit
In the above examples, if the output aspect ratio doesn't match the input aspect ratio, the image gets cropped around the center of the original by default.
However, ImageKit gives us multiple cropping options that can prevent cropping on the image and help us get the required output. Let's look at some of the standard cropping options below.
1. No cropping - Forcing Requested Dimensions
You can do this by adding the c-force transformation parameter to the URL. This will force-fit the image to the size requested. Though, because this is a force fit, it may cause the image to get skewed.
https://ik.imagekit.io/ikmedia/python-resizing/sunset_SLoRHsWVo.jpg?tr=w-400,h-200,c-force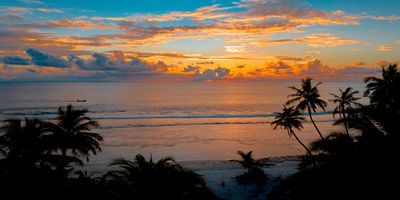
In the Python SDK, this can be specified using the crop transformation
image_url = imagekit.url({
    "path": "/python-resizing/sunset_SLoRHsWVo.jpg",
    "transformation_position": "query",
    "transformation": [
      {
        "height": "200",
        "width": "400",
        "crop": "force",
      },
    ]
})
2. Fit inside a container
The at_max crop strategy fits the image inside a container with a defined height and width while preserving the aspect ratio. Either the height or width of the image may differ from the requested dimensions, and the resulting image will always be smaller than the dimensions specified.
https://ik.imagekit.io/ikmedia/python-resizing/sunset_SLoRHsWVo.jpg?tr=w-400,h-200,c-at_max
3. Fit outside a container
Opposite to the at_max crop, the at_least crop results in an image that is at least the size that is specified using the height and width dimensions. Either the height or width of the image may differ from the requested dimensions, and the resulting image will always be larger than the dimensions specified.
https://ik.imagekit.io/ikmedia/python-resizing/sunset_SLoRHsWVo.jpg?tr=w-400,h-200,c-at_least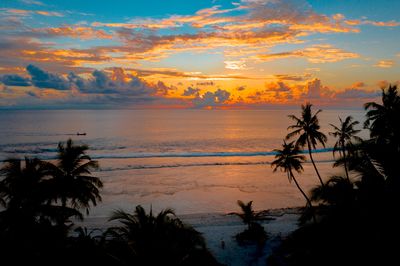
4. Pad an image
If you still want the resulting image to match the output dimension requested but not get cropped, you can use the pad_resize crop mode. Note that this is different from the crop transformations used above and is specified using the crop_mode transformation. You can also specify the padding color that is added around the image using the background transformation.
image_url = imagekit.url({
    "path": "/python-resizing/sunset_SLoRHsWVo.jpg",
    "transformation_position": "query",
    "transformation": [
      {
        "height": "200",
        "width": "400",
        "crop_mode": "pad_resize",
        "background" : "DADADA"
      },
    ]
})
The resulting URL is
https://ik.imagekit.io/ikmedia/python-resizing/sunset_SLoRHsWVo.jpg?tr=w-400,h-200,cm-pad_resize,bg-DADADA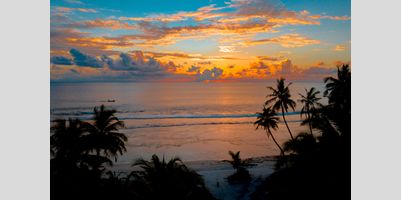
You can see grey-colored padding around the image, which perfectly fits the 400 x 200px output dimensions without cropping the image.
Bonus: Adding watermarks to an image using ImageKit
ImageKit offers more than 40+ different real-time transformation parameters for images.
We can use them to add both image and text overlays to our images and control how and where they are displayed on our images. You can refer to the complete overlays documentation here.
Let's look at an example to add text on our base image. Here we specify the text, its font size, and font color in the URL itself.
image_url = imagekit.url({
    "path": "/python-resizing/sunset_SLoRHsWVo.jpg",
    "transformation_position": "query",
    "transformation": [
      {
        "height": "400",
        "raw": "l-text,i-Sunset,fs-30,co-FFFFFF"
       }
    ]
})
The resulting image URL is
https://ik.imagekit.io/ikmedia/python-resizing/sunset_SLoRHsWVo.jpg?tr=h-400,l-text,i-Sunset,fs-30,co-FFFFFF,l-end
Similarly, we can add image watermarks or combine multiple watermarks in different positions and sizes on an image in real-time. You will find such examples in the documentation for overlays and chained transformations.
Conclusion
Here's a quick summary of what we learned today. We looked at three different ways of resizing images in Python.
Pillow provides easy-to-setup and usable methods for performing basic image manipulation tasks. The Pillow Handbook contains examples of different operations you can perform on the image.
OpenCV can also resize images using the cv2.resize() utility, but it is generally slower than other available methods.
ImageKit is a third-party cloud-based image transformation service that you can use to manipulate images at scale using URL-based transformation parameters.
Sign up now for ImageKit's forever free plan and start resizing images in real-time with minimal effort.