A poster image is the thumbnail that users see in the video player before a video starts playing. It's an essential part of the user experience, providing a visual preview of the video content without loading the video, and inviting the user to engage with it.
This guide will show you how to add a poster image to a Video.js player. We will also look at automating the creation of dynamic video poster images for cases where you are dealing with a lot of videos every day and can't create posters for each one manually.
We have a working repository with a ReactJS component for Video.js here. All the code samples in this article are from the same repository.
Setting a Poster image with an image URL
To add a poster image to your Video.js player, you need to pass the poster option within the player configuration object and give it an image URL that is accessible over HTTP or HTTPS. It doesn't really matter which domain this image comes from, as long as it is accessible in a browser.
Passing the poster parameter
Our VideoJS React component in the repository accepts a poster option via the options prop for the component. You can see a code snippet below.
....
  // Build video options
  const buildVideoOptions = () => ({
    controls: options?.controls ?? true,
    autoplay: options?.autoplay ?? false,
    ...other options...

    poster: options?.poster,

    sources: options?.sources,
    ...other options...
  });
...
Now, on our application page at src/pages/VideoJsPoster.jsx in the same repository, we load this component with our MP4 video (for the demo, we hosted a video on ImageKit and the used CDN-powered, optimized video URL we get from there). The poster option is set to the URL of the poster image that we created and uploaded, again to the ImageKit Media Library.
<!-- Video Source -->
https://ik.imagekit.io/ikmedia/example_video_train.mp4

<!-- Poster Image Source -->
https://ik.imagekit.io/ikmedia/Graphics/VideoJS Guides/example-video-poster.png
The code for our page now looks like this. Observe the sources and poster options being passed to the player using the above URLs.
import React from 'react'
import VideoJS from '../components/VideoJS.jsx'
export default function VideoJsPoster() {
const videoJsOptions = {
controls: true,
autoplay: false,
preload: 'auto',
responsive: true,
fluid: true,
sources: [{
src: "https://ik.imagekit.io/ikmedia/example_video_train.mp4"
}],
poster: "https://ik.imagekit.io/ikmedia/Graphics/VideoJS Guides/example-video-poster.png"
}
return (
<main style={{ maxWidth: 960, width: '100%', margin: '2rem auto' }}>
<h1 style={{fontSize: '1.25rem', marginBottom: '1rem'}}>Video.js Poster image demo</h1>
<VideoJS options={videoJsOptions} />
</main>
)
}
When we now open this page (on your local machine after npm run dev, you would be able to access it on http://localhost:5137/videojs-poster), Video.js will load the image from the specified URL and display it before the user interacts with the video.
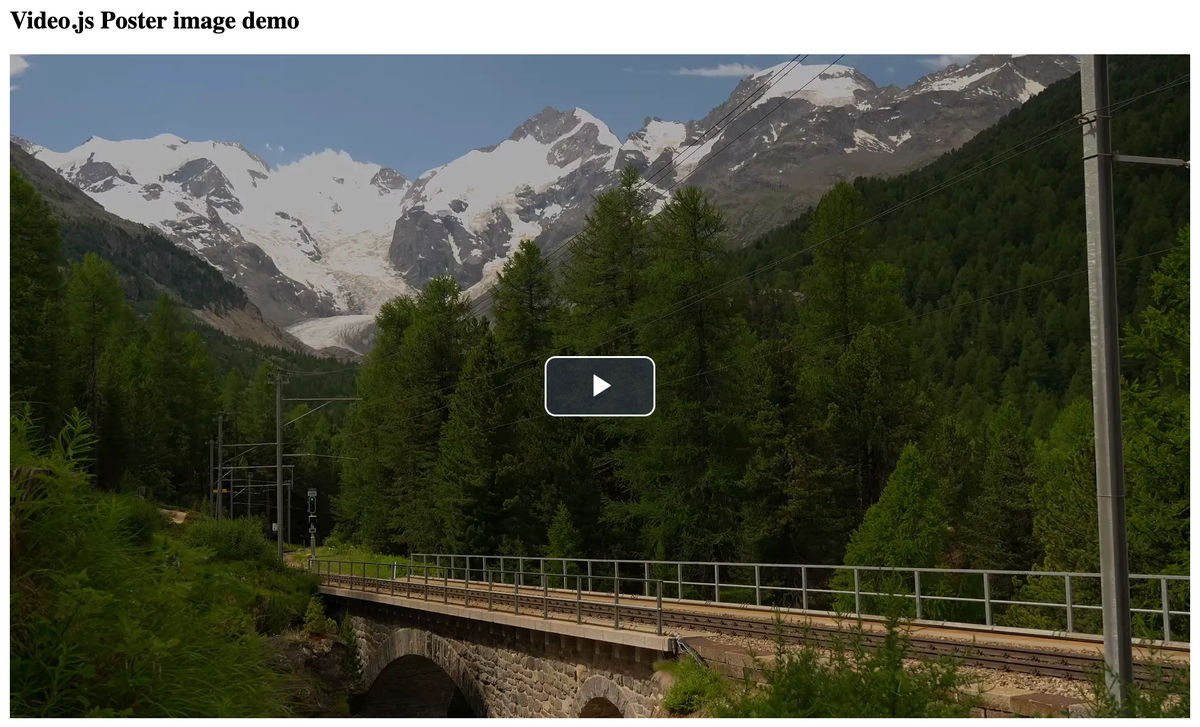
Note: We turned off autoplay for this video by explicitly passing
autoplay: falsein the player options, to see the poster image before the video plays. If the video is set to autoplay, then the poster image won't appear for long, if at all.
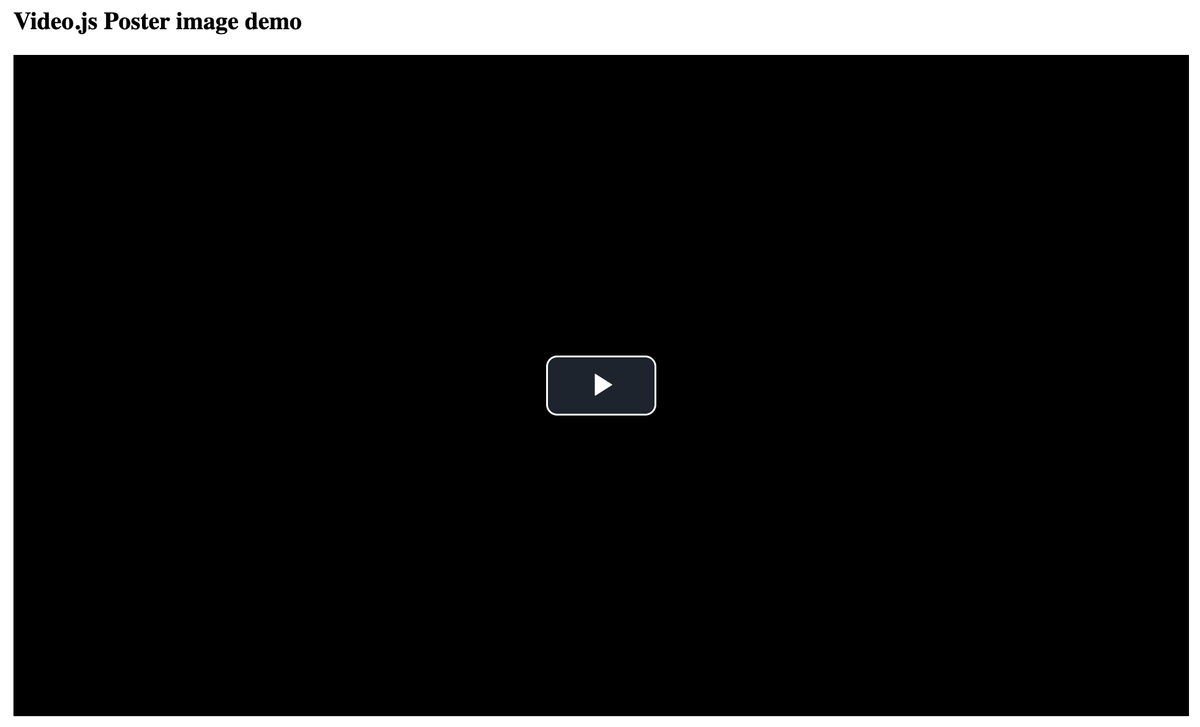
With autoplay off, and no poster image provided, the player would load a black screen by default as shown below.
How to obtain the video poster
In the example above, we had an MP4 video and a poster image, and we uploaded both of them to ImageKit to get their HTTPS URLs. If you have to create a poster image for your video, here are the common ways to do it :
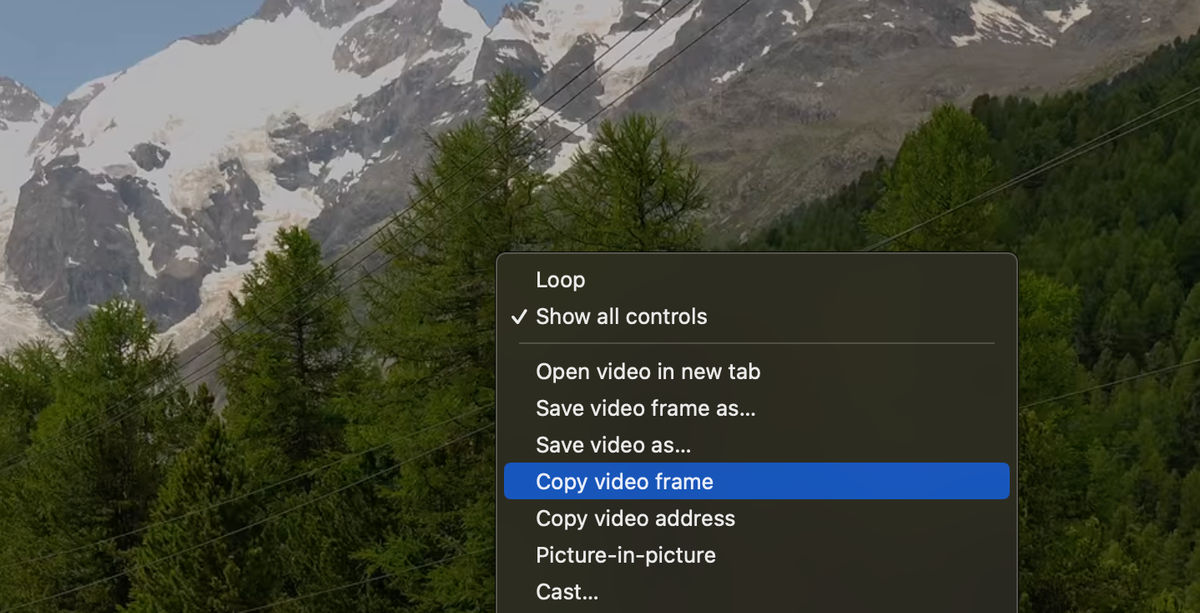
1. Play the MP4 video in a browser. Pause the video on the frame you want, right-click on the video, and click on "Copy Video Frame". Paste this video frame in any photo editing tool like Photoshop or Canva, and save it.
2. Use ffmpeg to extract a video thumbnail. This StackOverflow question gives a few different working commands for the same. The simplest command looks like this ffmpeg -i input.mp4 -ss 00:00:01.000 -vframes 1 output.png.
Once you have created a poster using either of the methods above, you need to make it available over an HTTP URL. So, you can either upload this image to your web server, or to a storage like S3 and make it accessible, or like in our case, we have uploaded it to our ImageKit Media Library, and we get a CDN-powered URL with built-in optimizations instantly.
There is a third way of creating thumbnails automatically using ImageKit's Video API, which has been discussed in the next section.
Automating video poster image generation at scale (using ImageKit Video API)
Manually creating and uploading a poster image for every video, like we did above, can be time-consuming.
A much simpler way is to use ImageKit's video API to generate a thumbnail from any video from any frame in real-time. It gives you the poster image optimized in the correct format, compressed, you can resize it to whatever dimension is suitable for your requirements, and most importantly, it saves you time from creating separate image assets or uploading them. You can read more about it from here.
To generate a thumbnail for a video, the video itself will need to be either uploaded to the ImageKit Media Library, or available via one of the external storage like S3, Google Cloud Storage, or your web server connected to ImageKit.
After that, you just need to append /ik-thumbnail.jpg to your video's URL. ImageKit automatically extracts the first frame of the video and returns it as an optimized WebP or JPEG image, depending on the requesting device. So, in our case, the video URL and its poster image thumbnail URL are as follows:
<!-- Video URL -->
https://ik.imagekit.io/ikmedia/example_video_train.mp4

<!-- Poster Image URL -->
https://ik.imagekit.io/ikmedia/example_video_train.mp4/ik-thumbnail.jpg
Original Video URL and its corresponding real-time poster thumbnail URL

Extracting the thumbnail from a specific frame
For more control, you can specify a specific frame to extract using the so (start offset) transformation. The value of so is given as number of seconds from the beginning of the video. This is particularly useful for creating a more representative poster from a key moment in the video.
<!-- Default Poster Image URL -->
https://ik.imagekit.io/ikmedia/example_video_train.mp4/ik-thumbnail.jpg

<!-- Poster Image URL from 5th second -->
https://ik.imagekit.io/ikmedia/example_video_train.mp4/ik-thumbnail.jpg?tr=so-5
Poster Image URLs using ImageKit at the default first frame and the 5th second frame

Using this dynamic poster image with Video.js
To use this poster image created using ImageKit's Video API, simply replace your static poster URL with the generated ImageKit URL.
const VIDEO_SRC = 'https://ik.imagekit.io/ikmedia/example_video_train.mp4'

const videoJsOptions = {
  controls: true,
  autoplay: false,
  preload: 'auto',
  responsive: true,
  fluid: true,
  sources: [{
    src: VIDEO_SRC
  }],
  poster: VIDEO_SRC + "/ik-thumbnail.jpg"
}
Adding text or an image watermark to your poster image
Very often, you need to add your own logo for branding, or a "Play" icon, or the title of the video on the poster image. While this can also be done manually, ImageKit makes it really easy with the real-time transformations.
You can add both text and image overlays using the l-text and l-image transformations, respectively. We are not going into the details of how these transformations work, but you can read more about layer transformations in ImageKit here.
Below is a URL where we add the video title on the poster image using ImageKit's layer transformations.
https://ik.imagekit.io/ikmedia/example_video_train.mp4/ik-thumbnail.jpg?tr=so-5:l-text,i-Train%20through%20the%20mountains,co-FFFFFF,fs-90,tg-b,lx-40,ly-N40,l-endThis URL can be passed to the poster property in the options prop, resulting in a visually appealing thumbnail that encourages the user to click and play the video.

Optimizing for better UX with poster images and preload
While a poster image improves the visual experience, the video itself may still start loading in the background or autoplay (which we prevented in this guide), consuming bandwidth and potentially slowing down the page.
To optimize playback, you can control the behaviour with the preload attribute. This attribute tells the player how much video data to download before the user hits play.
The preload attribute can be configured with the following values:
- none: This is the most efficient setting in terms of data download. The browser will not download any part of the video until the user clicks the play button. This is ideal for scenarios where there is a high probability that the user may not interact with the video. The downside is slow startup time as the video starts downloading only when the user clicks on the play button. If your website can work with that, then this might be the way to go.
- metadata: This option instructs the browser to download only the video's metadata (duration, dimensions, etc.), not the entire video content. This provides a balance, allowing for a faster startup time if the user decides to play the video, without requiring the entire file to be preloaded.
- auto: This is the default value of the preload option, and it instructs the player to start loading the video immediately, if the browser supports it. While it provides a fast video start time upon interaction, it is not recommended when a poster image is in place, as the user may never interact with the video; however, the player will continue downloading the video in the background.
Conclusion
We looked at how to create a poster image and use it with Video.js player. We also looked at creating these images dynamically and adding image and text watermarks to them, to make more interesting poster images.
You can read more about Video.js documentation here, and if you want to try out ImageKit's Video API, you can sign up here.