


Domain reconnaissance is a fundamental skill that every security professional should have in their arsenal. In this article, I’ve gathered a range of tools and techniques to help you level up your domain investigation workflow. While many of the commands and utilities covered here are standard fare for seasoned professionals, you’ll also find a few lesser-known tools that can add new depth and efficiency to your recon process.
Let’s start with step-by-step walk through the basics of domain investigation, providing essential techniques for obtaining and interpreting DNS records, verifying domain ownership, checking connectivity, identifying exposed services, and inspecting SSL/TLS certificates.
Understanding DNS records is the first step in any domain investigation. DNS records reveal how a domain is structured and what services it uses.
Most operating systems include three main command-line tools for querying DNS records:
host utility is a quick and user-friendly tool for simple DNS lookups and reverse queries.nslookup command is widely available and supports an interactive mode, making it suitable for quick and basic queries, though it is considered deprecated on most systems.dig for its significant advantages — including detailed output, a wide range of query and output options, support for zone transfer attempts, and, above all, the script-friendly +short flag, which delivers clean, parseable results ideal for automation.To retrieve all DNS records for a domain, you might try:
However, on many domains, ANY queries return only a synthetic HINFO record (often referencing RFC8482) instead of all DNS records. This is a privacy and anti-abuse measure implemented by major DNS providers.
In these cases, you need to query for the exact record type (A, MX, TXT, etc.) for reliable results:
; <<>> DiG 9.10.6 <<>> netlas.io A
;; Got answer:
;; ->>HEADER<<- opcode: QUERY, status: NOERROR, id: 34278
;; flags: qr rd ra ad; QUERY: 1, ANSWER: 3, AUTHORITY: 0, ADDITIONAL: 1

;; QUESTION SECTION:
;netlas.io.			IN	A

;; ANSWER SECTION:
netlas.io.		300	IN	A	104.26.13.97
netlas.io.		300	IN	A	104.26.12.97
netlas.io.		300	IN	A	172.67.68.5
Look in the ANSWER SECTION for the IPv4 addresses.
Clean Output for Scripting
For quick parsing, use the +short flag to display only the record values:
This is especially useful for extracting TXT records like SPF or DMARC without extra output to parse.
Common DNS Record Types and How to Interpret Them:
How can I check if a domain supports DNSSEC?
If you see records such as RRSIG, DNSKEY, or DS when querying a domain using dig, it means DNSSEC is enabled and actively used — providing cryptographic assurance that DNS responses are authentic and have not been tampered with.
To learn more about securing DNS zones with DNSSEC, see What is DNSSEC?
The WHOIS database is the second place to check — right after DNS records — when investigating a domain. It provides registration details such as the registrant’s name, organization, contact information, registrar, registration and expiration dates, and sometimes technical or administrative contacts.
Basic WHOIS command (output trimmed for clarity):
Domain Name: netlas.io
Registrar: NameCheap, Inc.
Creation Date: 2020-11-06T08:10:14Z
Registry Expiry Date: 2026-11-06T08:10:14Z
Domain Status: clientTransferProhibited https://icann.org/epp#clientTransferProhibited

Registrant Organization: Privacy service provided by Withheld for Privacy ehf
Registrant Country: IS

Name Server: faye.ns.cloudflare.com
Name Server: gordon.ns.cloudflare.com

DNSSEC: unsigned
Anonymous Records & Data Protection Laws
Nowadays, most domain WHOIS results show only limited or redacted details. This is due to a combination of privacy measures and evolving data protection regulations:
In a typical WHOIS output, you’ll often see privacy service names, generic emails (like [email protected]), or explicit mentions of redacted information. When this is the case, it’s usually impossible to determine the actual owner directly from WHOIS.
However, for many corporate or organizational domains, at least the company or organization field is still visible as the registrant. This can help identify the legitimate owner even if personal contact details are withheld.
WHOIS isn’t just for domains — you can also query an IP address to see which organization or provider owns a specific network block:
This is useful for mapping hosting infrastructure or attributing activity to a particular ISP or organization.
Some large companies own not just subnets, but entire autonomous systems. If this is the case, see our article: ASN Lookup Explained: Tools, Methods & Insights.
When investigating a domain or host, it’s essential to know if it’s reachable from your location — or from different parts of the world. Many professionals use VPN/proxies or VPS servers located in various regions to test connectivity from multiple geographic locations, helping to identify regionally restricted or geo-fenced hosts.
The most common protocol used for basic connectivity checks is ICMP (Internet Control Message Protocol). Both ping and traceroute rely on ICMP.
The ping command sends ICMP Echo Request packets to the target and reports if Echo Replies are received, indicating the host is reachable.
The traceroute tool (or tracert on Windows) maps the path to the host by sending ICMP packets (or sometimes UDP) with incrementally increasing TTL (Time To Live), showing each hop along the route.
ICMP traffic can be filtered by the host or provider
Some hosts and network providers intentionally block or filter ICMP traffic for security reasons, while still allowing regular TCP and UDP connections. If a host does not respond to ICMP (i.e., appears “down” to ping or traceroute), it may still be fully accessible via other protocols.
The next step of the investigation process is naturally linked to identifying which ports and services are exposed. This is where a combination of service identification, banner grabbing, and deeper probing tools should be brought into play.
curlcurl allows you to interact with web services and APIs from the command line. It is primarily used to send HTTP or HTTPS requests and receive responses, making it useful for checking endpoint availability, retrieving HTTP headers, and downloading content. curl can also send custom headers, handle cookies, submit data using various HTTP methods, and support different authentication mechanisms.
These examples demonstrate how curl can be used for quick checks, automation, and deeper inspection of web services during domain investigations:
1. Check if a website is up and view HTTP headers:
curl --head https://netlas.io2. Follow redirects and show all request/response details:
curl --verbose --location https://app.netlas.io/api3. Test HTTPS and display SSL certificate info:
curl --verbose --insecure https://self-signed.badssl.com/4. Simulate a browser by sending a custom User-Agent:
curl -A "Mozilla/5.0" https://app.netlas.io5. Scripted status code check for multiple domains:
for domain in $(cat domains.txt); do
  curl -s -o /dev/null -w "%{http_code} $domain\n" https://$domain
done
This script checks the HTTP status code for each domain listed in domains.txt.
Curl is an ultimate Swiss Army knife for HTTP requests within CLI
There are hundreds of options for every case. Just check the full list of options with:
Ncat is a modern replacement for the classic netcat tool. It allows you to interact with any TCP or UDP service directly from the command line. Ncat excels in establishing both client and server connections, making it ideal for testing open ports, banner grabbing, and manual service interactions. It also supports SSL/TLS for encrypted communication.
These examples demonstrate how Ncat can be used for quick connectivity checks, service probing, and troubleshooting during domain investigations:
1. Test if a TCP port is open and interact with the service:
2. Grab banner from an FTP server:
3. Create a local server listening on a port:
4. Connect to a secure HTTPS service with SSL/TLS:
ncat --ssl netlas.io 84435. Simple TCP proxying between two services:
ncat --proxy-type http --proxy proxyhost:port example.com 80Ncat is highly scriptable and ideal for automating connectivity checks across different ports and services. It is distributed as part of the Nmap suite. You can learn more about Ncat in the official Nmap documentation: https://nmap.org/ncat/
Nmap (Network Mapper) is the open source industry standard for network discovery and security auditing. It is one of the most powerful tools for identifying open ports, discovering services, and performing detailed service and OS fingerprinting.
Be aware that scanning networks with tools like Nmap and Masscan can be illegal without explicit permission. Unauthorized scanning may violate laws and regulations, and could be considered an intrusion attempt. Always ensure you have permission before performing any network scans to avoid legal consequences.
These examples demonstrate how Nmap can be used for port scanning, service detection, and gathering detailed information about a target during domain investigations:
1. Scan for most common 1000 TCP ports:
2. Scan a Range of Ports:
nmap -p1-500 app.netlas.io3. Service Version Detection:
4. OS Fingerprinting:
This command attempts to detect the operating system of the target host based on network behavior.
5. Scan Multiple Hosts or a Subnet:
You can read more about Nmap usage in this dedicated article.
Masscan is one of the fastest open-source tools for port scanning. It’s designed for high-speed, large-scale network discovery and is particularly useful when you need to scan thousands, or even millions, of IP addresses in a very short amount of time. Unlike Nmap, which is more thorough and feature-rich, Masscan prioritizes speed — ideal for scenarios where you need a quick overview of open ports across a wide range of IPs.
Masscan is rarely used for a single domain investigation — such a small target doesn’t require the speed Masscan offers. However, it becomes extremely useful when you need to investigate a large number of domains or IP addresses, making it an excellent choice for broad reconnaissance tasks, such as mapping the attack surface of an organization or scanning an entire subnet.
1. Scan a List of Domains for Open Ports
masscan -p80,443 -iL domains.txt --rate=1000This command tells Masscan to read the domains from domains.txt and scan ports 80 and 443 at a rate of 1000 packets per second.
2. Scan a Range of IPs
Masscan can be used to scan a subnet or a specific range of IPs. For example, scanning a range of IP addresses from 192.168.1.0/24:
masscan -p1-65535 192.168.1.0/24 --rate=1000This command scans all 65535 ports on the subnet 192.168.1.0/24 with a rate of 1000 packets per second.
3. Output to Nmap-Compatible Format You can output the results to a format compatible with Nmap for further analysis:
masscan -p80,443 192.168.1.0/24 -oX masscan_output.xmlThis saves the scan results in XML format, which can be loaded into Nmap or other tools for further processing.
You can pair Masscan & Nmap
While Masscan excels at speed, it lacks many of the advanced features of Nmap, such as service detection, OS fingerprinting, and scriptable NSE (Nmap Scripting Engine) capabilities.
For comprehensive service enumeration and security checks, Masscan results can be followed up with Nmap for a more detailed scan:
nmap -sV -iL masscan_output.xmlThis command uses Nmap to scan the results generated by Masscan, adding service detection (-sV).
Masscan is highly customizable and should be used responsibly to ensure scans are performed at a safe rate. Be aware that certain networks may be sensitive to mass scanning, and excessive requests could trigger security defenses.
As a final step in this “essentials” chapter, let’s consider inspecting X.509 certificates. These certificates are key (literally) to securing communications over TLS/SSL and contain a wealth of valuable information that can aid in a domain investigation.
opensslThe openssl s_client command – available on most Unix-based systems as part of the OpenSSL toolkit – is a useful tool for connecting to an SSL/TLS service and inspecting its certificate. When combined with openssl x509, can easily fetch and display detailed information about a certificate, such as its validity, issuer, and expiration date.
To fetch certificate details, you can run:
openssl s_client -connect netlas.io:443 </dev/null | openssl x509 -text -nooutThis command does the following:
openssl s_client -connect establishes a connection to netlas.io on port 443 (HTTPS).</dev/null closes the input stream to s_client, making it only fetch the connection details.| openssl x509 -text -noout pipes the certificate output to openssl x509, which then displays the certificate information in a human-readable format, including the subject, issuer, validity dates, and public key.By inspecting certificate fields, you can assess whether proper encryption standards are in place and even identify potential vulnerabilities (e.g., weak ciphers or expired certificates).
To be honest, I can never quite remember the syntax for openssl s_client, so I prefer using tools with a simpler interface whenever possible. sslscan is such a tool, designed to assess SSL/TLS configurations across a variety of services.
sslscan focuses on providing detailed insights into the security configurations of services like HTTPS, SMTP, IMAP, and more. It detects supported SSL/TLS protocols and cipher suites, flags weak or deprecated options, and analyzes certificate details, including the issuer and validity period. It also checks for vulnerabilities like Heartbleed and TLS compression attacks, supports StartTLS for services that upgrade from plaintext to encrypted connections, and offers many other security checks.
To scan an HTTPS service and display detailed information:
Version: 2.1.6
OpenSSL 3.5.0 8 Apr 2025

Connected to 172.67.68.5

Testing SSL server netlas.io on port 443 using SNI name netlas.io

  SSL/TLS Protocols:
SSLv2     disabled
SSLv3     disabled
TLSv1.0   disabled
TLSv1.1   disabled
TLSv1.2   enabled
TLSv1.3   enabled

  TLS Fallback SCSV:
Server supports TLS Fallback SCSV

  TLS renegotiation:
Session renegotiation not supported

  Heartbleed:
TLSv1.3 not vulnerable to heartbleed
TLSv1.2 not vulnerable to heartbleed

  Supported Server Cipher(s):
Preferred TLSv1.3  128 bits  TLS_AES_128_GCM_SHA256
Accepted  TLSv1.3  256 bits  TLS_AES_256_GCM_SHA384
...

  Server Key Exchange Group(s):
TLSv1.3  128 bits  secp256r1 (NIST P-256)
TLSv1.3  192 bits  secp384r1 (NIST P-384)
...

  SSL Certificate:
Signature Algorithm: ecdsa-with-SHA256
ECC Curve Name:      prime256v1
ECC Key Strength:    128

Subject:  netlas.io
Altnames: DNS:netlas.io
Issuer:   WE1

Not valid before: May  1 05:26:42 2025 GMT
Not valid after:  Jul 30 06:26:34 2025 GMT
For more information and to download sslscan, visit the official GitHub repository: https://github.com/rbsec/sslscan.
Advanced SSL/TLS Assessments
Consider sslyze as an alternative to sslscan. It offers more in-depth vulnerability scanning, detailed protocol analysis, and comprehensive service discovery.
The tool is available via pip and can be easily integrated into Python scripts, providing flexibility for automation and custom workflows.
Online tools and APIs can take your domain investigation beyond the basics, offering fast, user-friendly access to deeper intelligence without the need for complex command-line work. In this section, we’ll explore how to accelerate basic reconnaissance, perform instant DNS lookups in the browser, analyze a website’s technology stack, and review domain history with screenshot archives.
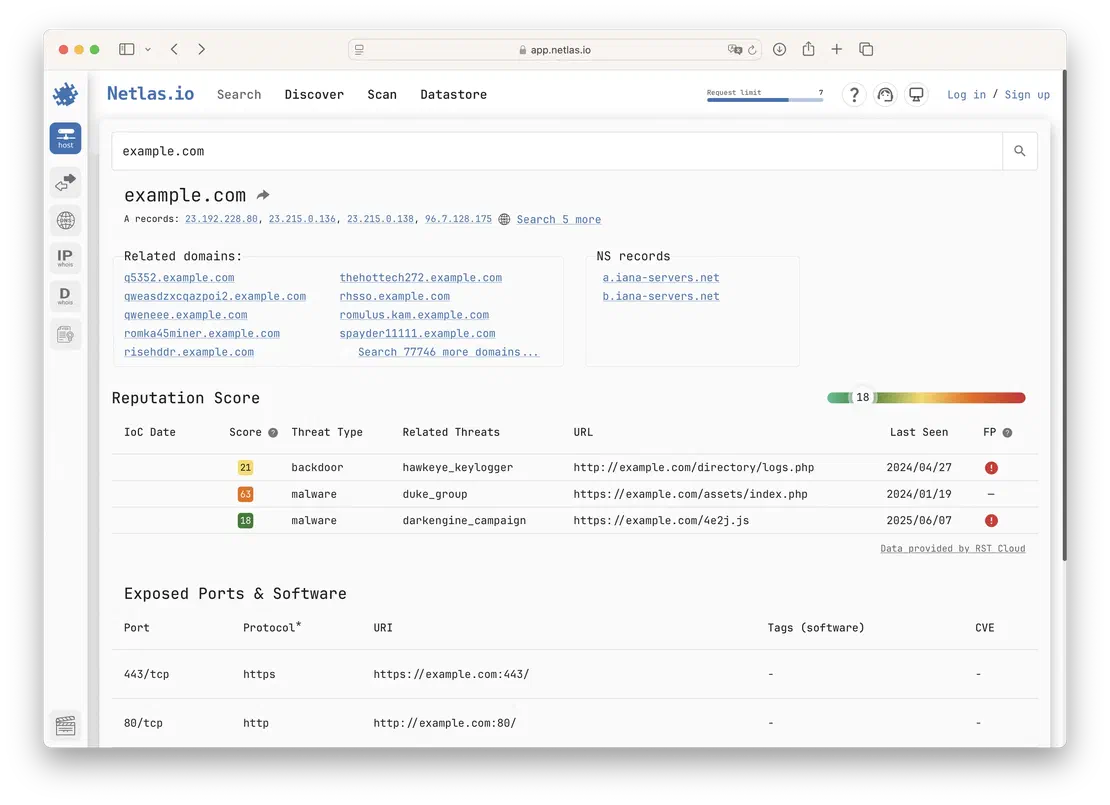
In the first part of this article, we described five typical tasks of basic domain reconnaissance. Netlas can easily help you solve 4 out of 5 with just a pair of commands1. These can be done with minimal effort using the netlas host and netlas search commands.
The Netlas CLI (Command Line Interface) is a powerful tool that allows users to interact with the Netlas platform through the terminal or command prompt. It provides a streamlined way to access various features of Netlas, such as querying DNS records, performing domain investigations, retrieving SSL/TLS certificate details, scanning for exposed services, and much more — all from the command line.
GitHub Repository: https://github.com/netlas-io
Here is a simplified example of the output you would receive when running the netlas host command:
dns:
  '@timestamp': '2025-05-14T09:21:03.860Z'
  a:
    - 23.192.228.80
    - 23.215.0.136
    - 96.7.128.175
  aaaa:
    - 2600:1406:bc00:53::b81e:94ce
  level: 2
  ns:
    - a.iana-servers.net
    - b.iana-servers.net
  txt:
    - _k2n1y4vw3qtb4skdx9e7dxt97qrmmq9
    - v=spf1 -all
  zone: com
domain: example.com

ioc:
  - domain: example.com
    fp:
      alarm: 'true'
      descr: Resource is unavailable
    fseen: 2024-09-08T00:00Z
    lseen: 2024-09-08T00:00Z
    score:
      frequency: 1.0
      src: 71.41
      tags: 0.89
      total: 18.0
    tags:
      - malware
    url: https://example.com/safe.exe

ports:
  - port: 443
    protocol: https
  - port: 80
    protocol: http

related_domains:
  - sergiomateiko2.example.com
  - abdelilahboularmache6.example.com
  - tothestar1.example.com

whois:
  created_date: '1992-01-01'
  domain: example.com
  last_updated: '2024-05-05'
  server: whois.iana.org
For a domain, the netlas host command provides key data such as DNS records, related domains, WHOIS details, and exposed ports. In some cases, it also identifies software, CVEs for identified software, potential vulnerabilities for the given software version, and even IOC (Indicators of Compromise).
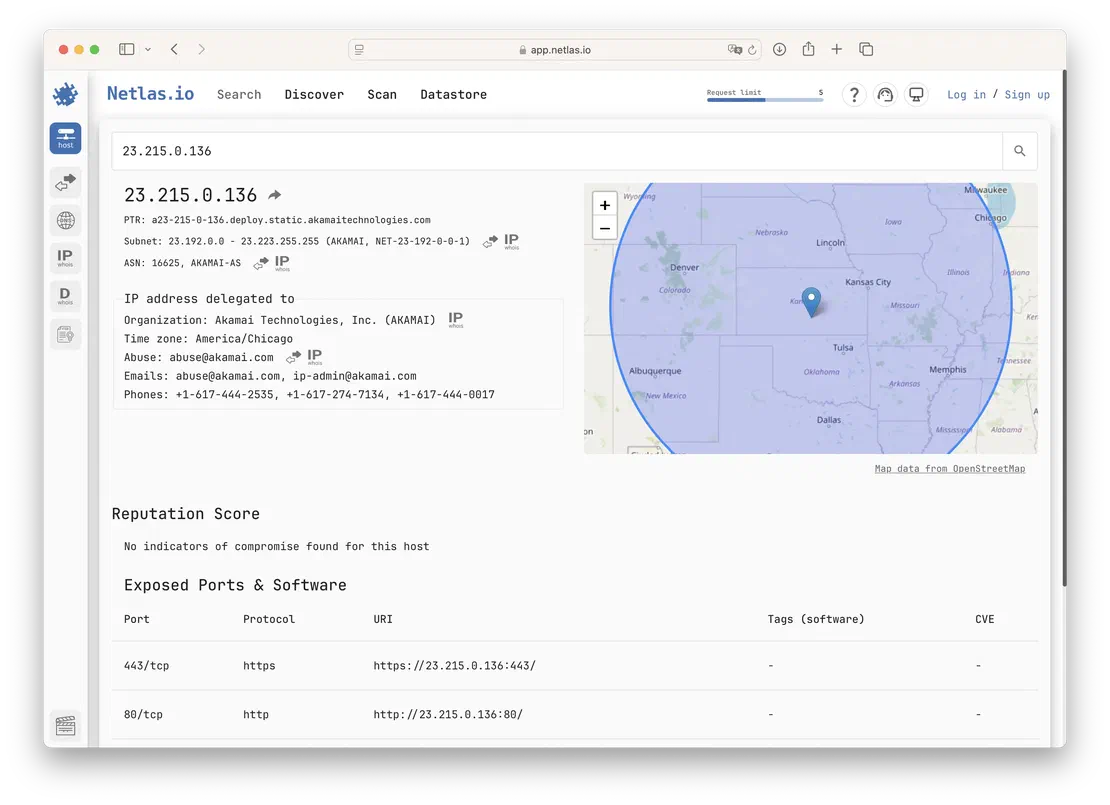
It is recommended to perform an additional query using the IP address (A-record) of the domain, as it provides a broader view of the exposed services.
When querying a domain, only HTTP-related services (ports 80 and 443) are shown. However, querying the IP address reveals all protocols found during the scan, such as SSH, FTP, SMTP, and more, which may not be linked directly to the domain but are running on the same infrastructure.
ip: 23.215.0.136
organization: Akamai Technologies, Inc. (AKAMAI)
privacy:
  is_proxy: false
  is_tor: false
  is_vpn: false
ptr:
  - a23-215-0-136.deploy.static.akamaitechnologies.com
domains:
  - ws01.static-verizon.com
  - arthurschiro.com
  - privy-test-domain-rough-snowflake.win
  - mmn.404.mn
  - birdsite.csachweh.de
  - bryceit.com
  - www.lachlanmiskin.com
  - share.dahi.icu
  - eagletest.gsk.com
  - fake-mx.flexware.nl
domains_count: 108
geo:
  continent: North America
  country: United States
  ip: 23.215.0.0/22
  location:
    latitude: 37.751
    longitude: -97.822
    time_zone: America/Chicago
  registered_country: United States
ports:
  - port: 80
    protocol: http
  - port: 443
    protocol: https
whois:
  abuse: [email protected]
  asn:
    cidr: 23.214.224.0/19
    name: AKAMAI-AS
  net:
    address: 145 Broadway
    city: Cambridge
    country: US
    postal_code: '02142'
    organization: Akamai Technologies, Inc. (AKAMAI)
    range: 23.192.0.0 - 23.223.255.255
    state: MA
The output is trimmed for clarity.
To get a fully parsed X.509 certificate as a YAML document, you need to query the responses data collection, as the certificate itself is not returned by the netlas host command. Instead, it is stored with each collected response.
netlas search --include ip,uri,certificate 'uri:"https://example.com:443/"'By querying both the domain and the IP address, you get a more complete picture of the target’s infrastructure and uncover critical services that could represent security risks. If you need even more details, you can drill down into specific data collections — such as responses, DNS registry data, WHOIS data for IPs and domains, and SSL certificates — to gather additional insights into the target’s infrastructure.
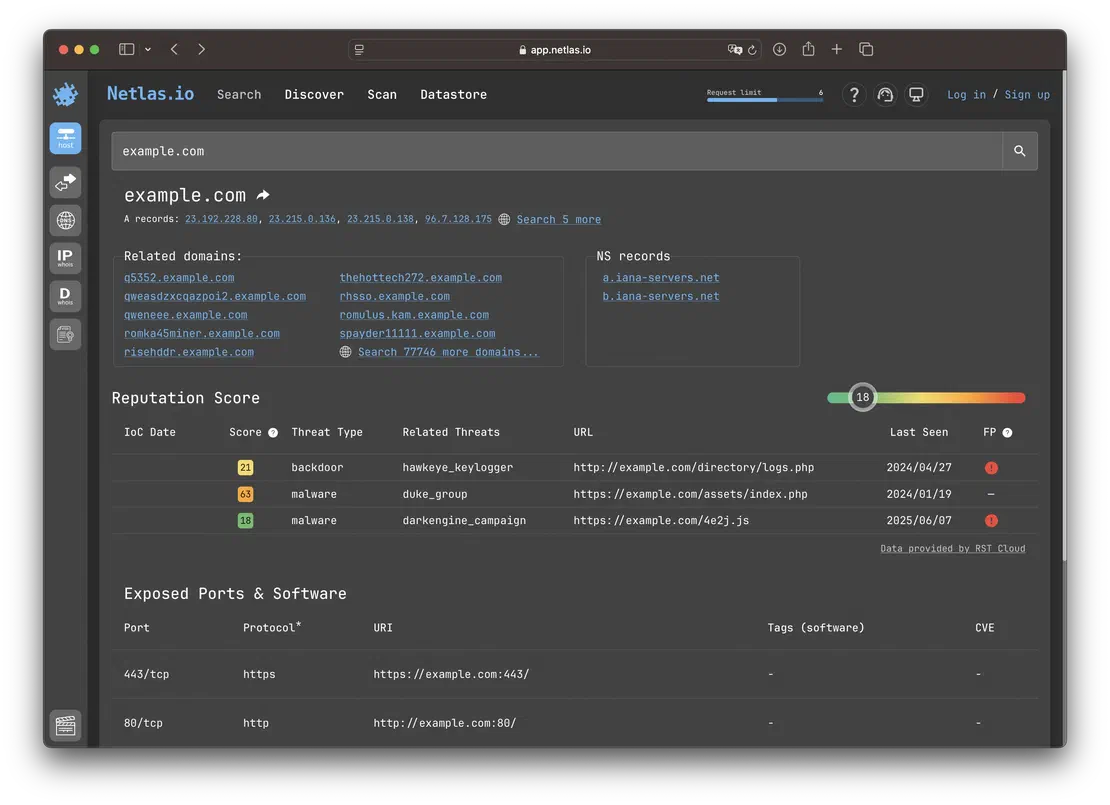
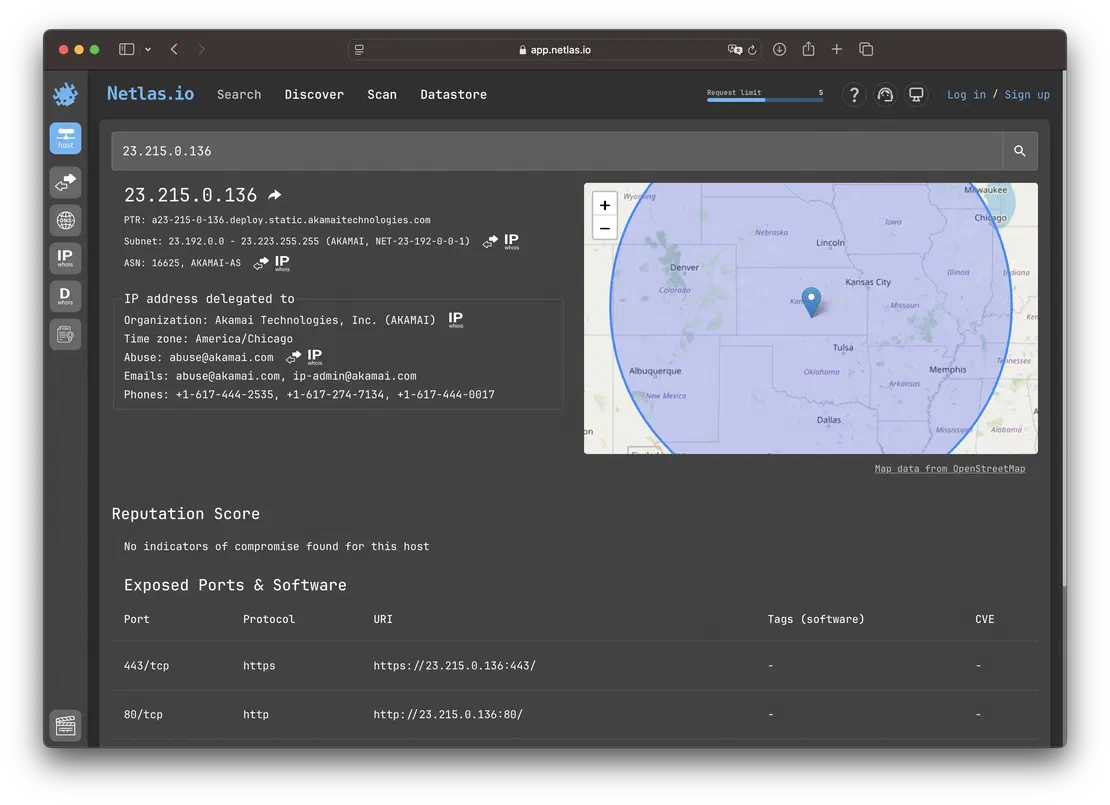
And of course, the same data is available via the web interface.
Additionally,
Services like DNSQuery and G-Suite Dig are valuable for retrieving detailed DNS record information effortlessly. These web-based tools allow you to query DNS records directly through an intuitive interface, eliminating the need for manual command entry.
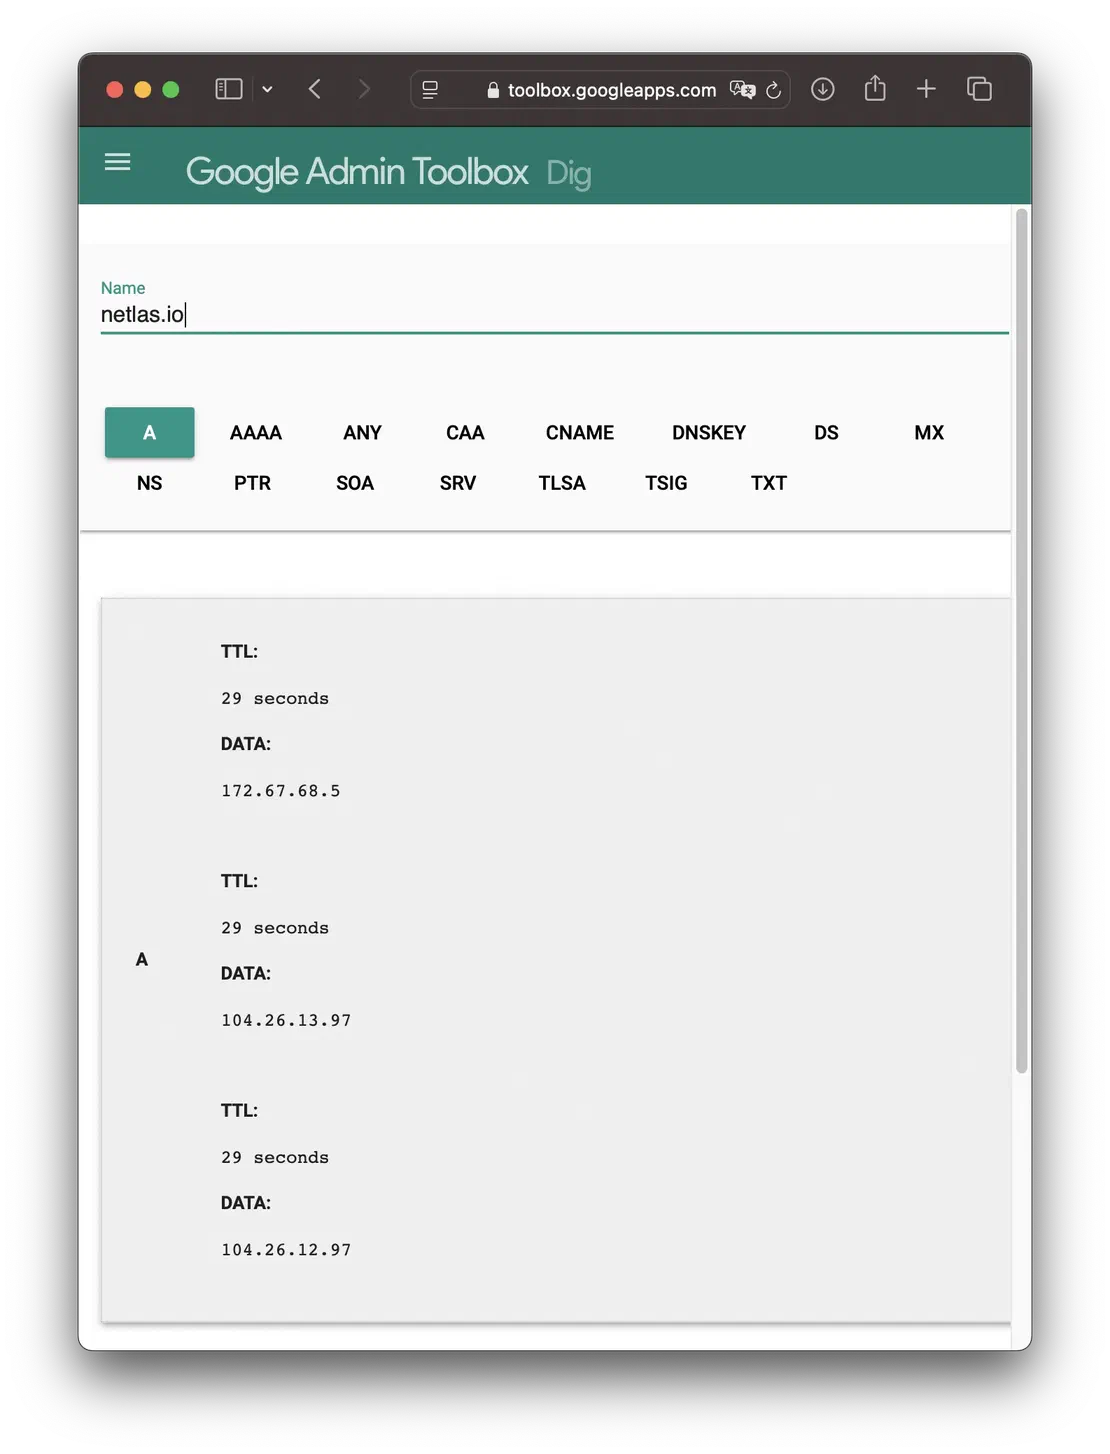
DNS history data provides a timeline of changes to a domain’s DNS records, including shifts in IP addresses, name servers, mail servers, and other critical configurations. By reviewing historical DNS data, investigators can track infrastructure changes, uncover previously associated services, or identify patterns of domain ownership and migration.
Tools and platforms like Netlas, SecurityTrails, and dnshistory.org make it easy to explore a domain’s DNS history for security analysis and incident response.
Netlas stores historical data, enabling users to track changes in DNS records over time. More details on this can be found in the article Using DNS History in Cybersecurity.
Recommended Reading
Using DNS History in Cybersecurity
URLScan is a powerful tool designed to help you uncover detailed information about any website. By simply entering a URL, it thoroughly analyzes the HTTP connection and gathers key data, including details about the libraries used, associated hosts, involved IP addresses, and the data center hosting the site.
This tool is highly effective for detecting various website technologies, such as JavaScript, CSS, HTML, and image elements. In addition to its ability to identify site frameworks, URLScan features a DOM content and cookie inspector. It can also pinpoint potentially harmful content, such as malware or phishing scripts, that might be hidden within the site.
Recommended Reading
Netlas vs Urlscan: Tools Comparison
Another great resource is Wappalyzer, an excellent tool for identifying the technologies behind websites. With Wappalyzer, you can perform domain and IP lookups to detect a wide range of technologies used on a site, including e-commerce platforms, content management systems (CMS), analytics tools, CDN solutions, customer relationship management (CRM) software, and web development frameworks.
In addition to its web interface, Wappalyzer offers integration options, including browser extensions for Chrome and Firefox. It also provides a NodeJS npm module and a comprehensive API service, allowing you to integrate website technology detection into your own applications seamlessly.
Identifying Technologies and CVEs with Netlas
Netlas is a great alternative to websites like Wappalyzer and BuiltWith for identifying software and detecting vulnerabilities on internet-facing services.
Netlas analyzes service responses — such as HTTP headers, banners, and HTML content — to identify running technologies and often their specific versions. When a detected version matches a known vulnerability, Netlas automatically enriches the record with CVE details.
The Internet Archive is one of the most established resources dedicated to collecting and preserving files, images, multimedia, and software from websites over time. It offers an invaluable tool for researching historical versions of websites, enabling users to see how a specific domain appeared in the past, including changes in text, HTML structure, images, and other content.
What makes this platform particularly useful is its timeline feature, which allows you to navigate between different snapshots of a website, organized by year or month. This feature enables researchers to explore the evolution of websites, understand past layouts, and track changes in content over time.
In this article, I intentionally excluded tools like theHarvester, subfinder, and amass as they are primarily designed for asset discovery, which is somewhat beyond the focus of domain reconnaissance. See our other articles under the Attack Surface Management tag for posts covering asset discovery tools.
Instead, the emphasis here is on core techniques specifically aimed at analyzing a single domain. I believe the list provided here is comprehensive enough for the vast majority of domain investigations, though it may not be exhaustive.
Did I miss something important? Let me know in the comments — share the tools you rely on, and let’s make this list even more useful together.

I can show you how deep the Internet really goes
Discover exposed assets, infrastructure links, and threat surfaces across the global Internet.
此内容由惯性聚合(RSS阅读器)自动聚合整理,仅供阅读参考。 原文来自 — 版权归原作者所有。