








Extensions for browsers are very convenient. You can use the services without leaving the site you are currently on. The Netlas team thought the same, so today we bring you the Netlas extension for the Chrome and Firefox browsers.
This article will tell you how to install and configure it, as well as what it does.
Installing the plugin is quite simple and familiar to anyone who has ever used extensions for Google Chrome. It consists of several points:
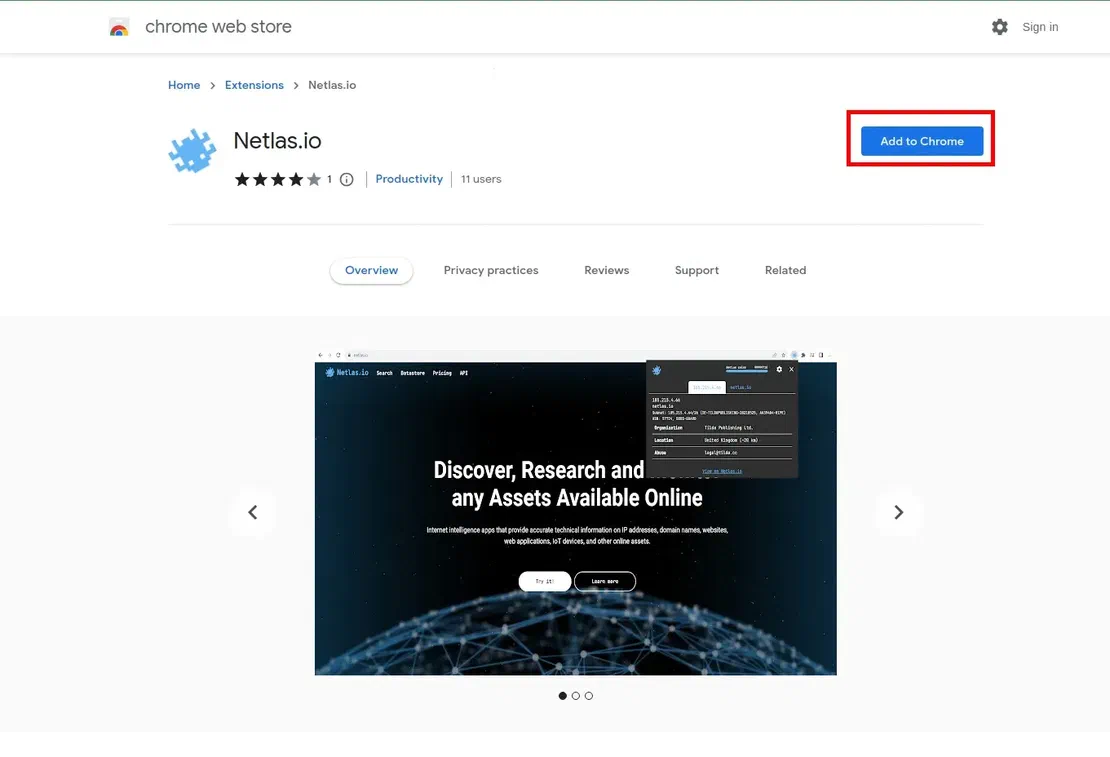
Find the plugin in the Google Chrome extension store. You can do this by the name “Netlas.io” or go to the link.
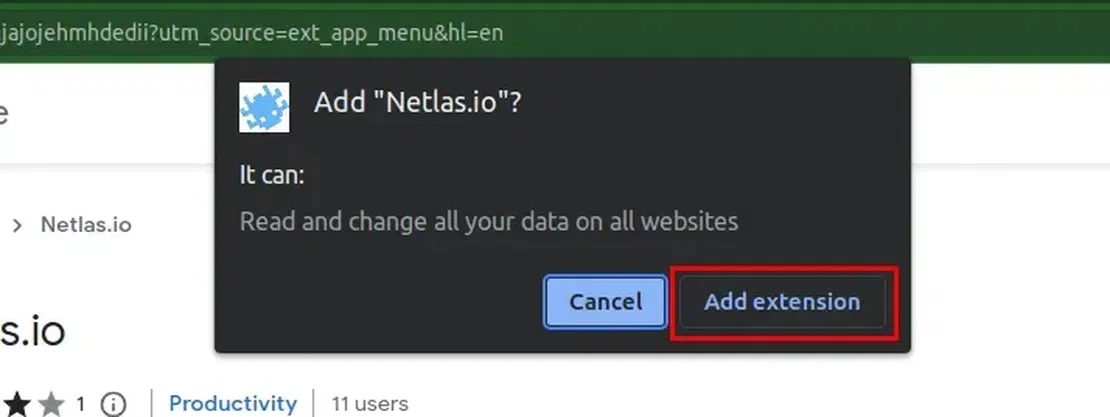
Click on the “Add to Chrome” button, then confirm adding the extension.
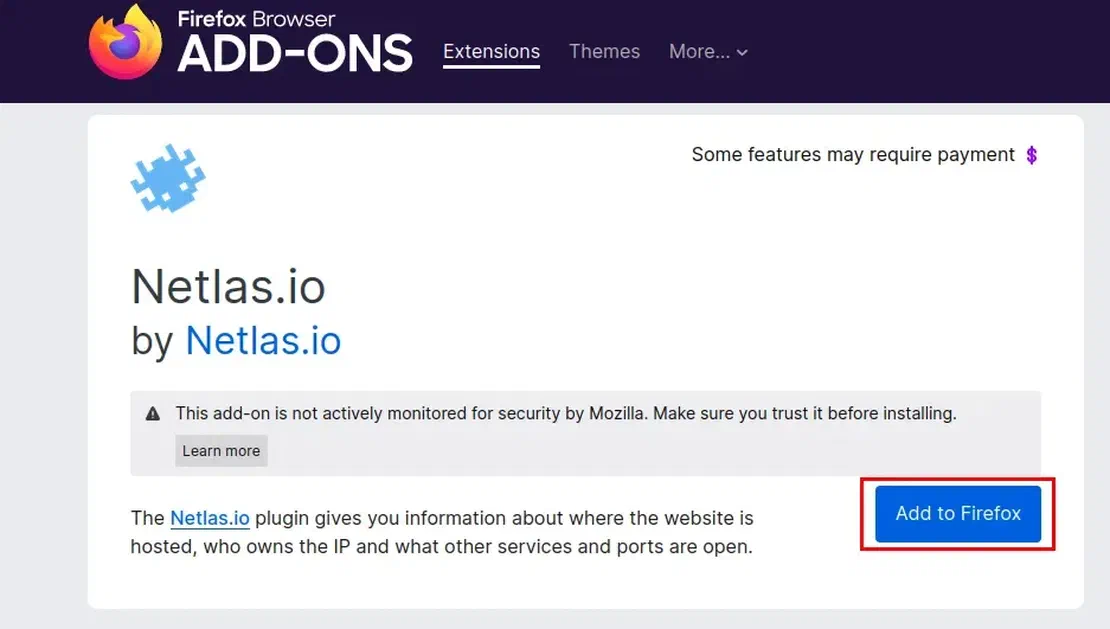
Find the plugin in the Firefox add-ons. You can do this by the name “Netlas.io” or go to the link.
Click on the “Add to Firefox” button, then confirm adding.
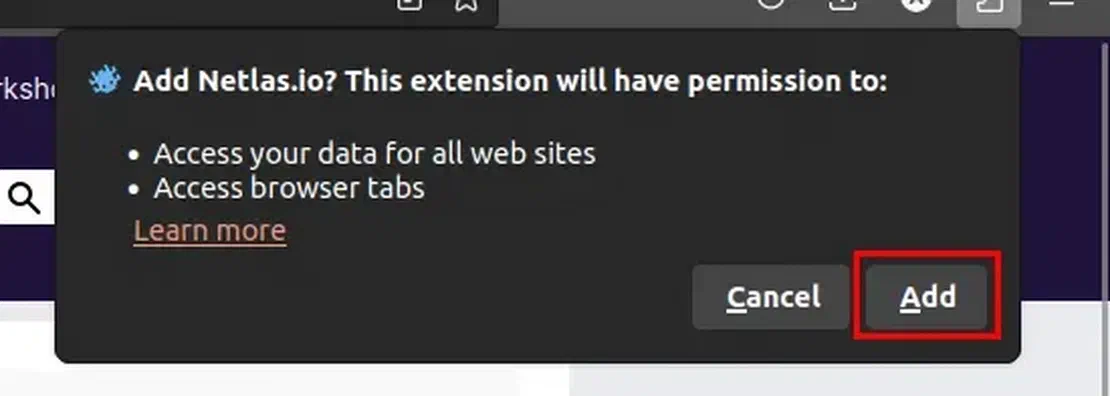
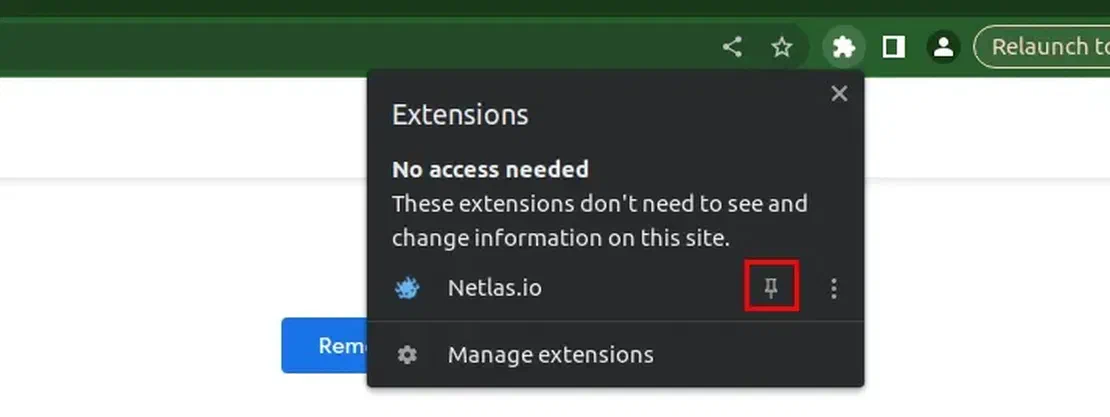
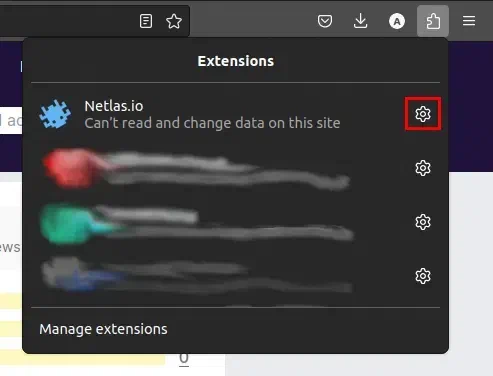 Settings->Pin to Toolbar
After the extension has been installed, you can use it within thirty demo requests. If you want to connect your account to it, you must (as always) enter your API key. It is very easy.
Open the extension settings and enter the key in the corresponding field. Then click “Save” and refresh the page.
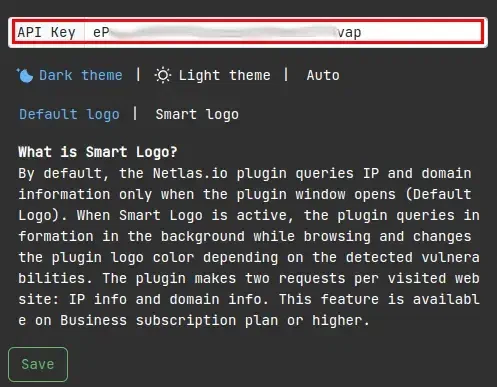 Enter your key here
After your API key has been connected, you can start working with the extension.
The extension supports two modes of operation: manual and automatic vulnerability detection (the so-called Default Logo and Smart Logo). In the first mode, the user fully controls all the functionality and sees only what he needs, in the second, the utility will work in the background and notify about vulnerabilities found on sites. Below, the modes and main functionality will be discussed in more detail.
This mode of operation of the extension is enabled by default after it is installed. Working with it, you will get information about the site by clicking on the extension icon. Here’s what it looks like:
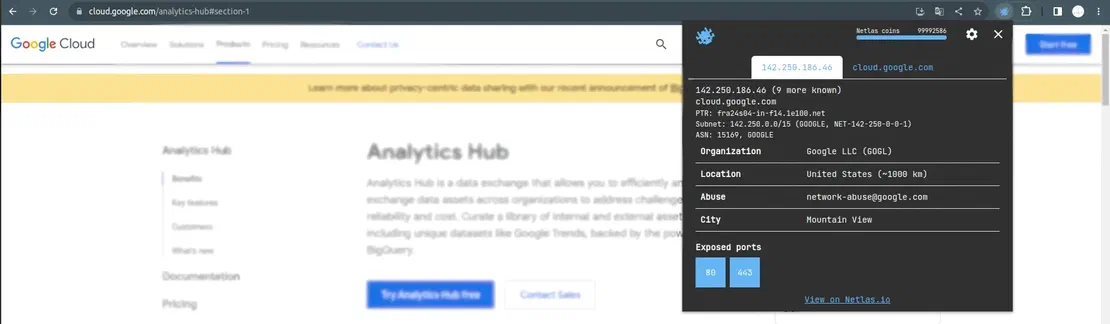
Firstly, this is the IP address data already visible to you in the next image.
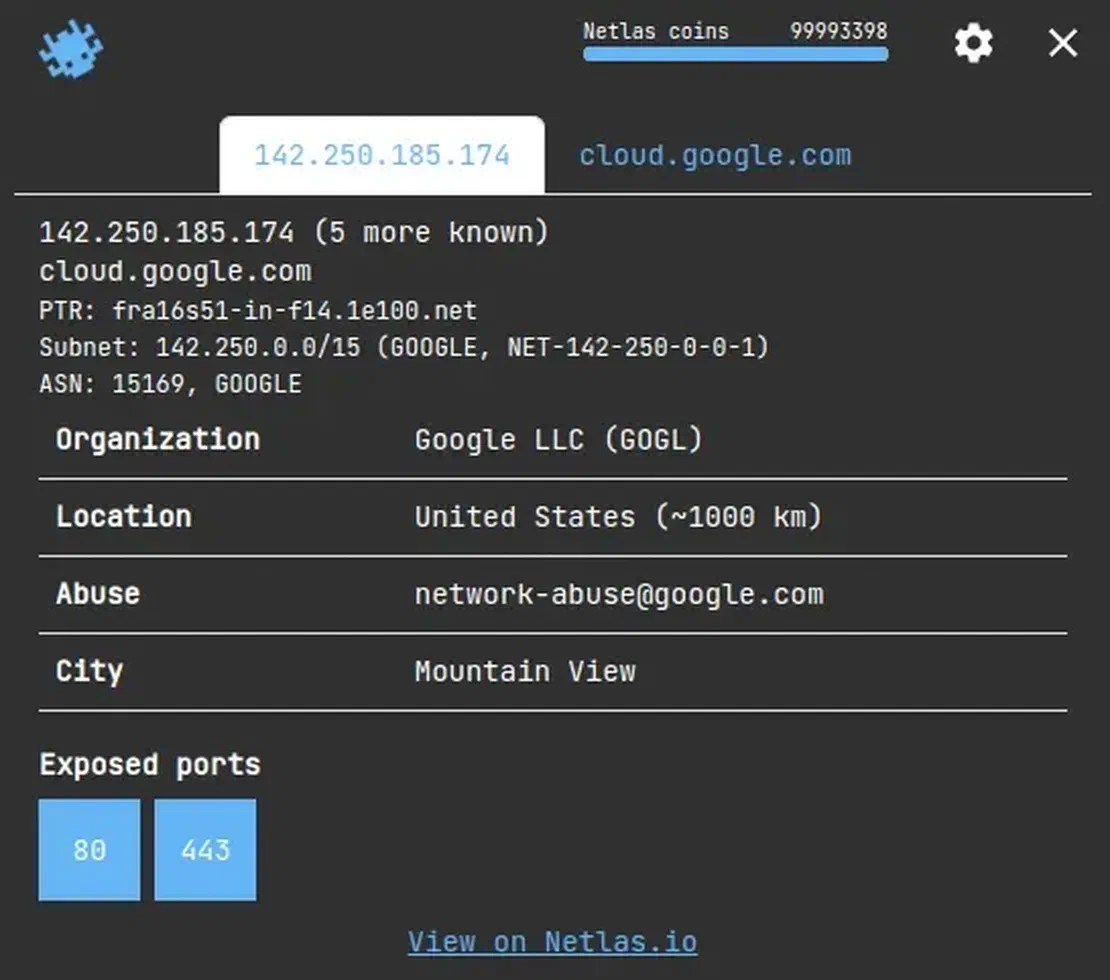
Here you can see which organization hosts this address, where it is located, and what ports are used with it. In addition, by clicking “View on Netlas.io”, you can get more detailed information, such as a list of related domains and services at this address. The second tab of the extension contains information about the domain name. Let’s consider it too:
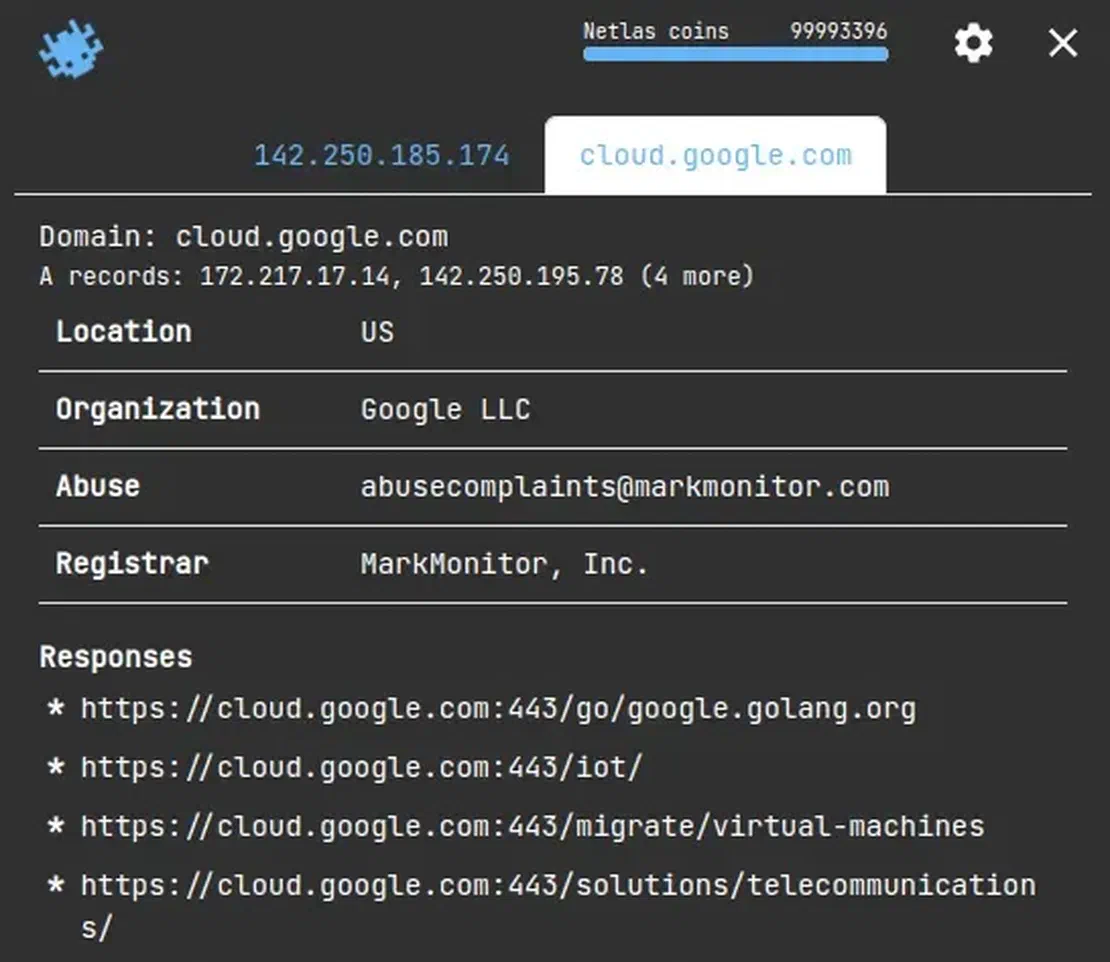
What information can be found on this tab? First, A record for domain. Secondly, the name of the registrar company and the location of the domain name. Thirdly, the list of responses for which this domain is a host. Fourth, and most interesting, the services that are installed on this domain, as well as the CVEs to which the resource may be vulnerable.
Let’s take a closer look at the last two points. To do this, let’s open a site potentially vulnerable to some recent CVE and see what the extension shows.
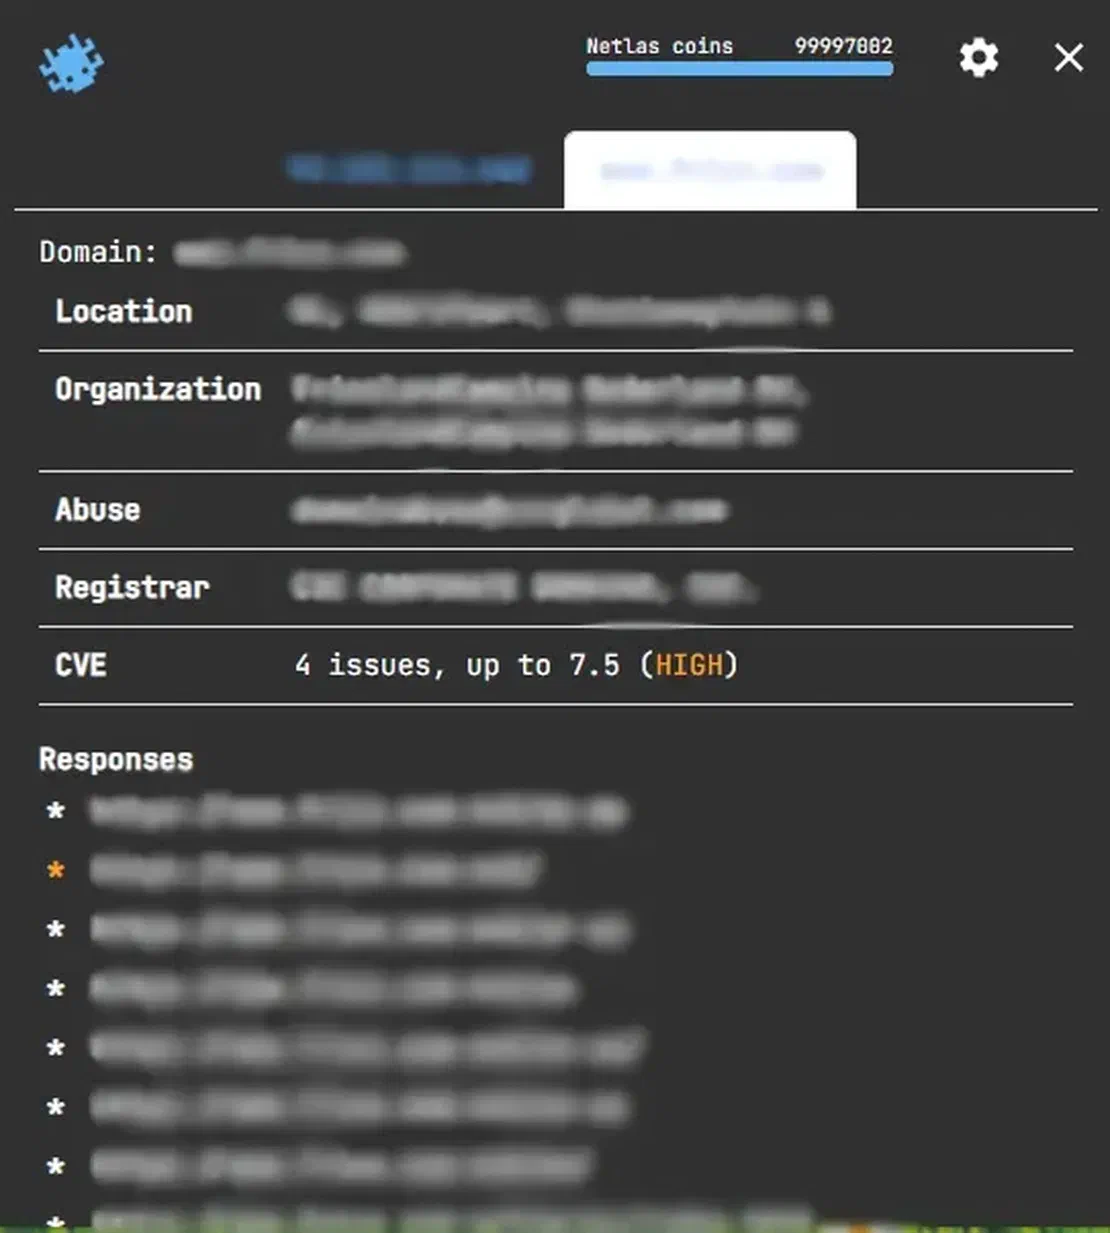
So, the site potentially has fourth vulnerabilities, the rating of the most dangerous of which is 7.5 points. To get more detailed information, just hover over a vulnerable response.
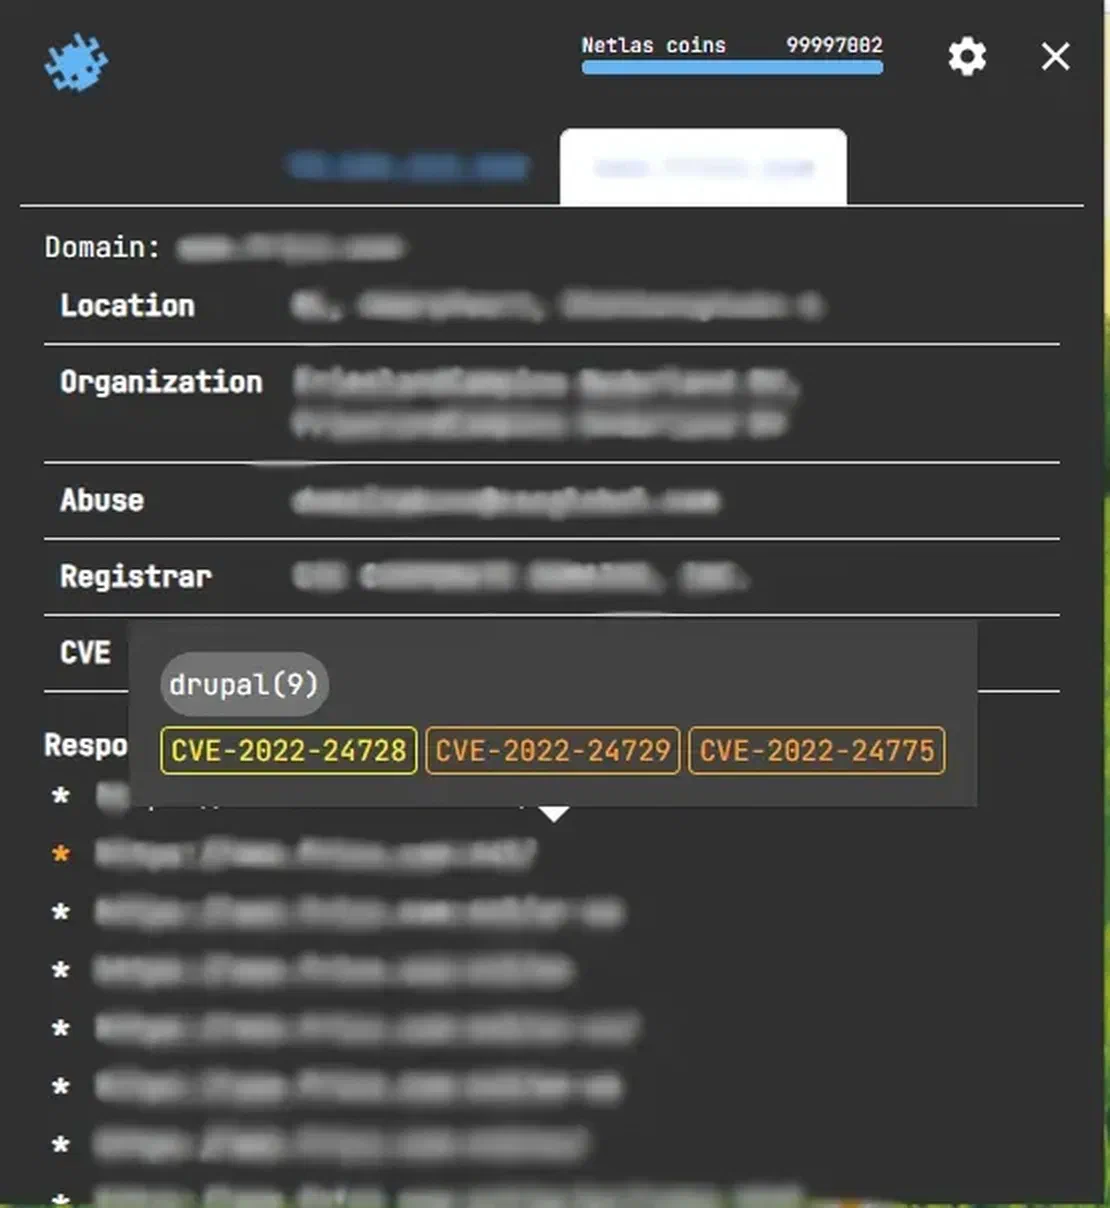
After hovering over, we saw exactly what vulnerabilities the host is exposed to, as well as what services are installed on it.
To enable the second mode, open the extension settings and select Smart Logo there.
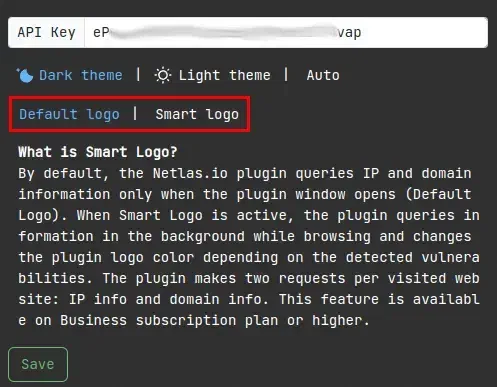
Now, during operation, the extension automatically searches every site you visit in the Netlas database and checks it for known vulnerabilities. If there are any, the extension changes the color of the logo depending on the degree of threat. For example, it will look like this:


Note: Smart Logo works only if your subscription supports CVE data. In addition, you need to keep in mind that in this mode, the extension sends a request to Netlas every time you open a new site/reload the page. Therefore, carefully monitor the number of your coins!
So, we can say that today a new use case for Netlas has appeared — through an extension for Google Chrome. Yes, it doesn’t provide the full power of the search engine, and you’ll often have to fall back to the web version of the app. However, for small checks, such as when browsing websites from the attack perimeter in a pen test, this option can be very useful.

I can show you how deep the Internet really goes
Discover exposed assets, infrastructure links, and threat surfaces across the global Internet.
此内容由惯性聚合(RSS阅读器)自动聚合整理,仅供阅读参考。 原文来自 — 版权归原作者所有。