







It's a tale as old as time - you're on vacation, and after a long, hard day of vacationing, you settle down with your laptop to stream an episode of that show you're currently obsessed with from your NetBird-equipped media server. Lo-and-behold - your server (that always works flawlessly when you're at home) decides that NOW is the perfect is the time to fail catastrophically and become totally unreachable via SSH. You need some way to reboot the machine, but without SSH access you're stuck. That is, of course, unless you have remote KVM access.
KVM stands for Keyboard Video Mouse. Until fairly recently, remote KVM devices were reserved for expensive enterpise-grade motherboards. Lately, though, we've seen a democratization of the remote KVM scene thanks to projects like PiKVM.
PiKVM is an open source project which, as the name implies, uses the Raspberry Pi platform as a cheap, ubiquitous base. PiKVM gives you KVM-over-IP: full keyboard, video, and mouse control of a remote machine through a web browser. It's incredibly useful for managing headless servers, debugging boot issues, or accessing BIOS settings without being physically present.
The challenge here is accessing PiKVM itself when you're not on the local network, since in this scenario your NetBird routing peer was the fallen media server itself. Luckily, the NetBird client is runs on PiKVM, too, meaning that the little device can join your NetBird encrypted WireGuard mesh, with direct peer-to-peer connections and no exposed ports.
There's one complication: PiKVM runs on a read-only filesystem. This is by design, it protects the SD card from corruption during power loss. But NetBird needs to write authentication state, WireGuard keys, and runtime data to disk. We'll work around this with an overlay filesystem that keeps PiKVM's read-only protections intact while giving NetBird a writable layer backed by RAM.
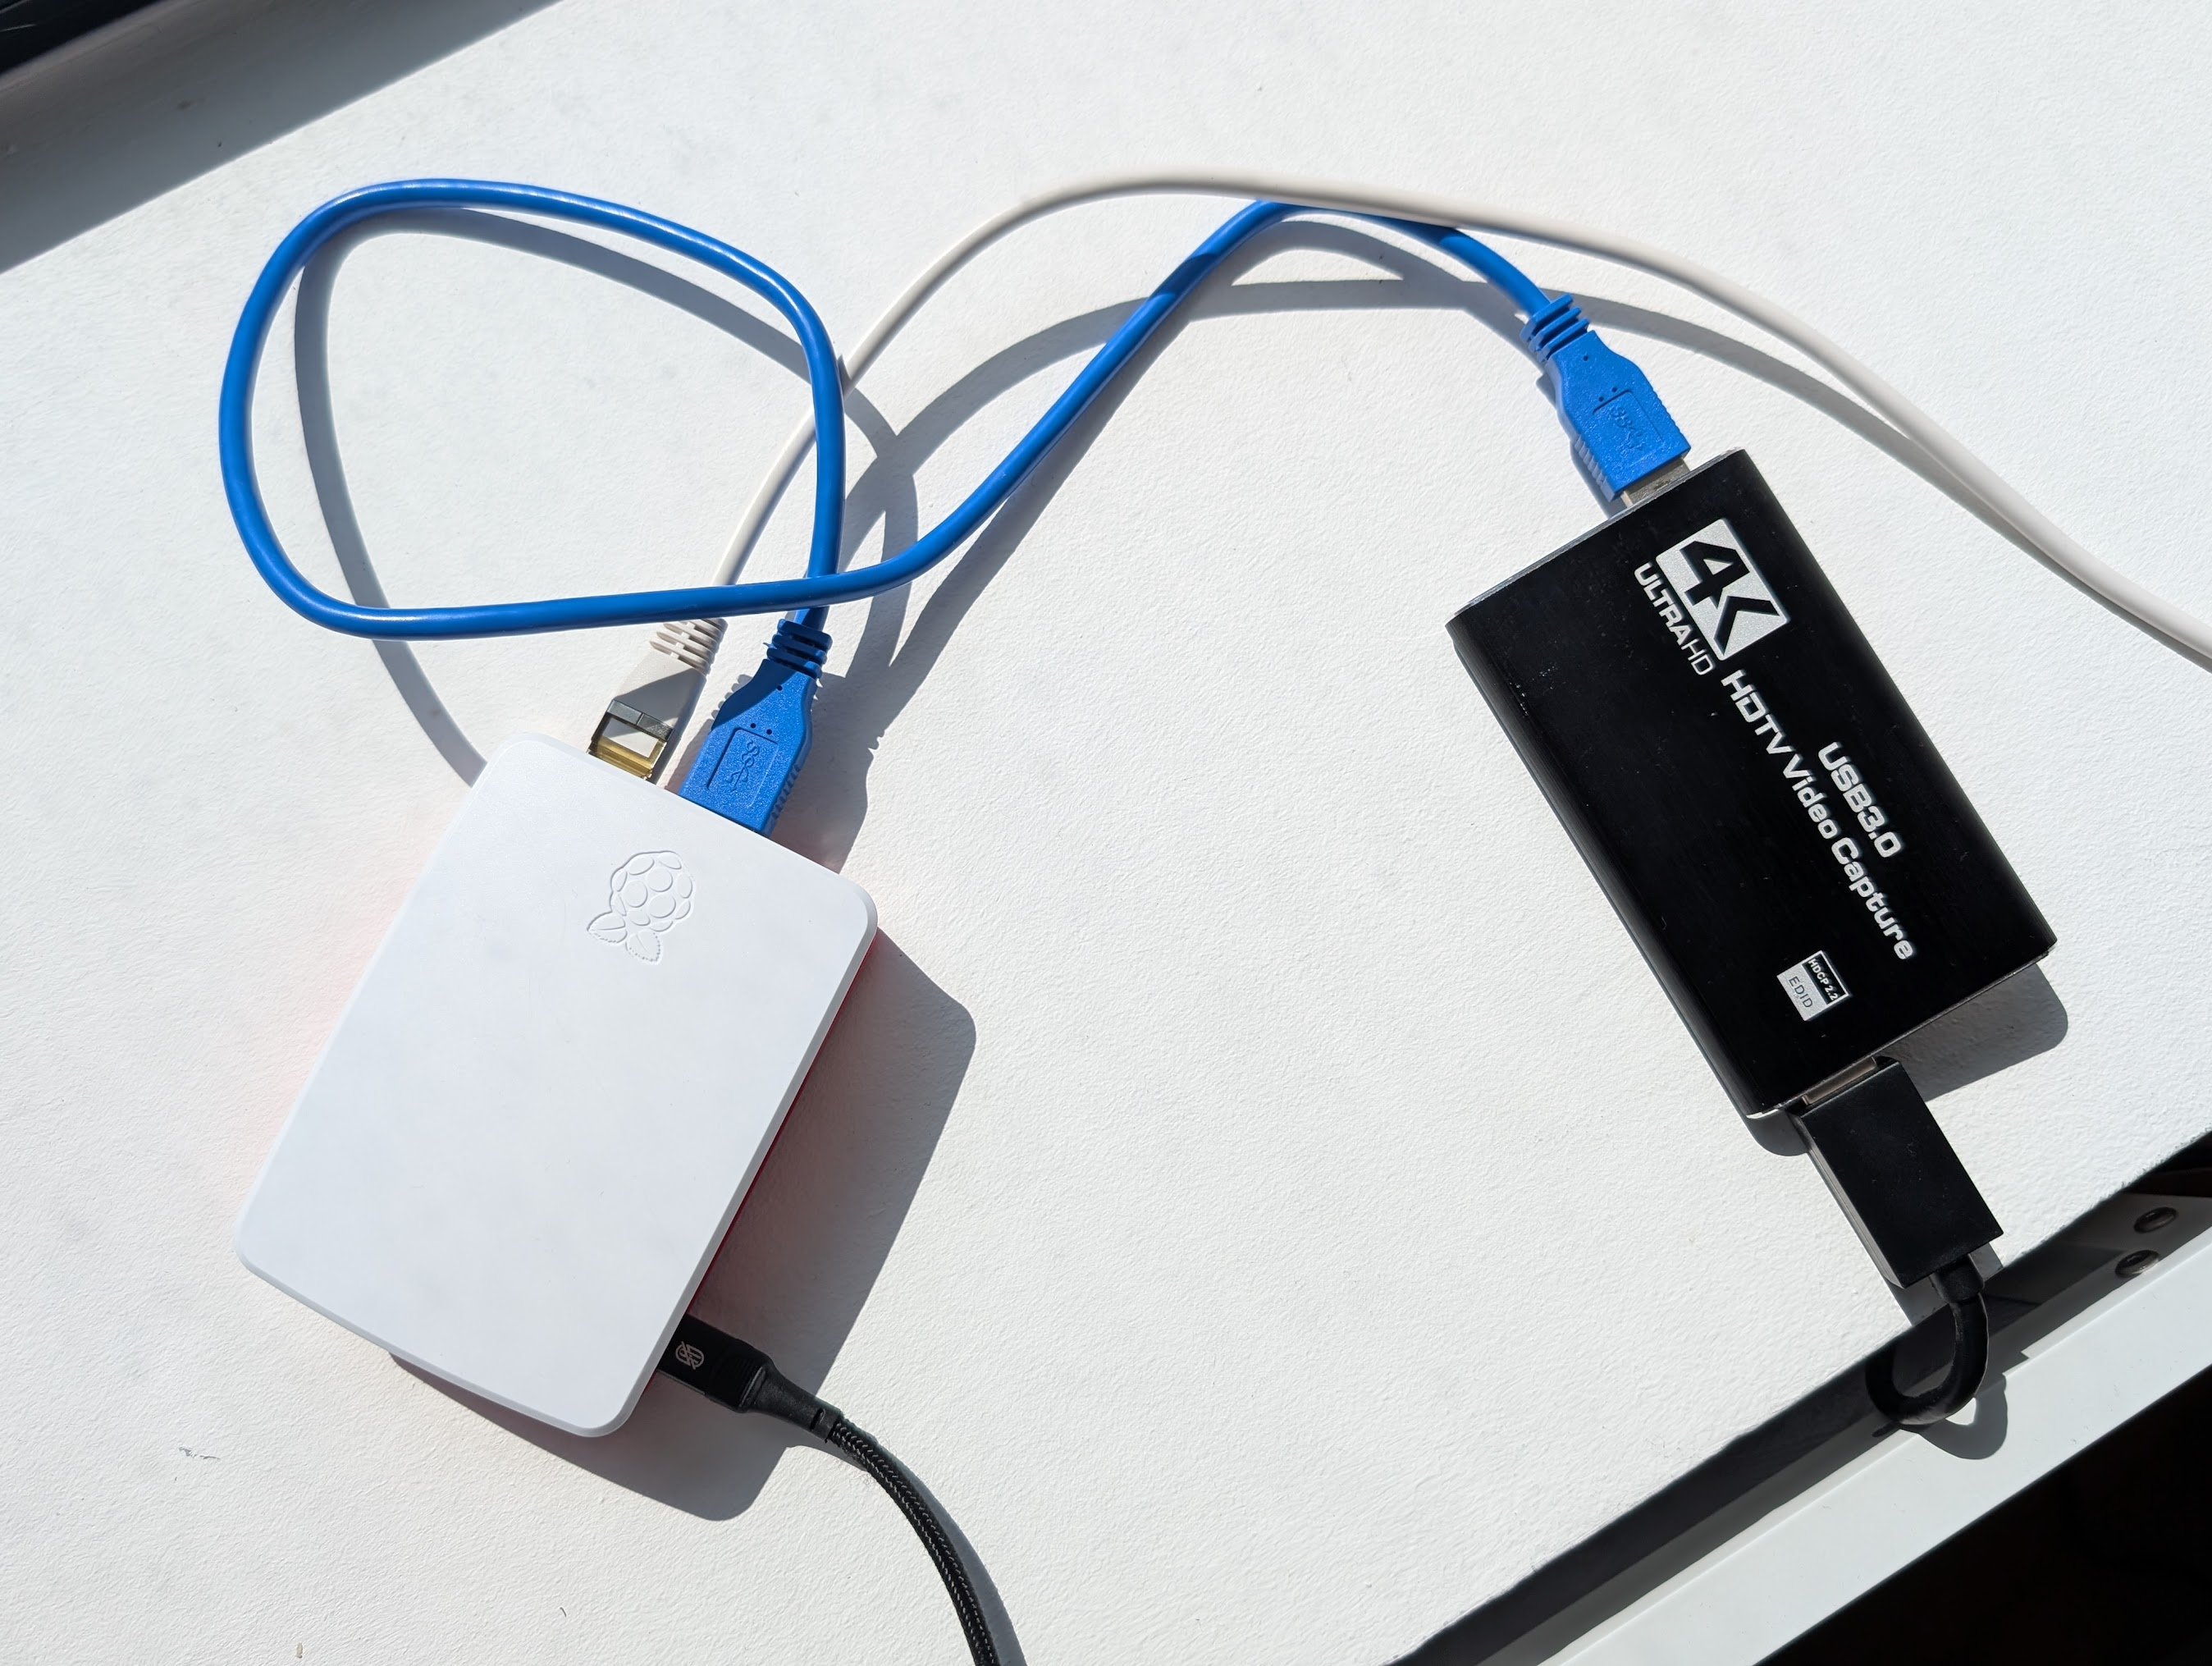
PiKVM comes in two flavors: pre-built devices (the V4 Mini and V4 Plus) that work out of the box, and a DIY option where you assemble it yourself from off-the-shelf parts. The DIY route is significantly cheaper and is a fun weekend project.
If you already have a PiKVM device set up and running, skip ahead to How the Overlay Works .
Raspberry Pi board - The recommended choice is a Raspberry Pi 4 (2GB) . There's no benefit to more RAM since PiKVM uses very few resources. The Raspberry Pi Zero 2 W also works as a compact, cheaper option, but it lacks wired Ethernet which makes it less reliable for a device you need to depend on.
Note: The Raspberry Pi 5 is not supported. It lacks the GPU video encoders that PiKVM relies on for hardware-accelerated video capture, so it won't give any performance benefit for this use case.
Video capture device - This is what captures the HDMI output from your target machine. You have two options:
Power supply and USB connectivity - This is where it gets a little tricky. The Pi 4's USB-C port needs to simultaneously receive power and act as a USB device (to emulate a keyboard and mouse for the target machine). You need a USB-C splitter that separates power and data:
MicroSD card - Minimum 32GB, Class 10. This is where PiKVM OS lives.
HDMI cable - To connect your target machine's HDMI output to the capture device.
Ethernet cable - To connect the Pi to your network. You can use Wi-Fi on the Pi Zero 2 W, but wired is strongly recommended for a device you want to be reliably reachable.
PiKVM runs its own Linux distribution (based on Arch Linux ARM), not standard Raspberry Pi OS.
Download the correct image for your hardware from files.pikvm.org/images . For the most common setup (Raspberry Pi 4 + HDMI-CSI bridge), grab:
Download and install balenaEtcher
Open balenaEtcher, click Flash from file and select the downloaded file (no need to decompress it first)
Click Select target and choose your microSD card
Click Flash and wait for it to complete
Once flashing is complete, insert the microSD card into your Pi, connect the hardware (HDMI capture, USB splitter, Ethernet), and power it on
The first boot takes a couple of minutes. Once it's up, you can access PiKVM by navigating to or in your browser. The default credentials are:
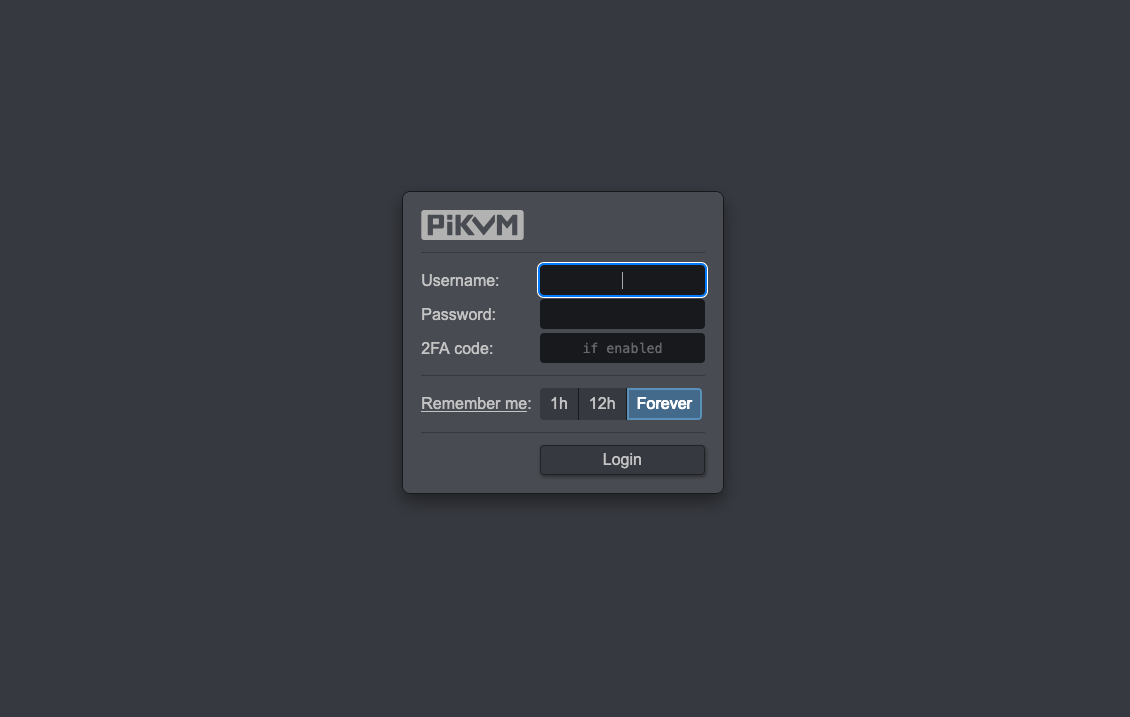
Important: Change the default passwords immediately. SSH in and run .
Once logged in, you should be presented with options for accessing the KVM feed and an in-browser terminal session. Confirm that the KVM works as expected (video feed, mouse/keyboard control).
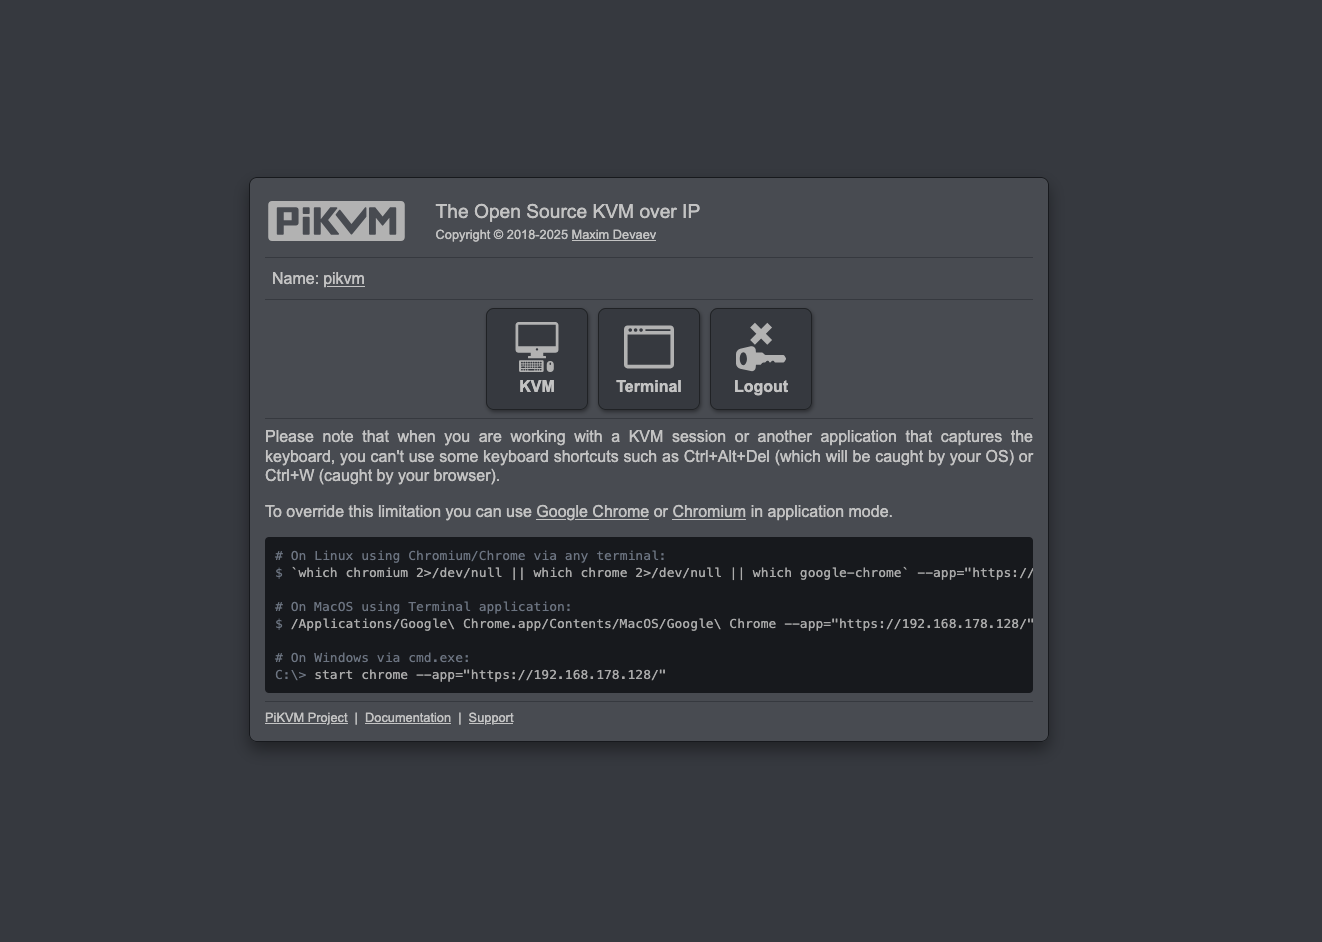
Congratulations, you've successfully built yourself a DIY PiKVM!
For detailed hardware assembly instructions, wiring diagrams, and advanced configuration, see the official PiKVM DIY V2 guide .
Before jumping into commands, it's worth understanding the approach. We mount a tmpfs (RAM disk) and copy persistent state into it, then bind mount it over . NetBird sees a normal writable , but all writes go to RAM.
The persistent copy lives at . After initial setup or any configuration change, you manually copy the runtime state back to this persistent directory. On the next reboot, the tmpfs is recreated and populated from your saved state.
SSH into your PiKVM and switch to read-write mode. All filesystem modifications in this guide require read-write mode, which you enable with and disable with .
Create the persistent state directory:
Now create the setup script at :
Create a systemd service that runs this script early in the boot process, before NetBird starts, and saves state back on stop. Save it at :
Enable it:
NetBird is installed from the AUR using . The package provides pre-built binaries with SHA256 checksum verification, avoiding the need to compile from source on the Pi.
Note: must not run as root. PiKVM provides the unprivileged user for this purpose.
Update the system and install build dependencies, then clone and build the AUR package:
The AUR package ships a systemd template unit () whose default configuration won't work on PiKVM's read-only filesystem. It tries to write logs to and SSH config to , both of which are read-only. We need a systemd drop-in override to redirect logs, disable SSH config writes, and add a dependency on our overlay service.
Create the override at :
A few things to note about this override:
Enable and start both services:
There are two ways to register your PiKVM with NetBird. Both use the flag, which prevents NetBird from trying to modify on the read-only filesystem. Assuming you don't need NetBird to resolve custom DNS names for your network's domains, this is the simplest approach for PiKVM.
Setup keys let you register without any browser interaction, which is ideal for headless devices.
The browser-based SSO flow also works, but you'll need to complete it on a different device.
On PiKVM, run:
NetBird prints an activation URL:
Copy that URL and open it in a browser on your computer or phone. Complete the login, and the PiKVM terminal will proceed automatically once authentication is confirmed.
Check that everything is connected:
You should see and a NetBird IP address like .
Now comes the critical step. Because the overlay writes to RAM, your authentication state will be lost on reboot unless you persist it:
Reboot to verify everything starts automatically:
After the reboot, SSH back in and run to confirm it reconnected without requiring re-authentication.
Important: Any time NetBird writes new state (re-authentication, key rotation, configuration changes), that state lives only in RAM until you persist it. Get in the habit of running the command above after any changes. If you forget and reboot, you'll need to re-authenticate.
Once your PiKVM is connected to your NetBird network, you can access it from any device that's also running NetBird:
At last, you're free to catch up on The Pitt.
Since NetBird is installed from the AUR rather than an official repository, updates must be performed manually by rebuilding the package:
Service fails with : The service is trying to write logs to a file on the read-only filesystem. Make sure the systemd override includes as described above.
: The tmpfs mount in the overlay script is failing. Check that is writable and that the script is executable ().
DNS lookup failures (): If NetBird can't reach , verify that your PiKVM has working DNS:
If this times out, check for a valid nameserver. A stale NetBird daemon process can also cause persistent DNS failures. Restart the service with .
Need to re-authenticate after reboot: You forgot to persist the overlay state. Re-authenticate with (or SSO), then persist:
此内容由惯性聚合(RSS阅读器)自动聚合整理,仅供阅读参考。 原文来自 — 版权归原作者所有。