


Almost everything inside an inline SVG image is up for modification using CSS and JavaScript. Let's find out how by changing some colors!
While SVG elements are considered to be images, by being a vector-based format, they have a lot more in common with our HTML DOM structure than traditional image formats. To see this similarity highlighted, take a look at the following:

We have an elephant image that we exported as both an SVG as well as a PNG. When we open the image in a text editor, we notice that the SVG variant looks very human-readable and contains element nodes, attributes, and values. The PNG version looks downright scary, with very little human-understandable content.
Because the individual parts of an SVG image are easy to define and navigate, we can modify their appearance using a lot of familiar CSS and JavaScript techniques. In the following sections, we will look at how to do that by changing the colors inside our SVG element.
Onward!
Our Starting Point
To follow along with our steps on how to change the colors inside an SVG element, create a new HTML document and add the following markup into it:
<!DOCTYPE html>
<html lang="en">

<head>
  <meta charset="UTF-8">
  <meta http-equiv="X-UA-Compatible" content="IE=edge">
  <meta name="viewport" content="width=device-width, initial-scale=1.0">
  <title>Change SVG Colors</title>

  <style>
    body {
      margin: 50px;
    }

    .container svg {
      width: 350px;
    }
  </style>
</head>

<body>
  <div class="container">
    <svg xmlns="http://www.w3.org/2000/svg" viewBox="0 0 36 36">
      <path fill="#111111"
        d="M35.7 12c-.5-.6-6.8-1.2-13.3-.4-1.3.1-1.3.5-4.4.6-3-.1-3.1-.5-4.4-.6C7
        10.8.8 11.4.3 11.9c-.2.3-.2 2.1 0 2.4.3.2 1 .6 1.4 1.8.3.8.5
        5.9 2.3 7.4 1.8 1.5 7.5 1.2 9.3.2 2.6-1.3 3-5.8 3.3-7.6.2-1 1.2-1
        1.4-1s1.2 0 1.4 1c.4 1.8.7 6.3 3.3 7.6 1.8 1 7.5
        1.3 9.3-.2 1.8-1.5 2-6.6 2.3-7.4.3-1.2 1.1-1.6
        1.4-1.8.2-.3.2-2.1 0-2.4z" />
      <path fill="#55ACEE"
        d="M14.6 15.7c0 1.3-.5 5-1.7 6-1.4 1.3-6.3 1.7-7.8.1-.8-.8-1.6-4-1.5-6.8
        0-1.7 2.3-2 5.5-2 3.1 0 5.7.5 5.5 2.7zm6.8 0c0 1.3.5 5 1.7 6
        1.4 1.3 6.3 1.7 7.8.1.8-.8 1.6-4 1.5-6.8 0-1.7-2.3-2-5.5-2-3.1
        0-5.7.5-5.5 2.7z" />
    </svg>
  </div>
</body>

</html>
If you preview the contents of this page, you will see some sunglasses displayed:
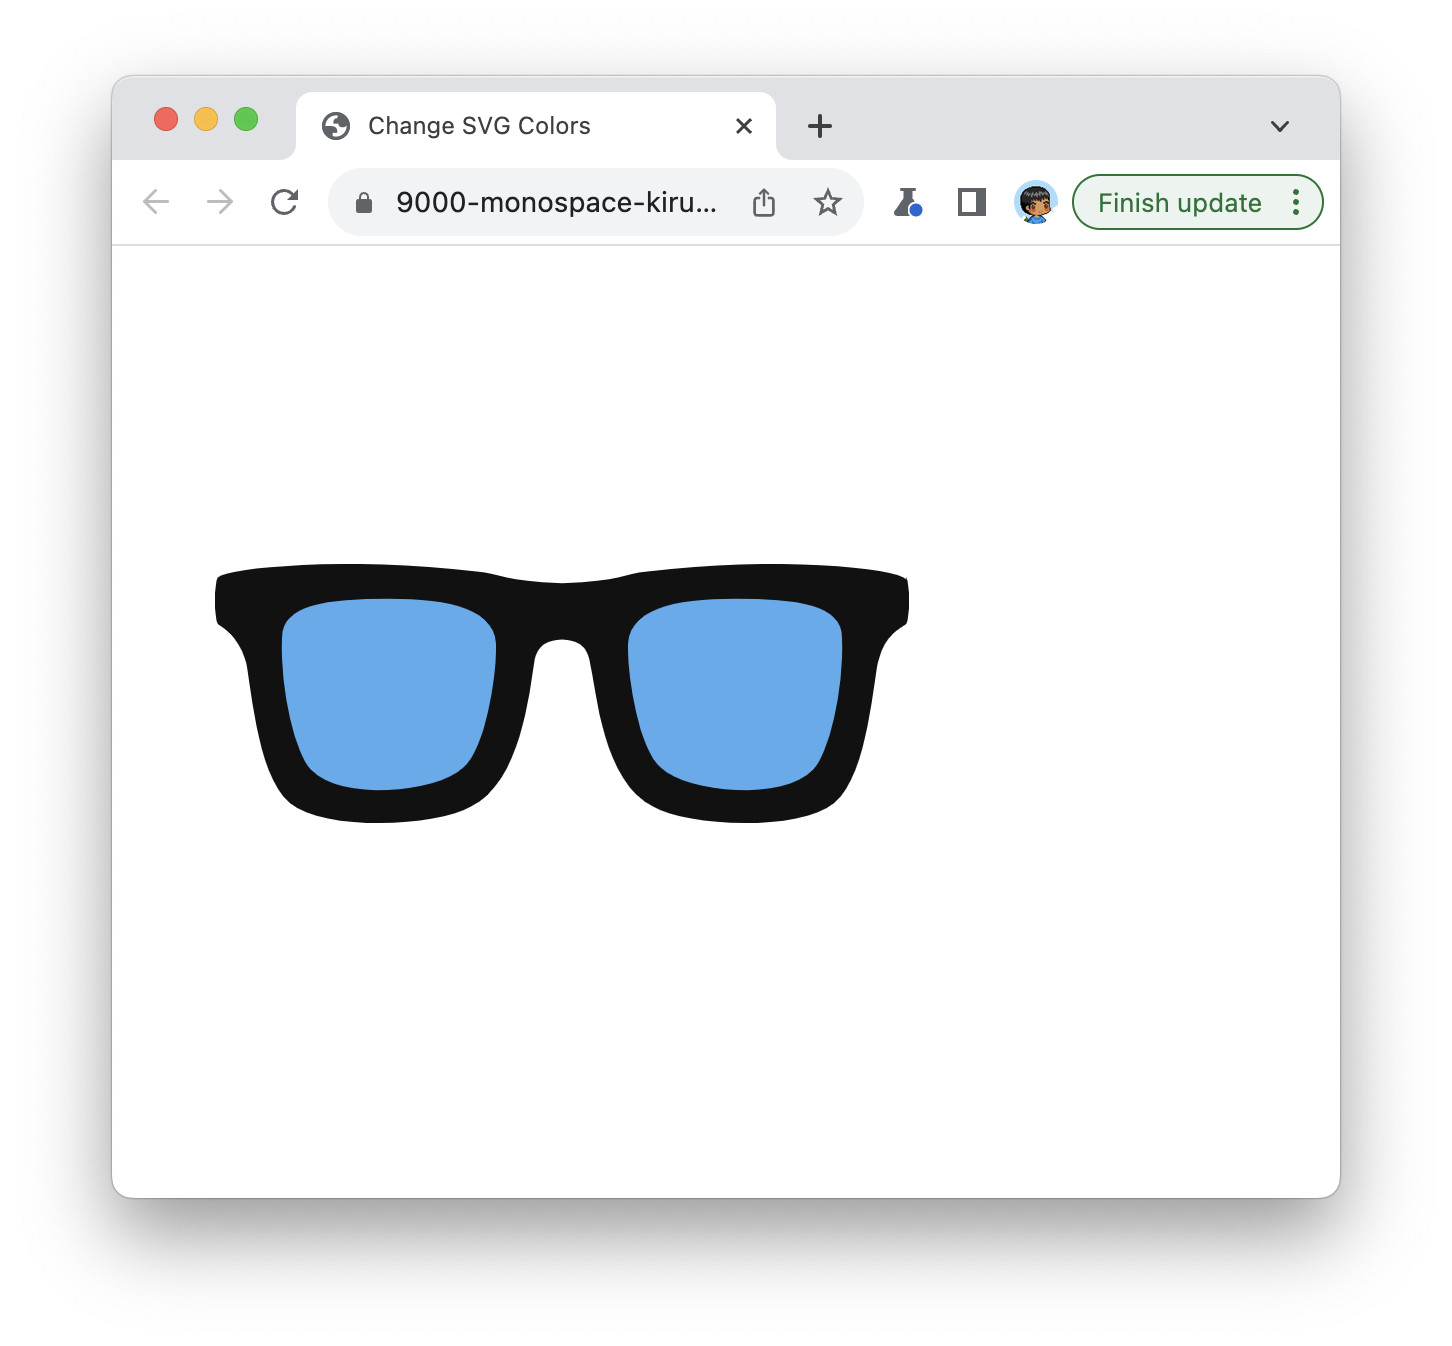
These sunglasses are defined entirely as an SVG image, and we can see the svg element in our HTML that houses the various paths and colors that define the final image. From this starting point, we are going to look at how to change the colors contained inside this image.
Changing Colors using CSS
While the CSS selector syntax was originally designed with the HTML DOM in mind, over the years, this syntax has evolved to also support the more unique elements found inside SVGs. Related enhancements like CSS custom properties also work very nicely, so we will look at all of this.
Selector Approach
We are first going to use a CSS selector-based approach for changing the colors defined inside our SVG. The first thing we want to do is identify the relevant elements in our SVG we need to modify.
The first path element defines the frame:
<svg xmlns="http://www.w3.org/2000/svg" viewBox="0 0 36 36">
  <path fill="#111111"
    d="M35.7 12c-.5-.6-6.8-1.2-13.3-.4-1.3.1-1.3.5-4.4.6-3-.1-3.1-.5-4.4-.6C7
    10.8.8 11.4.3 11.9c-.2.3-.2 2.1 0 2.4.3.2 1 .6 1.4 1.8.3.8.5
    5.9 2.3 7.4 1.8 1.5 7.5 1.2 9.3.2 2.6-1.3 3-5.8 3.3-7.6.2-1 1.2-1
    1.4-1s1.2 0 1.4 1c.4 1.8.7 6.3 3.3 7.6 1.8 1 7.5
    1.3 9.3-.2 1.8-1.5 2-6.6 2.3-7.4.3-1.2 1.1-1.6
    1.4-1.8.2-.3.2-2.1 0-2.4z" />
  <path fill="#55ACEE"
    d="M14.6 15.7c0 1.3-.5 5-1.7 6-1.4 1.3-6.3 1.7-7.8.1-.8-.8-1.6-4-1.5-6.8
    0-1.7 2.3-2 5.5-2 3.1 0 5.7.5 5.5 2.7zm6.8 0c0 1.3.5 5 1.7 6
    1.4 1.3 6.3 1.7 7.8.1.8-.8 1.6-4 1.5-6.8 0-1.7-2.3-2-5.5-2-3.1
    0-5.7.5-5.5 2.7z" />
</svg>
The second path element defines the lenses. Notice how the color is defined for each of them:
<svg xmlns="http://www.w3.org/2000/svg" viewBox="0 0 36 36">
  <path fill="#111111"
    d="M35.7 12c-.5-.6-6.8-1.2-13.3-.4-1.3.1-1.3.5-4.4.6-3-.1-3.1-.5-4.4-.6C7
    10.8.8 11.4.3 11.9c-.2.3-.2 2.1 0 2.4.3.2 1 .6 1.4 1.8.3.8.5
    5.9 2.3 7.4 1.8 1.5 7.5 1.2 9.3.2 2.6-1.3 3-5.8 3.3-7.6.2-1 1.2-1
    1.4-1s1.2 0 1.4 1c.4 1.8.7 6.3 3.3 7.6 1.8 1 7.5
    1.3 9.3-.2 1.8-1.5 2-6.6 2.3-7.4.3-1.2 1.1-1.6
    1.4-1.8.2-.3.2-2.1 0-2.4z" />
  <path fill="#55ACEE"
    d="M14.6 15.7c0 1.3-.5 5-1.7 6-1.4 1.3-6.3 1.7-7.8.1-.8-.8-1.6-4-1.5-6.8
    0-1.7 2.3-2 5.5-2 3.1 0 5.7.5 5.5 2.7zm6.8 0c0 1.3.5 5 1.7 6
    1.4 1.3 6.3 1.7 7.8.1.8-.8 1.6-4 1.5-6.8 0-1.7-2.3-2-5.5-2-3.1
    0-5.7.5-5.5 2.7z" />
</svg>
They are defined using the fill property, and the value in each is a hex color.
We want to change the color stored by the fill property in both of these paths, so we need a way to target these path elements with a CSS selector. There are many ways to do this, but the approach we will take is to assign class values to each of our path elements.
Let’s go ahead and add the following class attributes and values:
<svg xmlns="http://www.w3.org/2000/svg" viewBox="0 0 36 36">
  <path class="frame" fill="#111111"
    d="M35.7 12c-.5-.6-6.8-1.2-13.3-.4-1.3.1-1.3.5-4.4.6-3-.1-3.1-.5-4.4-.6C7
    10.8.8 11.4.3 11.9c-.2.3-.2 2.1 0 2.4.3.2 1 .6 1.4 1.8.3.8.5
    5.9 2.3 7.4 1.8 1.5 7.5 1.2 9.3.2 2.6-1.3 3-5.8 3.3-7.6.2-1 1.2-1
    1.4-1s1.2 0 1.4 1c.4 1.8.7 6.3 3.3 7.6 1.8 1 7.5
    1.3 9.3-.2 1.8-1.5 2-6.6 2.3-7.4.3-1.2 1.1-1.6
    1.4-1.8.2-.3.2-2.1 0-2.4z" />
  <path class="lenses" fill="#55ACEE"
    d="M14.6 15.7c0 1.3-.5 5-1.7 6-1.4 1.3-6.3 1.7-7.8.1-.8-.8-1.6-4-1.5-6.8
    0-1.7 2.3-2 5.5-2 3.1 0 5.7.5 5.5 2.7zm6.8 0c0 1.3.5 5 1.7 6
    1.4 1.3 6.3 1.7 7.8.1.8-.8 1.6-4 1.5-6.8 0-1.7-2.3-2-5.5-2-3.1
    0-5.7.5-5.5 2.7z" />
</svg>
Our first path element has the class value of frame. The second path element has the class value of lenses. Very appropriate, right?
After we have added our class values, we write our style rules to target these two path elements. Towards the bottom of our style element, add the frame and lenses style rules:
body {
  margin: 50px;
}

.container svg {
  width: 350px;
}

.frame {
  fill: #ff2929;
}
.lenses {
  fill: #ffff00;
}
Notice that each style rule targets its associated SVG path element, and the content of each style rule is the fill property with a specified color value.
If we save these changes and preview our page in the browser, notice what our sunglasses look like right now:
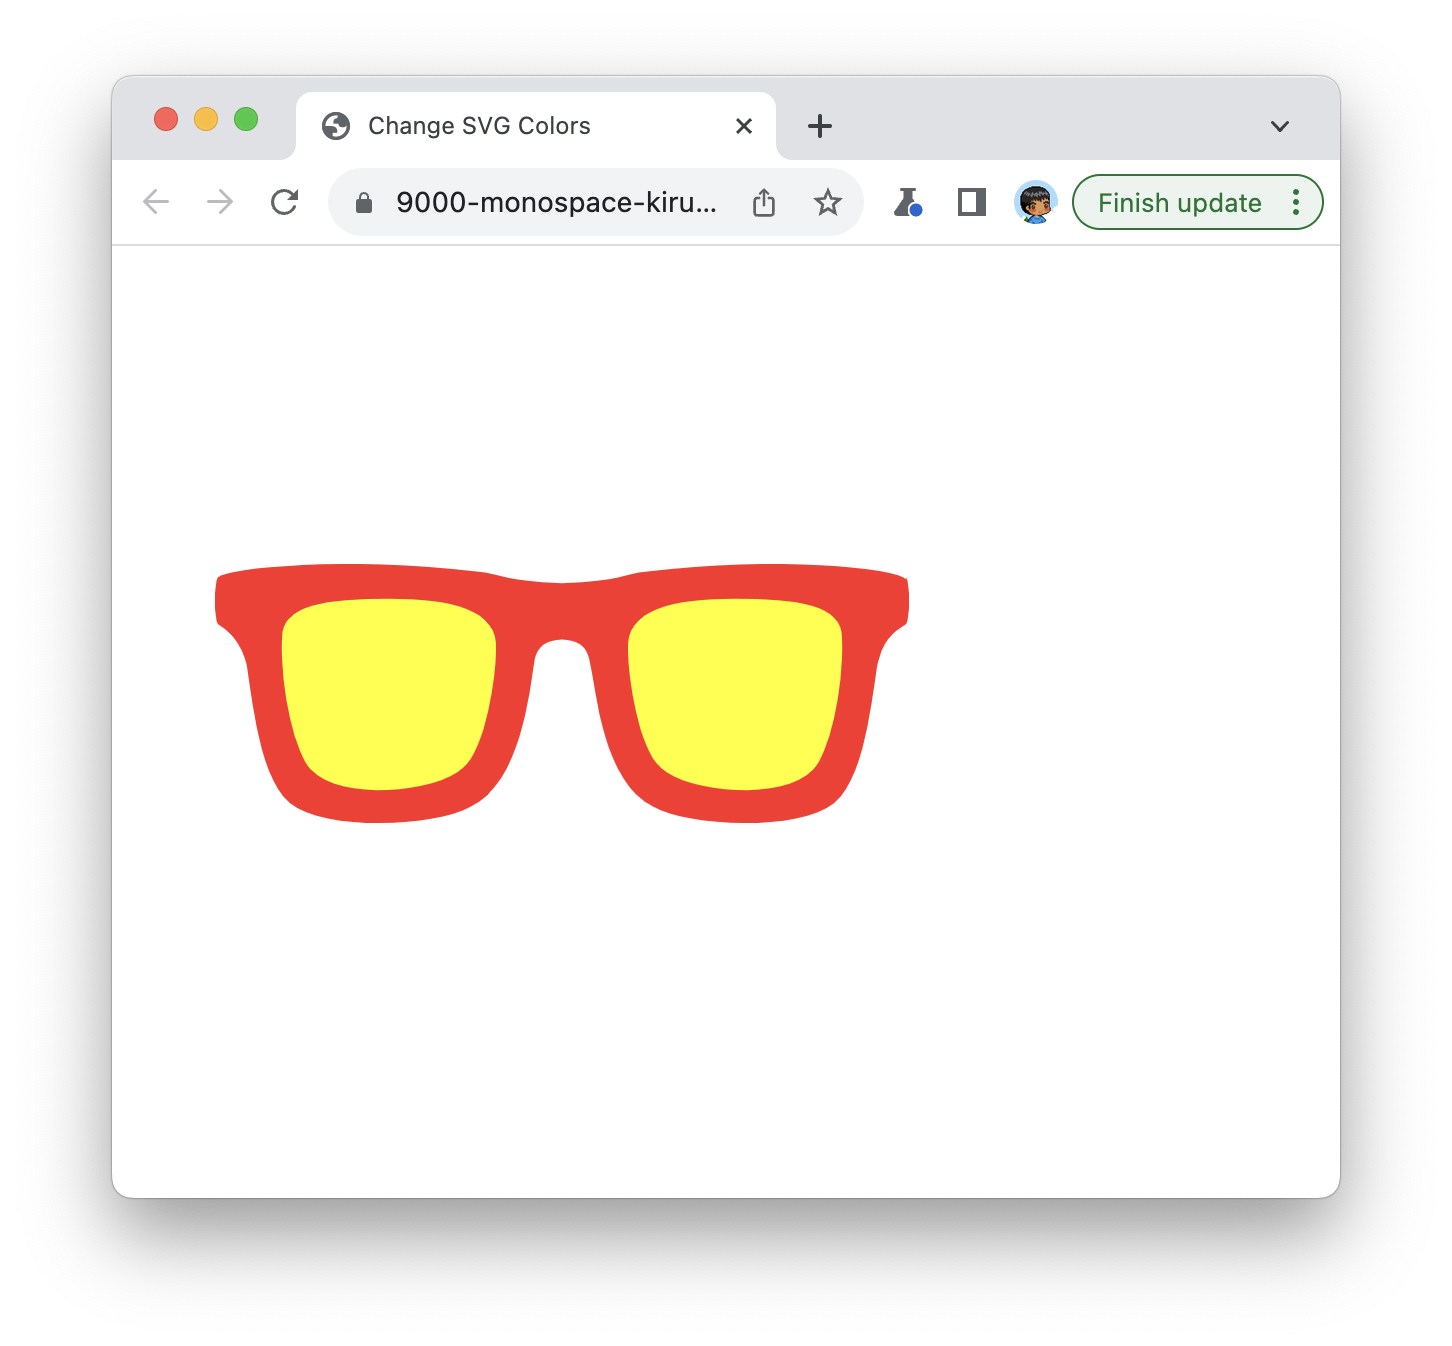
They have a red frame with yellow-colored lenses! All of this was made possible by using our tried-and-true CSS selector syntax.
The CSS Custom Properties Approach
Another approach we can take is to rely on CSS custom properties to change the color of our path elements inside our SVG. Inside our style element, first delete the frame and lenses style rules that we added a few moments ago. After that, let’s create a :root selector and define two properties called frame and lenses with the same red and yellow color values from before.
After all of these changes, the CSS inside our style element will look as follows:
:root {
  --frame: #ff2929;
  --lenses: #ffff00;
}
body {
  margin: 50px;
}

.container svg {
  width: 350px;
}
What we want to do next is have our path elements refer to the colors defined by the frame and lenses custom properties. We do that by replacing the value of our fill properties from hex colors to the appropriate CSS custom property instead:
<svg xmlns="http://www.w3.org/2000/svg" viewBox="0 0 36 36">
  <path class="frame" fill="var(--frame)"
    d="M35.7 12c-.5-.6-6.8-1.2-13.3-.4-1.3.1-1.3.5-4.4.6-3-.1-3.1-.5-4.4-.6C7
    10.8.8 11.4.3 11.9c-.2.3-.2 2.1 0 2.4.3.2 1 .6 1.4 1.8.3.8.5
    5.9 2.3 7.4 1.8 1.5 7.5 1.2 9.3.2 2.6-1.3 3-5.8 3.3-7.6.2-1 1.2-1
    1.4-1s1.2 0 1.4 1c.4 1.8.7 6.3 3.3 7.6 1.8 1 7.5
    1.3 9.3-.2 1.8-1.5 2-6.6 2.3-7.4.3-1.2 1.1-1.6
    1.4-1.8.2-.3.2-2.1 0-2.4z" />
  <path class="lenses" fill="var(--lenses)"
    d="M14.6 15.7c0 1.3-.5 5-1.7 6-1.4 1.3-6.3 1.7-7.8.1-.8-.8-1.6-4-1.5-6.8
    0-1.7 2.3-2 5.5-2 3.1 0 5.7.5 5.5 2.7zm6.8 0c0 1.3.5 5 1.7 6
    1.4 1.3 6.3 1.7 7.8.1.8-.8 1.6-4 1.5-6.8 0-1.7-2.3-2-5.5-2-3.1
    0-5.7.5-5.5 2.7z" />
</svg>
After making this change, our sunglasses will appear in their red and yellow style as earlier. The difference is that these colors come directly from our CSS custom properties as opposed to a style rule.
Changing the Colors using JavaScript
We will bid adieu to our CSS world and jump over into the world of JavaScript. All of the tricks we have seen in the Setting CSS Style using JavaScript tutorial will apply here, so we’ll keep things brief. What we are going to do is get a reference to each path element using querySelector and set the fill value using setAttribute.
Just above the closing </body> tag, add the following:
<script>
  let frame = document.querySelector(".frame");
  let lenses = document.querySelector(".lenses");

  frame.setAttribute("fill", "#111111");
  lenses.setAttribute("fill", "#7cffff");
</script>
We get a reference to both path elements and change the fill values on them to have a near-black frame and a bright blue colored lens. If you preview the result of these changes in the browser, you’ll see this color change reflected:
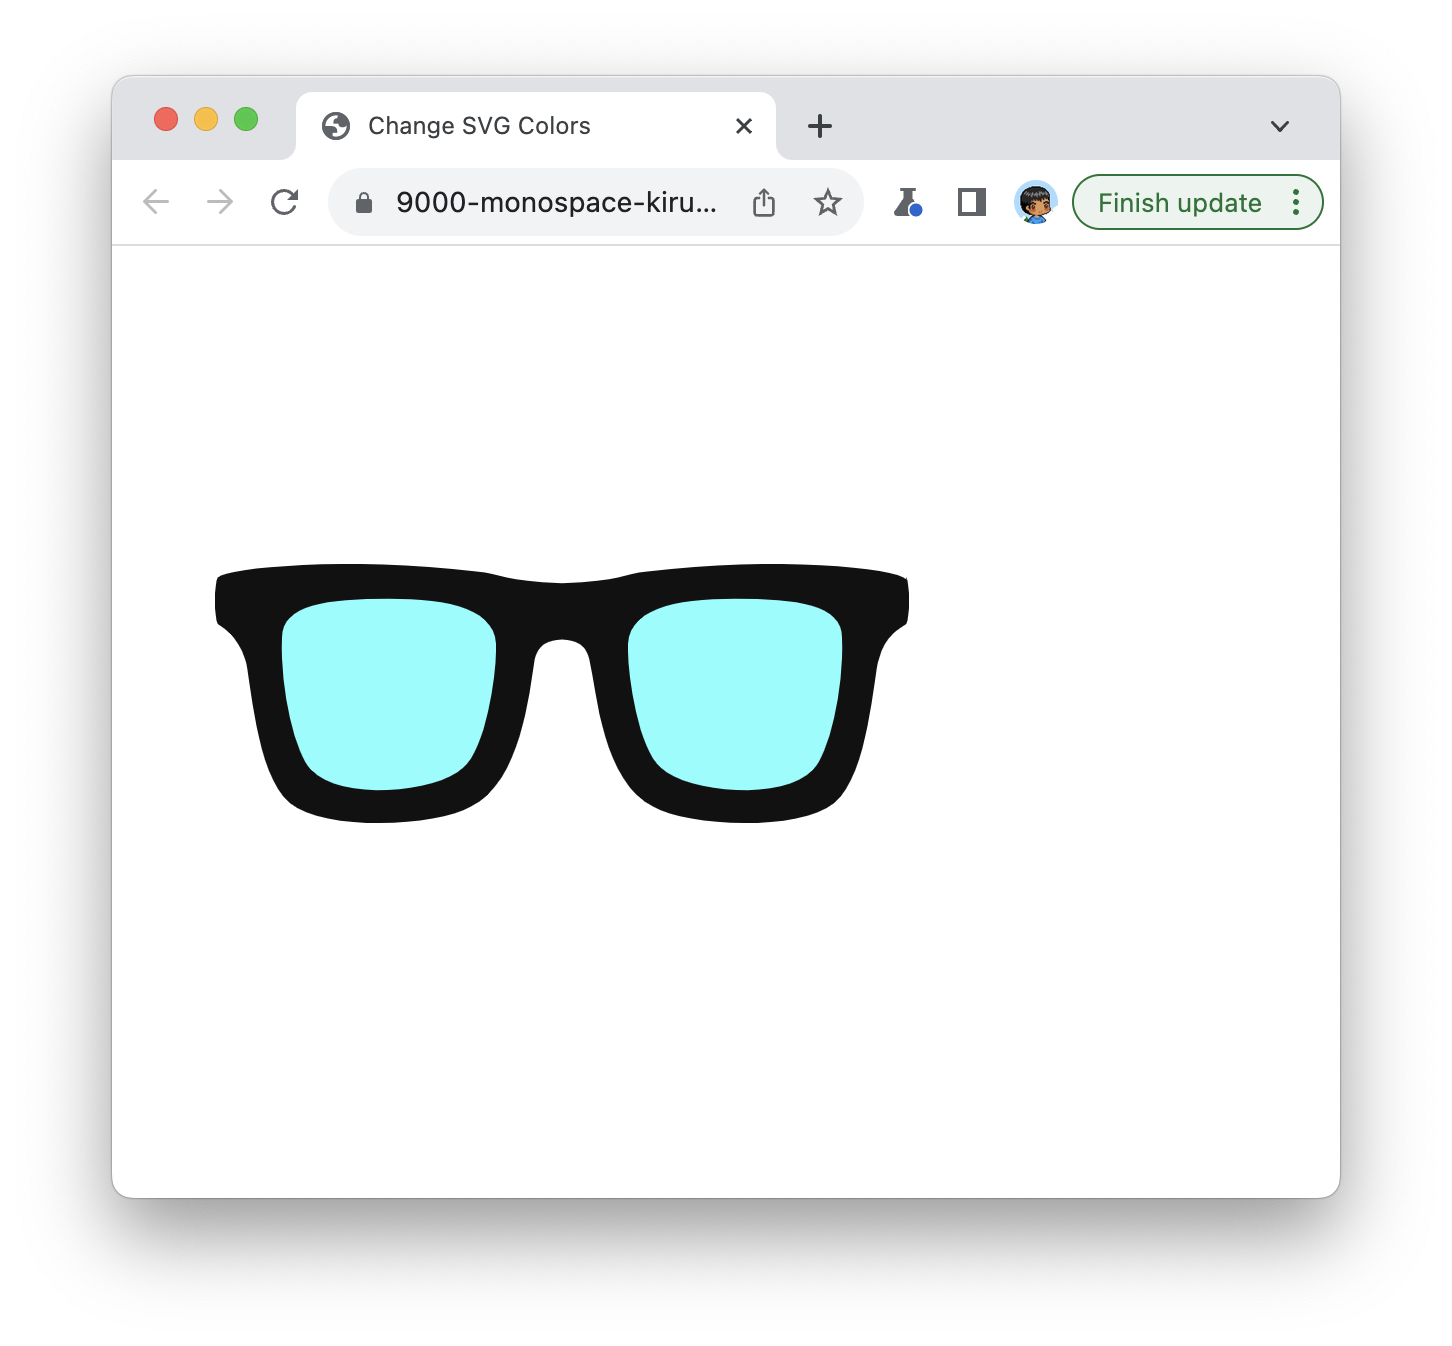
In case you are curious, the colors we defined in CSS earlier are still set. They just get overwritten. This is because our JavaScript runs last and takes precedence.
Conclusion
The final contents of our HTML document at this stage look as follows:
<!DOCTYPE html>
<html lang="en">

<head>
  <meta charset="UTF-8">
  <meta http-equiv="X-UA-Compatible" content="IE=edge">
  <meta name="viewport" content="width=device-width, initial-scale=1.0">
  <title>Change SVG Colors</title>

  <style>
    :root {
      --frame: #ff2929;
      --lenses: #ffff00;
    }

    body {
      margin: 50px;
    }

    .container svg {
      width: 350px;
    }
  </style>
</head>

<body>
  <div class="container">
    <svg xmlns="http://www.w3.org/2000/svg" viewBox="0 0 36 36">
      <path class="frame" fill="var(--frame)" d="M35.7 12c-.5-.6-6.8-1.2-13.3-.4-1.3.1-1.3.5-4.4.6-3-.1-3.1-.5-4.4-.6C7
        10.8.8 11.4.3 11.9c-.2.3-.2 2.1 0 2.4.3.2 1 .6 1.4 1.8.3.8.5
        5.9 2.3 7.4 1.8 1.5 7.5 1.2 9.3.2 2.6-1.3 3-5.8 3.3-7.6.2-1 1.2-1
        1.4-1s1.2 0 1.4 1c.4 1.8.7 6.3 3.3 7.6 1.8 1 7.5
        1.3 9.3-.2 1.8-1.5 2-6.6 2.3-7.4.3-1.2 1.1-1.6
        1.4-1.8.2-.3.2-2.1 0-2.4z" />
      <path class="lenses" fill="var(--lenses)" d="M14.6 15.7c0 1.3-.5 5-1.7 6-1.4 1.3-6.3 1.7-7.8.1-.8-.8-1.6-4-1.5-6.8
        0-1.7 2.3-2 5.5-2 3.1 0 5.7.5 5.5 2.7zm6.8 0c0 1.3.5 5 1.7 6
        1.4 1.3 6.3 1.7 7.8.1.8-.8 1.6-4 1.5-6.8 0-1.7-2.3-2-5.5-2-3.1
        0-5.7.5-5.5 2.7z" />
    </svg>
  </div>

  <script>
    let frame = document.querySelector(".frame");
    let lenses = document.querySelector(".lenses");

    frame.setAttribute("fill", "#111111");
    lenses.setAttribute("fill", "#7cffff");
  </script>
</body>

</html>
If anything isn’t working in your example, feel free to double check where things may differ between what you have and what is posted here.
Tying it all back to our introduction, our ability to modify the appearance of SVG elements using CSS and JavaScript is huge. It makes so many styling and theming scenarios easy. For example, a lot of the SVG elements on this site respect the theme accent color. This means one single SVG image can be customized. If we had to replicate this behavior with PNG or other image formats, we would need a separate image per variation. That can get unwieldy very quickly.
Just a final word before we wrap up. What you've seen here is freshly baked content without added preservatives, artificial intelligence, ads, and algorithm-driven doodads. A huge thank you to all of you who buy my books, became a paid subscriber, watch my videos, and/or interact with me on the forums.
Your support keeps this site going! 😇
