


<html>
	<body>
		<div id="root"></div>
		<script src="https://unpkg.com/react@16.13.1/umd/react.development.js"></script>
		<script src="https://unpkg.com/react-dom@16.13.1/umd/react-dom.development.js"></script>
		<script src="https://unpkg.com/@babel/standalone@7.8.3/babel.js"></script>
		<script type="text/babel">
			ReactDOM.render(<div>Hello World</div>, document.getElementById('root'))
		</script>
	</body>
</html>
Read on to follow the step-by-step process for how we get here (and enjoy the videos throughout).
When you're learning something new (or you want to solidify your foundational understanding of something you're already familiar with), one of the most valuable things you can do is remove everything until all you're left with is the one thing you're trying to learn.
When we're talking about building applications, we're putting together many different abstractions (tools and libraries) to do so. When all you want to do is ship, it's natural to see all of those things as one big ball of rubber bands where you don't know when one abstraction starts and the other ends and it honestly doesn't really matter all that much because all you care about is getting something shipped.
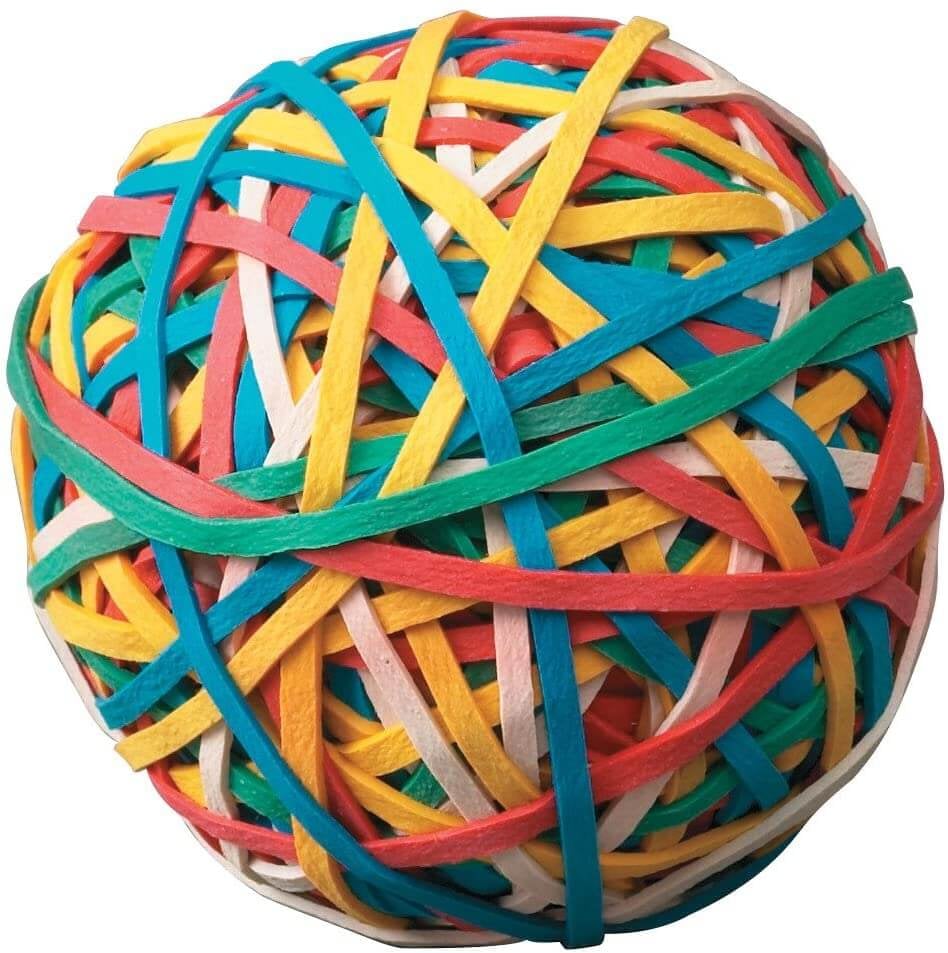
But if you really want to get a solid foundation and use the abstractions to their greatest potential, then you'll find you're much more effective by taking those rubber bands apart and exploring them in isolation. You'll get to know their capabilities and what role they play in the overall application. That way, when you use them in the future, you won't try to put two pieces together in a way they weren't intended, because you'll understand what their intended use cases are.
So let's go ahead and try this with React. When we build a React application, we
use a ton of tools together (both development tools as well as libraries we ship
to production). If you don't know where react ends and webpack starts you won't
be as effective as using either. So, let's strip everything away and make it as
simple as possible: a straight-up index.html file.
The next little bit will basically be a simple version of what you can watch for free in my Beginner's Guide to React course on egghead. For this next part, you can watch "Create a User Interface with Vanilla JavaScript and DOM" on egghead.io
Let's start with a regular HTML file:
<html>
	<body></body>
</html>
(Technically, you don't even need that much because the browser is very
forgiving when it comes to this kind of thing and it'll add the html and
body tags for you automatically. But let's keep those in.)
Alright, we're going to create DOM nodes using JavaScript and put them into a container or "root" DOM node. So let's add that:
<html>
	<body>
		<div id="root"></div>
	</body>
</html>
We give it the id of root to make it easy to find that DOM node in our
JavaScript. Let's add that next:
<html>
	<body>
		<div id="root"></div>
		<script type="module">
			const rootElement = document.getElementById('root')
		</script>
	</body>
</html>
Great, now that we have the rootElement, let's create a DOM element to put
inside it:
<html>
	<body>
		<div id="root"></div>
		<script type="module">
			const rootElement = document.getElementById('root')
			const element = document.createElement('div')
			element.textContent = 'Hello World'
			element.className = 'container'
			rootElement.append(element)
		</script>
	</body>
</html>
Now what you'll see on the page is "Hello World" that's rendered inside a div
within our root.
For this next part, you can watch "Create a User Interface with React's createElement API" on egghead.io
Alright, let's add React to the page. It's a third party library, with JavaScript of its own, so we need to add separate script tags to the page for the browser to load that JavaScript for us:
<html>
	<body>
		<div id="root"></div>
		<script src="https://unpkg.com/react@16.13.1/umd/react.development.js"></script>
		<script type="module">
			const rootElement = document.getElementById('root')
			const element = document.createElement('div')
			element.textContent = 'Hello World'
			element.className = 'container'
			rootElement.append(element)
		</script>
	</body>
</html>
Great, with React on the page (as the global variable React), we can now start
creating React elements:
<html>
	<body>
		<div id="root"></div>
		<script src="https://unpkg.com/react@16.13.1/umd/react.development.js"></script>
		<script type="module">
			const rootElement = document.getElementById('root')
			// const element = document.createElement('div')
			// element.textContent = 'Hello World'
			// element.className = 'container'
			// rootElement.append(element)

			const element = React.createElement(
				'div',
				{ className: 'container' },
				'Hello World',
			)
		</script>
	</body>
</html>
Awesome. That element is a regular JavaScript object. Go ahead and log it to
the page and you'll see something like this:
{
  $$typeof: Symbol(react.element)
  key: null
  props: {className: "container", children: "Hello World"}
  ref: null
  type: "div"
  _owner: null
  _store: {validated: false}
  _self: null
  _source: null
  __proto__: Object
}
Learn more about this from my blog post What is JSX?
Now we've got to have something that can take that react element and turn it
into a DOM node and then put that DOM node in our root. That's what
react-dom is for. So let's add that:
<html>
	<body>
		<div id="root"></div>
		<script src="https://unpkg.com/react@16.13.1/umd/react.development.js"></script>
		<script src="https://unpkg.com/react-dom@16.13.1/umd/react-dom.development.js"></script>
		<script type="module">
			const rootElement = document.getElementById('root')
			const element = React.createElement(
				'div',
				{ className: 'container' },
				'Hello World',
			)
			ReactDOM.render(element, rootElement)
		</script>
	</body>
</html>
Now we'll have the same thing rendered as we had with our original vanilla JavaScript solution.
For this next part, you can watch "Create a User Interface with React's JSX syntax" on egghead.io
Nobody writes React like we have above though. We're all using
JSX! But the browser doesn't know what JSX is! So while we
like writing our code using this special syntax, we need to provide the browser
with something it understands. The browser understands React.createElement. So
what if we write our code using JSX, and then we have some tool that converts
JSX to React.createElement? That's precisely what the
Babel compiler does for us.
As it happens, Babel is written completely in JavaScript and can actually run in the browser! So let's add it to our page:
<html>
	<body>
		<div id="root"></div>
		<script src="https://unpkg.com/react@16.13.1/umd/react.development.js"></script>
		<script src="https://unpkg.com/react-dom@16.13.1/umd/react-dom.development.js"></script>
		<script src="https://unpkg.com/@babel/standalone@7.8.3/babel.js"></script>
		<script type="module">
			const rootElement = document.getElementById('root')
			const element = React.createElement(
				'div',
				{ className: 'container' },
				'Hello World',
			)
			ReactDOM.render(element, rootElement)
		</script>
	</body>
</html>
And with that, now we can tell babel that we want it to compile the code we have
in the script tag. We do this by changing the type to text/babel:
<html>
	<body>
		<div id="root"></div>
		<script src="https://unpkg.com/react@16.13.1/umd/react.development.js"></script>
		<script src="https://unpkg.com/react-dom@16.13.1/umd/react-dom.development.js"></script>
		<script src="https://unpkg.com/@babel/standalone@7.8.3/babel.js"></script>
		<script type="text/babel">
			const rootElement = document.getElementById('root')
			const element = React.createElement(
				'div',
				{ className: 'container' },
				'Hello World',
			)
			ReactDOM.render(element, rootElement)
		</script>
	</body>
</html>
Now that we've got that set up, we can start using JSX!
<html>
	<body>
		<div id="root"></div>
		<script src="https://unpkg.com/react@16.13.1/umd/react.development.js"></script>
		<script src="https://unpkg.com/react-dom@16.13.1/umd/react-dom.development.js"></script>
		<script src="https://unpkg.com/@babel/standalone@7.8.3/babel.js"></script>
		<script type="text/babel">
			const rootElement = document.getElementById('root')
			// const element = React.createElement(
			//   'div',
			//   {className: 'container'},
			//   'Hello World',
			// )
			const element = <div className="container">Hello World</div>
			ReactDOM.render(element, rootElement)
		</script>
	</body>
</html>
And that's it! So here's the simplified and final version of everything you need
to get React running in an index.html file without any build tools whatsoever:
<html>
	<body>
		<div id="root"></div>
		<script src="https://unpkg.com/react@16.13.1/umd/react.development.js"></script>
		<script src="https://unpkg.com/react-dom@16.13.1/umd/react-dom.development.js"></script>
		<script src="https://unpkg.com/@babel/standalone@7.8.3/babel.js"></script>
		<script type="text/babel">
			ReactDOM.render(
				<div className="container">Hello World</div>,
				document.getElementById('root'),
			)
		</script>
	</body>
</html>
Now, I wouldn't recommend building your whole app like this, but hopefully this was instructive and helped you understand what the different parts of the React fundamental abstractions are responsible for. Taking things apart from other abstractions and adding them back one at a time can really help you understand how these tools and libraries work alone and how you can best use them together to build awesome stuff.

If you want to continue your learning journey, don't miss The Beginner's Guide to React. Good luck!
此内容由惯性聚合(RSS阅读器)自动聚合整理,仅供阅读参考。 原文来自 — 版权归原作者所有。