


I was one of the first users of Firebase back in the day. In fact, I spearheaded their "torch program" for firebase advocates (this has been long discontinued and was way before they were bought by Google). I was there when they announced Firebase hosting. I've built a dozen or so small apps using Firebase for data and/or authentication. But for one reason or another, I dropped off the firebase bandwagon and tried some other services that treated me exceedingly well.
But now I'm back and I'm excited to try all that firebase now has to offer. In particular, I'm playing around with remix and I've just added Firebase Firestore for data storage and want to add authentication. Firebase Firestore + Firebase Authentication + Firebase Cloud Functions just seems like the perfect combination. And while I've used Netlify's functions feature, Firebase is a bit of a different animal. Breaking things down to their most basic and absolutely necessary components helps me get the right idea of the abstractions I'm working with, so without any further ado, here's your "Super simple start to Firebase functions."
Before you get started, you'll need a GitHub account, a Firebase account (just use your Google account), and a fresh repository. Once you've got the project locally on your computer, then you can start with the following steps:
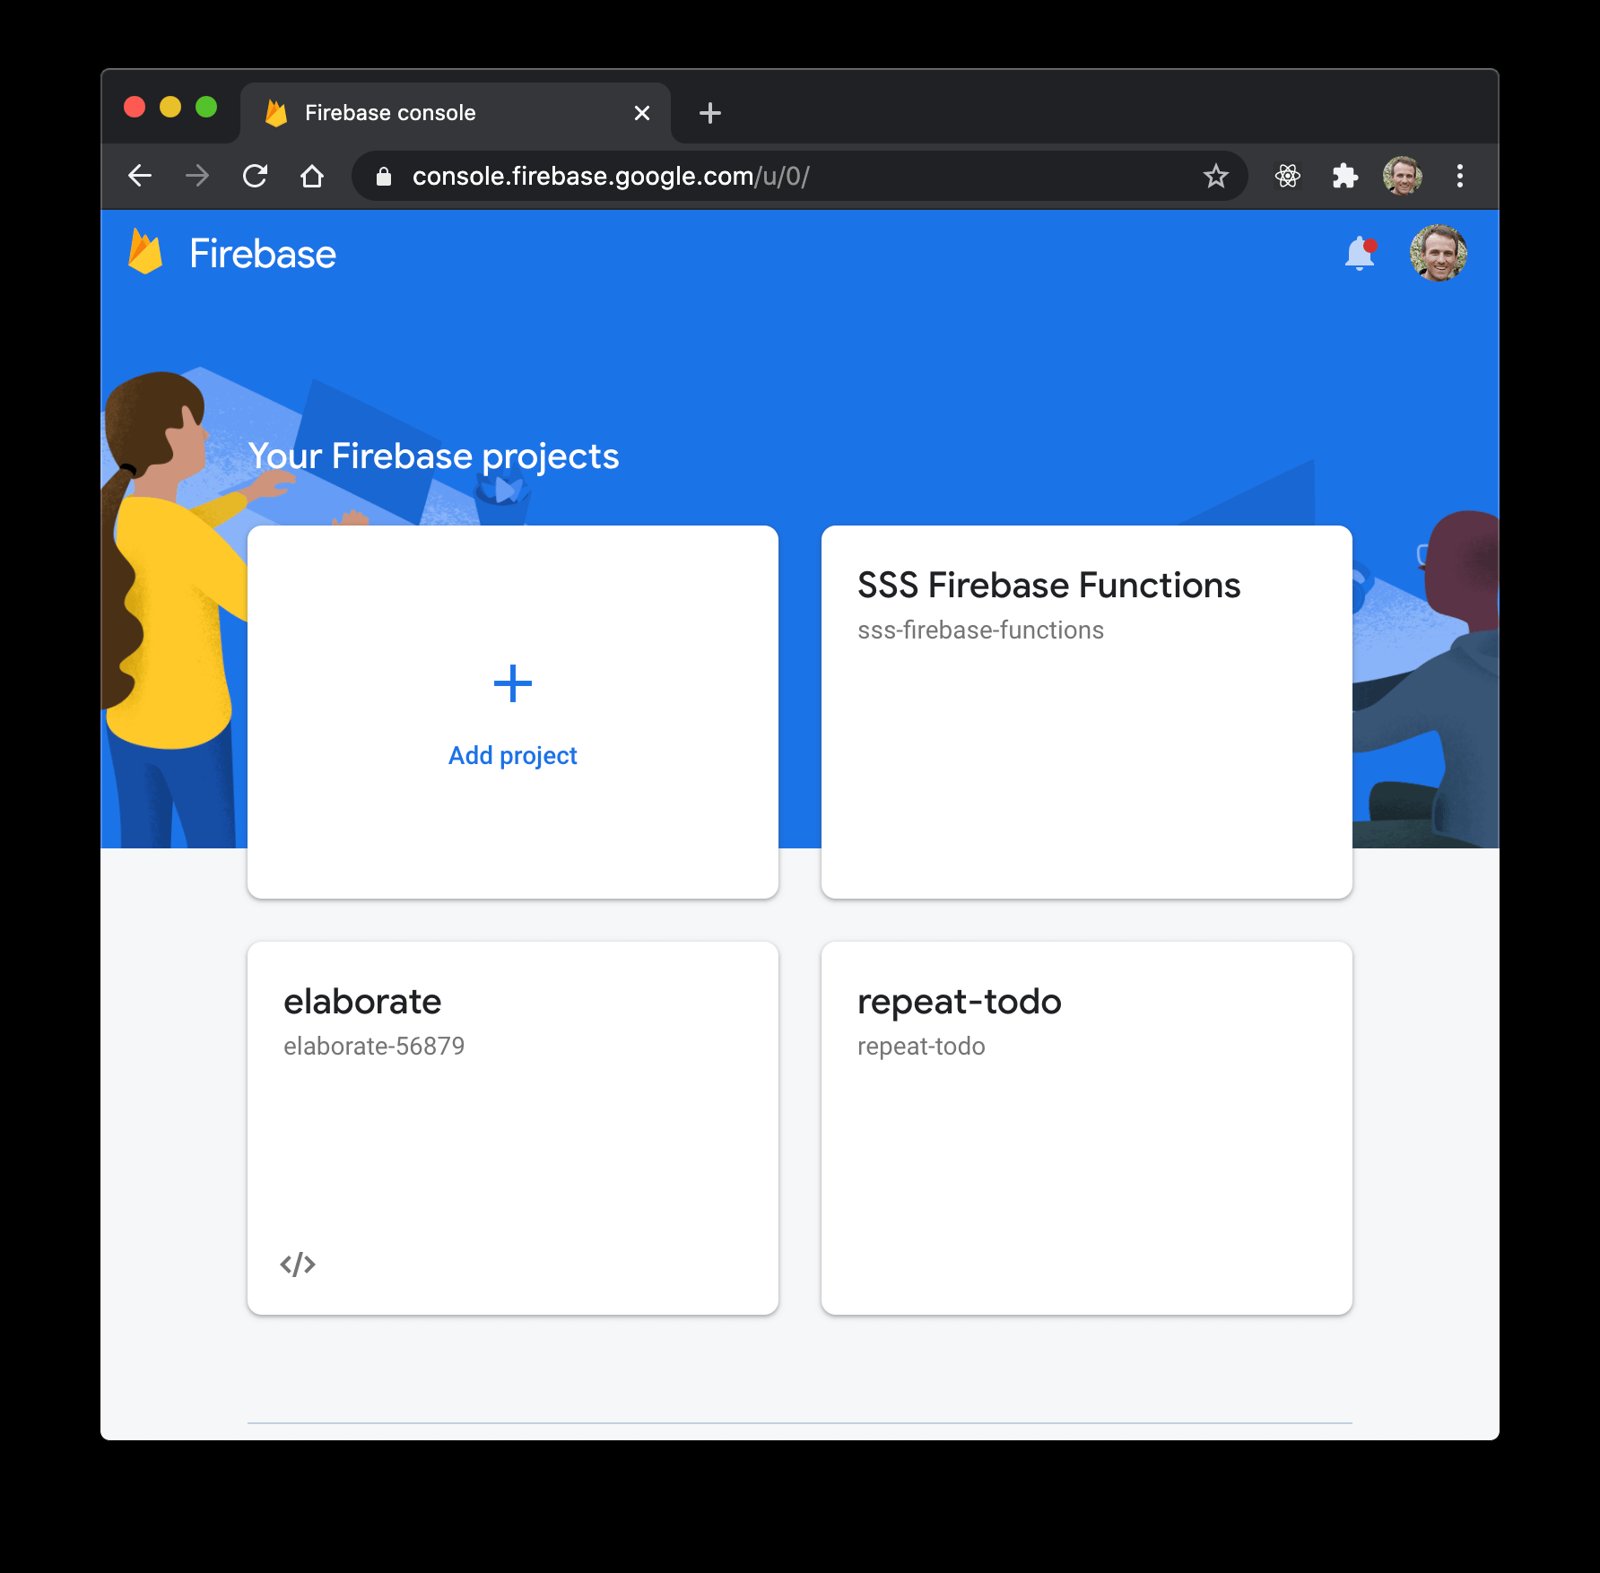
Go to the firebase console and create a new project. Follow the steps there (your option selections here don't matter).
You will need to remember the name of your project. You can find it in the URL after your project is created:
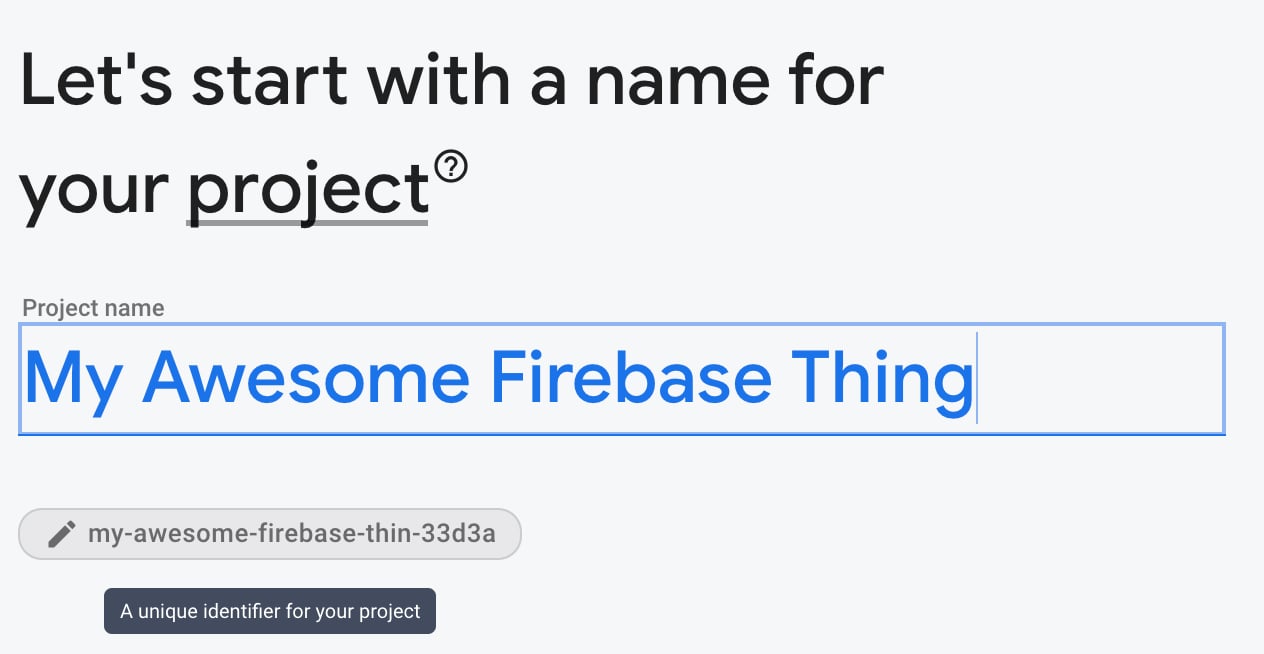
https://console.firebase.google.com/u/0/project/{your-project-id-is-here}/functionsIt's generated when you give the project a name, and you can change it at that time as well:
firebase.json fileFor firebase to recognize your project as a firebase project, it needs to have a
firebase.json file. I'm sure there's lots of important config that can go in
here, but no config is needed for this super simple start, so just put in an
empty object:
{}
.firebaserc fileThis file is where you actually associate your repository with the firebase
project (#spoileralert so when you run firebase deploy later, it knows which
project to deploy your code to).
Here's all you need in that file:
{
	"projects": {
		"default": "{your-project-id}"
	}
}
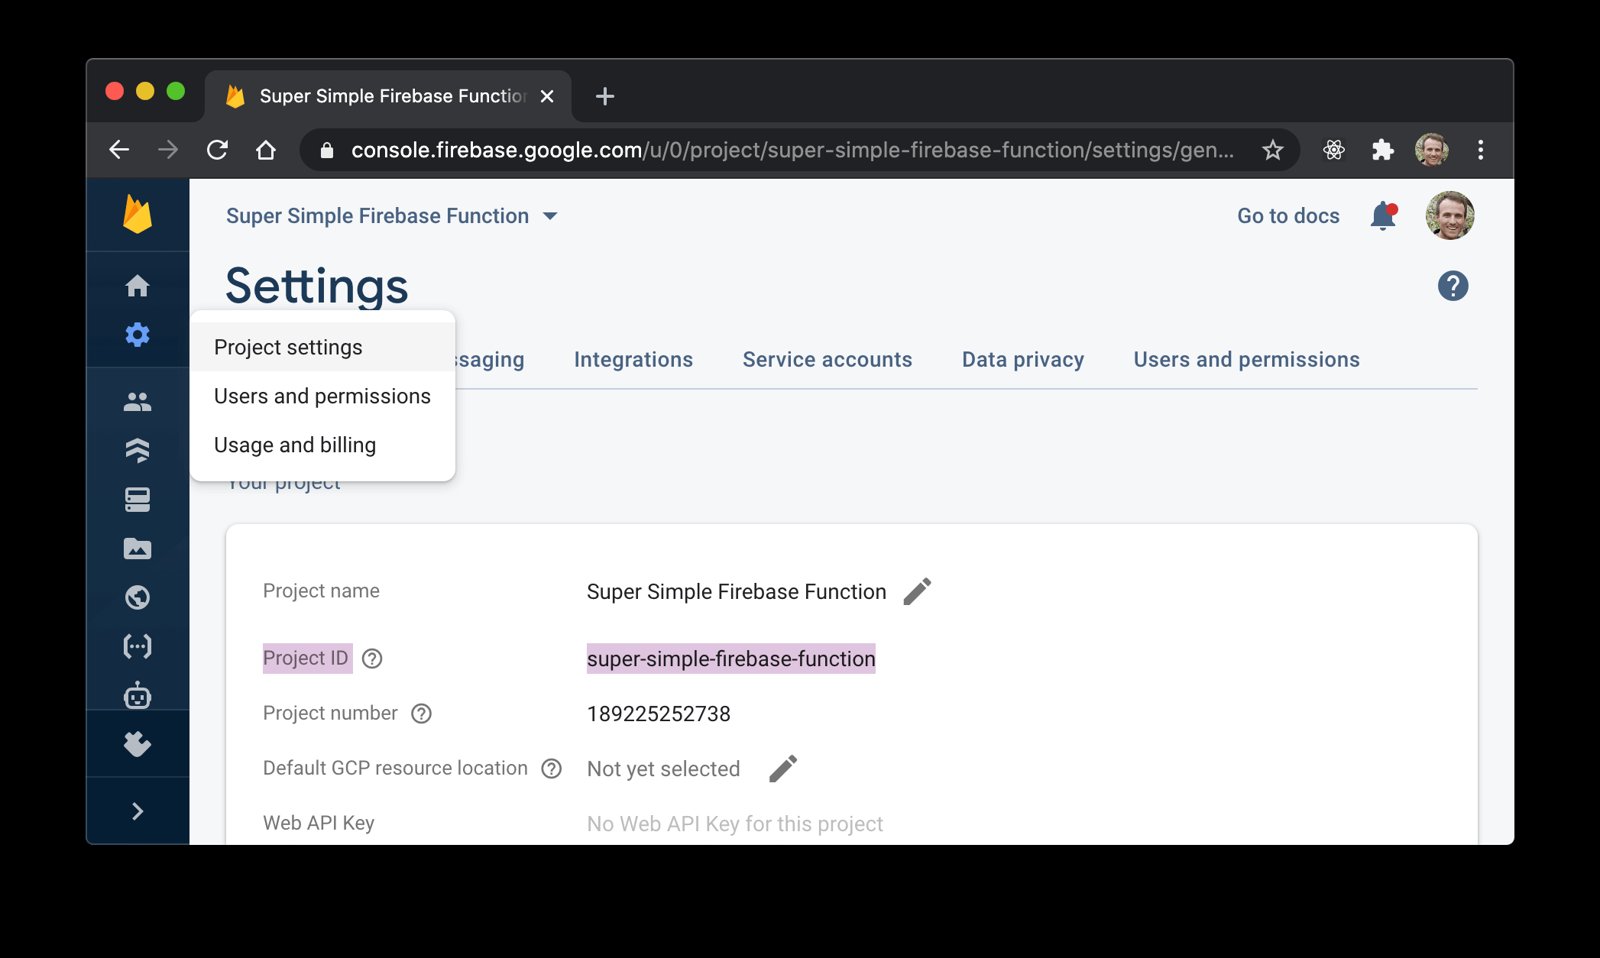
Make sure to change {your-project-id} to whatever your project ID is. Again,
you can get that from the URL of your project on the firebase console as
mentioned above. You can also get it from your project's settings page:
functions/package.json fileHere's what you need in there:
{
	"engines": {
		"node": "12"
	},
	"dependencies": {
		"firebase-admin": "^9.3.0",
		"firebase-functions": "^3.11.0"
	}
}
firebase-admin and firebase-functions are required dependencies to run a
Firebase Cloud Function. You technically don't have to use firebase-admin but
if you don't have it installed, your function won't deploy. We'll use
firebase-functions next.
engines.node is also required so Firebase knows which version of Node.js you
want your functions in.
.gitignoreBefore we install these dependencies, let's get .gitignore ready to ignore
node_modules:
node_modules

# ignores a few log files firebase creates when running functions locally
*.logcd functions && npm install
This should get all dependencies installed and it'll generate a
package-lock.json file which you can safely ignore for now (but you will want
to commit it to your repository).
functions/index.js fileNow that you have dependencies installed, you can create your first function.
Here's what you'll put in there:
const functions = require('firebase-functions')

module.exports = {
	hello: functions.https.onRequest((req, res) => {
		const subject = req.query.subject || 'World'
		res.send(`Hello ${subject}!`)
	}),
}
Every property of that object you're exporting will be an individual function.
So with this, we have a single function called hello.
You might notice other folks use this syntax:
exports.hello = functions.https.onRequest((req, res) => {})
These are functionally equivalent. I just happen to prefer
module.exports = {}. But it doesn't make any substantive difference.
Also this file doesn't have to be called index.js, but if you change it to
something else, then you'll need to set that in the main field in your
package.json. Easier to just go with the index.js convention I say.
firebase-toolsTo deploy locally, you'll need to have firebase-tools installed so you can use
the firebase CLI:
npm install --global firebase-tools
Now you can login:
firebase login
That should pop open your browser and allow you to login with your Google account. Go ahead and login. When you're done, you'll be logged in locally.
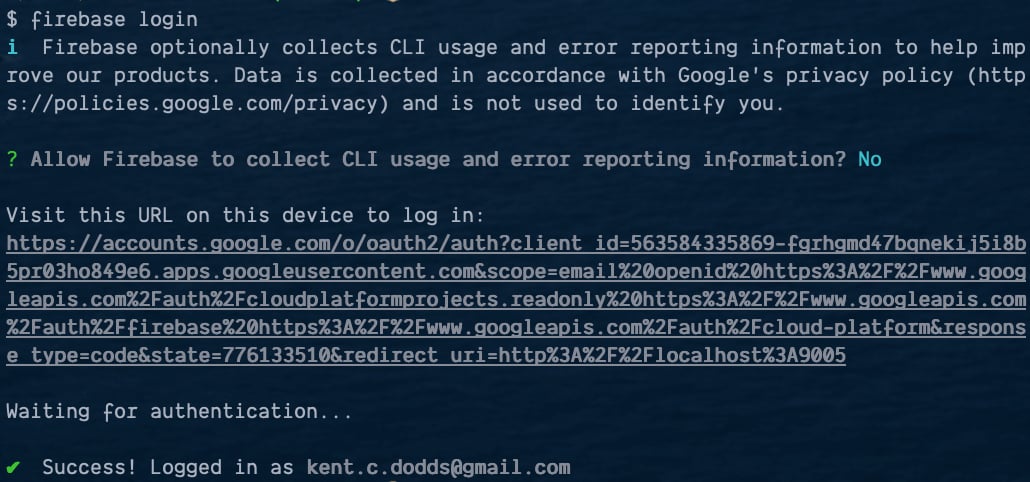
Now that you're logged in, you can test your firebase function before deploying it to production. You can do so with firebase emulator which is pretty sweet.
From within your project directory, run the following command:
firebase emulators:start
That does a bunch of stuff, but here's the important output:
i  emulators: Starting emulators: functions
... some irrelevant stuff here ...
✔  functions[hello]: http function initialized (http://localhost:5001/{your-project-id}/us-central1/hello).

┌───────────────────────────────────────────────────────────────────────┐
│ ✔  All emulators ready! View status and logs at http://localhost:4000 │
└───────────────────────────────────────────────────────────────────────┘

┌───────────┬────────────────┬─────────────────────────────────┐
│ Emulator  │ Host:Port      │ View in Emulator UI             │
├───────────┼────────────────┼─────────────────────────────────┤
│ Functions │ localhost:5001 │ http://localhost:4000/functions │
└───────────┴────────────────┴─────────────────────────────────┘
  Other reserved ports: 4400, 4500
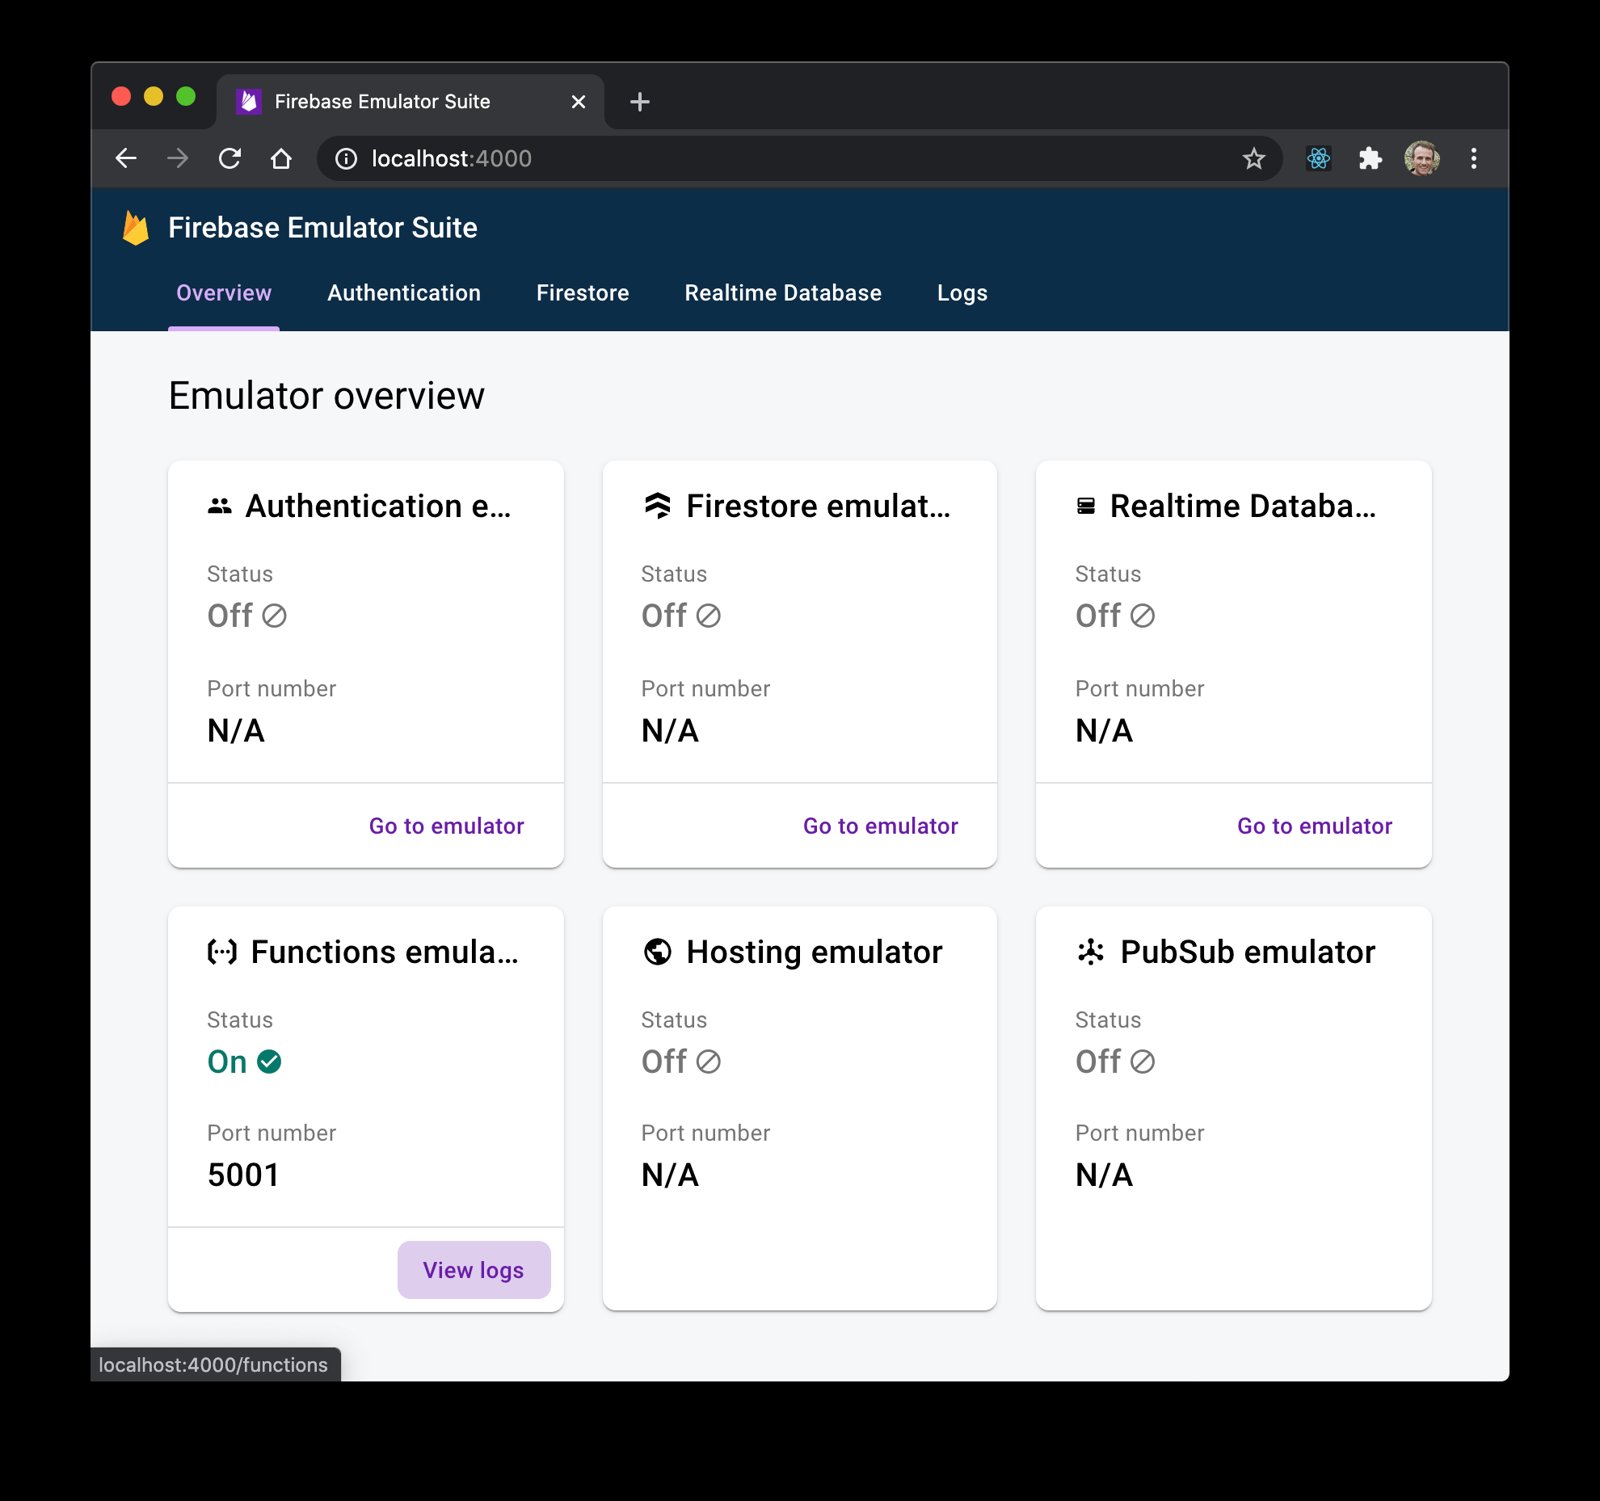
If you open the Emulator UI, you'll see the emulator overview and you can select the function logs:
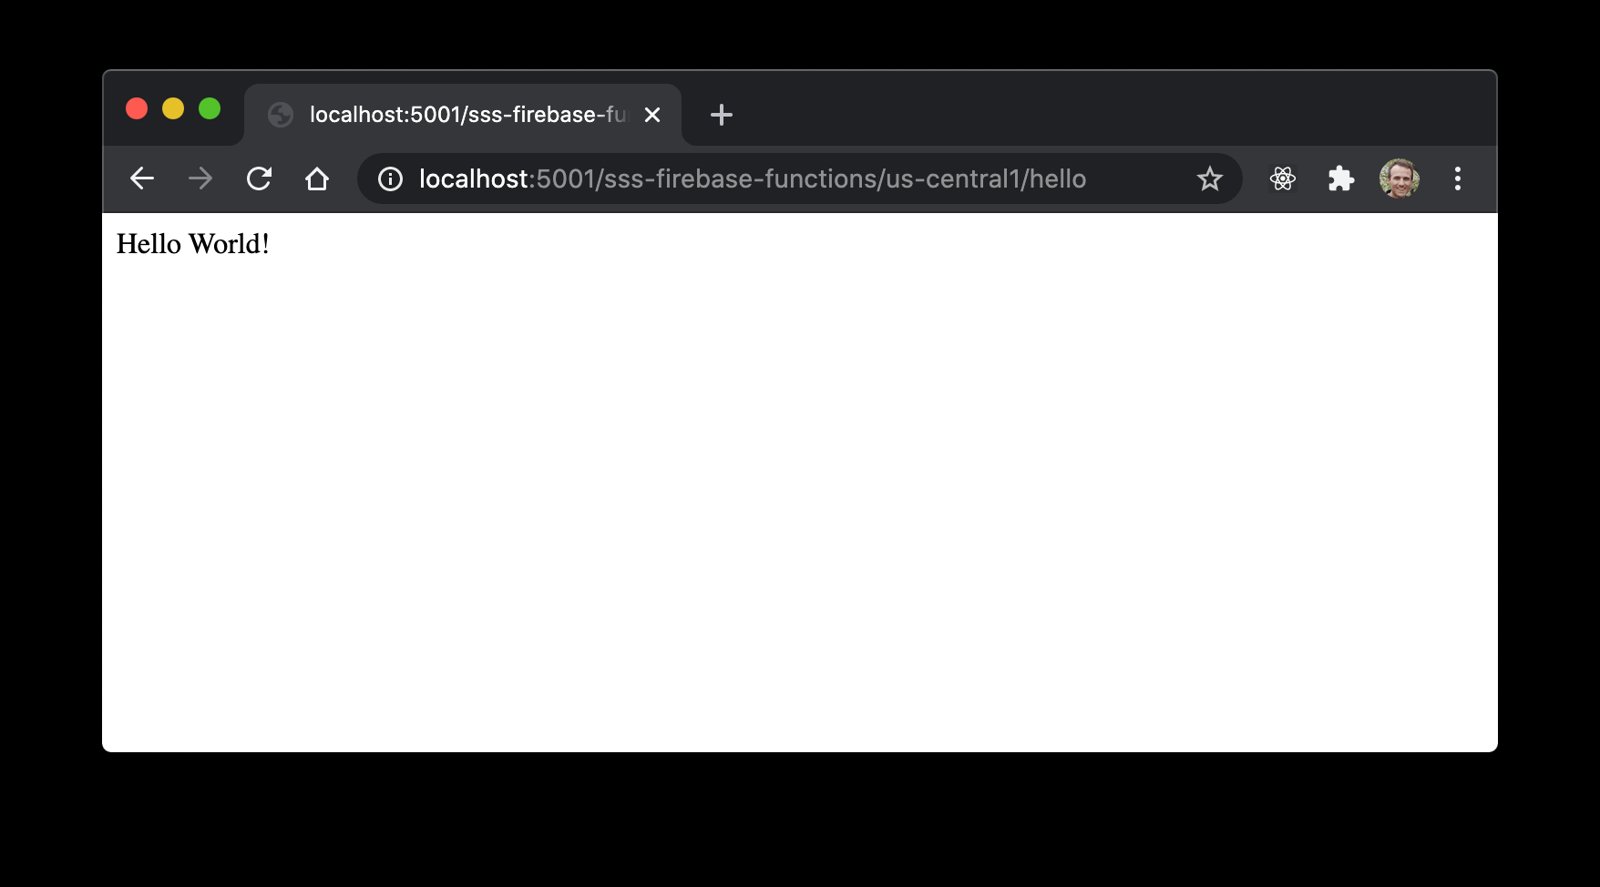
If you hit your serverless function in a browser you should see the output:
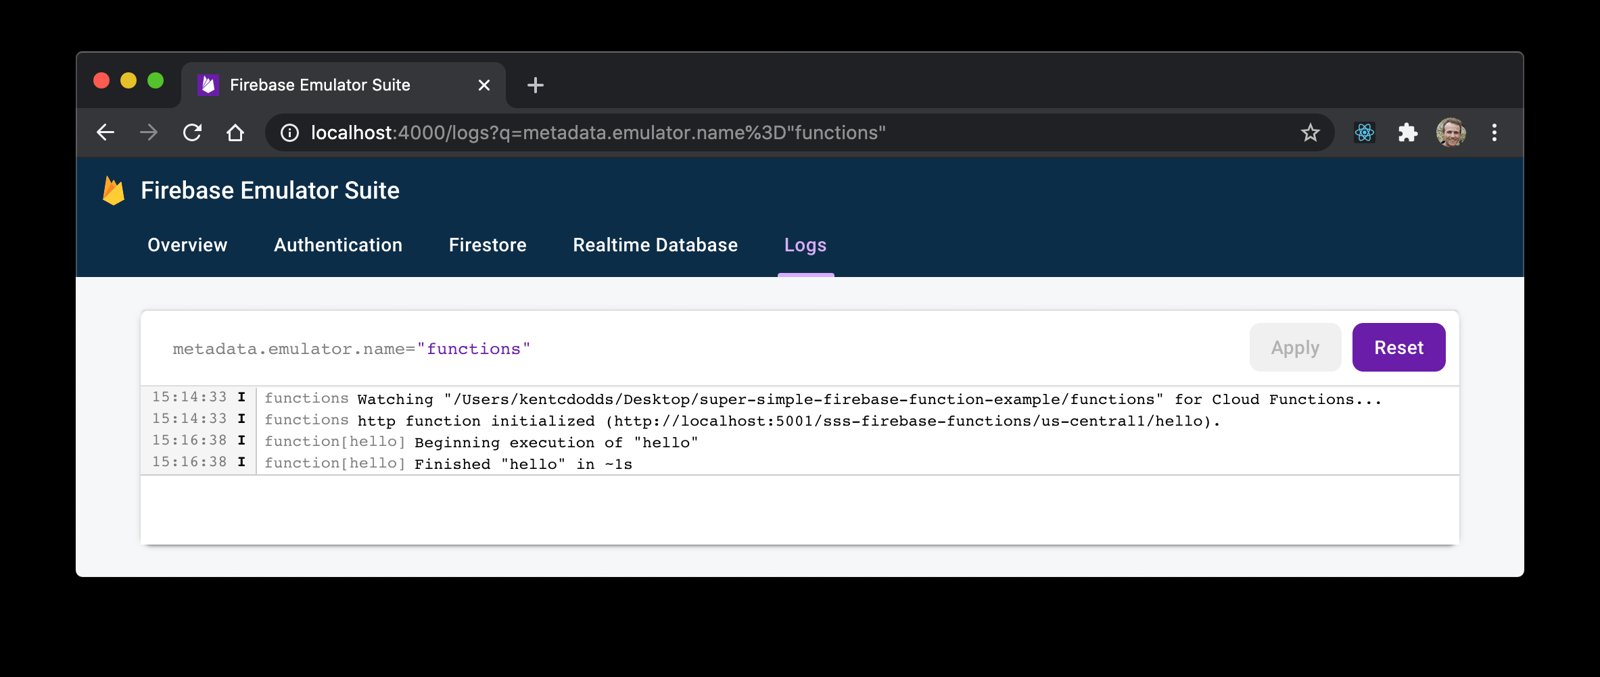
And then your logs will show that the function was run:
Awesome! So the function is working! On to the next step.
Now you're ready to deploy your function to the world wide web. From within your project directory, run the following command:
firebase deploy
This will trigger your function to be deployed.... But wait! What's this I see?
Error: HTTP Error: 400, Billing account for project '189225252738' is not found.
Billing must be enabled for activation of service(s)
'cloudbuild.googleapis.com,containerregistry.googleapis.com' to proceed.
What the? What's that even mean? Well, it turns out that firebase could use an improvement in this error message with instructions on what to do next because this part was a real pain honestly. But here's what you need to do...
So you'll go back to the firebase console for your project and navigate to "Usage and billing" and then go to the "Details & settings" tab:
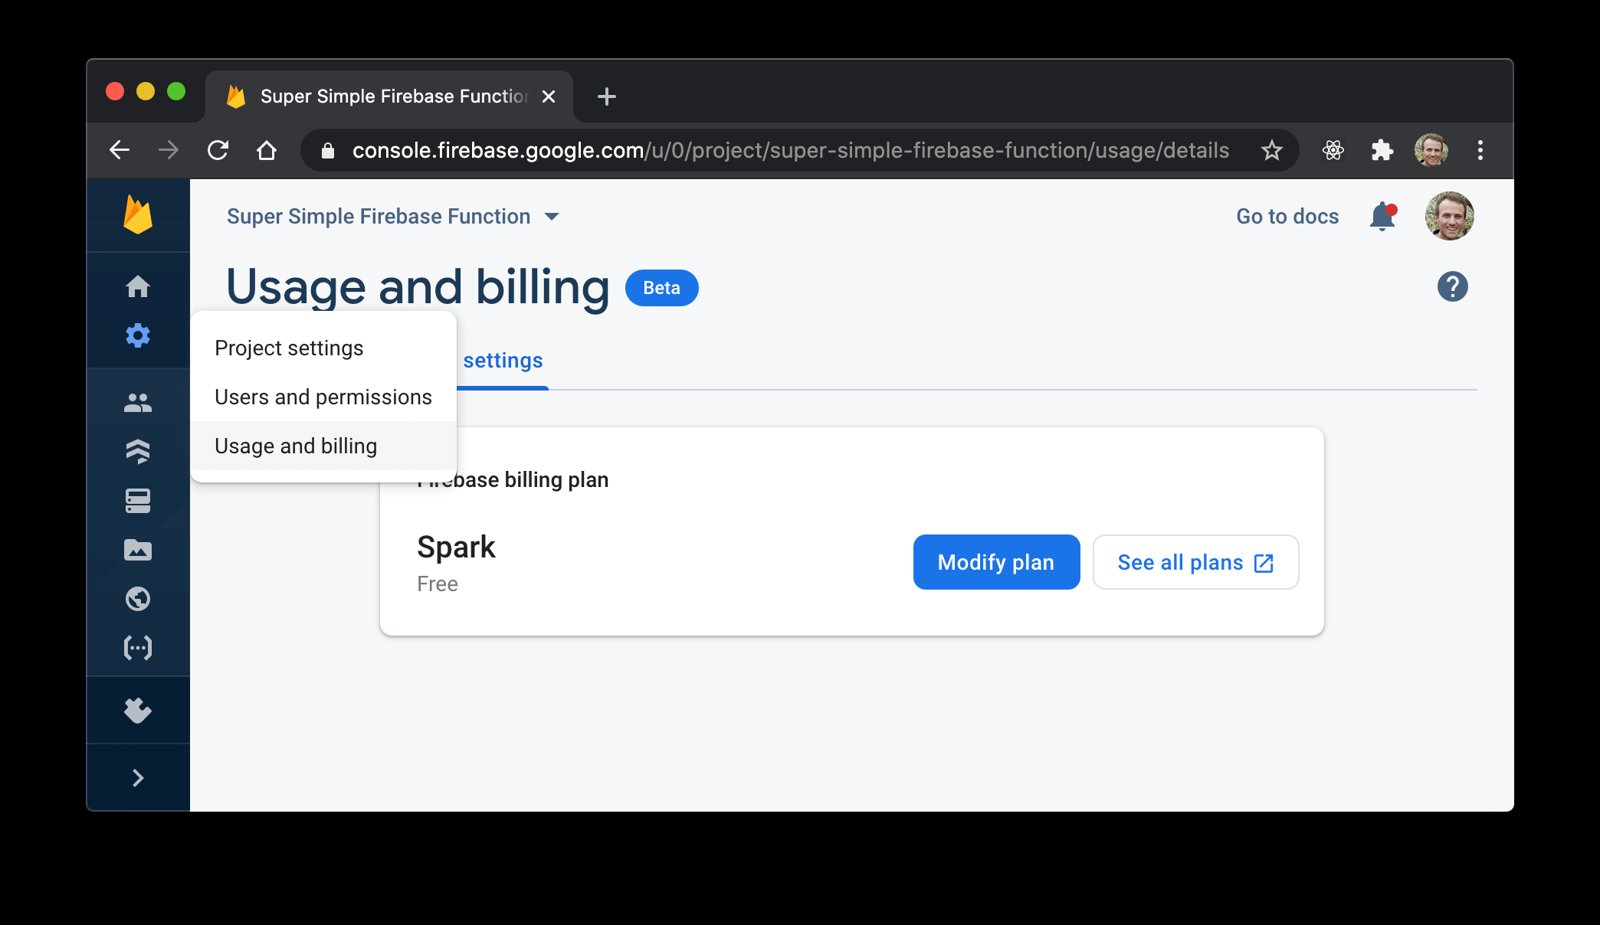
Then you'll click "Modify plan" and then "Select plan" under "Blaze Pay as you go":
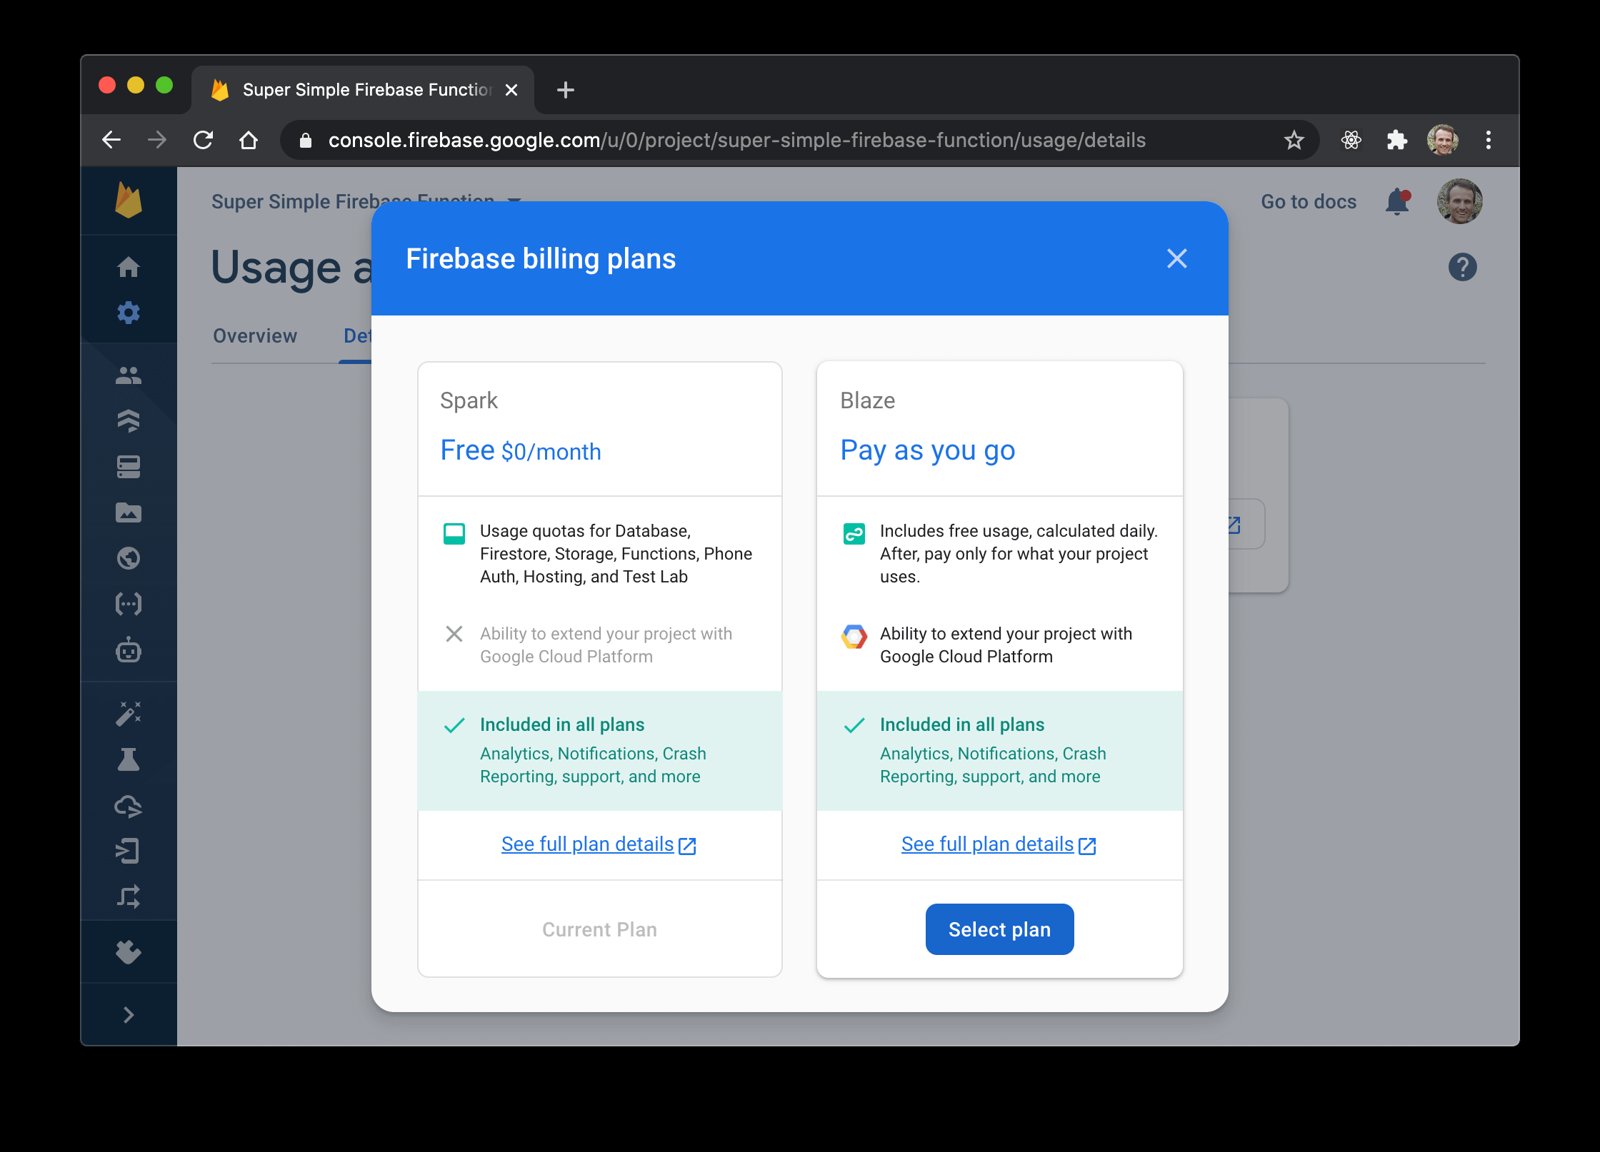
Don't worry, Firebase has a generous free tier and (I don't think) you should be charged for anything until you actually start using the function a lot. But at this point it will have you set up a billing account at console.cloud.google.com/billing so you can have a credit card on file.
Once you have that figured out, then you can continue to actually deploy your function.
Now that your account is configured for billing, you can try to deploy again:
firebase deploy
It will take a little bit of time, but when it's finally finished, you should get output like this:
=== Deploying to '{your-project-id}'...

i  deploying functions
i  functions: ensuring required API cloudfunctions.googleapis.com is enabled...
i  functions: ensuring required API cloudbuild.googleapis.com is enabled...
✔  functions: required API cloudbuild.googleapis.com is enabled
✔  functions: required API cloudfunctions.googleapis.com is enabled
i  functions: preparing functions directory for uploading...
i  functions: packaged functions (23.46 KB) for uploading
✔  functions: functions folder uploaded successfully
i  functions: creating Node.js 12 function hello(us-central1)...
✔  functions[hello(us-central1)]: Successful create operation.
Function URL (hello): https://us-central1-{your-project-id}.cloudfunctions.net/hello

✔  Deploy complete!

Project Console: https://console.firebase.google.com/project/{your-project-id}/overview
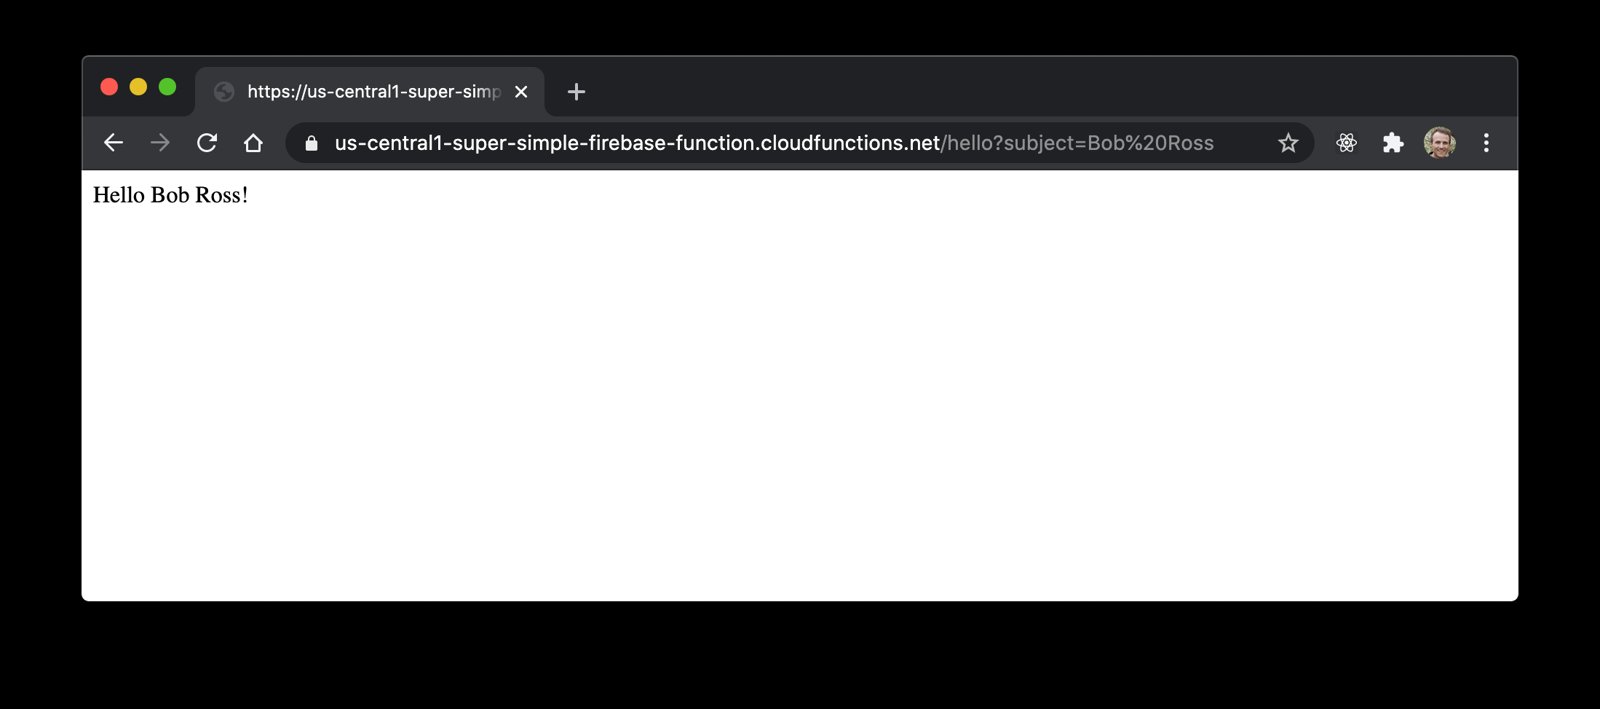
And if you hit the endpoint they give you there, you should be able get your
function's output. For extra fun, our function handles providing a custom
subject, so if you add ?subject=Bob%20Ross to the end of that URL, you get a
nice greeting. Hello there Bob Ross!
I don't know about you, but I don't like deploying from my local machine. I prefer a continuous integration server to do that for me. Luckily, our project is part of a GitHub repo and we can use GitHub actions to do this for us.
First, create a .github/workflows/deploy.yml file and put this in it:
name: deploy
on:
  push:
    branches:
      - main
jobs:
  main:
    runs-on: ubuntu-latest
    steps:
      - name: ⬇️ Checkout repo
        uses: actions/checkout@v2

      - name: ⎔ Setup node
        uses: actions/setup-node@v1
        with:
          node-version: 12

      - name: 📥 Download deps
        working-directory: functions
        run: npm install

      - name: 🚀 Deploy
        run: npx firebase-tools deploy --token "$FIREBASE_TOKEN"
        env:
          FIREBASE_TOKEN: ${{ secrets.FIREBASE_TOKEN }}
Here's what this does when you push the main branch (or master if you're
still using master as your default branch name):
npm in the functions directoryfirebase-tools just like we didFor that last step it's doing a few things differently:
npx so we don't have to worry about installing things globally--token flag so we don't have to worry about logging inFIREBASE_TOKEN environment variable.Let's get that firebase token set up.
Run this:
firebase login:ci
This will take you through the login process once again, when you've finished, it will give you the token in the terminal output:
✔  Success! Use this token to login on a CI server:

1//06SeHVPB6AOF9CgYIARAAGAYSNwF-L9IrcdTvBfmn_ako1m3iJXRNpyV6tROQ193ZTGUtwLB95aoCC1l45ES40dRYfa5YjNCRxRc

Example: firebase deploy --token "$FIREBASE_TOKEN"
And don't even try using that token, I've already revoked it 😜 Get your own!
firebase logout --token 1//06SeHVPB6AOF9CgYIARAAGAYSNwF-L9IrcdTvBfmn_ako1m3iJXRNpyV6tROQ193ZTGUtwLB95aoCC1l45ES40dRYfa5YjNCRxRc
✔  Logged out token "1//06SeHVPB6AOF9CgYIARAAGAYSNwF-L9IrcdTvBfmn_ako1m3iJXRNpyV6tROQ193ZTGUtwLB95aoCC1l45ES40dRYfa5YjNCRxRc"
Great, now you'll copy that token into your GitHub repository's secrets
configuration:
https://github.com/{your-username}/{your-repo-name}/settings/secrets/actions
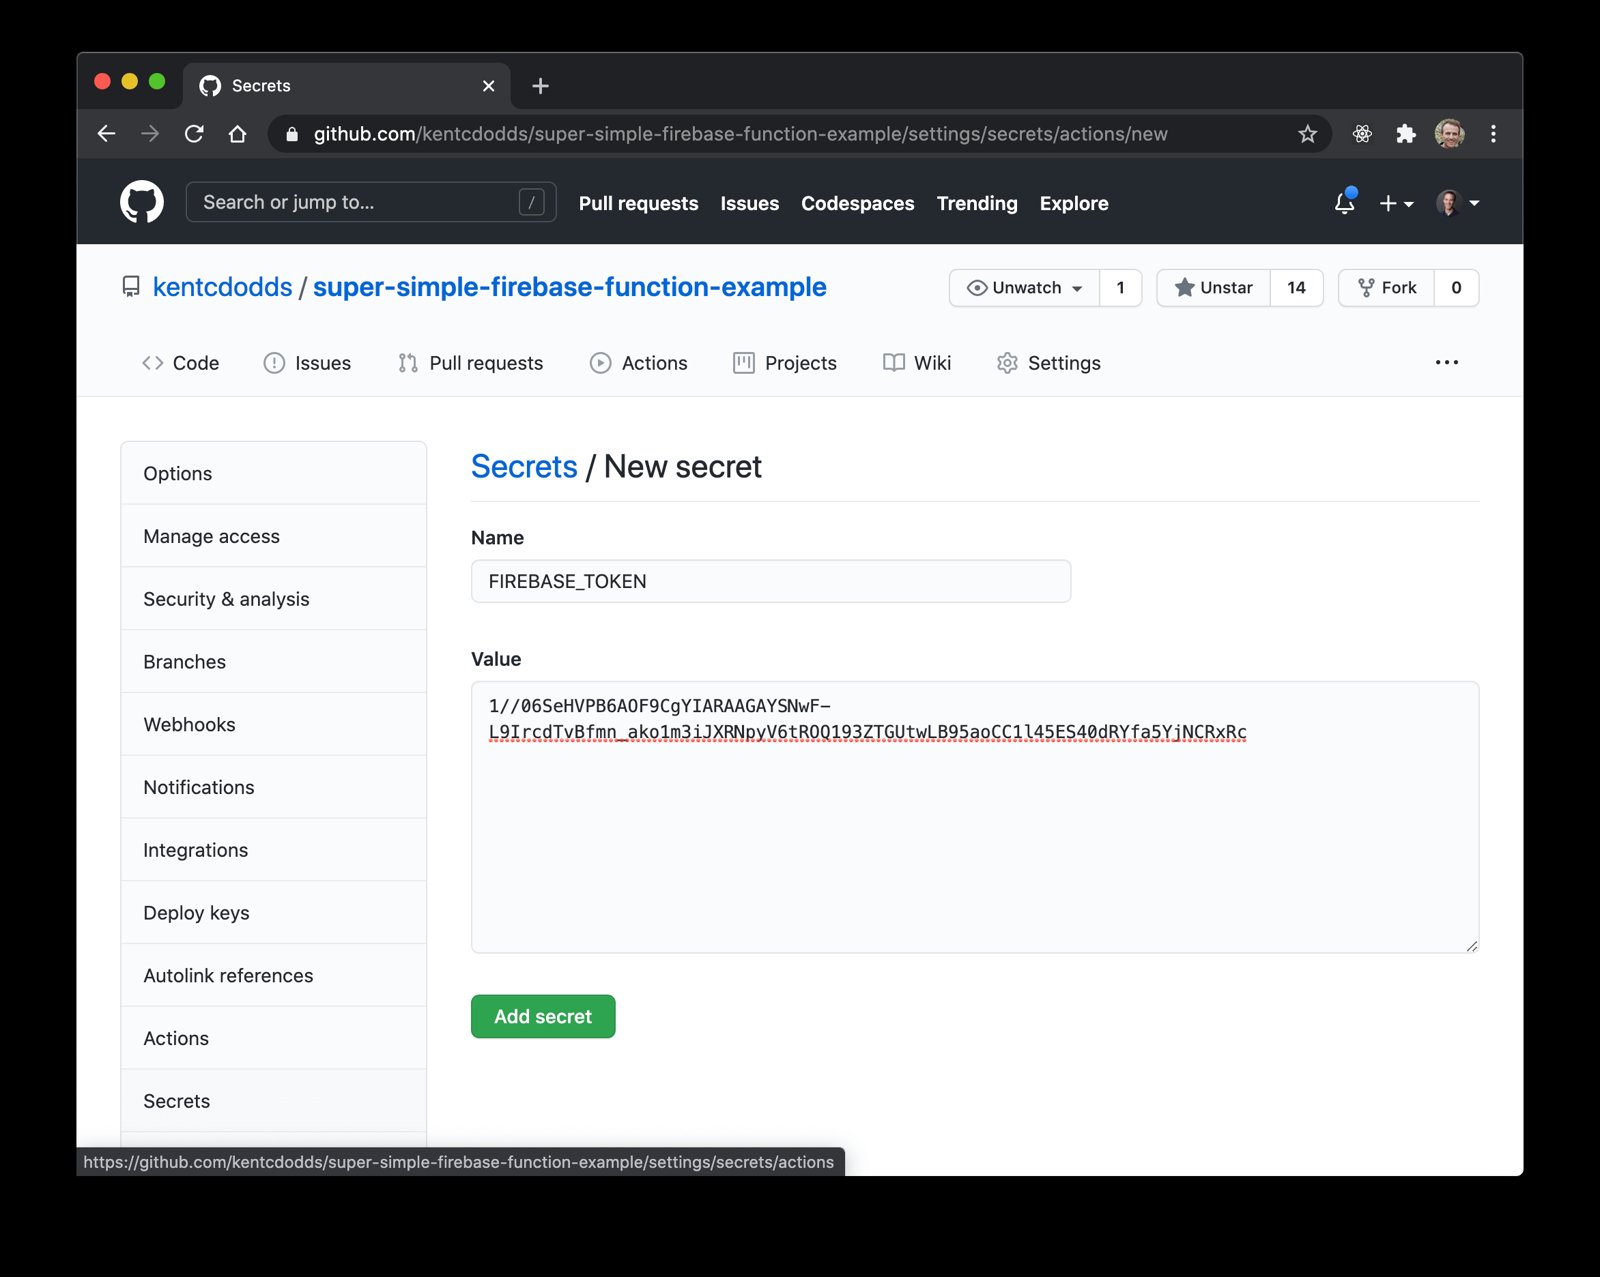
With that added, you're ready to deploy!
Now commit and push all of your changes:
git add -A
git commit -m "firebase functions rock"
git push
Then go to your repo's actions page
(https://github.com/{your-username}/{your-repo-name}/actions) and watch the
deploy happen automatically!
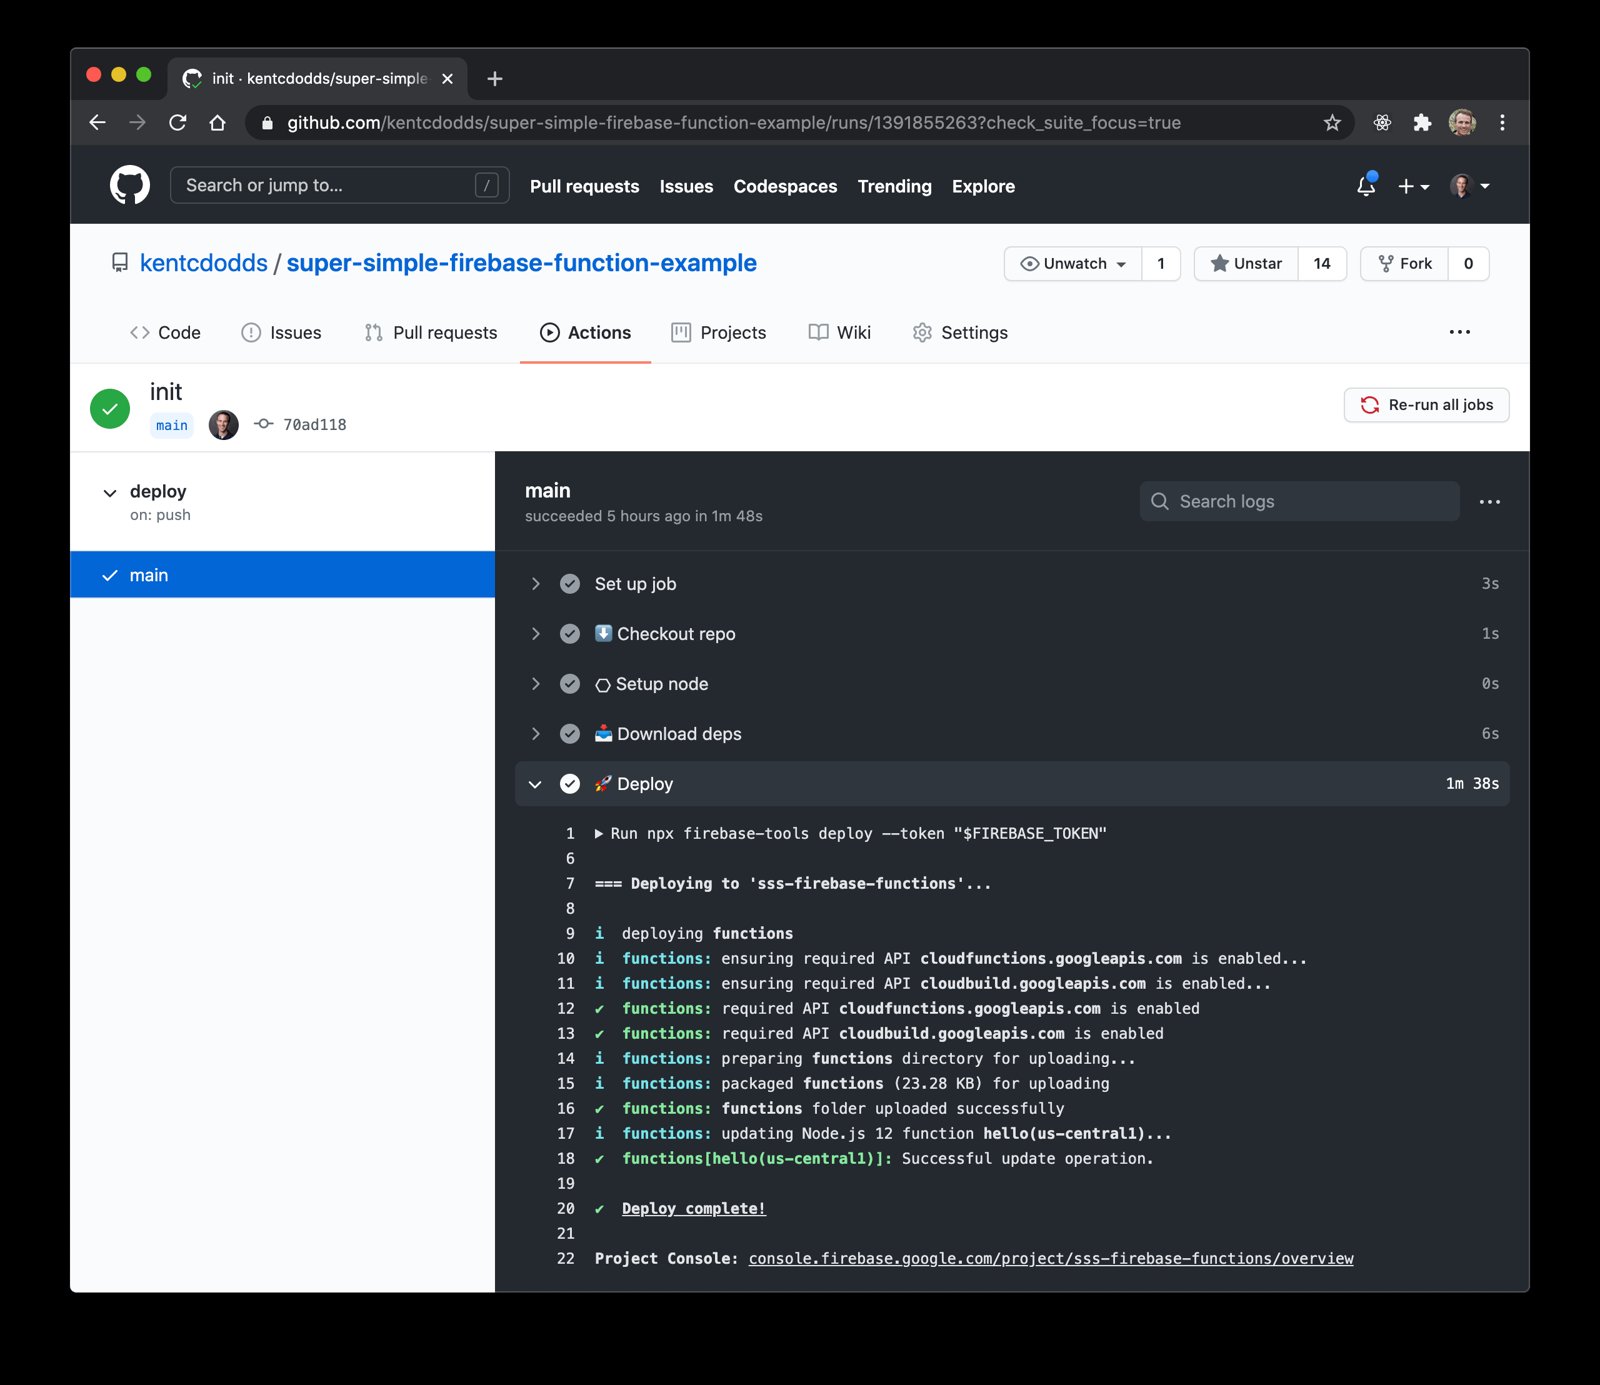
Then celebrate 🎉
Firebase Cloud Functions are super powerful. You can find the finished repo here. Hopefully getting this super simple start to Firebase functions was helpful to you! Good luck and may your functions be functional! ✌
此内容由惯性聚合(RSS阅读器)自动聚合整理,仅供阅读参考。 原文来自 — 版权归原作者所有。