


Edit · Aug 30, 2013 · 8 minutes read · Follow @mgechev Computer science Development HTML5 HTTP JavaScript Node.js OpenSource vnc
In this quick blog post I’ll show you how to create a simple VNC client in about 200 lines of JavaScript. For our goal we’re going to use only HTML5 and JavaScript (client and server side). The end result will be something like this:
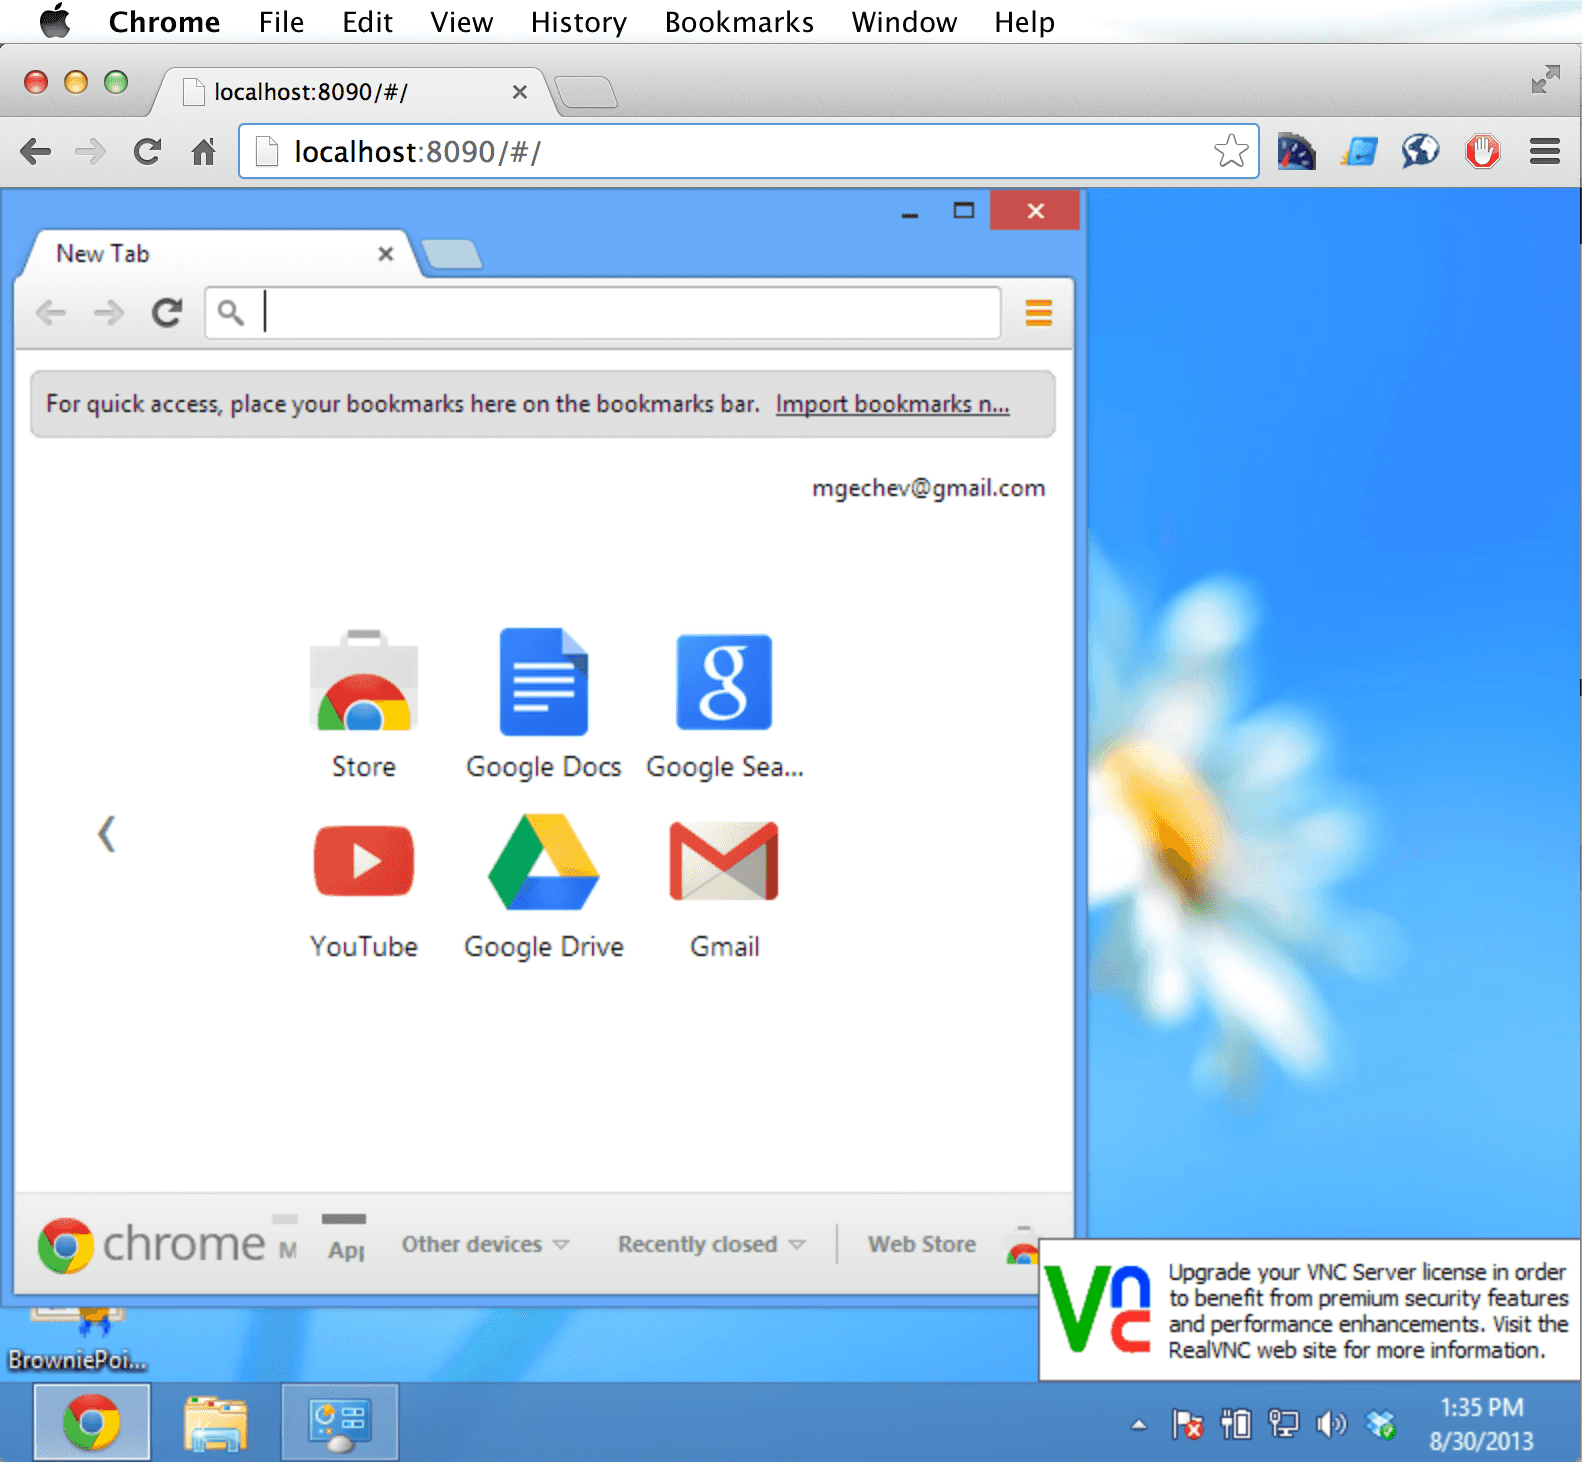
So, let’s begin!
Our application will have very simple architecture – a proxy server written in Node.js and a client in HTML5 and JavaScript. The Node.js server will stay between the browser and the VNC server. We need it because the client-side JavaScript does not supports TCP sockets so we can’t connect directly to the VNC server. The HTML5 client will have a canvas on which we will draw the frames we receive from the server. For VNC server you can use the free version of RealVNC.
First lets start with the server. Make sure you have node.js installed. We will use four node modules: rfb2, connect, socket.io and node-png.
Enter the following commands in your terminal:
cd ~
mkdir js-vnc
cd js-vnc
npm init
Now you should have folder called “js-vnc” with file named “package.json” in it. Use the following line of code to install almost all the dependencies:
npm install rfb2 connect socket.io --saveUnfortunately node-png is not in the npm registry and we have to build it from source. Use:
sudo npm install -g node-gyp
cd node_modules
git clone git@github.com:pkrumins/node-png.git
cd node-png
node-gyp configure build
and that was all…Now we can start creating our server. Let’s include all the required modules and initialize an array which will contains all the connected clients. Create a file called “server.js” in your project base directory and add the following content in it:
var rfb = require('rfb2'),
    socketio = require('socket.io').listen(8091, { log: false }),
    Png = require('./node_modules/node-png/build/Release/png').Png,
    connect = require('connect'),
    clients = [];
and now let’s create a static directory for our static resources:
now we can set the static directory of the connect server:
//creating new HTTP server. It will serve static files from the directory "./static" and will listen on 8090 port
connect.createServer(connect.static('./static')).listen(8090);
Now you can execute the following lines of code:
echo "Hello, world!" > ./static/index.html
node server.js
Now open: http://localhost:8091/index.html. If everything went well you should see the text: “Hello, world!”.
So far, so good! Now lets create a socket.io server. We want the client to connect to our proxy server and exchange data through socket.io with it. When the client is connected (i.e. the connection is established) it sends “init” message which contains the data required for the proxy server to connect to the VNC server – host, port and password. So let’s handle these events:
socketio.sockets.on('connection', function (socket) {
  socket.on('init', function (config) {
    var r = createRfbConnection(config, socket);
    socket.on('mouse', function (evnt) {
      r.pointerEvent(evnt.x, evnt.y, evnt.button);
    });
    socket.on('keyboard', function (evnt) {
      r.keyEvent(evnt.keyCode, evnt.isDown);
    });
    socket.on('disconnect', function () {
      disconnectClient(socket);
    });
  });
});
We already listen for incoming connections with socket.io on port 8091 so now we just subscribe to the “connection” event. When the client connects to our socket.io server we subscribe the server to the “init” event. It’s the message I told about earlier. Its parameters will contains data required for the proxy server to connect to the VNC server. In the callback associated with the “init” event we first create new RFB (remote framebuffer) connection. This method will return a RFB handler, we can use it to exchange data with the VNC server. After initialising the RFB connection we subscribe to three more events: “mouse”, “keyboard” and “disconnect”. The mouse event has parameter containing the position of the cursor and button state (1 for mouse down 0 for mouse up). For this demo we will support only the first mouse button. The keyboard event accepts as parameters the key code of the button which have triggered the event and flag which indicates whether the button is down or up. When the disconnect event happens we disconnect from the VNC server and release all the data for the current connection.
Here is posted the function createRfbConnection:
function createRfbConnection(config, socket) {
  var r = rfb.createConnection({
    host: config.host,
    port: config.port,
    password: config.password
  });
  addEventHandlers(r, socket);
  return r;
}
In the method “addEventHandlers” we add event handlers to the RFB handler we received from the “createConnection” method:
function addEventHandlers(r, socket) {
  r.on('connect', function () {
    socket.emit('init', {
      width: r.width,
      height: r.height
    });
    clients.push({
      socket: socket,
      rfb: r
    });
  });
  r.on('rect', function (rect) {
    handleFrame(socket, rect, r);
  });
}
When the RFB connection is established we send “init” event to the client (our browser) with the size of the screen. For simplicity we won’t scale the screen in the browser. After sending the “init” event to the browser we add the client to our connected clients and subscribe to the event “rect”. The “rect” event will trigger when there is a screen update. For extra simplicity we will use raw encoding.
The last method from our Node.js proxy we will look at is the “handleFrame” method.
function handleFrame(socket, rect, r) {
  var rgb = new Buffer(rect.width * rect.height * 3, 'binary'),
    offset = 0;

  for (var i = 0; i < rect.data.length; i += 4) {
    rgb[offset++] = rect.data[i + 2];
    rgb[offset++] = rect.data[i + 1];
    rgb[offset++] = rect.data[i];
  }

  var image = new Png(rgb, r.width, r.height, 'rgb');
  image = image.encodeSync();
  socket.emit('frame', {
    x: rect.x,
    y: rect.y,
    width: rect.width,
    height: rect.height,
    image: image.toString('base64')
  });
}
We create new binary buffer with size “rect.width * rect.height * 3” and process the received pixmap. After that we create new PNG image from it by specifying its width, height and format (rgb). We encode the image and emit the event “frame” with parameters the coordinates of the image, its size and the actual image in base64 format.
And we’re done with our server! There’s one detail which I missed with purpose. In this version we don’t use all the advantages of the RFB protocol. It has incremental frame transmitting which I’ve omitted. RFB implementation with excluded incremental transmission can be downloaded from here.
And now our simple client!
Edit the content of the file ./static/index.html with the following content:
<!DOCTYPE html>
<html>
    <head>
        <link rel="stylesheet" href="./css/bootstrap.min.css" />
        <link rel="stylesheet" href="./css/styles.css" />
    </head>
    <body>
        <div class="form-wrapper" id="form-wrapper">
            <form class="form-horizontal" onsubmit="return false">
              <div class="control-group">
                <label class="control-label" for="host">Host:</label>
                <div class="controls">
                  <input type="text" id="host" name="host" value="192.168.100.6" /><br />
                </div>
              </div>
              <div class="control-group">
                <label class="control-label" for="port">Port:</label>
                <div class="controls">
                  <input type="text" id="port" name="port" value="5900" /><br />
                </div>
              </div>
              <div class="control-group">
                <label class="control-label" for="port">Port:</label>
                <div class="controls">
                  <input type="password" id="password" name="password" value="paralaks" /><br />
                </div>
              </div>
              <div class="control-group">
                <div class="controls">
                  <button class="btn" id="loginBtn">Log in</button>
                </div>
              </div>
            </form>
        </div>
        <canvas id="screen">
        </canvas>
        <script src="http://localhost:8091/socket.io/socket.io.js"></script>
        <script src="./js/Client.js"></script>
    </body>
</html>
We’ve added simple bootstrap form and a canvas. Now create sub-directory of our project base directory: “./static/js” and create the file “Client.js” in it.
We will wrap the whole code in an IIFE to omit any globals. Let’s create a simple object which will hold our settings:
(function () {
  var Config = {
    URL: 'http://localhost:8091'
  };
  //..more code here
}());
Now lets add some code for initialisation after the “Config” declaration:
document.getElementById('loginBtn').addEventListener('click', function () {
    var screen = new Screen(document.getElementById('screen')),
      client = new Client(screen);

    client.connect({
      host: document.getElementById('host').value,
      port: parseInt(document.getElementById('port').value, 10),
      password: document.getElementById('password').value,
      callback: function () {
        document.getElementById('form-wrapper').classList.add('form-wrapper-hidden');
      }
    });
  }, false);
We simply add event handler on click of the button with id “loginBtn”. In the callback we initialise new “Screen” object with our canvas as argument of the constructor function and create new “Client” with the Screen object as parameter. We call the connect method of the client with the specified parameters - host, port, password and a callback which will be invoked when the client is being connected.
This is the definition of the connect method:
Client.prototype.connect = function (config) {
    var self = this;
    this._socket = io.connect(Config.URL);
    this._socket.emit('init', {
      host: config.host,
      port: config.port,
      password: config.password
    });
    this._addHandlers(config.callback);
    this._initEventListeners();
  };
It creates new socket.io connection with the server’s socket.io server host name and port and emits the “init” event we already talked about (contains data required for connection to the VNC server). After that we add handlers which will listen for events coming from the server - the “init” and “rect” event. Since the “rect” event is a bit more interesting we will look in its handling:
this._socket.on('frame', function (frame) {
    that._screen.drawRect(frame);
  });
As you see we simply delegate the drawing to the screen and pass it the frame as argument. And here is the actual drawing on the canvas:
Screen.prototype.drawRect = function (rect) {
    var img = new Image(),
      that = this;
    img.width = rect.width;
    img.height = rect.height;
    img.src = 'data:image/png;base64,' + rect.image;
    img.onload = function () {
      that._context.drawImage(this, rect.x, rect.y, rect.width, rect.height);
    };
  };
We create new image with the frame’s width and height as dimensions and we set image’s src to be equal to the frame’s base64 image. After that, when the image is loaded we draw it onto the canvas.
The last interesting moment is the handling of the mouse and keyboard events. Of course we delegate it to the screen object:
Client.prototype._initEventListeners = function () {
    var self = this;
    this._screen.addMouseHandler(function (x, y, button) {
      self._socket.emit('mouse', {
        x: x,
        y: y,
        button: button
      });
    });
    this._screen.addKeyboardHandlers(function (code, isDown) {
      self._socket.emit('keyboard', {
        keyCode: code,
        isDown: isDown
      });
    });
  };
As you see we add the mouse and keyboard event handlers and in the event callbacks we simply emit new socket.io events, respectively: “mouse” and “keyboard”, with their arguments. For simplicity our canvas is absolutely positioned and has coordinates (0, 0).
And…well…thats all! We have ready to go VNC client in just few lines of JavaScript!
The source code from this article can be found in my GitHub account.
Quick video demo