


Most modern platforms offer an excellent UI designed to get developers up and running quickly, and PlanetScale is no exception. However, a great command-line interface (also known as a CLI) can help developers in ways such as speeding up their tasks with the platform or automating tasks using scripts and DevOps tools.
In this article, we take a look at how you can quickly get up and running with the CLI, as well as perform some of the common tasks within PlanetScale like:
- viewing databases
- creating databases
- running SQL
- and deploying schema changes
Let’s jump in!
Connecting to PlanetScale
Before you can use the CLI, make sure you have installed it per the guide on our documentation portal. You can verify that you have the CLI installed by running the following command in the terminal:
This should list the version of the PlanetScale CLI you have installed (v0.107.0 at the time of this writing).

Let’s start by connecting to the PlanetScale service. In your terminal, run the following command and you should receive a confirmation code. A browser window should open as well displaying the same code:
Tip
If you don’t already have a PlanetScale account, you can also create one straight from the CLI.

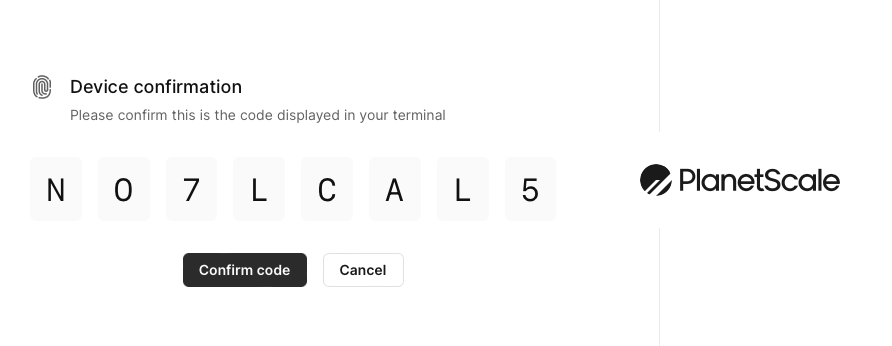
Confirm that the codes match, then click the Confirm code button in your browser. Your terminal will display the message “Successfully logged in.” if done correctly.
Working with Databases
Let’s cover some of the common commands you’ll use when working with databases.
List your databases
To print a list of your databases, run:
As you can see, I have a single database created in my account:

For the remainder of this walk-through, we’re going to go through some real-world examples using an internal blogging platform we built with Next.js and Prisma. One of the common entities across most (if not all) blogging platforms is the Post, so let’s use this as a base to create a database and table. Here is the Post data model as defined with an ORM called Prisma:
model Post {
  id          Int          @id @default(autoincrement())
  title       String       @db.VarChar(255)
  content     String       @db.Text
  contentHtml String       @db.Text
  hidden      Boolean      @default(false)
  createdAt   DateTime     @default(now())
  updatedAt   DateTime     @updatedAt
  author      User         @relation(fields: [authorId], references: [id], onDelete: Cascade)
  authorId    String
  likedBy     LikedPosts[]
  comments    Comment[]
  @@index([authorId])
  @@fulltext([title, content])
}
Create a database
To create a database, you can run the following command, where <DATABASE_NAME> is the name of the database you want to create:
pscale database create <DATABASE_NAME>
In this article, we’ll create and work with a database called cli-db.

MySQL shell
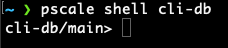
Now, we need to drop into a MySQL shell within the database to create a table. To do this, run the following command:
Your terminal prompt should change to indicate you are now connected to and running commands in the context of the database we just created.
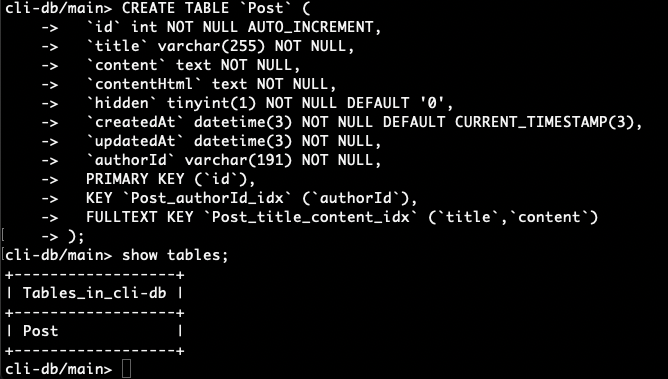
Since this is a new database, we don’t have any tables created yet. Let’s run the following command to create a table that mirrors the Post model.
CREATE TABLE `Post` (
  `id` int NOT NULL AUTO_INCREMENT,
  `title` varchar(255) NOT NULL,
  `content` text NOT NULL,
  `contentHtml` text NOT NULL,
  `hidden` tinyint(1) NOT NULL DEFAULT '0',
  `createdAt` datetime(3) NOT NULL DEFAULT CURRENT_TIMESTAMP(3),
  `updatedAt` datetime(3) NOT NULL,
  `authorId` varchar(191) NOT NULL,
  PRIMARY KEY (`id`),
  KEY `Post_authorId_idx` (`authorId`),
  FULLTEXT KEY `Post_title_content_idx` (`title`,`content`)
);
Show tables
When you hit enter, you shouldn’t get any output. You can check that the table exists with:
Working with Branches
On top of managing your databases and tables, you can also manage your branches with the PlanetScale CLI.
List all branches
To demonstrate this, start by listing your existing branches on the database we created with:
pscale branch list cli-db

Promote a branch
In this example, there is only one branch (main), but it’s currently not flagged as a production branch, so let’s promote it to production using:
pscale branch promote cli-db main
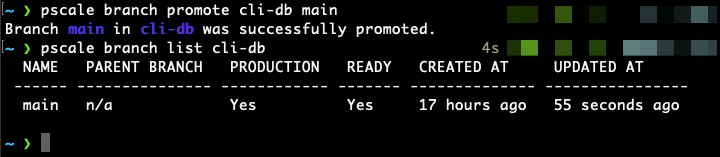
Now that we have main set as our production branch, let’s create a branch off of main called dev. Run the following command to create that branch:
pscale branch create cli-db dev
You should get a message stating the branch was created successfully.

You can also check the dashboard to verify the branch exists.
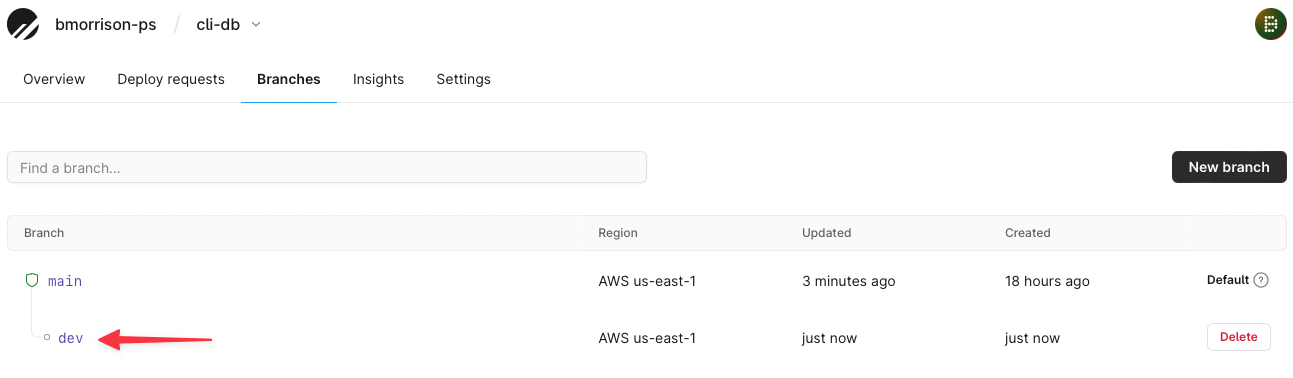
Now that you have another branch to work on, let’s modify the schema of the dev branch and merge it into the main branch. Drop into a shell again with:
Since you have multiple branches, the CLI will ask which branch you want to enter. Select dev and hit enter.

Add a new column called tag with the following SQL command in the shell.
ALTER TABLE Post ADD tag varchar(255);
You can use the DESCRIBE command to view how the table looks now.
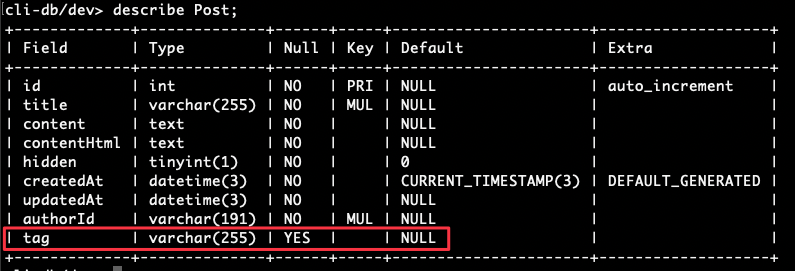
As you can see, tag is now added to the schema in dev.
Create a deploy request
Now let’s merge the changes in the dev branch into main using by creating a new deploy request using the CLI.
pscale deploy-request create cli-db dev
This creates the deploy request for the cli-db, and we’re stating we want to merge the dev branch into the production branch.

List all deploy requests
You can show all active deploy requests with:
pscale deploy-request list cli-db

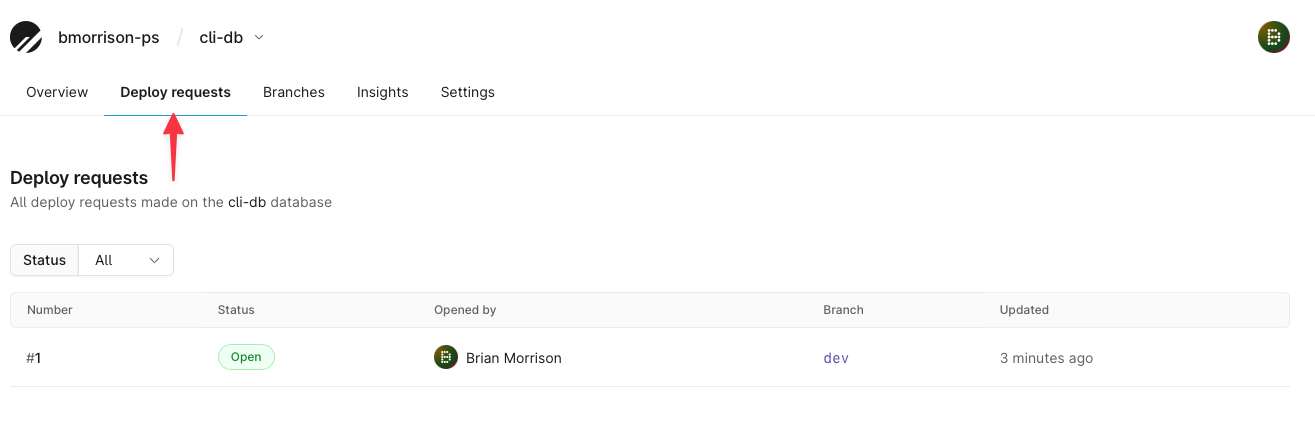
You can also see the deploy requests in the dashboard using the Deploy requests tab.
Merge a deploy request
To finish this off, let’s merge this deploy request into the main branch. In your terminal, run the following where 1 is the deploy request number shown from the previous step:
pscale deploy-request deploy cli-db 1

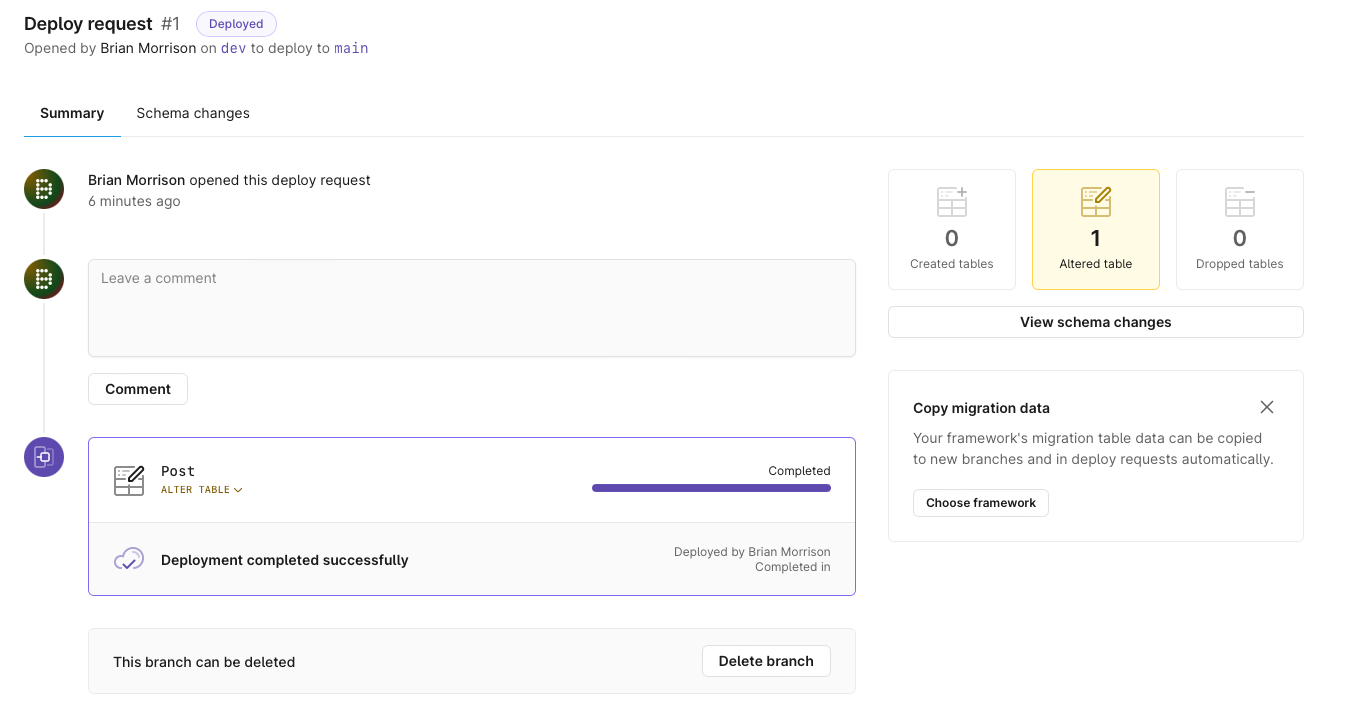
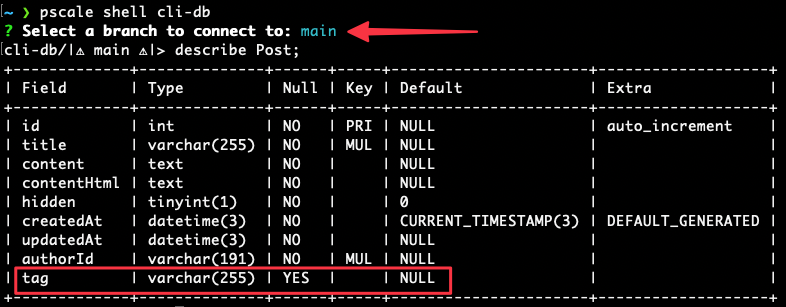
Now you can check the schema of your main branch using the MySQL shell from the CLI. Enter into the shell with:
Select the main branch from the terminal. Describe the Post table again to verify that our changes are now active.
To learn more about the PlanetScale CLI, you can use the CLI Reference page in our docs which lists all of the available commands and how to use them. You can also use pscale --help to list available commands for further help within your terminal.