


This guide uses SDK v1 and is now deprecated. Learn more about SDK v2 here.
Netlify’s edge functions have been a useful tool for developers wanting to add logic like transforming responses, setting custom request headers, localizing content based on the user’s location, and more. But we also wanted to make it easy for integration developers to inject edge functions into the user’s site. This expands the possibilities for what you can do with Netlify integrations and allow the creation of integrations that can modify the user’s site at the edge.
In this guide you’re going to use the Netlify SDK to create an integration that can block content based on the location of your site visitor. You’ll create an integration that injects an edge function into the user’s site that checks the user’s location and blocks the content if they are in a specific country. You’ll then be able to use this integration on any of your Netlify sites by enabling and configuring them.
You can explore the full source code of this integration to see how we built this integration. Or add the integration to your Netlify account by clicking the button below.

While this integration might provide some control already, if you’re looking for a full-fledged solution to control who can access your Netlify site, then take a look at Netlify Firewall Traffic Rules. This feature empowers Enterprise customers with Netlify High-Performance Edge to proactively control who can access their Netlify web properties based on the geographic location and IP address of the requestor, in real-time.
First, run npm create @netlify/sdk@latest to create a new integration. Answer the prompts following the steps below. If you’re using Visual Studio Code, you can configure it to use Edge Functions. This will install the Deno extension and create a new settings file for you.
? Where do you want to create the integration? NAME-OF-YOUR-INTEGRATION
? What is the slug of the integration? (e.g. my-integration) SLUG-OF-YOUR-INTEGRATION
? Summarize what your integration does. This will be shown on the integration's card on the Integrations page. DESCRIPTION-OF-YOUR-INTEGRATION
? Which boilerplate should be included? [more than one]
? Which boilerplate should be included? Integration UI, Edge Function Injection (beta)
? What level will this integration be installed on? site (recommended for Build Event Handlers and Edge Functions)
? Would you like to configure VS Code to use Edge Functions? yes
? Which package manager do you want to use? pnpm
? Do you want to create or link a Netlify site to your integration? This will help you test your integration and will be used to host your
integration. skip
? A new VS Code settings file will be created at /path/.vscode/settings.json yes
? The Deno VS Code extension is recommended. Would you like to install it now? yes
This will create your integration in the folder with the name you provided. The Netlify SDK will scaffold the basic structure needed for your integration and output the required files:
├── integration.yaml
├── netlify.toml
├── node_modules
├── package-lock.json
├── package.json
├── src
│ ├── index.ts
│ └── edge-functions
│ └── hello-world.ts
└── tsconfig.json
integration.yaml - The integration configuration file. This is where you configure the integration name, description, and other metadata.netlify.toml - The Netlify configuration file. This is where you configure the settings for your integration.src/index.ts - The entry point for developing the integration.src/edge-functions/ - The folder to store your edge functions in.src/edge-functions/hello-world.ts - An example edge function.You have a working integration now! Let’s try it out by deploying your integration as a private integration.
Now that you’ve created your private integration, let’s try it out on one of your Netlify sites! You can test it out by finding a site in your Netlify account (make a simple test site if necessary). When you’re in the dashboard of that site, select ‘integrations’ in the site’s sidebar. Then, find your integration in the list of private integrations. The last step is to click ‘enable’ on the integration card.
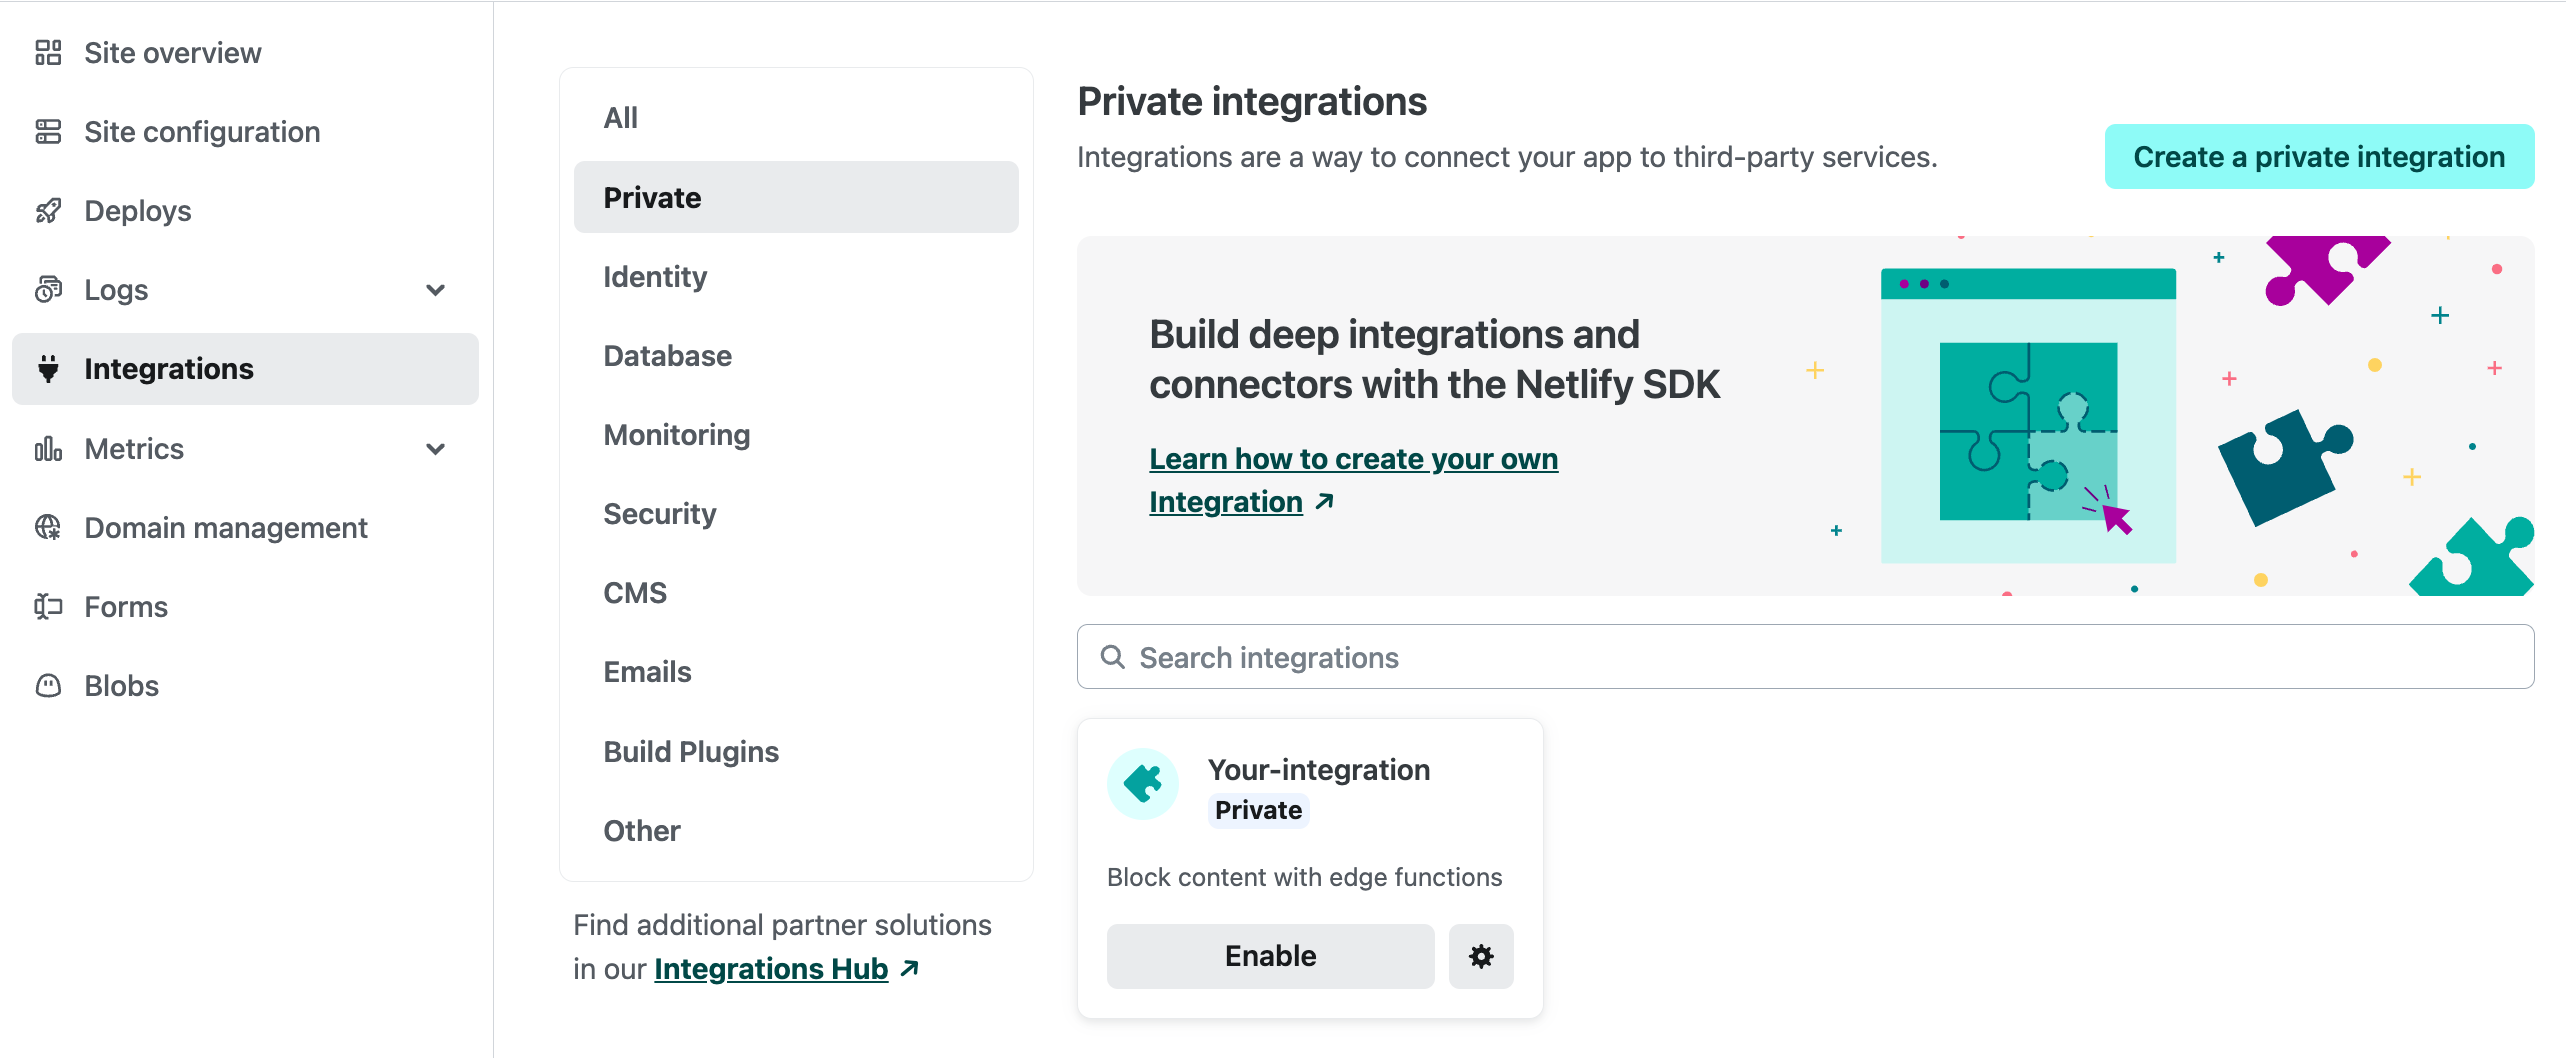
You can test it out by redeploying your site and then visiting your site on the /test path. You should see the message “Hello, world!”.
Now that you’ve seen your integration in action, let’s look at the code and customize it so it can block content based on the location of your site visitor.
First let’s look at the src/index.ts file. In there you can see that it creates a new NetlifyIntegration instance and calls the addEdgeFunctions method to define where the edge functions are located in the codebase. In this case it’s ./src/edge-functions. It also provides a prefix for the edge functions. This is important because it helps avoid naming conflicts with edge functions that might be injected by other integrations or frameworks. Let’s change that prefix from ef_prefix to block_content.
// src/index.ts
import { NetlifyIntegration } from "@netlify/sdk";
const integration = new NetlifyIntegration();
integration.addEdgeFunctions("./src/edge-functions", {
prefix: "block_content",
});
export { integration };
This is step 1 in getting edge functions injected into the user’s site. The next step is to define your edge function. In this case the boilerplate has already created an example edge function for you in the src/edge-functions/hello-world.ts file. Let’s change this edge function’s filename to block-content.ts and update the code to block content based on the user’s location.
// src/edge-functions/block-content.ts
export default async (
_request: Request,
context: { geo: { country: { code: string; name: string } } }
) => {
// Get the BLOCKED_COUNTRY_CODE from the site's environment variables.
const BLOCKED_COUNTRY_CODE = Netlify.env.get('BLOCKED_COUNTRY_CODE');
// Use context.geo to find the country code and name.
const countryCode = context.geo?.country?.code;
const countryName = context.geo?.country?.name';
// Use the countryCode to check if we should block it.
if (countryCode === BLOCKED_COUNTRY_CODE) {
return new Response(
`We're sorry, you can't access our content from ${countryName}!`,
{
headers: { 'content-type': 'text/html' },
status: 451,
}
);
}
// Return to bypass to the original response.
return
};
// This defines the path that this edge function will run on
// In this case, it runs on every path of the site.
export const config = {
path: '/*',
};
As you can see, we are using the context.geo.country.code to get the country code of the user’s location. We then compare this to the BLOCKED_COUNTRY_CODE environment variable. If the user is in the blocked country, we return a 451 status code with a message that they can’t access the content. Otherwise, we return a 200 status code with a message that they can access the content.
Let’s commit these changes to your integration and push it. If you’ve set up continuous deployment for your integration, it will automatically deploy the changes to your integration if you push the commit to your main branch.
Now on your test site, add the BLOCKED_COUNTRY_CODE environment variable with the country code you want to block. It might be interesting to try it with your own country code to see if it works. After you’ve added the environment variable, redeploy your site and visit it. You should see the message that you can’t access the content from your country.
Do you want to go one level further with developer user experience? Try building your own integration UI that allows the developer to set the BLOCKED_COUNTRY_CODE environment variable. If you want to see an example of how this code could look, check out the readme of the repository to see how we built it in this example integration!
If you want to know more about edge function injection through integrations, make sure to read the documentation! It walks you through the steps to create an integration that injects edge functions, but also explains more complex things like the order of execution for edge functions when injected into a user’s site through an integration, and how they interact with any user-defined edge functions.
Happy coding!
此内容由惯性聚合(RSS阅读器)自动聚合整理,仅供阅读参考。 原文来自 — 版权归原作者所有。