





Status messages are a crucial component of almost any website. From authentication to form submissions, you often need the ability to post unique messages to specific users while the rest of the content on the page remains unaffected.
We’re going to walk through how to work with status messages in Astro using server cookies. We’ll start with a fresh Astro project, walk through the basics, and end with some ideas on how you can make this pattern work for your site.
See this in action before we begin by visiting the demo site, or deploy the code to your own Netlify site.

Let’s get started by creating a new Astro site.
As you step through the setup wizard, choose TypeScript (our example uses TypeScript) and install dependencies.
These were the choices I made for this example. I rolled the dice on project name, but also chose to start with an empty project. I did this so that we could focus purely on the pattern here. If you start with the basics, that’s fine, but your site will look different than the screenshots below.
Where should we create your new project? (default)
How would you like to start your new project? Empty
Do you plan to write TypeScript? Yes
How strict should TypeScript be? Strict
Install dependencies? Yes
Initialize a new git repository? Yes
Make sure that your site is configured to use server-side rendering by default. Otherwise, the frontmatter in our Astro page templates won’t be processed on every page load. We’ll see how that comes into play shortly.
// astro.config.mjs
import { defineConfig } from "astro/config";
export default defineConfig({
output: "server",
});
That should be all you need to boot the server up and see the site running on localhost:4321.
Before we go further, let’s pause to talk about how this will work.
In most cases, status messages are set as the result of some dynamic behavior of the site, such as a form submission, API, call, or other attempt at data manipulation.
To keep things tidy in Astro, I try to keep as much of the server-side logic in “action” endpoints. These endpoints do the work they need to do on the server with no rendering counterpart. The return value is always a redirect to the appropriate page.
The challenge in this process is that the endpoint and the page are separated by a request, so we have to find a way to communicate between the two. In some cases, this might be best persisted in the site’s data store (like a remote database). In this case, we’re dealing with a one-time communication that simply needs to span from the endpoint response to the page request and response.
Server cookies are a great way to bridge that gap. We can store our message as a cookie. Then, when the page loads, it will read the cookie, store the value in a variable, and display it on the page. The page will also be responsible for deleting the cookie so that the message only appears once.
POST requestsIn this case, I wanted to mimic working with a more typical situation, so we’re going to build our endpoint such that it only supports POST requests. We’ll see that come into play shortly.
Okay, back to the code.
To start with, let’s build out a hard-coded “Success!!!” message.
To submit a POST request, we’re not just going to add a link, but will instead mimic submitting a form. Add the form with the button somewhere on your home page (src/pages/index.astro).
<form action="/actions/set-status" method="post">
<input type="submit" value="Show status message" />
</form>
If using the blank starter, your site will now look something like this:

Add the action endpoint (src/pages/actions/set-status.ts) with the following code:
import type { APIRoute } from "astro";
export const POST: APIRoute = async ({ cookies, redirect }) => {
cookies.set("status", "Success!!!", {
httpOnly: true,
sameSite: "strict",
path: "/",
});
return redirect("/");
};
A few important notes here:
httpOnly is what designates the cookie as a server cookie.path being set to / ensures we can access the cookie from other pages (even though we’re only using it on the home page in this example).redirect call to avoid rendering anything at this endpoint. It’s just server behavior. We want the behavior to appear as simply reloading the home page.At this point, the button and endpoint are working properly. You could even try it. Click the button and use your browser’s developer tools to see that the cookie is set.
But the user wouldn’t know this because we’re not displaying anything on the home page. Let’s add the mechanism for reading the cookie to the home page.
---
const status = (Astro.cookies.get("status") || {})?.value;
---
<html lang="en">
<!-- <head> things ... -->
<body>
{status &&
<p>{status}</p>
}
<h1>Astro</h1>
<form action="/actions/set-status" method="post">
<input type="submit" value="Show status message" />
</form>
</body>
</html>
Click the button and you should see your message!

Also notice that if you refresh the page (without clicking the button) the status remains. We want this to be ephemeral.
To do this, add a line to delete the cookie after you’ve stored it in the status variable.
---
const status = (Astro.cookies.get("status") || {})?.value;
Astro.cookies.delete("status");
---
<!-- page HTML code ... -->
To have a little fun and show how we can extend this, let’s add a required text field to a form that we can use to set the status value.
Add the form to the home page.
<form action="/actions/set-status" method="post">
<input type="text" name="message" required />
<input type="submit" value="Set status message" />
</form>
Then get the form data from the request in the action and use that as the cookie value.
import type { APIRoute } from "astro";
export const POST: APIRoute = async ({ request, cookies, redirect }) => {
const formData = await request.formData();
const message = formData.get("message");
cookies.set("status", message || "(message not set)", {
httpOnly: true,
sameSite: "strict",
path: "/",
});
return redirect("/");
};
Try it again. Submit the form…
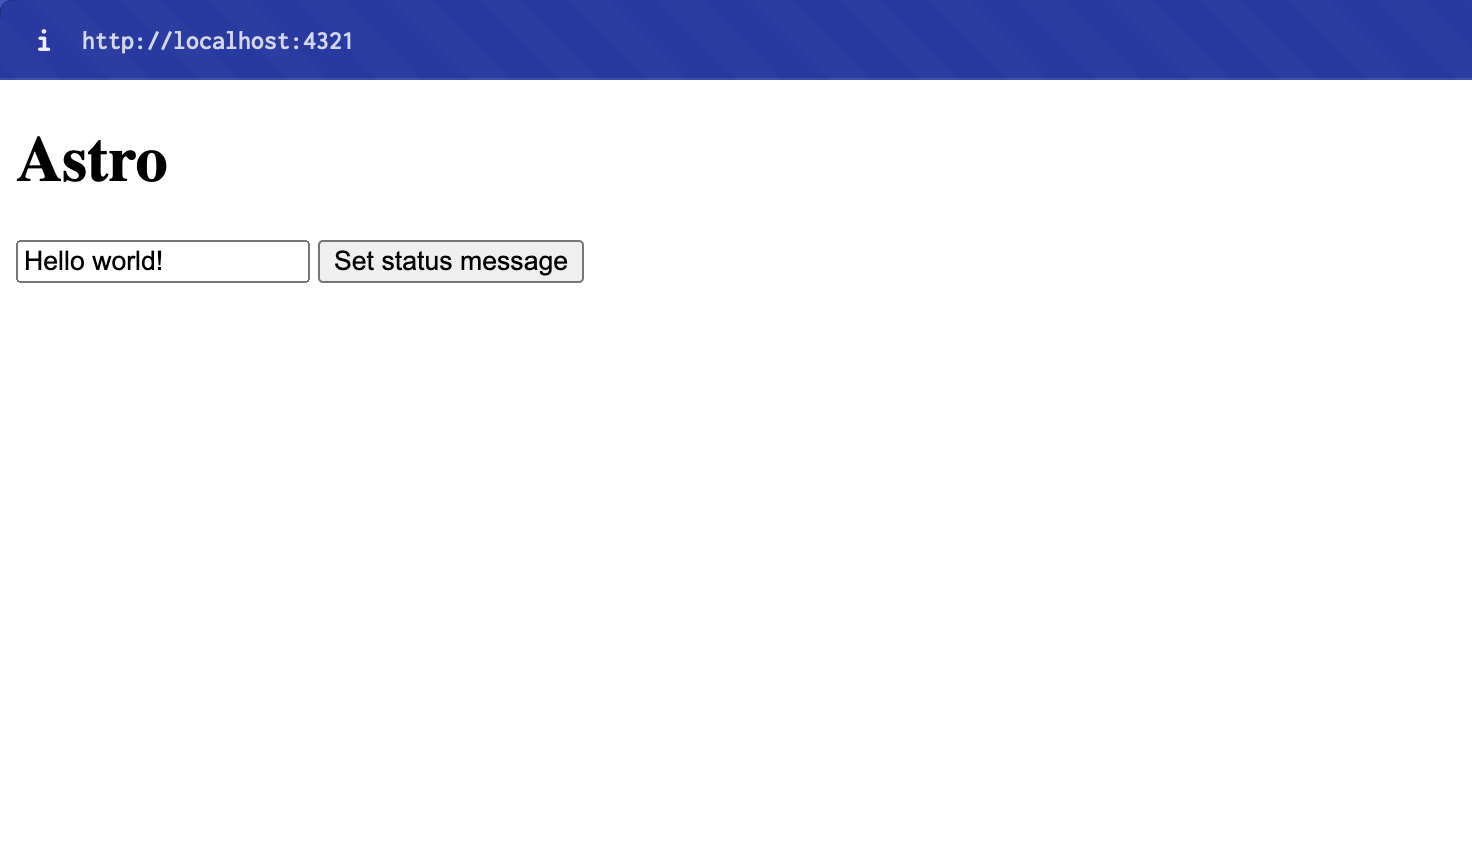
…and the success message appears!

That’s it! You’ve done the basics. Continue below for deployment instructions, along with some gotchas and suggestions for next steps.
To deploy this to Netlify, you’ll need the Netlify adapter, which will ensure SSR works properly. Astro has a convenient tool for this.
This should configure your astro.config.mjs to include the Netlify adapter.
import { defineConfig } from "astro/config";
import netlify from "@astrojs/netlify";
export default defineConfig({
output: "server",
adapter: netlify(),
});
There are a few gotchas! that I wanted to note. I ran into some trickiness with this pattern as my applications have grown in complexity.
Cookies get set through the Set-Cookie header, which means they will only stick in places where the HTTP response is involved. You can’t set or clear the cookie from a layout or component. Even though you have server access, you don’t have access to manipulate the response, so the cookie set/delete action won’t stick.
This works particularly well because we’re using traditional HTTP request/response patterns. When you start submitting requests asynchronously from the client, you have to be extra cautious of this pattern. If you set a cookie during a client-side request, you can’t delete it without another request, which means it might show up after the user has loaded the page again.
Be mindful of where you delete the cookies. As your site grows, you’ll likely implement various utilities that keep your code DRY and handle deleting these cookies. When the data logic grows in complexity, that can mean multiple redirects based on specific flows. Be mindful of where you’re setting and deleting cookies — it’s easier than you might think to delete in the middle of a redirect chain.
I hope you’ll take this pattern and apply it to your Astro site. Here are a couple suggestions on next steps:
此内容由惯性聚合(RSS阅读器)自动聚合整理,仅供阅读参考。 原文来自 — 版权归原作者所有。