


惯性聚合 高效追踪和阅读你感兴趣的博客、新闻、科技资讯
阅读原文 在惯性聚合中打开

推荐订阅源

The GitHub Blog
The GitHub Blog
M
MIT News - Artificial intelligence
Engineering at Meta
Engineering at Meta
云风的 BLOG
云风的 BLOG
博客园 - 叶小钗
Jina AI
Jina AI
Last Week in AI
Last Week in AI
The Cloudflare Blog
博客园 - 【当耐特】
Stack Overflow Blog
Stack Overflow Blog
Cyber Security Advisories - MS-ISAC
WordPress大学
WordPress大学
博客园_首页
I
InfoQ
G
Google Developers Blog
Martin Fowler
Martin Fowler
Recent Announcements
H
Help Net Security
U
Unit 42
Blog — PlanetScale
Blog — PlanetScale
阮一峰的网络日志
阮一峰的网络日志
P
Proofpoint News Feed
IT之家
IT之家
Microsoft Security Blog

Netlify Developers

AI model comparison using Netlify's AI Gateway | Netlify Developers Build an AI agent to automatically process and summarize form submissions | Netlify Developers Build an AI agent to automatically generate relevant images for blog posts | Netlify Developers Prerendering SPA content pages to enable AI agent access | Netlify Developers Identify image optimization opportunities with Netlify Observability | Netlify Developers Fix top 404 page not found errors with Netlify Observability | Netlify Developers Introducing AI Gateway: built-in AI model access on Netlify | Netlify Developers Introducing Observability: your project insights on Netlify | Netlify Developers From first publish to first update with AI agents | Netlify Developers How to use Agent Runners on Netlify | Netlify Developers Add forms to your project with AI + Netlify | Netlify Developers Track Real User Metrics | Netlify Developers Lighthouse performance scores on Netlify | Netlify Developers Review your AI project before you ship | Netlify Developers Using environment variables in AI Projects on Netlify | Netlify Developers Build prototypes and MVPs fast with AI + Netlify | Netlify Developers Pause auto-publishing on Netlify | Netlify Developers Run serverless functions, storage, and more natively in Nuxt dev | Netlify Developers Netlify Office Hours: The AX Arcade challenge | Netlify Developers Netlify Office Hours: Prompting with style | Netlify Developers Netlify Office Hours: RAG Apps with OpenAI + Netlify DB | Netlify Developers How to build a RAG application with Neon, Netlify & OpenAI | Netlify Developers Netlify Office Hours: Netlify DB (powered by Neon) | Netlify Developers Netlify Office Hours: Netlify MCP Server | Netlify Developers Netlify Office Hours: Netlify Vite Plugin | Netlify Developers Building MCPs with Netlify | Netlify Developers Deploying sites from your AI tool | Netlify Developers Adding your domain using Netlify API | Netlify Developers Build a context driven chat bot with Netlify Blob and OpenAI | Netlify Developers Simplify deployments with Netlify’s branch-matching environment variables | Netlify Developers
Install, build, and deploy an Astro site in 2 minutes | N...
2024-03-22 · via Netlify Developers

Astro is a web framework that allows you to build sites using modern JavaScript. It’s optimized for content-driven websites, and it’s fast, flexible, and fun to use. This post will show you how to get started with Astro and deploy a live site to production in just a few minutes.

Play

#TL;DR

We’re going to use Astro’s recommended way to get started with a new site. We’ll use the Astro CLI to create a new site, run it in development, and build it for production. Then we’ll switch over to the Netlify CLI, which we can use to preview a deployment and then publish it to a new public website.

Let’s get started!

#Create new Astro site

Creating a new Astro site is best done through Astro’s interactive CLI experience. Run the following command to get started:

This will walk you through a series of steps, as shown in the video. Fill these out however they best suit your project. This is what I did in the video:

Where should we create your new project? (default)

How would you like to start your new project? Include sample files

Do you plan to write TypeScript? Yes

How strict should TypeScript be? Strict

Install dependencies? Yes

Initialize a new git repository? Yes

#Run the site in development

Next, run the site in development to see how it looks. Change into the new directory and run the dev command:

cd <your-project-name>

npm run dev

Open your browser to http://localhost:4321 to see your new site.
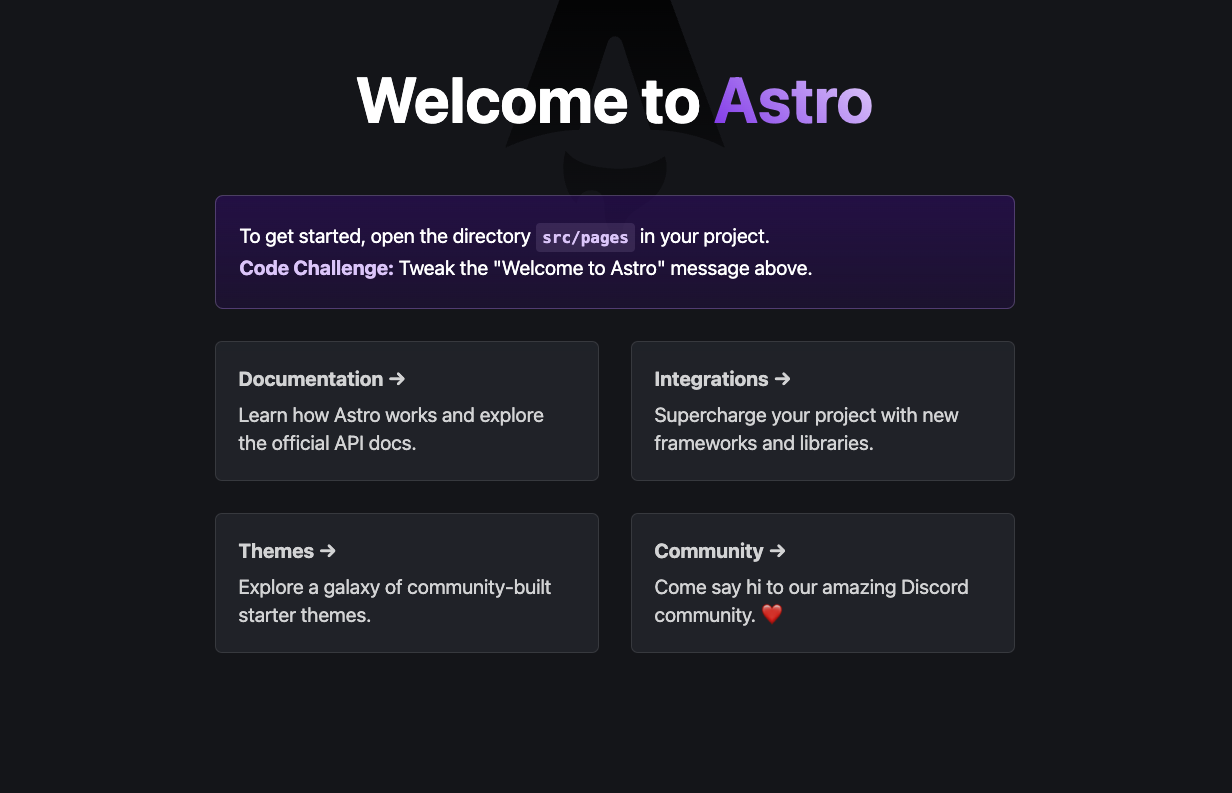
Astro site running in development

#Preview the production build

Before we’re ready to deploy, we can prep the deployment by building the site.

To preview the production build, we can use the Netlify CLI to create a Deploy Preview. These are unique URLs that allow you to see what your site will look like when it’s live.

First, install the Netlify CLI if you don’t have an up-to-date version:

npm install -g netlify-cli

Then, run the following command to create a deploy preview:

This will walk you through a series of steps to authenticate with Netlify and create a new site. Once complete, you’ll see a URL where you can preview your site. Open that URL to ensure it looks the same as it did in development.

#Publish the site to a live URL

Once you’re ready to publish your site, you can use the Netlify CLI to deploy it to a live URL. This also uses the deploy command but adds the --prod flag to indicate that this is the production deployment.

The URL at the end of the deployment process is your live site. This will include you Netlify site name by default. Mine was https://playful-pothos-0fe9d5.netlify.app.

Open it in your browser to see your new site live on the web!

And that’s it! You’ve created a new Astro site, run it in development, built it for production, previewed the build, and deployed it to a live URL. All in just a few minutes!