Currently, the Proxmox installer does not support setting up encryption with ZFS. Thus, we have to set it up manually. This post will go over how to use the native ZFS encryption with Proxmox.
The post also assumes that the Proxmox installation is new and does not have any virtual machines or containers yet.

rpool/ROOT datasetProxmox installs its system inside the rpool/ROOT dataset. This is what we will encrypt first.
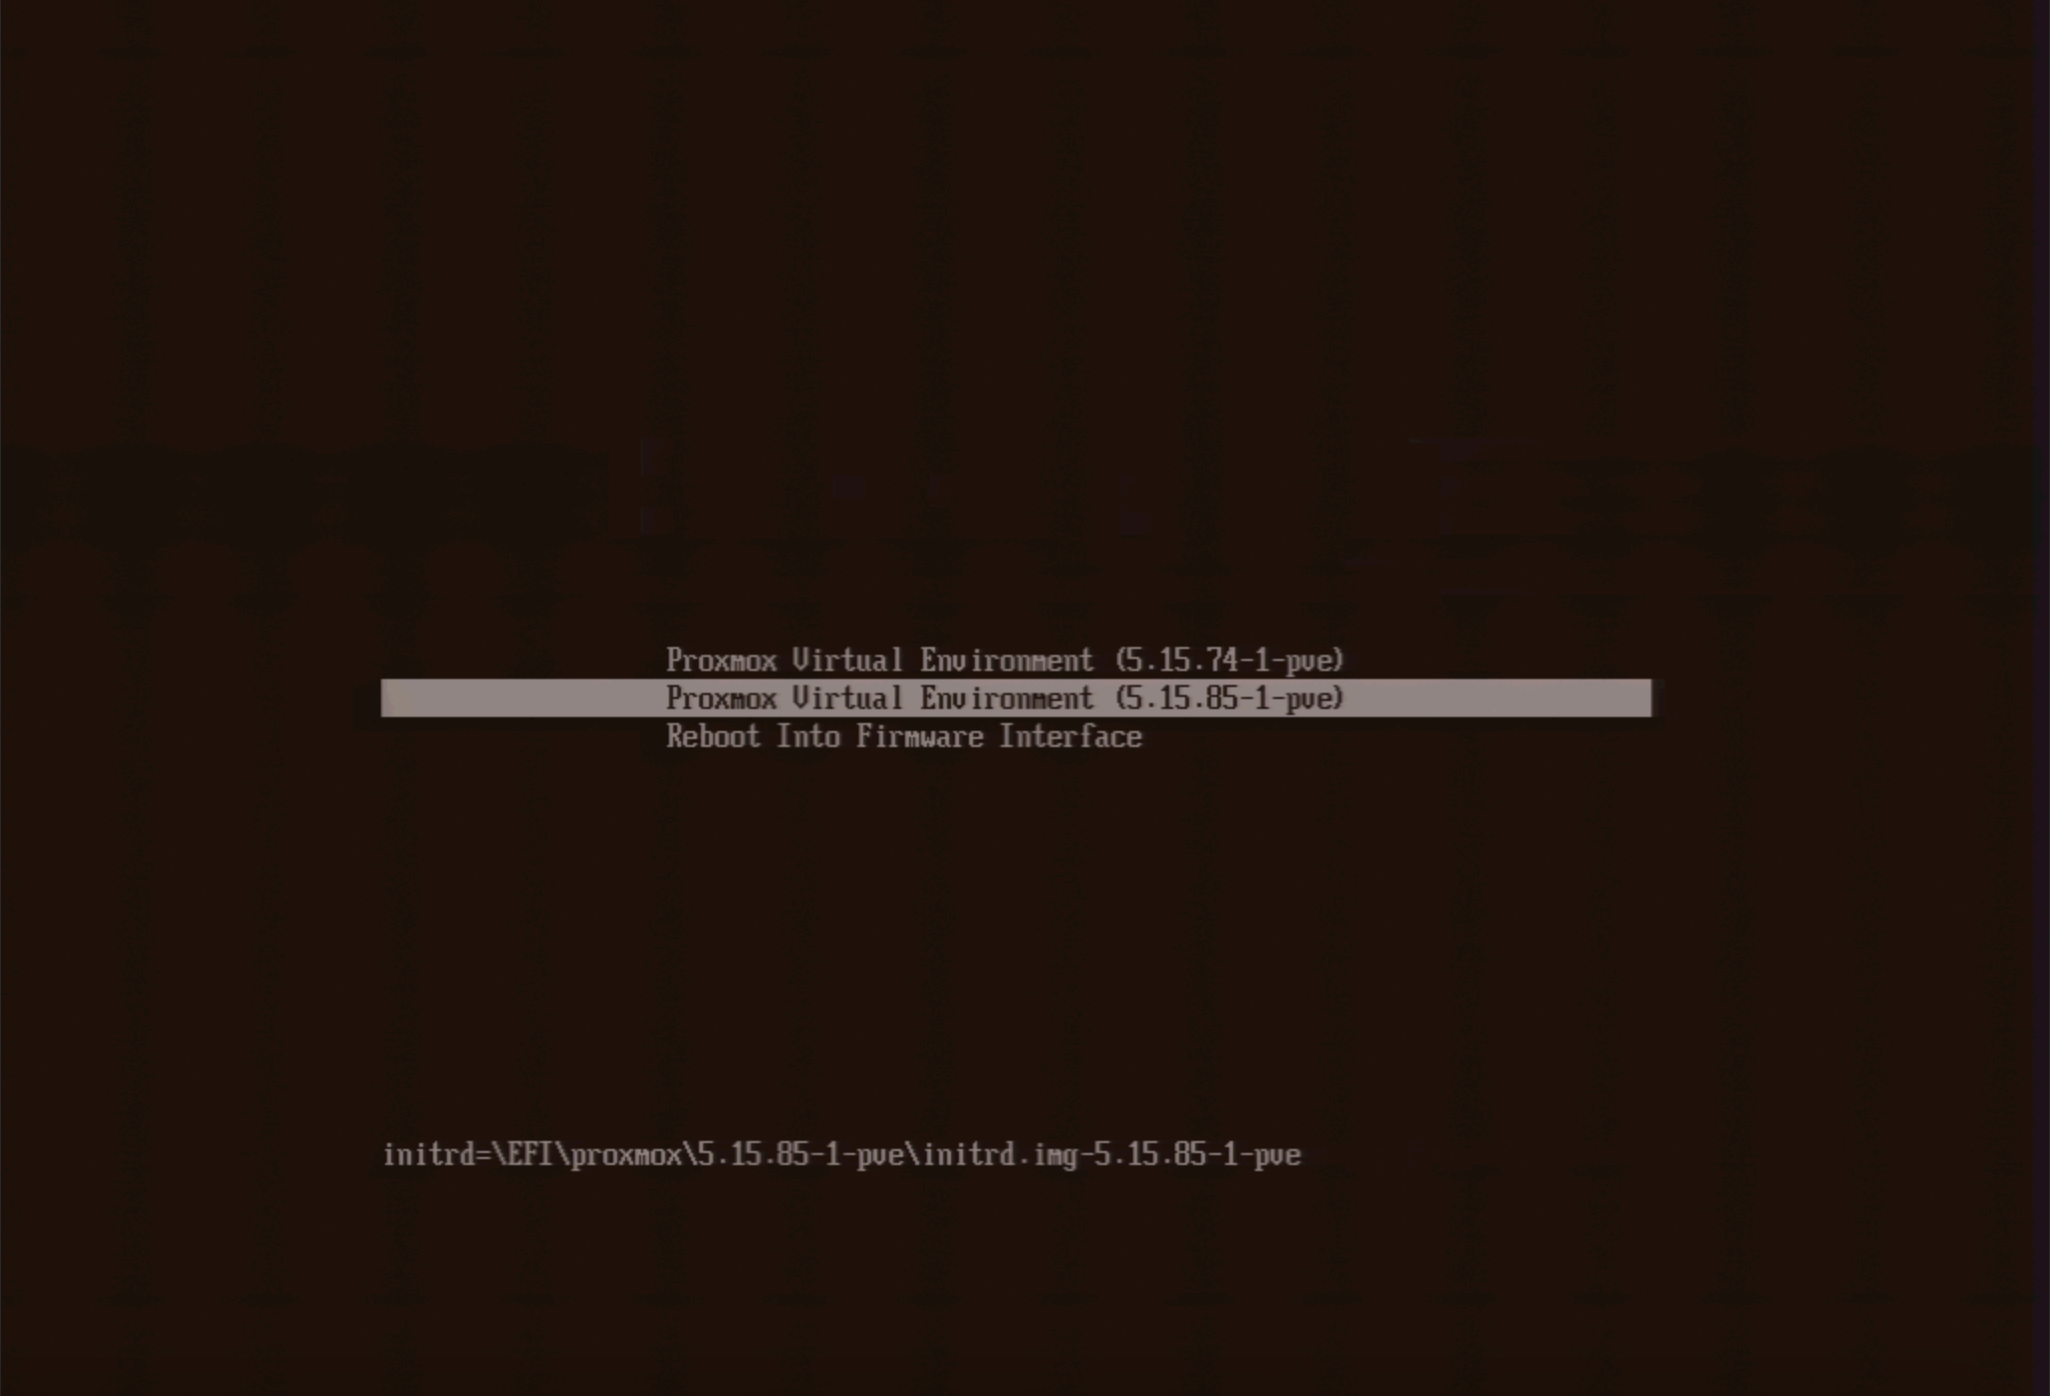
First, boot into the initramfs. On the startup menu, press e to edit the boot argument. Remove root=ZFS=rpool/ROOT/pve-1 boot=zfs from the argument and press enter.
Load in the zfs kernel module:
Next, follow this gist to encrypt the dataset. You do not need to use any sort of live USB or rescue mode, as the initramfs has all that we need. In case it gets moved or deleted, I will copy and paste it here (we will make a few changes to better suit our purposes as well):
# Import the old
zpool import -f rpool

# Make a snapshot of the current one
zfs snapshot -r rpool/ROOT@copy

# Send the snapshot to a temporary root
zfs send -R rpool/ROOT@copy | zfs receive rpool/copyroot

# Destroy the old unencrypted root
zfs destroy -r rpool/ROOT

# Set better ZFS properties
zpool set autoexpand=on rpool
zpool set autotrim=on rpool
zpool set failmode=wait rpool

# Create a new zfs root, with encryption turned on
# OR -o encryption=aes-256-gcm - aes-256-ccm vs aes-256-gcm
zfs create -o acltype=posix -o atime=off -o compression=zstd-3 -o checksum=blake3 -o dnodesize=auto -o encryption=on -o keyformat=passphrase -o overlay=off -o xattr=sa rpool/ROOT

# Copy the files from the copy to the new encrypted zfs root
zfs send -R rpool/copyroot/pve-1@copy | zfs receive -o encryption=on rpool/ROOT/pve-1

# Deviate from the original gist and delete copyroot
zfs destroy -r rpool/copyroot

# Set the Mountpoint
zfs set mountpoint=/ rpool/ROOT/pve-1

# Export the pool again, so you can boot from it
zpool export rpool
Reboot into the system. You should now be prompted for an encryption password.
rpool/data datasetNext, we need to encrypt the rpool/data dataset. This is where Proxmox stores virtual machine disks.
# Destroy the original dataset
zfs destroy -r rpool/data
Create a diceware passphrase, and save it to /.data.key. Then, continue with:
# Remove all but ASCII characters
perl -i -pe 's/[^ -~]//g' /.data.key

# Set the appropriate permission
chmod 400 /.data.key

# Make the key immutable
chattr +i /.data.key

# Create a new dataset with encryption enabled
zfs create -o acltype=posix -o atime=off -o compression=zstd-3 -o checksum=blake3 -o dnodesize=auto -o encryption=on -o keyformat=passphrase -o keylocation=file:///.data.key -o overlay=off -o xattr=sa rpool/data
Next, we need to set up a systemd service for automatic unlocking. Put the following inside /etc/systemd/system/zfs-load-key.service:
[Unit]
Description=Load encryption keys
DefaultDependencies=no
After=zfs-import.target
Before=zfs-mount.service

[Service]
Type=oneshot
RemainAfterExit=yes
ExecStart=/usr/sbin/zfs load-key -a

[Install]
WantedBy=zfs-mount.service
Finally, enable the service:
systemctl enable zfs-load-key
It is not convenient to type in the encryption password on the console. You might want to set up Dropbear inside of the initramfs to unlock the drive over SSH instead.
First, install the dropbear-initramfs package. Note that we are passing the --no-install-recommends argument here, as we don’t want it to install cryptsetup and give annoying warnings on every initramfs generation.
apt install --no-install-recommends dropbear-initramfs
Next, create /etc/dropbear/initramfs/authorized_keys and put your ssh keys in there.
You may also edit /etc/dropbear/initramfs/dropbear.conf and adjust it however you like. You can find the list of the options here. In my opinion, the default is good enough. Some other blog posts may recommend that you change the port to avoid the ssh fingerprint mismatch warning, but I would recommend using a different subdomain to connect to dropbear instead. That way, you can pin Dropbear’s fingerprint with SSHFP records. I will write a separate post on this later.
Then, edit the /etc/initramfs-tools/initramfs.conf and add the static IP address for it to use. The format is
IP=IP Address::Gateway:Netmask:Hostname
For example:
IP=10.0.0.1::10.0.0.254:255.255.255.0:dropbear.node.domain.tld
One thing to keep in mind is that I have found only IPv4 to be working with this on Debian. If you figure out how to get IPv6 to work, please let me know.
Finally, generate a new initramfs:
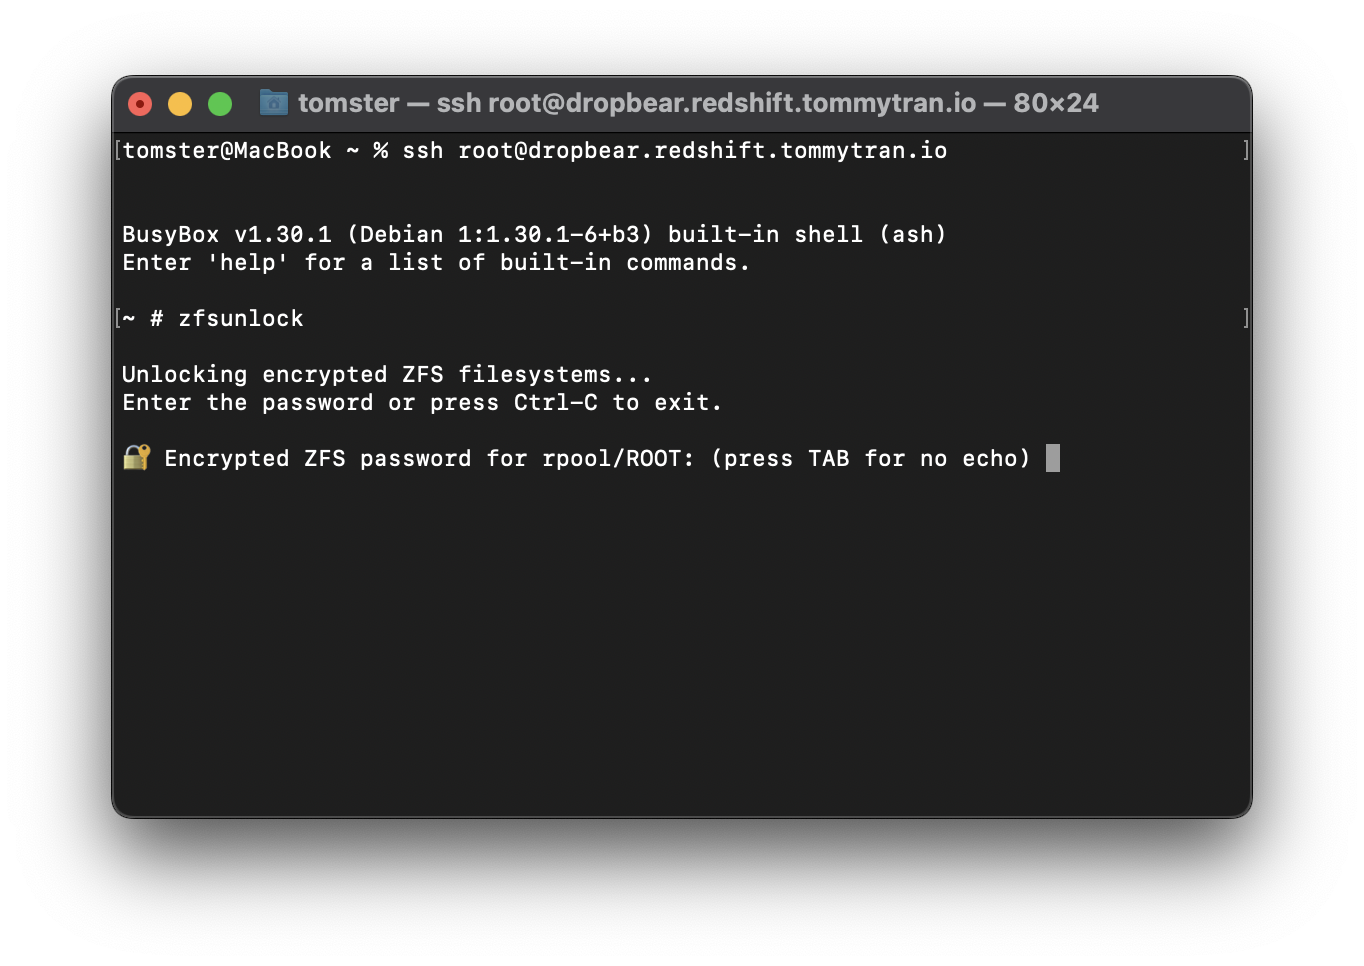
You should now be able to ssh into your Dropbear upon reboot. Use zfsunlock to unlock the rpool/ROOT dataset :)
此内容由惯性聚合(RSS阅读器)自动聚合整理,仅供阅读参考。 原文来自 — 版权归原作者所有。