


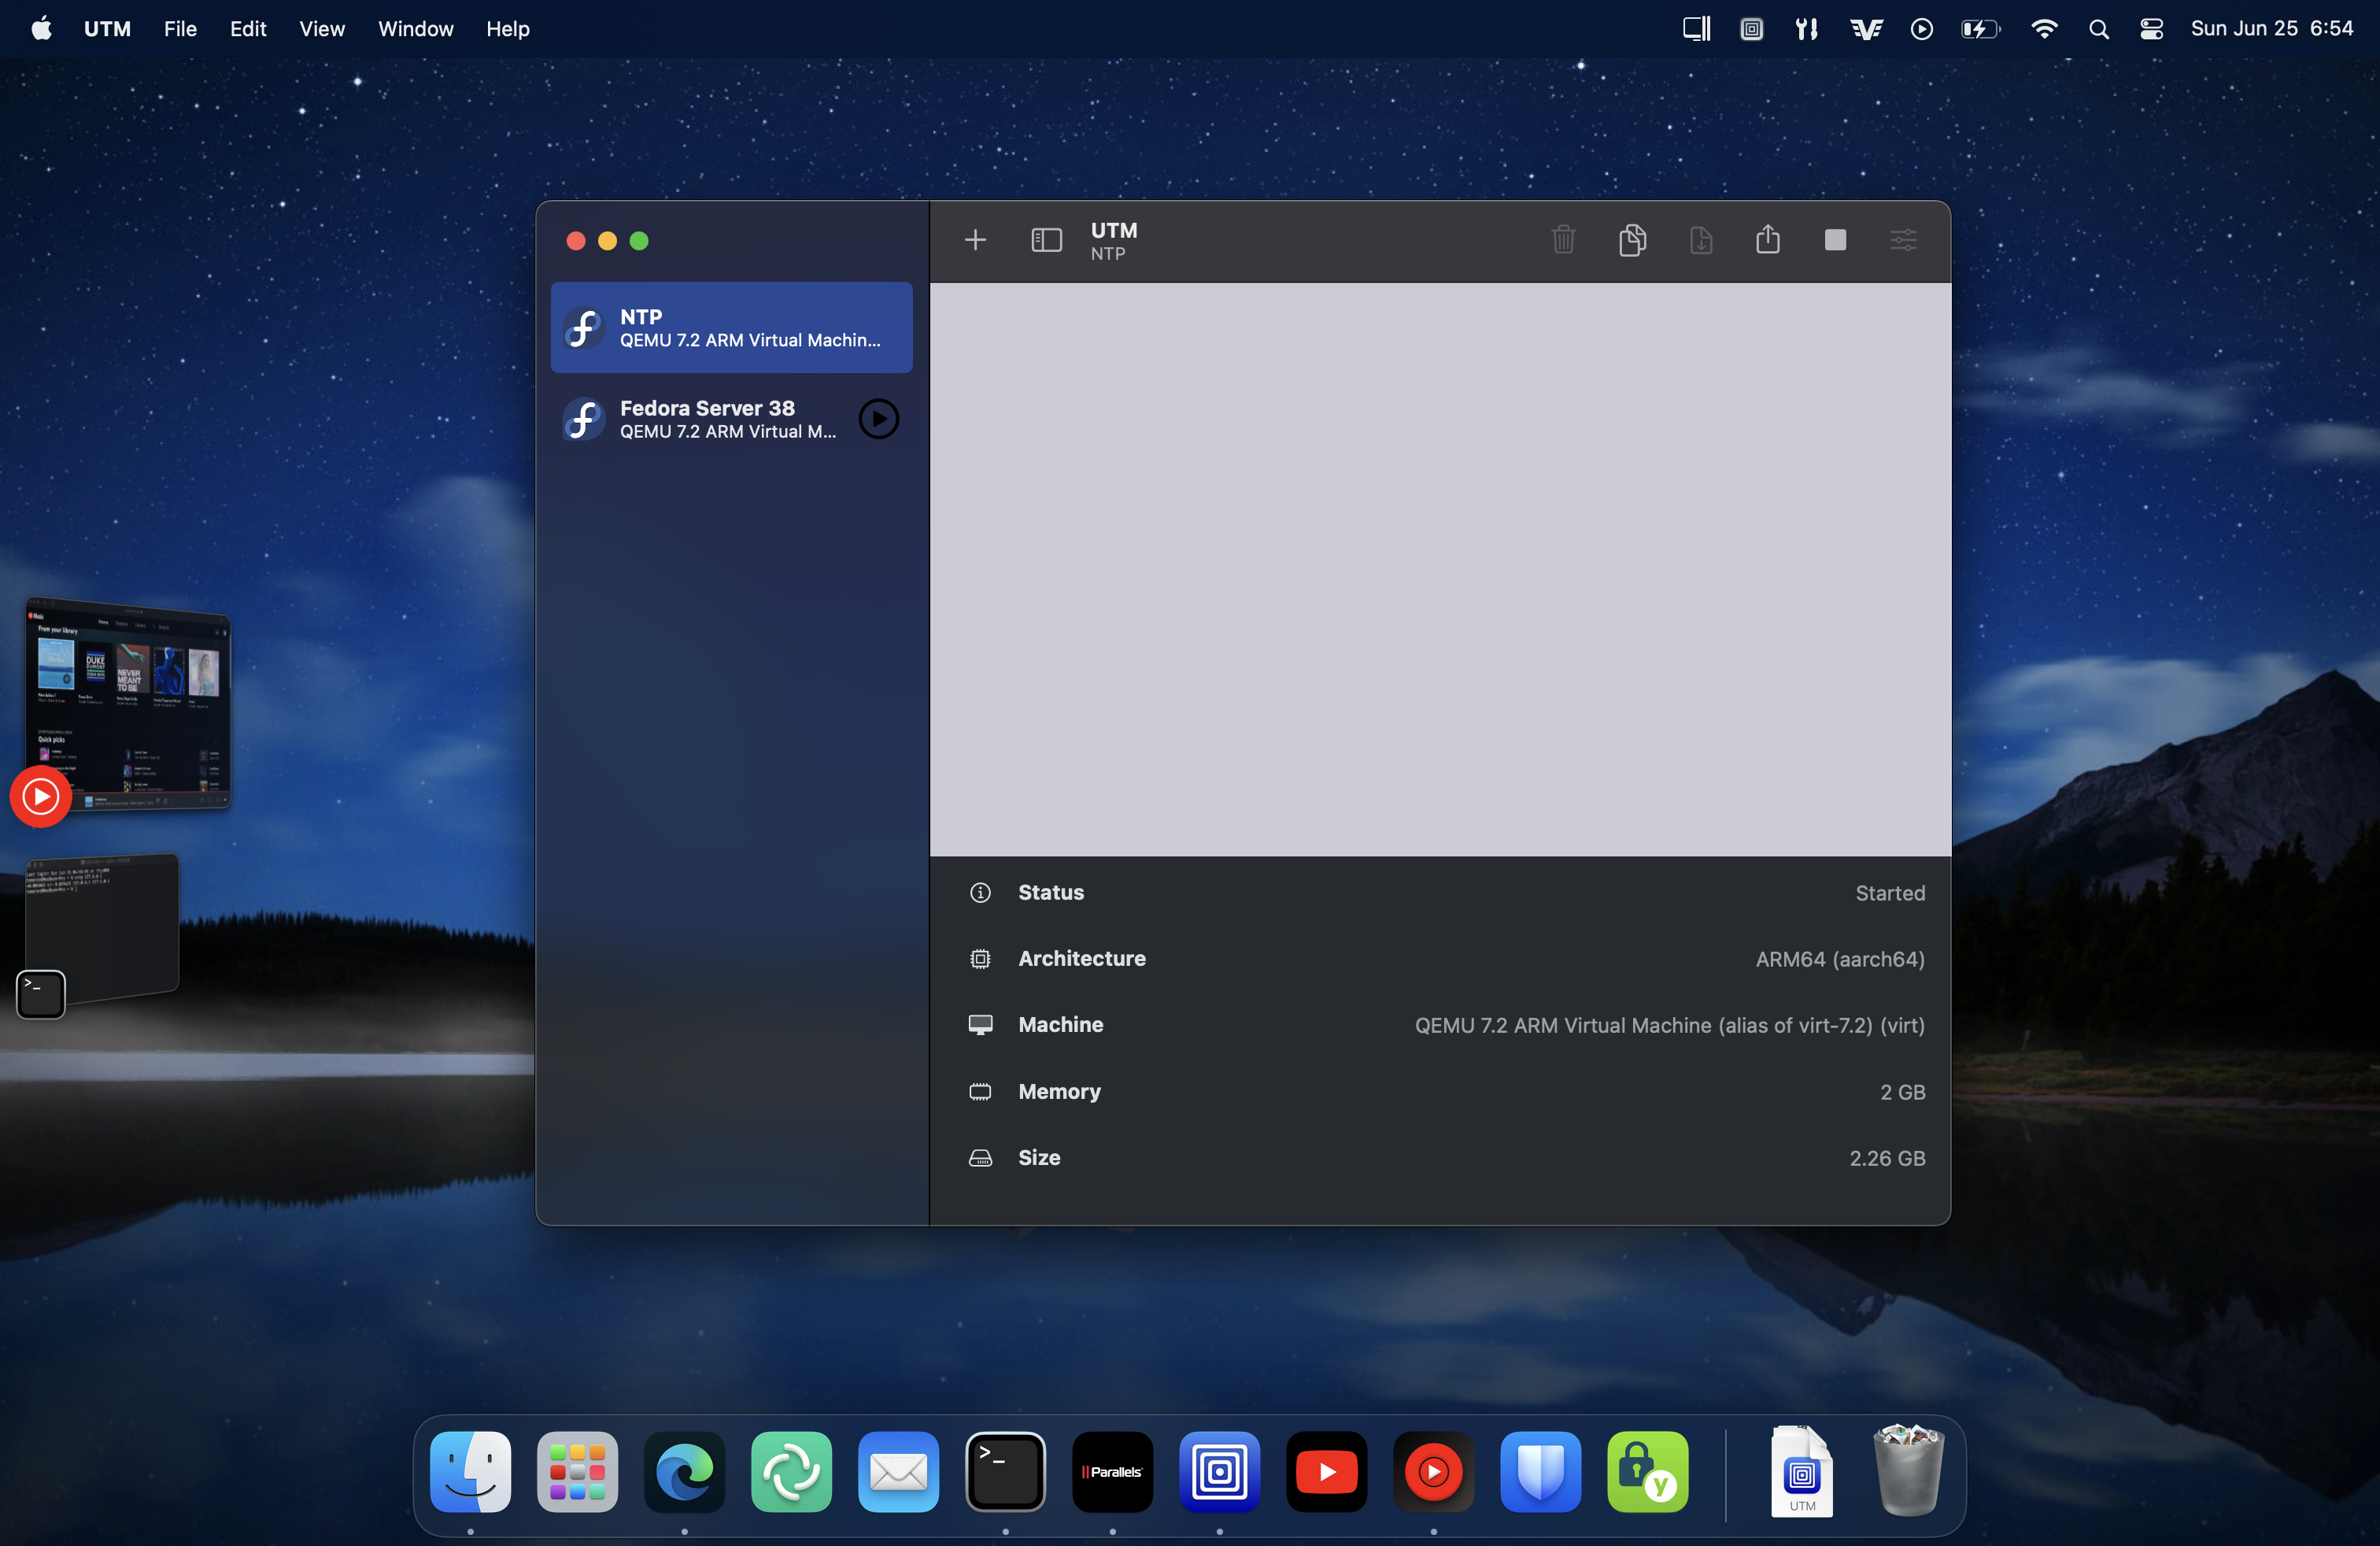
macOS by default uses the unencrypted and unauthenticated Network Time Protocol (NTP) for time synchronization. A popular solution to mitigate this problem is to use ChronyControl to setup NTS. However, the application requires administrator privileges, which is less than ideal.
In this post, I will go over how to leverage virtualization to setup a local Linux server, update its time using NTS, and synchronize your macOS host with it using NTP, all without needing a privileged application.
The virtualization software we are going to use for this setup is UTM. You can obtain it through the App Store for $10 USD or directly through GitHub free of charge.
Personally, I would recommend using the App Store, since you are getting automatic updates with it, and a small donation would really help out the developers.
Note that I am recommending UTM here over other solutions like Parallels, specifically for the Emulated VLAN network setup. Parallels only supports the Shared Network mode where all VMs and the host are connected to the same VLAN, which is less than ideal considering that we will still communicate with our Linux server using the insecure NTP protocol. I have not tried VMWare Fusion or VirtualBox yet, but the general idea is that you should be connecting to the NTP server using a private interface which only the host and the target VM have access to. Another nice thing about UTM is that it is a sandboxed application and runs without any special privileges.
Generally, any distribution with chrony 4.0 or above would work fine. I recommend using Fedora since it is easy to manage, is generally up to date, and has mostly sane defaults.
You can download Fedora Server from their official website.
Next, create your Linux VM in UTM. Make sure that you use the QEMU backend (as opposed to Apple Virtualization), set the Network Mode to Emulated VLAN, and port forward port 123/UDP and 22/TCP.
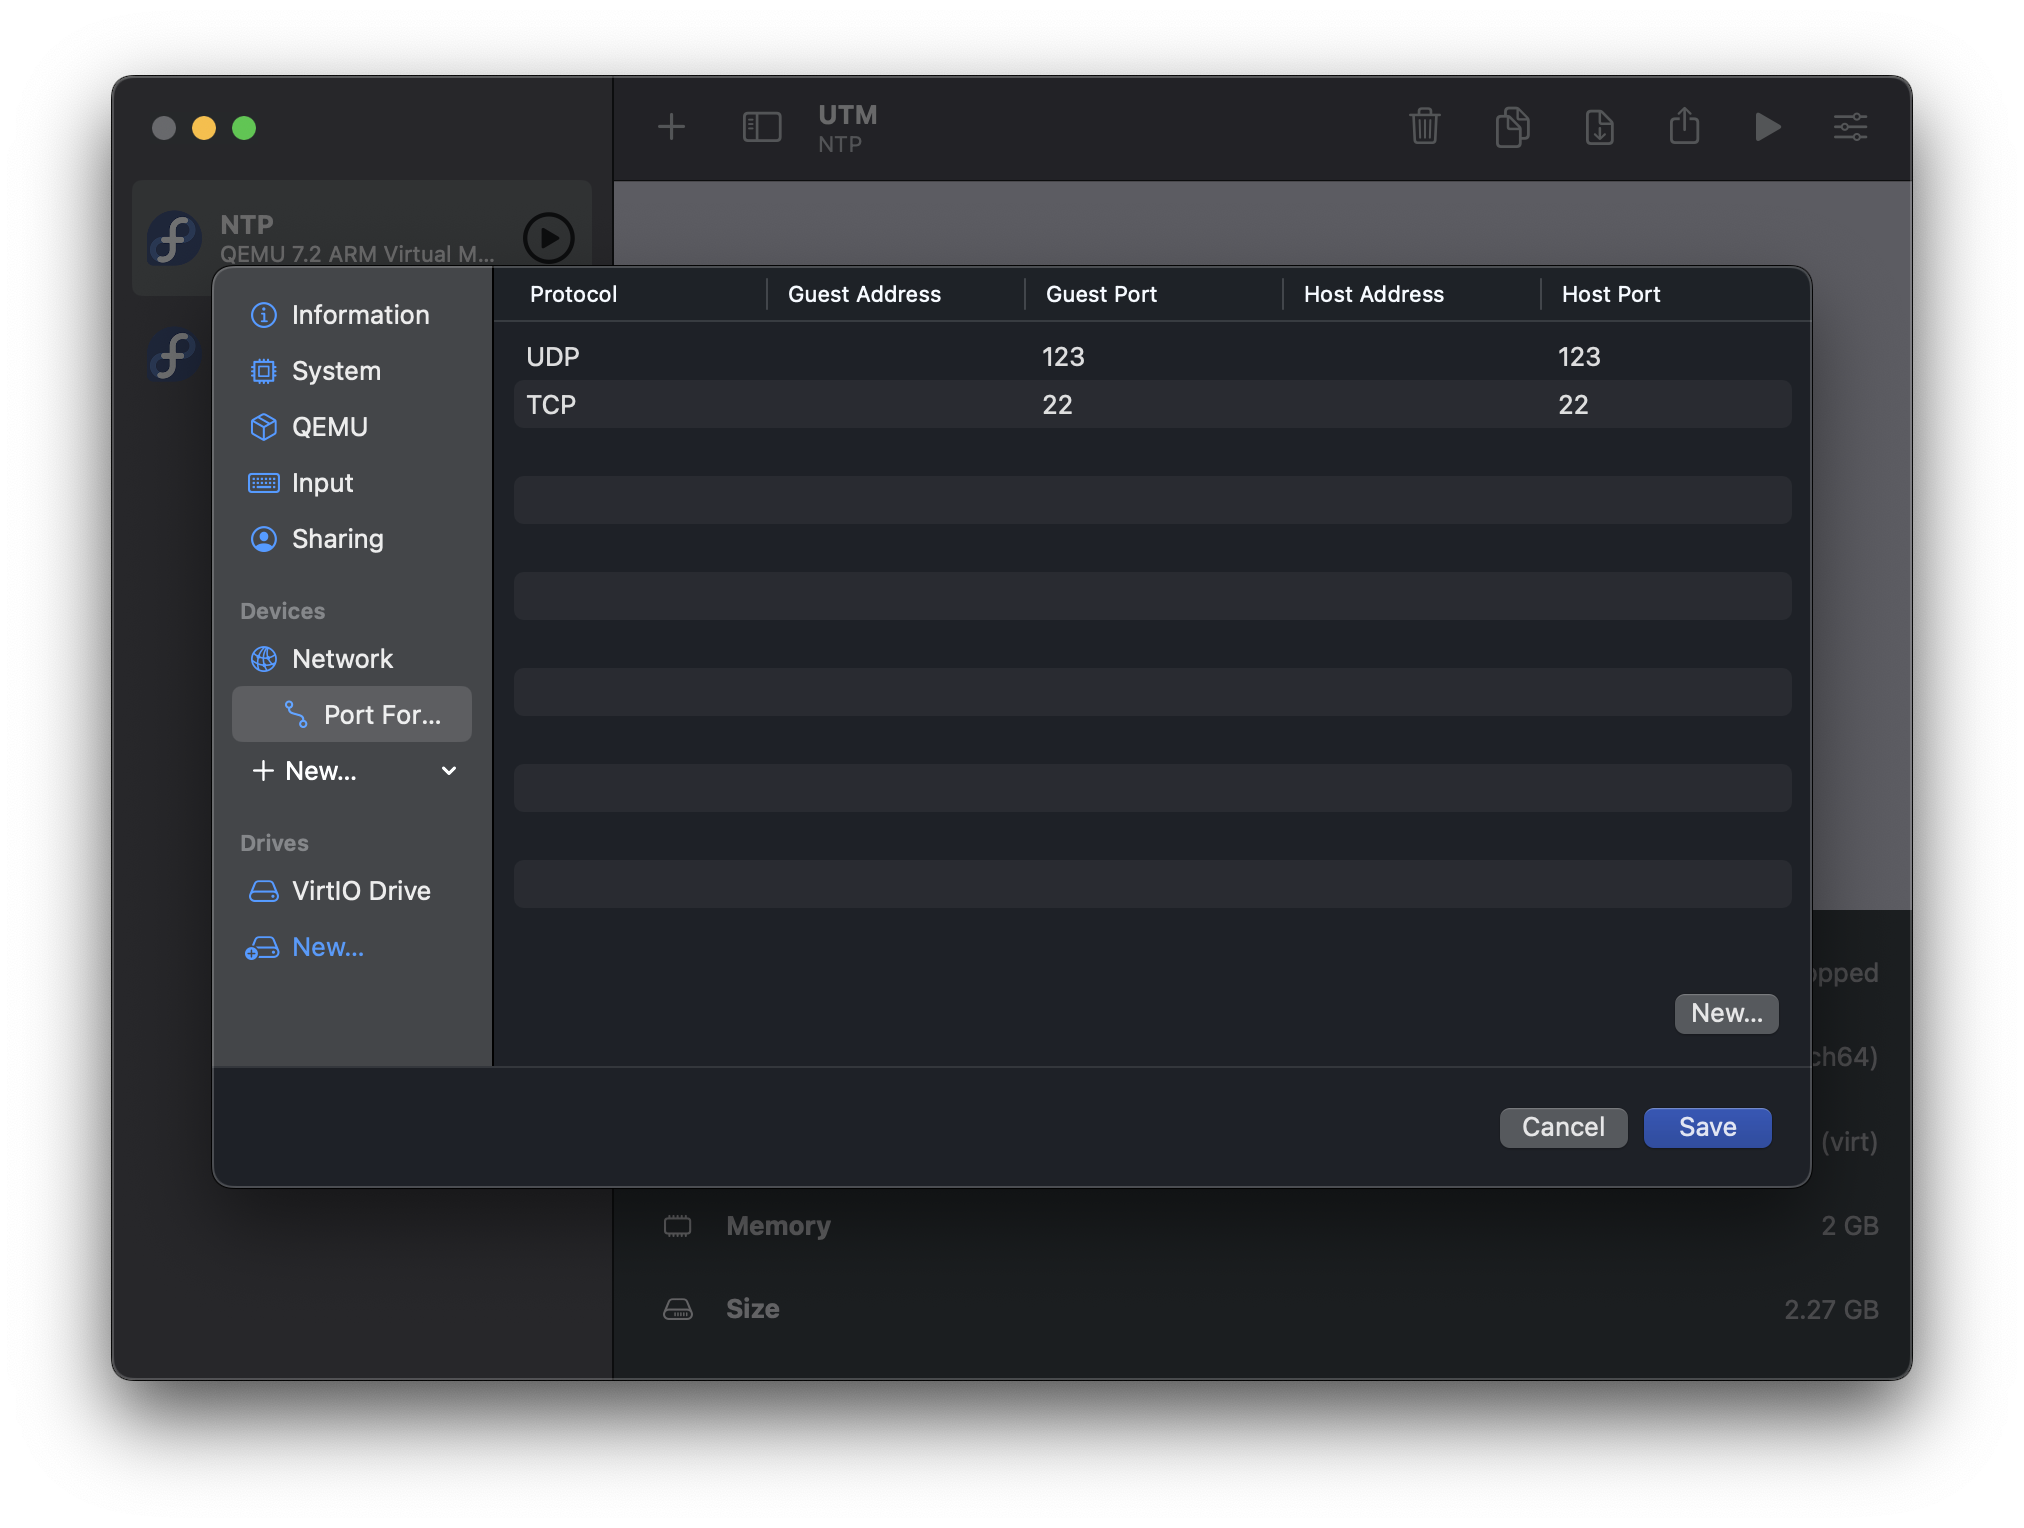
Optionally, you can also:
Next, install your operating system. If you are using Fedora, I recommend going with the “Minimal Install” option.
Once the operating system is installed, shut down the VM. Remove “USB Drive” from your VM configuration to ensure that you have the correct boot order.
You can also remove other unnecessary features from the VM for attack surface reduction:
Start the VM, then SSH into it via 127.0.0.1:22:
Update the OS:
#This is an example for Fedora:
sudo dnf upgrade -y
You can also consider installing the qemu-guest-agent. It will help against insane clocks caused by snapshotting and rolling back if UTM implements these features in the future.
#This is an example for Fedora:
sudo dnf install qemu-guest-agent -y
If your operating system comes with systemd-timesyncd instead of chrony by default (as is the case with Ubuntu and Arch Linux), disable it and replace it with chrony. Fedora users can skip this step, since it already uses chrony by default.
#This is an example for Ubuntu:
sudo systemctl disable --now systemd-timesyncd
sudo apt purge -y systemd-timesyncd
sudo apt install -y chrony
sudo systemctl enable --now chronyd
Enable automatic updates:
#This is an example for Fedora:
sudo dnf install dnf-automatic
sudo sed -i 's/apply_updates = no/apply_updates = yes\nreboot = when-needed/g' /etc/dnf/automatic.conf
sudo systemctl enable --now dnf-automatic.timer
chronyNext, configure chrony to use NTS. On Fedora, the configuration file is /etc/chrony.conf. We will use GrapheneOS’s configuration as a reference.
Your configuration should look something like this:
server time.cloudflare.com iburst nts
server ntppool1.time.nl iburst nts
server nts.netnod.se iburst nts
server ptbtime1.ptb.de iburst nts

minsources 2
authselectmode require

# EF
dscp 46

driftfile /var/lib/chrony/drift
ntsdumpdir /var/lib/chrony

leapsectz right/UTC
makestep 1.0 3

rtconutc
rtcsync

cmdport 0

noclientlog
allow 10.0.2.2/32
Optionally, you can enable the secommp filter for chronyd in /etc/sysconfig/chronyd:
# Command-line options for chronyd
OPTIONS="-F 1"
If you are confused about what these configurations are doing, here are some quick explanations:
server time.cloudflare.com iburst nts
server ntppool1.time.nl iburst nts
server nts.netnod.se iburst nts
server ptbtime1.ptb.de iburst nts
Note that 10.0.2.2 is the default IP address of the macOS host from the virtual machine’s perspective. If you changed the Host Address using the Advanced Settings in the virtual machine’s network configuration, you need to adjust it accordingly here.
Once you are happy with the configuration, restart chronyd:
sudo systemctl restart chronyd
Verify that NTS is working:
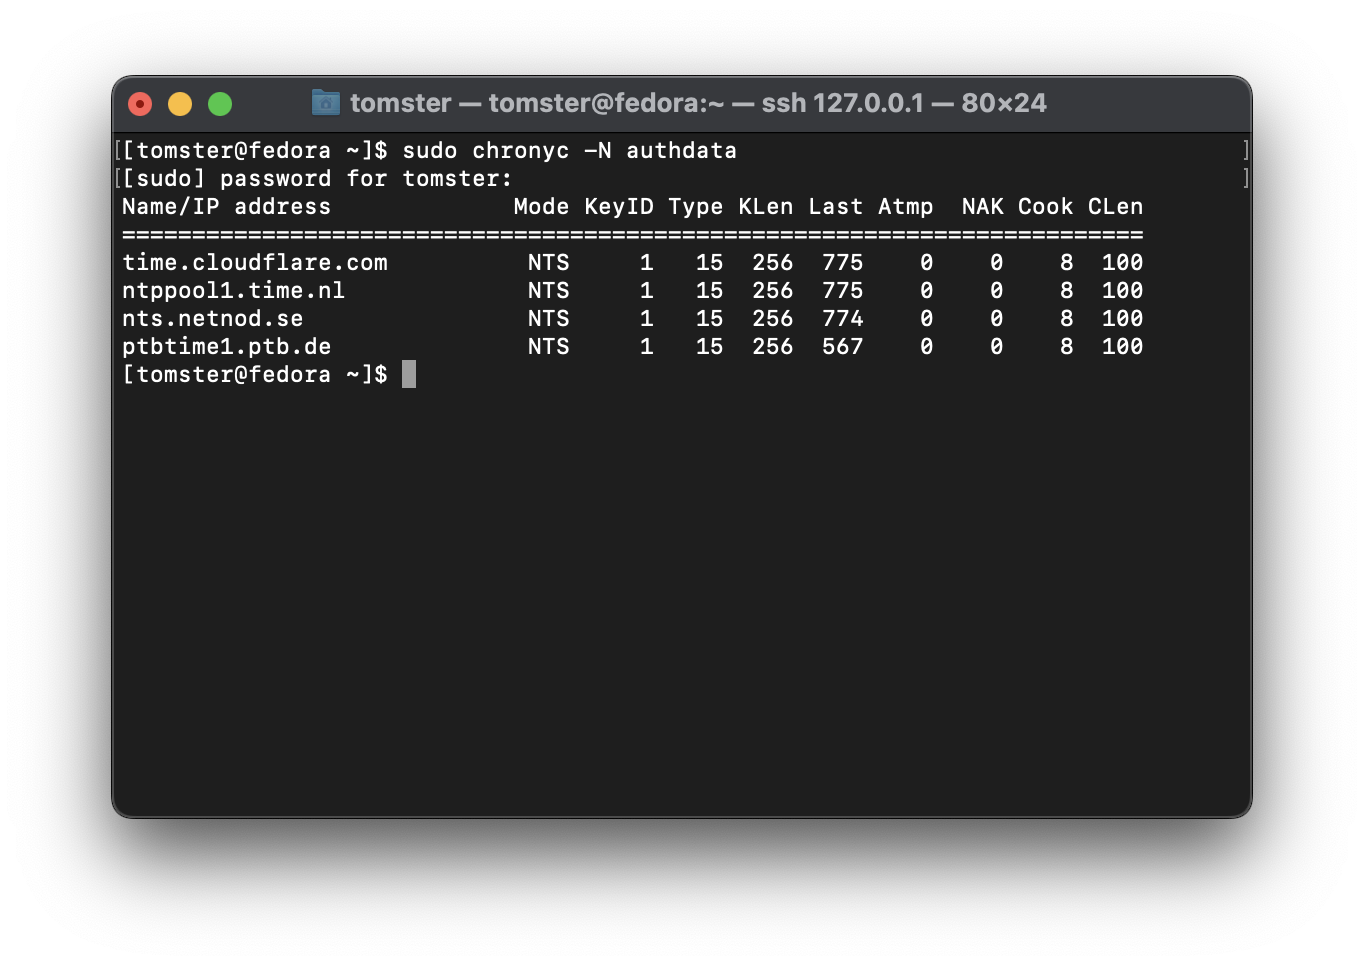
We will need to open port 123/udp inside of the virtual machine to allow connections from the macOS host:
#This is an example for Fedora:
sudo firewall-cmd --permanent --add-service=ntp
sudo firewall-cmd --reload
Now, we can use our NTP server as the time server for your macOS. Set the time source to 127.0.0.1 in your macOS settings:
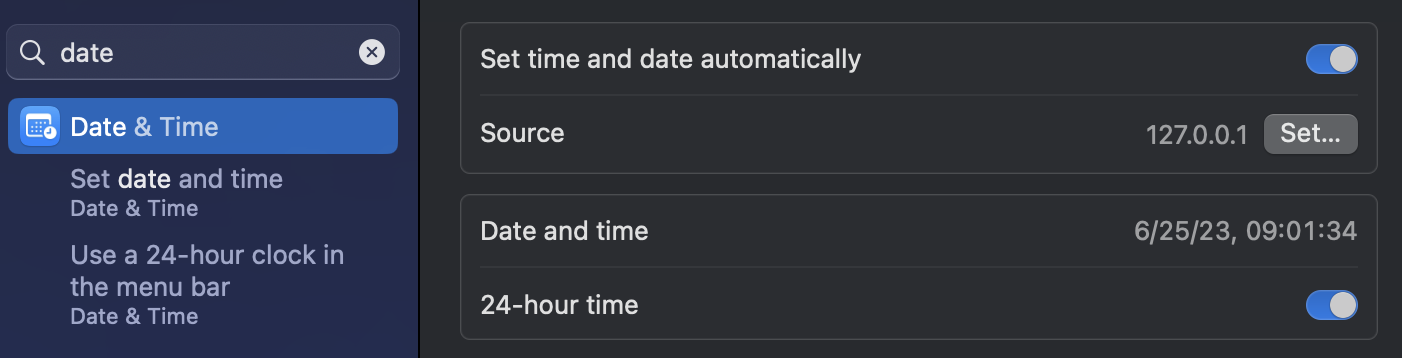
Verify that NTP works on your macOS host:
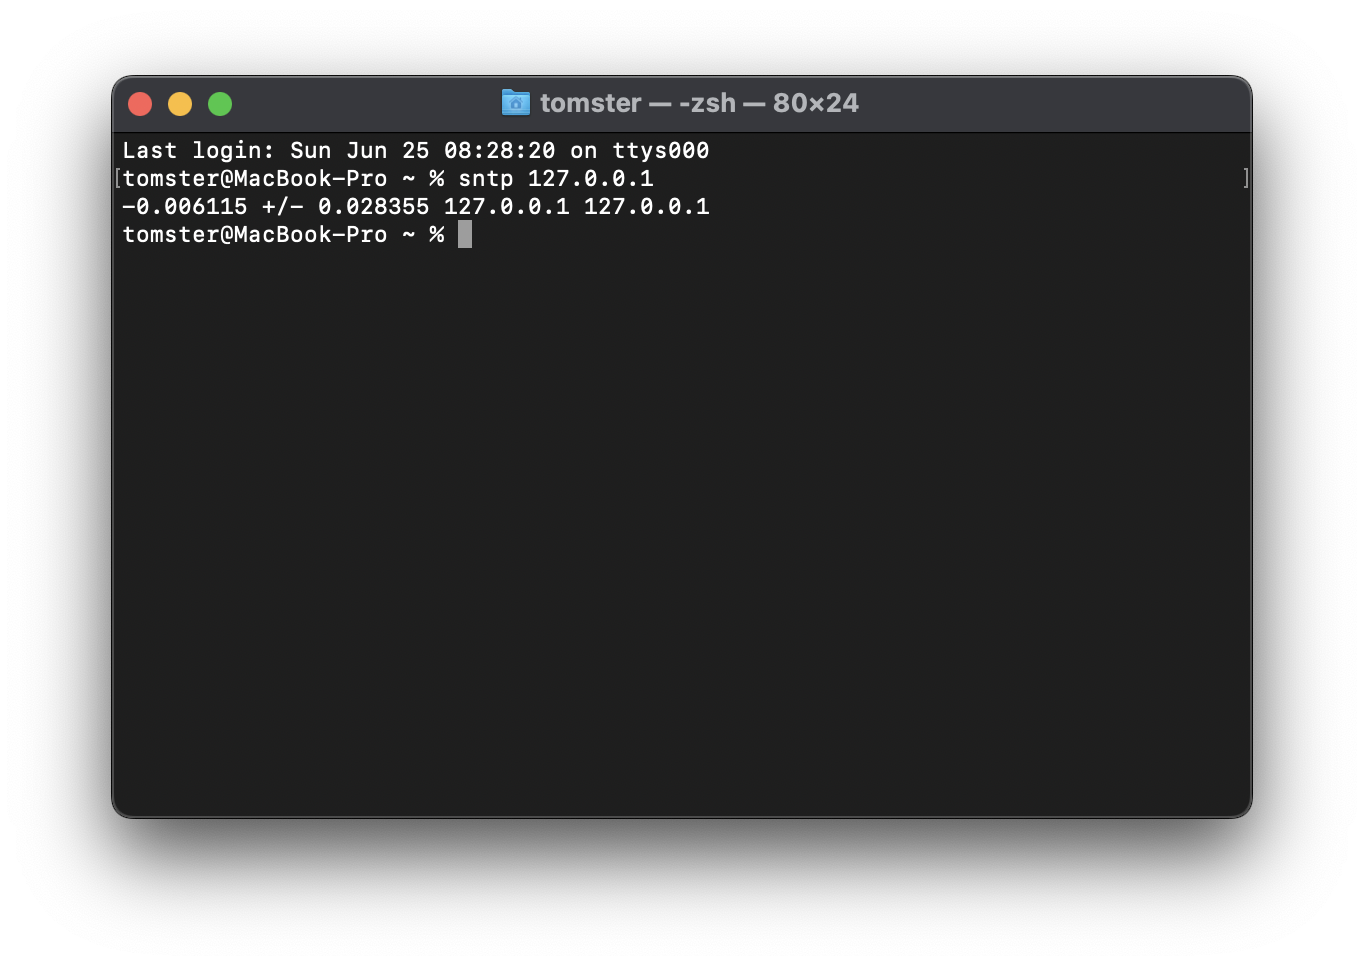
Once you have verified that everything is working, you can optionally remove the port 22/TCP forwarding since we will no longer need it.
macOS synchronizes time with the NTP server around once every 20 minutes. This can cause the clock to be out of sync for quite awhile when the computer wakes up from sleep, as the NTP server may not have its time corrected by the time macOS makes the first synchronization request.
To work around this, create a cron job to have macOS synchronize time every minute as root:
Add the following:
* * * * * /usr/bin/sntp -Ss 127.0.0.1
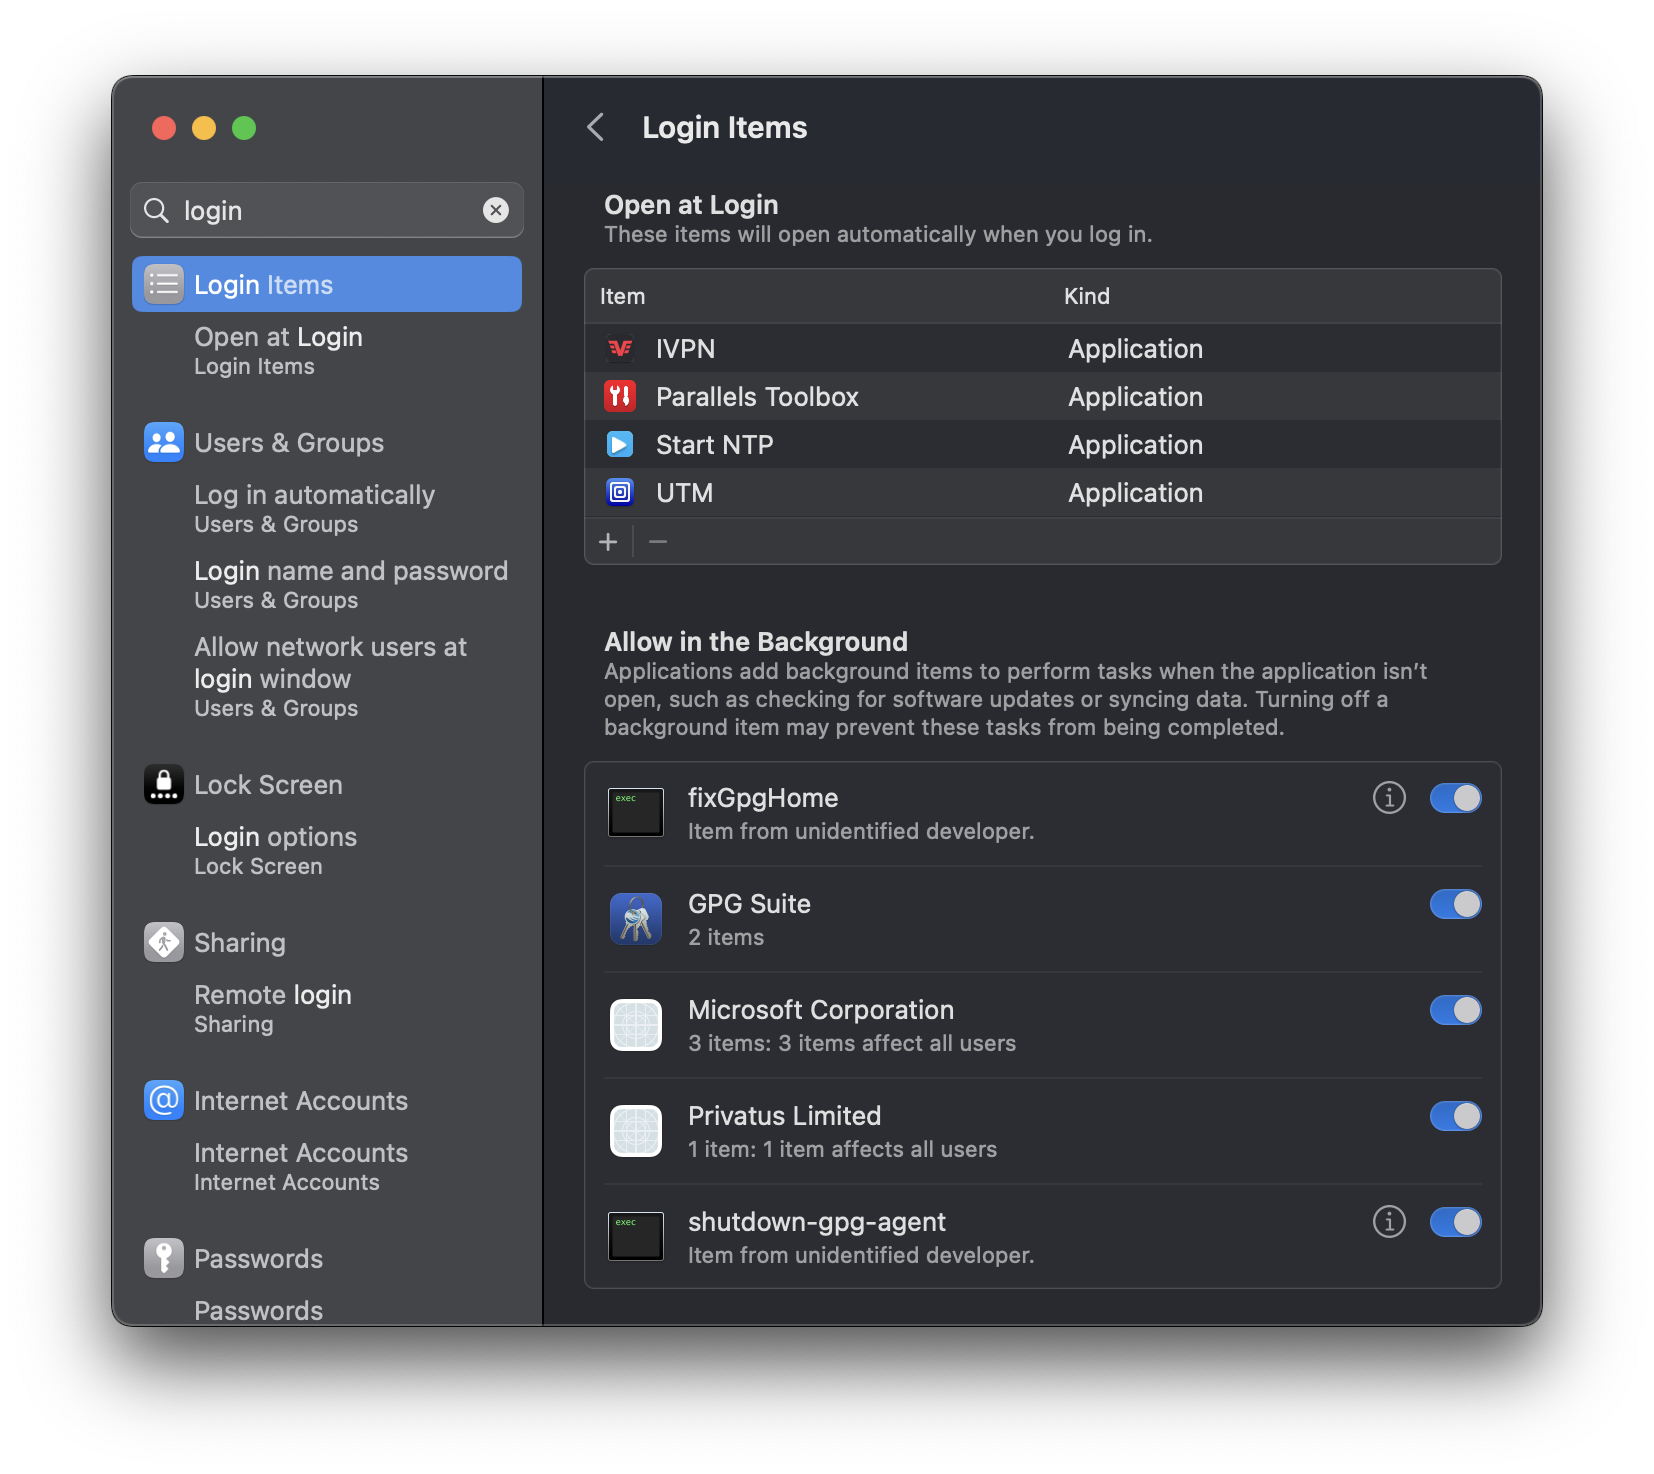
Finally, follow the official documentation to automatically start the virtual machine at boot.
Note that, for some reason, adding the shortcut to “Login Items” alone is not enough: UTM will launch but it will not start the VM. UTM also needs to be added to the list of “Login Items” for this to work properly. You can follow the discussion regarding this on GitHub.
此内容由惯性聚合(RSS阅读器)自动聚合整理,仅供阅读参考。 原文来自 — 版权归原作者所有。