








Velocity is a full-stack web framework for Go. Pre-1.0 and shipping in public. vel.build.
Prerequisites
You need:
-
Go 1.26+ —
go versionshould printgo1.26or newer. -
Homebrew — for installing the
velocityCLI on macOS or Linux. (Other platforms can build from source; see the installer repo.) - Bun (recommended) or Node + npm — for the JS side. The installer picks up whichever it finds.
No Docker, no external services to start. The project-local ./vel binary handles the dev server, migrations, and code generation once the project exists.
💡 Pro tip — install Bun. Bun is meaningfully faster than npm for both dependency installs and Vite startup, and
velocity newwill use it automatically when present. One-liner:curl -fsSL https://bun.sh/install | bash. If you'd rather stick with npm, the tutorial works exactly the same.
1. Install the installer
brew install --cask velocitykode/tap/velocity
Verify it landed:
velocity --version
You should see the installed version string. The velocity CLI is project-bootstrap-only; once a project exists, you'll use the project-local ./vel binary for everything else.
2. Scaffold a new project
velocity new acme
acme is the placeholder name I use throughout these tutorials — pick whatever fits your project.
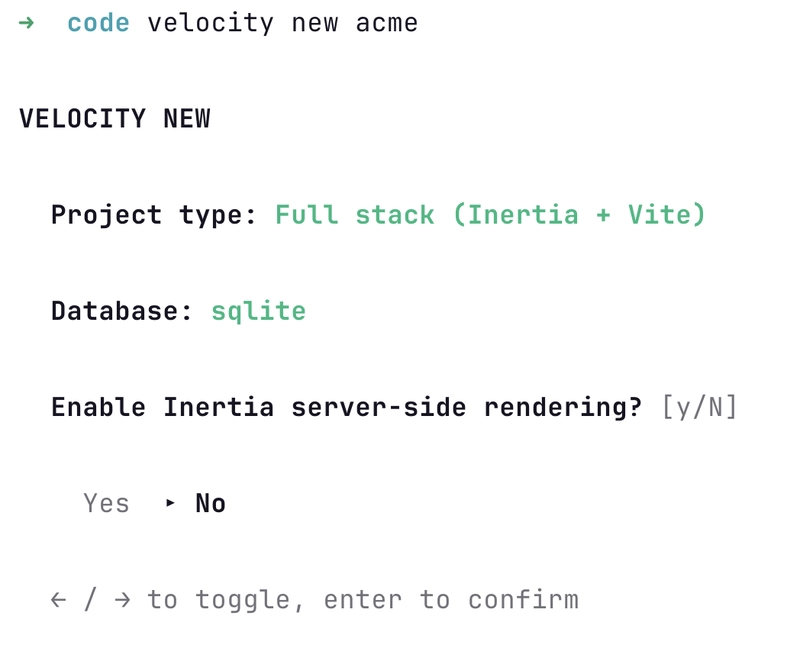
The installer asks three quick questions:
-
Project type —
Full stack (Inertia + Vite)for the React + Tailwind setup this tutorial uses. -
Database —
sqlitefor the easiest local default. Postgres and MySQL are available and swap in via env var later. -
Enable Inertia server-side rendering? —
Nfor development. Flip toYlater if you need it.
Use ← / → to toggle, enter to confirm.
Once you've answered, the installer clones the template, configures the Go module, initializes git, installs dependencies, builds the project-local ./vel binary, runs the initial migrations, and prints the next two commands you need:
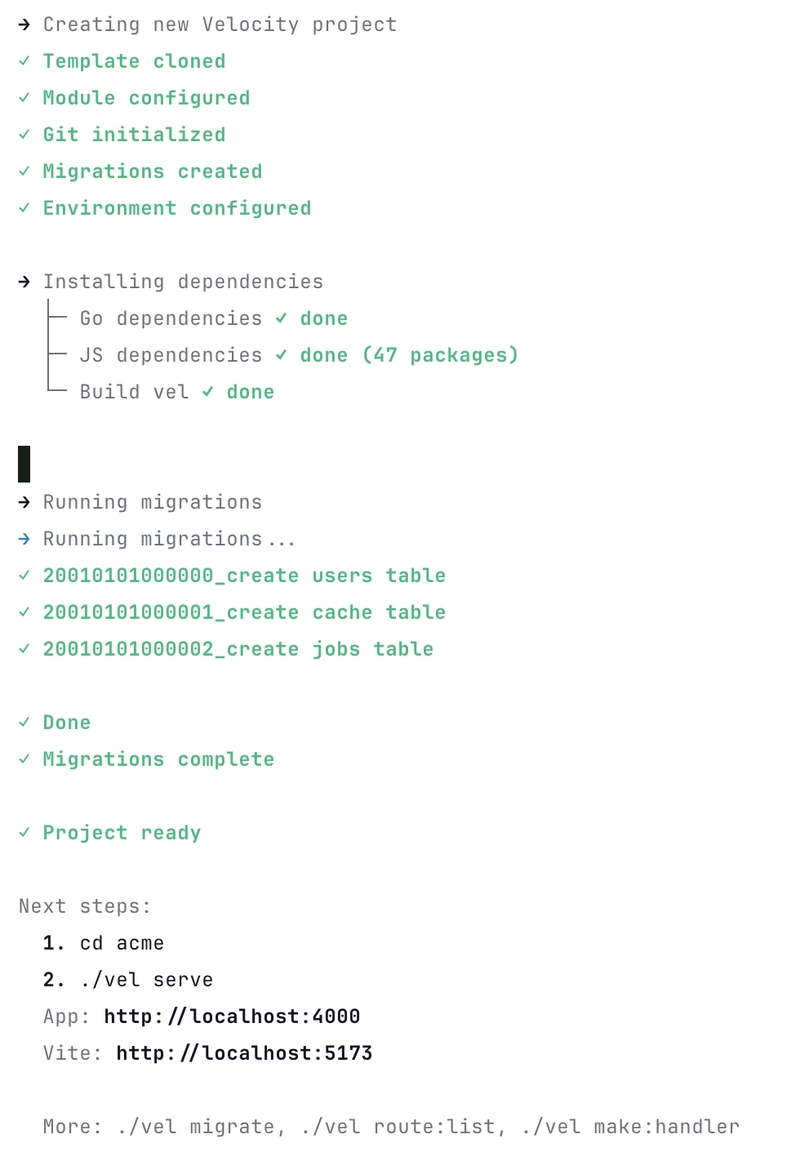
The whole thing takes well under a minute on a warm machine.
3. Start the dev server
cd acme
./vel serve
This boots the Go backend with hot-module-reload, runs Vite for the frontend in parallel, and prints something like:
[velocity] listening on http://localhost:4000
[vite]     dev server ready in 230ms
4. Open the app
Navigate to http://localhost:4000.
You'll land on the login page. Register an account, log in, and you're on the dashboard. Every primitive Velocity ships — auth, ORM, queues, cache, mail, storage, broadcasting, scheduling — is wired and ready to use.
Find your way around
Here is what velocity new acme produced. The directories you'll touch most are at the top.
acme/
├── main.go               # Bootstrap chain: Providers, Middleware, Routes, Run
├── go.mod
├── .env                  # Local config (DB driver, secrets, etc.)
│
├── routes/
│   └── web.go            # Web routes (the first file you edit)
│
├── internal/
│   ├── app/              # App-level wiring (kernel, middleware stacks, events)
│   ├── handlers/         # HTTP handlers (auth, dashboard, home, health)
│   ├── middleware/       # Custom middleware
│   ├── models/           # ORM models (the starter ships User)
│   └── commands/         # Custom ./vel commands
│
├── config/               # Typed config: app.go, auth.go, crypto.go, view.go
│
├── database/
│   ├── migrations/       # Go migration files
│   ├── factories/        # Model factories for tests and seeds
│   └── database.sqlite   # The local DB after first migration
│
├── resources/
│   ├── js/               # React + TypeScript (app.tsx, pages/, components/, layouts/)
│   ├── css/              # Tailwind entrypoint
│   └── views/            # Server-rendered HTML shell for Inertia
│
├── public/               # Static assets served at the URL root
├── storage/              # File storage default (uploads, logs)
└── vite.config.ts        # Frontend build config
The shortest possible walk-through:
-
main.go. The bootstrap chain. Anything you wire (providers, middleware, routes, commands, events) flows through it. -
routes/web.go. Where you'll spend most of the first hour. Add a route, point it at a handler ininternal/handlers/. -
internal/handlers/. HTTP handlers. The starter has auth (login, register, logout), dashboard, home, and health. -
internal/models/. Your ORM models. Starts withUser. New models go here, scaffolded by./vel make:model. -
database/migrations/. Schema. Go files, not SQL strings or YAML. New migrations come from./vel make:migrationor./vel make:model -m. -
resources/js/. The React frontend.pages/maps 1:1 to the Inertia responses your handlers return:c.Inertia("Posts/Index", props)rendersresources/js/pages/Posts/Index.tsx. -
config/. Typed Go config files. Reads from.envat startup, exposes typed values to the rest of the app.
That is the loop. routes/web.go declares the URL. internal/handlers/ runs the logic. internal/models/ talks to the database. resources/js/pages/ renders the response.
What's next
-
Add a model.
./vel make:model Post -mscaffolds a model and migration in one shot. -
Add a handler.
./vel make:handler PostsHandlergives you a handler wired to the router. - Read the docs. vel.build/docs covers the full API surface.
That's it. Four commands, one running app. Velocity gets out of your way after that.
Originally published at vel.build/blog/your-first-velocity-app.