




It was about a year ago that we had the idea to make special badges for the SpecterOps team at Black Hat 2019. We initially looked at printed circuit boards, the de facto foundation for most Black Hat / DEF CON badges, but abandoned that idea early on in the process. We decided to go with something we could fabricate ourselves. Something different.
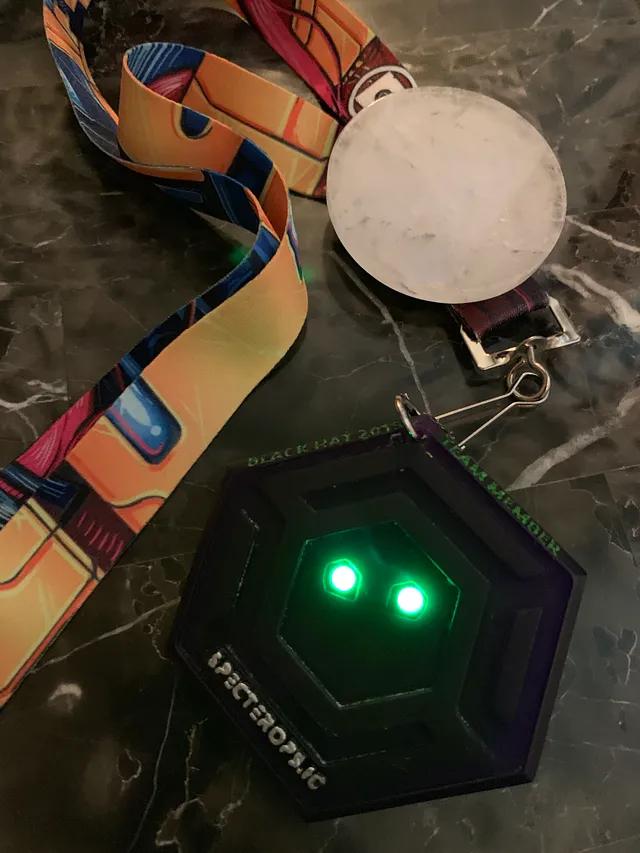
I took on the design and creation and fabricated each badge out of urethane resin, specifically Smooth-On’s Crystal Clear 200. The resin for each badge was individually dyed using SO-Strong Purple dye, so each badge ended up with a unique hue.
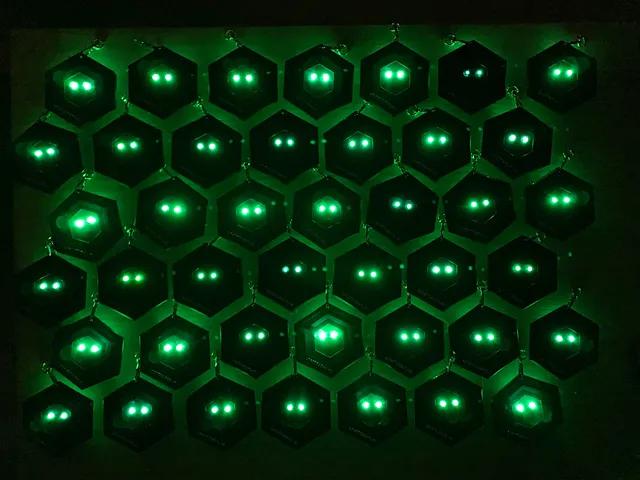
For the eyes, the badges have Lilypad coin cell battery holders, usually intended for sewing onto textiles, and simple green LEDs. Each LED was ground flat on a belt sander and inserted into the badge. This made them fit into the flat eyes but also dimmed the brightness when looking at a badge head-on, while still allowing a bright glow around the edges of each eye.
It has never been easier to learn how to do basic 3D design with sketches. I have become a hobbyist 3D designer thanks to OnShape, a free sketch-based and browser-based design program. I designed the badge based on our SpecterOps stickers.

Once this design was complete, I printed it in PLA plastic using an FDM 3D printer. The print was then meticulously sanded, cleaned, and primed to smooth all of the surfaces.
I used a tin-cured silicone, Smooth-On Mold Max 29NV, to create a one-part mold of the badge. The silicone covered the front surface of the badge to create a negative.

A two-part mold would have been better, but early attempts at this failed due to a mix of inexperience, how thin the badge was, and the wide flat back-side. Castings came out incomplete and were just not good, so I used a one-part mold.
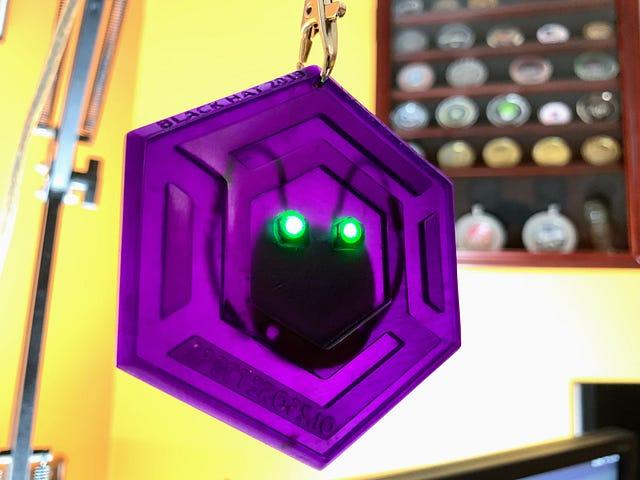
The initial castings looked good with the eyes installed.
The badge’s transparency demanded the use of a pressure pot for casting each badge. Keeping the badge under pressure while it cured ensured there would be no visible air bubbles in the resin (it crushes them so small they disappear — so cool!). The downside was the pressure was all against the back of the badge, and that still-liquid resin. Depending on how perfectly centered the mold was inside the pot (which was never) the resin would get pushed, just a little bit, towards one wall of the mold.
The result from each mold was a crystal clear badge that was thicker on one side. To make them all uniform I ground the backs down using a belt sander. This was a lot of extra work I wish I could have avoided (always learning from mistakes). The sanding also necessitated polishing away the scratches to bring back that lovely clear transparency. For better or worse, this also ensured each badge was a different thickness compared to its siblings.
The biggest issue with the one-part mold was each casting would have a solid back, i.e. there would be no holes for the LEDs. That meant I had to drill each one by hand. This worked, but each badge was a fresh anxious nightmare. Slowly drilling as close to the front as possible without cracking the resin or bursting through the other side like a chest-bursting Xenomorph was… difficult. Remember, each badge was a different thickness, so there were no other options.
Many badges were lost and sent to their trashcan graves amid colorful language.
The badges looked good, but still needed something. To finish them, I gave each badge a “wash” with a bright green acrylic paint to highlight the inset letters at the top. Then I painted the SpecterOps domain at the bottom with a chrome paint. I protected the paint by airbrushing some glossy lacquer over just the lettering (so as not to alter the look of the resin surface elsewhere). The abuse of Vegas still removed a lot of chrome paint from a few badges after a week, but the lacquer helped.
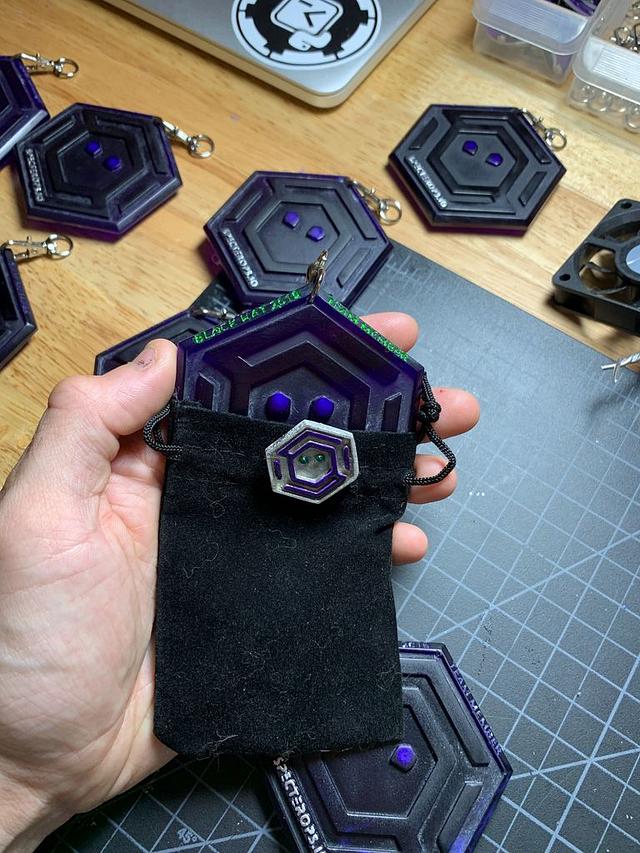
Each badge was packaged in a bag to protect it in transit to Vegas and included a clasp for attaching it to a lanyard.
This was a really fun project and the team enjoyed the badges. I did the math and each badge cost roughly $3. If I roll in the failures and the test badges, the cost comes to about $5/badge. The total fabrication time from paper sketches to a final badge required about six months. Really not bad a tall, and the team enjoyed them 😀
此内容由惯性聚合(RSS阅读器)自动聚合整理,仅供阅读参考。 原文来自 — 版权归原作者所有。