








Sometimes you just need a blog. While there are plenty of dedicated blogging platforms, there are good reasons for having your blog content live alongside your other content, be it documentation, products, a portfolio, or whatever else you're building. A blog is also a great first project for learning how to build with structured content.
In this tutorial, we'll build a blog with Sanity as the content backend and Next.js for rendering web pages. You'll learn how to:
We'll also set up AI tooling so your coding assistant can help you along the way.
If you're using an AI coding assistant like Cursor, Claude Code, or GitHub Copilot, we'll set it up in Step 0 so it has full context of your Sanity project. You can follow this tutorial by typing the code, by prompting your assistant, or by mixing both. The concepts are the same either way, and understanding them is what matters.
In this project, you'll have two separate apps:
We'll keep them in separate folders. You can embed the Studio directly in a Next.js app, but keeping them separate makes it easier to learn how the pieces connect.
Open your terminal and run:
The CLI will ask you to log in (or create an account), name your project, and confirm a dataset. Choose the defaults. When it's done:
Open http://localhost:3333 in your browser. You should see the Studio with document types for posts, authors, and categories already set up.
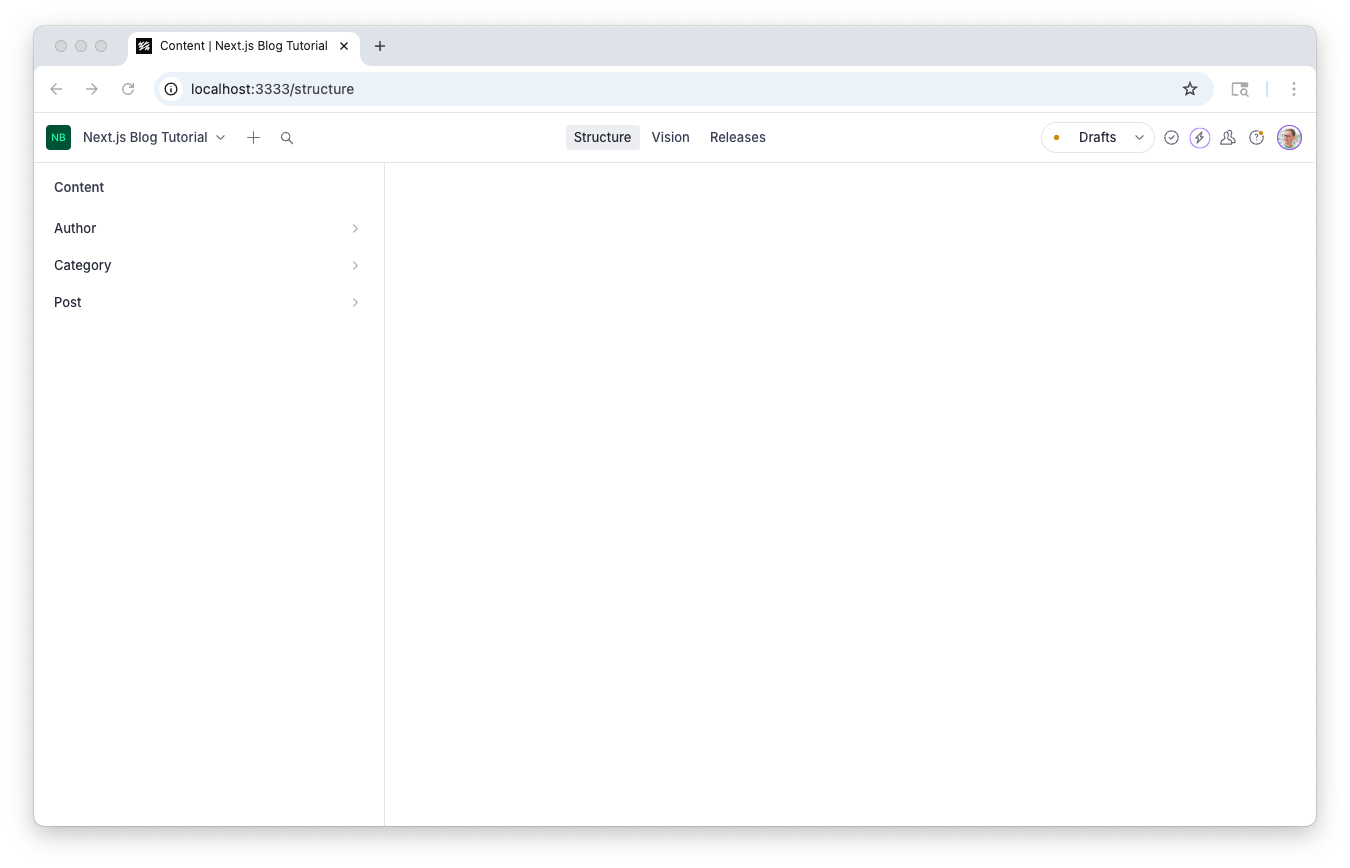
In a new terminal, go back to your project root and run:
This gives you a Next.js app with the App Router, Tailwind CSS, and TypeScript. Start it up:
Open http://localhost:3000. You should see the Next.js welcome page.
Your folder structure now looks like this:
Before we start building, let's connect your AI coding assistant to your Sanity project. This step is optional, but if you use Cursor, Claude Code, VS Code, or similar tools, it means your assistant can see your schema, query your content, and follow Sanity best practices as you work through this tutorial.
From your studio directory:
This detects your editor and sets up the Sanity MCP server. For additional best-practice rules:
This installs context rules and skills covering schema design, GROQ queries, Portable Text, and framework integration. Think of it like installing a linter for your assistant's suggestions.
Try asking your assistant "What document types are in my Sanity project?" If it can answer, you're set up correctly. From here on, whenever you see a code block in this tutorial, you can also try describing what you want and compare what your assistant generates with the code shown here.
For more on working with AI and Sanity, see the AI quickstart guide.
The blog template gave us three document types: Post, Author, and Category. Let's look at the post schema. Open studio/schemaTypes/postType.ts:
A few things to notice:
defineField and defineType are helper functions that give you TypeScript autocompletion for your schema. You'll see these everywhere in Sanity projects.slug has options: {source: 'title'}, which means the Studio will offer to generate a URL-friendly slug from the title.author is a reference to another document type. We'll come back to this. References are how you connect documents in Sanity, and they're central to how you'll model content.body is an array of blocks. This is Portable Text, Sanity's structured rich text format.Ask your assistant "Explain the post schema in my Sanity project." It should be able to walk you through each field and what it does.
Before we build the frontend, let's create something to display. In the Studio (localhost:3333):
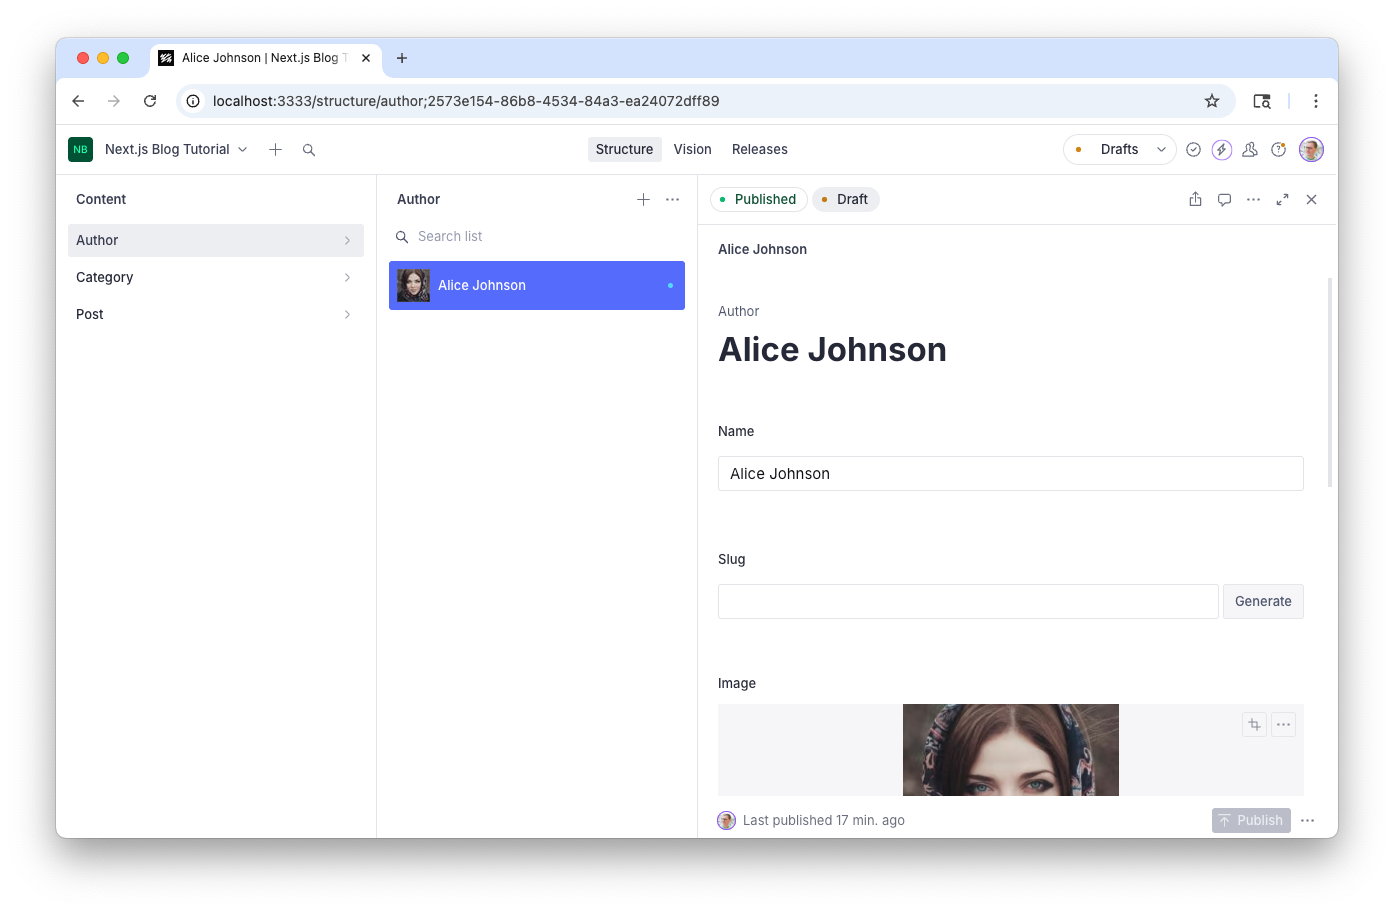
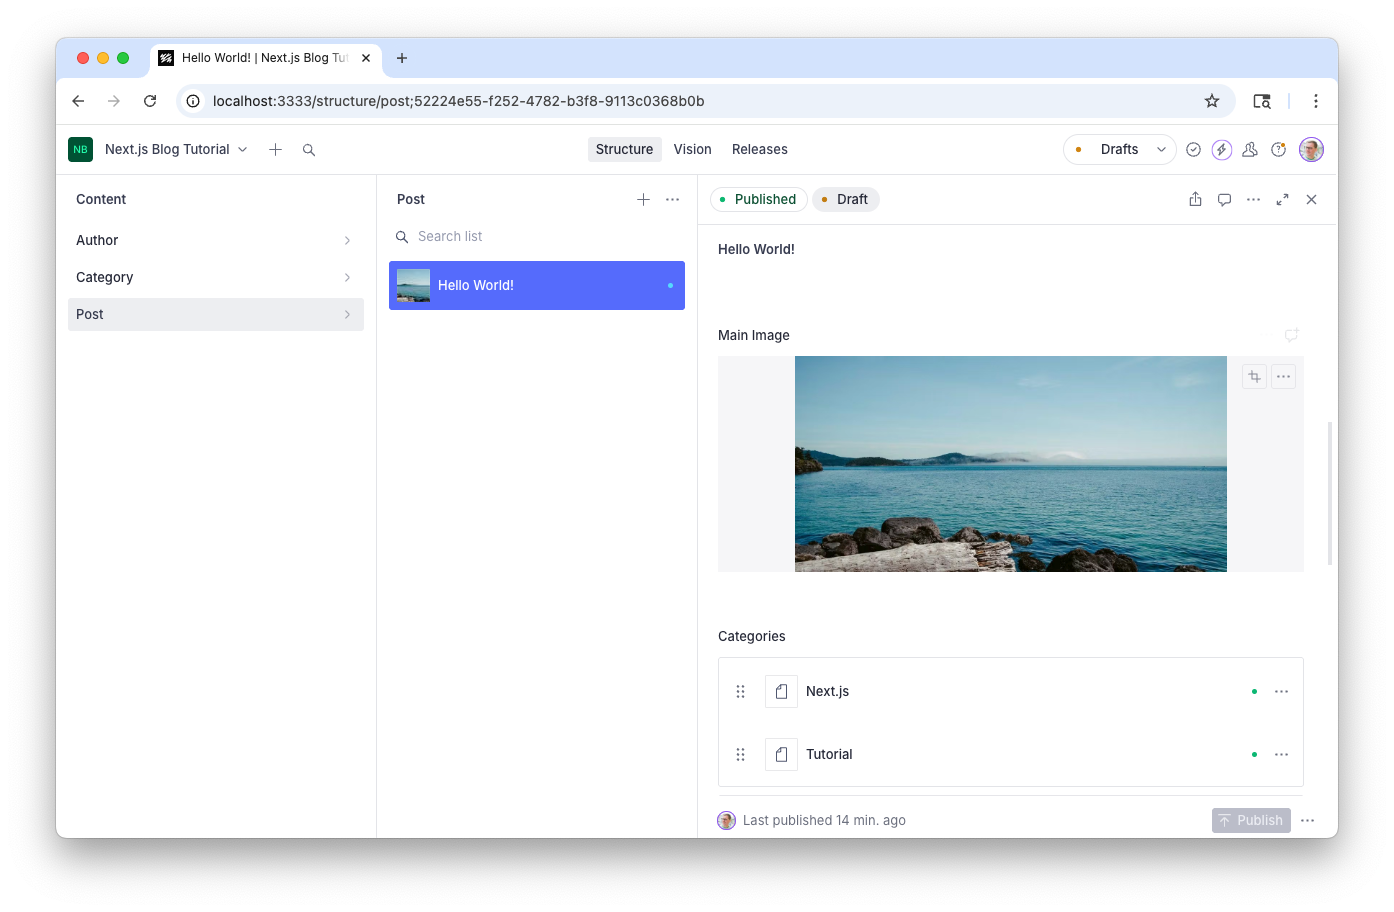
Make sure the post is published. Unpublished drafts aren't available through the public API.
Now let's wire up the frontend. Quit the Next.js dev server (Ctrl+C) and install the packages we need:
next-sanity is the official Sanity toolkit for Next.js. It gives you a Sanity client, the PortableText component for rendering rich text, defineQuery for type-safe GROQ queries, and TypeScript types. One package instead of three.
Create a file for the Sanity client:
Replace <your-project-id> with your actual project ID. You can find it in studio/sanity.config.ts, or by running npx sanity manage in the studio folder.
Ask your assistant "Set up a Sanity client for my Next.js app using next-sanity." It knows your project ID from the MCP connection and can generate this file for you.
To allow the frontend to fetch content from Sanity, add its URL to your project's CORS settings. Run this from the studio folder:
Sanity TypeGen generates TypeScript types from your schema and GROQ queries. This means client.fetch() returns typed results automatically, no manual type annotations needed.
First, enable TypeGen in your Studio's CLI config:
This tells TypeGen to scan your frontend code for GROQ queries and generate types into sanity.types.ts. The overloadClientMethods option means client.fetch() will automatically return the right type when you pass it a query defined with defineQuery.
Run the initial type generation:
You should see a sanity.types.ts file appear in your frontend folder. Run this command again whenever you change your schema or queries.
Add a convenience script to your Studio's package.json:
Ask your assistant "Set up Sanity TypeGen for my project." It should configure sanity.cli.ts and run the extraction commands.
Here's where it gets fun. Let's create a page that fetches a blog post from Sanity and renders it.
In the App Router, pages are files inside the src/app directory. A file at src/app/[slug]/page.tsx creates a dynamic route, so any URL like /hello-world or /my-first-post will be handled by this page.
Create the file:
Start the dev server again (npm run dev) and go to http://localhost:3000/hello-world (or whatever slug your post has). You should see the title on the page.
Let's break down what's happening:
async keyword means this component runs on the server, not in the browser. The data fetching happens before the HTML is sent to the user. No useEffect, no loading spinners, no client-side API calls.defineQuery wraps the GROQ string so TypeGen can find it and generate types. When you hover over post in your editor, you'll see the actual shape of the data, not just any.*[_type == "post" && slug.current == $slug][0] means: "find all documents where the type is 'post' and the slug matches, then give me the first one." The $slug is a parameter that we pass as the second argument to client.fetch.params is a Promise in Next.js 16. We await it to get the slug from the URL.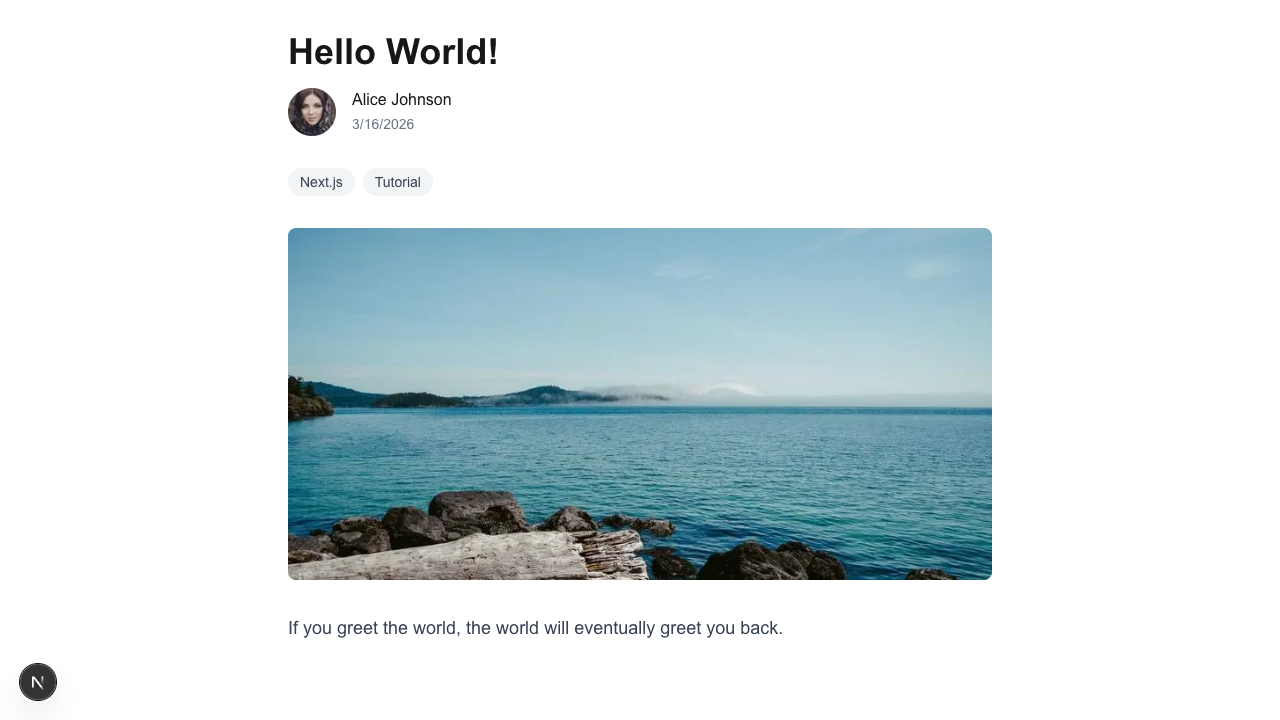
Try "Fetch a blog post by slug from Sanity and display it in a Next.js page." Compare what your assistant generates with the code above. The GROQ query and server component pattern should look similar.
Our post page is bare. Let's add the author name and categories. This is where GROQ projections come in. They let you shape the API response to exactly what you need.
In Sanity, the author field on a post is a reference. It stores an ID pointing to an author document, not the author data itself. To get the author's name, we need to follow the reference using the -> operator.
Update the query and the component:
Notice we don't need any type annotations on client.fetch or the .map() callback. TypeGen (which we set up in step 3) knows the shape of the query result, so TypeScript already knows that categories is an array of strings and post.title is a string. That's the payoff of defineQuery plus overloadClientMethods.
Let's look at the new parts of the GROQ query:
"name": author->name follows the author reference (->) and gets the name field. The "name": part creates a custom key in the response, so instead of getting a reference object, we get a plain string."categories": categories[]->title loops through the categories array ([]), follows each reference, and returns just the title. This turns an array of reference objects into an array of strings."authorImage": author->image follows the author reference and gets their image object. We'll use this next.This is what makes GROQ particularly useful: you reshape the response in the query itself, following references and picking exactly the fields you need. No extra API calls, no data massaging on the client.
Try "Add author name and categories to my blog post page using GROQ projections." Your assistant should generate a similar query with the -> operator. If it doesn't use projections, ask it to.
Images in Sanity are stored as references to assets. To generate URLs with the right dimensions and format, we use the @sanity/image-url package.
Create a small utility:
Now add the author image and main image to the post page:
But first, we need to tell Next.js that it's okay to load images from Sanity's CDN. Update your next.config.ts:
Now add the author image and main image to the post page using Next.js's Image component:
We're using Next.js's Image component instead of a plain <img> tag. It handles lazy loading, responsive sizing, and format optimization automatically. The urlFor() function generates the source URL from Sanity's CDN, and the Image component handles the rest.
The urlFor() helper also respects the image hotspot feature. If an editor has set a focal point on an image, the URL builder uses it when cropping.
A blog isn't much without body text. Sanity stores rich text as Portable Text, a structured format that can be rendered to HTML, React components, or anything else.
The next-sanity package re-exports the PortableText component, so you don't need to install anything extra.
First, install the Tailwind Typography plugin so our body text looks good:
Add it to your Tailwind config, then update the post page:
A few things to notice:
PortableText takes a value prop (the body array from Sanity) and renders it as React elements. Headings, paragraphs, lists, bold, and italic all work out of the box.components prop lets you customize how specific block types render. Here we're telling it how to render images that appear in the body text. You can customize any element: links, code blocks, and custom types.prose class from Tailwind CSS Typography (which we installed above) gives us nice default styling for the rendered text.Try "Add Portable Text rendering to my blog post page." Your assistant should import PortableText from next-sanity and set up the components prop for custom block types.
Now let's list all posts on the home page. Replace the contents of src/app/page.tsx:
No manual type annotations needed here either. TypeGen infers the exact shape of POSTS_QUERY's result, so post._id, post.title, and post.slug are all typed automatically.
Let's look at the GROQ query:
defined(slug.current) only includes posts that have a slug. This filters out any drafts or incomplete posts.| order(publishedAt desc) sorts by publish date, newest first. The | pipes the results into the ordering function.[0...12] takes the first 12 results. This is a slice, like Array.slice(0, 12) in JavaScript.{ _id, title, slug, publishedAt } returns only the fields we need. No point fetching the full body text for a list page.The { next: { revalidate: 30 } } option on client.fetch tells Next.js to cache the page and revalidate it every 30 seconds. When you publish a new post in the Studio, it'll appear on the index page within 30 seconds without a full rebuild.
Go to http://localhost:3000 and you should see your blog posts listed. Click one to go to the full post.
Time to put your blog on the internet.
From the studio folder:
Choose a hostname (like my-blog). Your Studio will be available at https://my-blog.sanity.studio. You can invite collaborators from sanity.io/manage.
The easiest way to deploy a Next.js app is with Vercel. Push your frontend code to a GitHub repository, then:
NEXT_PUBLIC_SANITY_PROJECT_ID and NEXT_PUBLIC_SANITY_DATASET if you've extracted them)Or from the command line:
Once deployed, add your production URL to your project's CORS settings, running this command in the studio folder:
Your blog is live. 🎉
You've built a blog with structured content, type-safe GROQ queries, server-side rendering, and Portable Text. Here are some ways to keep going:
Your assistant now has full context of your project. Try prompting it with things like "Add a related posts section to the blog post page" or "Create a new document type for project case studies." The MCP server and agent toolkit mean it'll generate code that follows Sanity best practices.
此内容由惯性聚合(RSS阅读器)自动聚合整理,仅供阅读参考。 原文来自 — 版权归原作者所有。