







Updated: January 15, 2026
Table of contents

TL;DR
Use Nutrient Web SDK to add digital signatures to PDFs in your TypeScript project. This tutorial covers setting up a TypeScript project with webpack, integrating the Nutrient PDF viewer, generating a self-signed certificate and private key, and applying a PKCS#7 digital signature. Start a free trial or launch the demo.
This tutorial covers signing PDF documents with TypeScript and Nutrient Web SDK. Digital signatures use cryptographic keys to verify document authenticity and detect tampering, making them essential for legal contracts and official records.
Nutrient TypeScript digital signature library
Nutrient simplifies creating and validating digital signatures, supporting hand-drawn, scanned, and typed signatures. Signatures can be stored locally or remotely, and workflows can trigger based on signature actions. The UI is customizable, and client-side signing works without a dedicated server. The library also handles forms, annotations, and other PDF operations.
Signature support
Nutrient offers two types of signatures: electronic signatures and digital signatures.
- Electronic signatures enable users to create signatures with ink drawings, bitmap images, or text. Our Electronic Signatures component provides a user-friendly interface, supporting draw, image, and type signature modes, and it enables signature storage for reuse.
- Digital signatures use certificates to prove a document’s origin and detect unauthorized changes. Both signature types can be used together.
Nutrient’s TypeScript PDF library
We offer a commercial TypeScript PDF viewer library that integrates into web applications. It includes 30+ features for viewing, annotating, editing, and signing documents in the browser. The UI can be extended or simplified based on your needs.
- A prebuilt and polished UI for an improved user experience
- 15+ prebuilt annotation tools to enable document collaboration
- Support for more file types with client-side PDF, MS Office, and image viewing
- Dedicated support from engineers to speed up integration
Requirements
You need:
- Node.js(opens in a new tab)
- A package manager for installing the Nutrient library. You can use npm(opens in a new tab) or Yarn(opens in a new tab). When you install Node.js, npm is installed by default.
- TypeScript
You can install TypeScript(opens in a new tab) globally by running the following command:
npm install -g typescript
Project setup
Create a new folder and change your directory to it:
mkdir typescript-nutrient-viewer
cd typescript-nutrient-viewer
Create a
package.jsonfile by runningnpm init --yes.Create a new
tsconfig.jsonconfiguration file in the root of your project:
You can customize what rules you want the TypeScript compiler to follow. This post will use the following configuration:
{
"compilerOptions": {
"removeComments": true,
"preserveConstEnums": true,
"module": "commonjs",
"target": "es5",
"sourceMap": true,
"noImplicitAny": true,
"esModuleInterop": true
},
"include": ["src/**/*"]
}
Check out the compiler options(opens in a new tab) for more information.
Installing Nutrient and configuring webpack
Install the Nutrient Web SDK library as a dependency:
npm install @nutrient-sdk/viewer
You’ll use one of the most popular build tools, webpack(opens in a new tab), to bundle your project into a single file. It’ll help to both reduce the HTTP requests needed to load the PDF and minify your code.
Start by downloading the necessary
devdependencies:npm i -D webpack webpack-cli webpack-dev-server ts-loader typescript html-webpack-plugin cross-env copy-webpack-plugin clean-webpack-plugin serve
Here’s what’s installed:
webpack— The webpack bundler.webpack-cli— The command-line interface for webpack.webpack-dev-server— A local server to run webpack in the browser.ts-loader— A package that teaches webpack how to compile TypeScript.typescript— The TypeScript compiler.clean-webpack-plugin— A plugin that cleans the output directory before building.copy-webpack-plugin— A plugin that copies files and directories to the output directory.html-webpack-plugin— A plugin that generates an HTML file from a template.cross-env— A package that allows you to set environment variables.serve— A static file server for serving the built files.
After the installation, you can see the dependencies in your
package.jsonfile:"dependencies": {
"@nutrient-sdk/viewer": "^1.10.0"
},
"devDependencies": {
"clean-webpack-plugin": "^4.0.0",
"copy-webpack-plugin": "^11.0.0",
"cross-env": "^7.0.3",
"html-webpack-plugin": "^5.5.3",
"serve": "^14.2.0",
"ts-loader": "^9.4.4",
"typescript": "^5.2.2",
"webpack": "^5.88.2",
"webpack-cli": "^5.1.4",
"webpack-dev-server": "^4.15.1"
}
You’ll add
node-forgelater when implementing the signing step.To configure webpack, create a
configdirectory and place yourwebpackconfiguration file inside it:mkdir config && touch config/webpack.js
If you’re using webpack 4, use the example file(opens in a new tab). If you’re using the latest version of webpack,
^5.88.2(opens in a new tab), use the following configuration:
const path = require('path');
const HtmlWebpackPlugin = require('html-webpack-plugin');
const CopyWebpackPlugin = require('copy-webpack-plugin');
const filesToCopy = [
// Nutrient files.
{
from: './node_modules/@nutrient-sdk/viewer/dist/nutrient-viewer-lib',
to: './nutrient-viewer-lib',
},
// Application CSS.
{
from: './src/index.css',
to: './index.css',
},
// Example PDF.
{
from: './assets/example.pdf',
to: './example.pdf',
},
// Certificate file.
{
from: './cert.pem',
to: './cert.pem',
},
// Private key file — DEMO ONLY. Bundling a private key into the built
// site exposes it to anyone who loads the page. Remove this entry for
// any non-demo build and sign on a trusted backend instead.
{
from: './private-key.pem',
to: './private-key.pem',
},
];
/**
* webpack main configuration object.
*/
const config = {
entry: path.resolve(__dirname, '../src/index.ts'),
mode: 'development',
devtool: 'inline-source-map',
output: {
path: path.resolve(__dirname, '../dist'),
filename: '[name].js',
},
resolve: {
extensions: ['.ts', '.tsx', '.js'],
},
module: {
rules: [
// All files with a `.ts` or `.tsx` extension will be handled by `ts-loader`.
{
test: /\.tsx?$/,
loader: 'ts-loader',
exclude: /node_modules/,
},
],
},
plugins: [
// Automatically insert <script src="[name].js"><script> to the page.
new HtmlWebpackPlugin({
template: './src/index.html',
}),
// Copy the WASM/ASM and CSS files to the `output.path`.
new CopyWebpackPlugin({ patterns: filesToCopy }),
],
optimization: {
splitChunks: {
cacheGroups: {
// Creates a `vendor.js` bundle that contains external libraries (including `nutrient-viewer.js`).
vendor: {
test: /node_modules/,
chunks: 'initial',
name: 'vendor',
priority: 10,
enforce: true,
},
},
},
},
};
module.exports = config;
The entry point of your application will be the ../src/index.ts file, and the output will be bundled inside the dist folder. Note that you’re copying(opens in a new tab) the PDF file, Nutrient files, CSS files, and certificate files to the output path.
You created the module property containing the rules array to handle the TypeScript files. So, when webpack finds a file with the .ts or .tsx extension, it’ll use the ts-loader to compile it. Only then will the file be added to the dist build.
Displaying the PDF
Create a folder called
assetsand add a file namedexample.pdfto it. You can use our demo document as an example. Make sure to name the documentexample.pdf.Create a folder called
srcand add a file namedindex.htmlwith the following code:<!doctype html>
<html>
<head>
<title>Nutrient Web SDK - TypeScript example</title>
<link rel="stylesheet" href="index.css" />
</head>
<body>
<div class="container"></div>
</body>
</html>
This adds an empty
<div>element to where Nutrient will be mounted.You’ll declare the height of this element in your CSS file like this:
.container {
height: 100vh;
}
Now, create an
index.tsfile inside thesrcdirectory.
.ts is the extension used for TypeScript files. Later, you’ll run your code through the TypeScript transpiler(opens in a new tab) to output a JavaScript version of the file (.js):
import NutrientViewer from '@nutrient-sdk/viewer';
function load(document: string) {
console.log(`Loading ${document}...`);
NutrientViewer.load({
document,
container: '.container',
})
.then((instance) => {
console.log('Nutrient loaded', instance);
})
.catch(console.error);
}
load('example.pdf');
This imports the Nutrient library and creates a function that loads the PDF document.
Running the project
Add these scripts to your
package.jsonfile:"scripts": {
"build": "cross-env NODE_ENV=production webpack --config config/webpack.js",
"prestart": "npm run build",
"dev": "tsc",
"start": "serve -l 8080 ./dist"
},
You can run
npm startto start the server. Navigate tohttp://localhost:8080to see the contents of thedistdirectory.
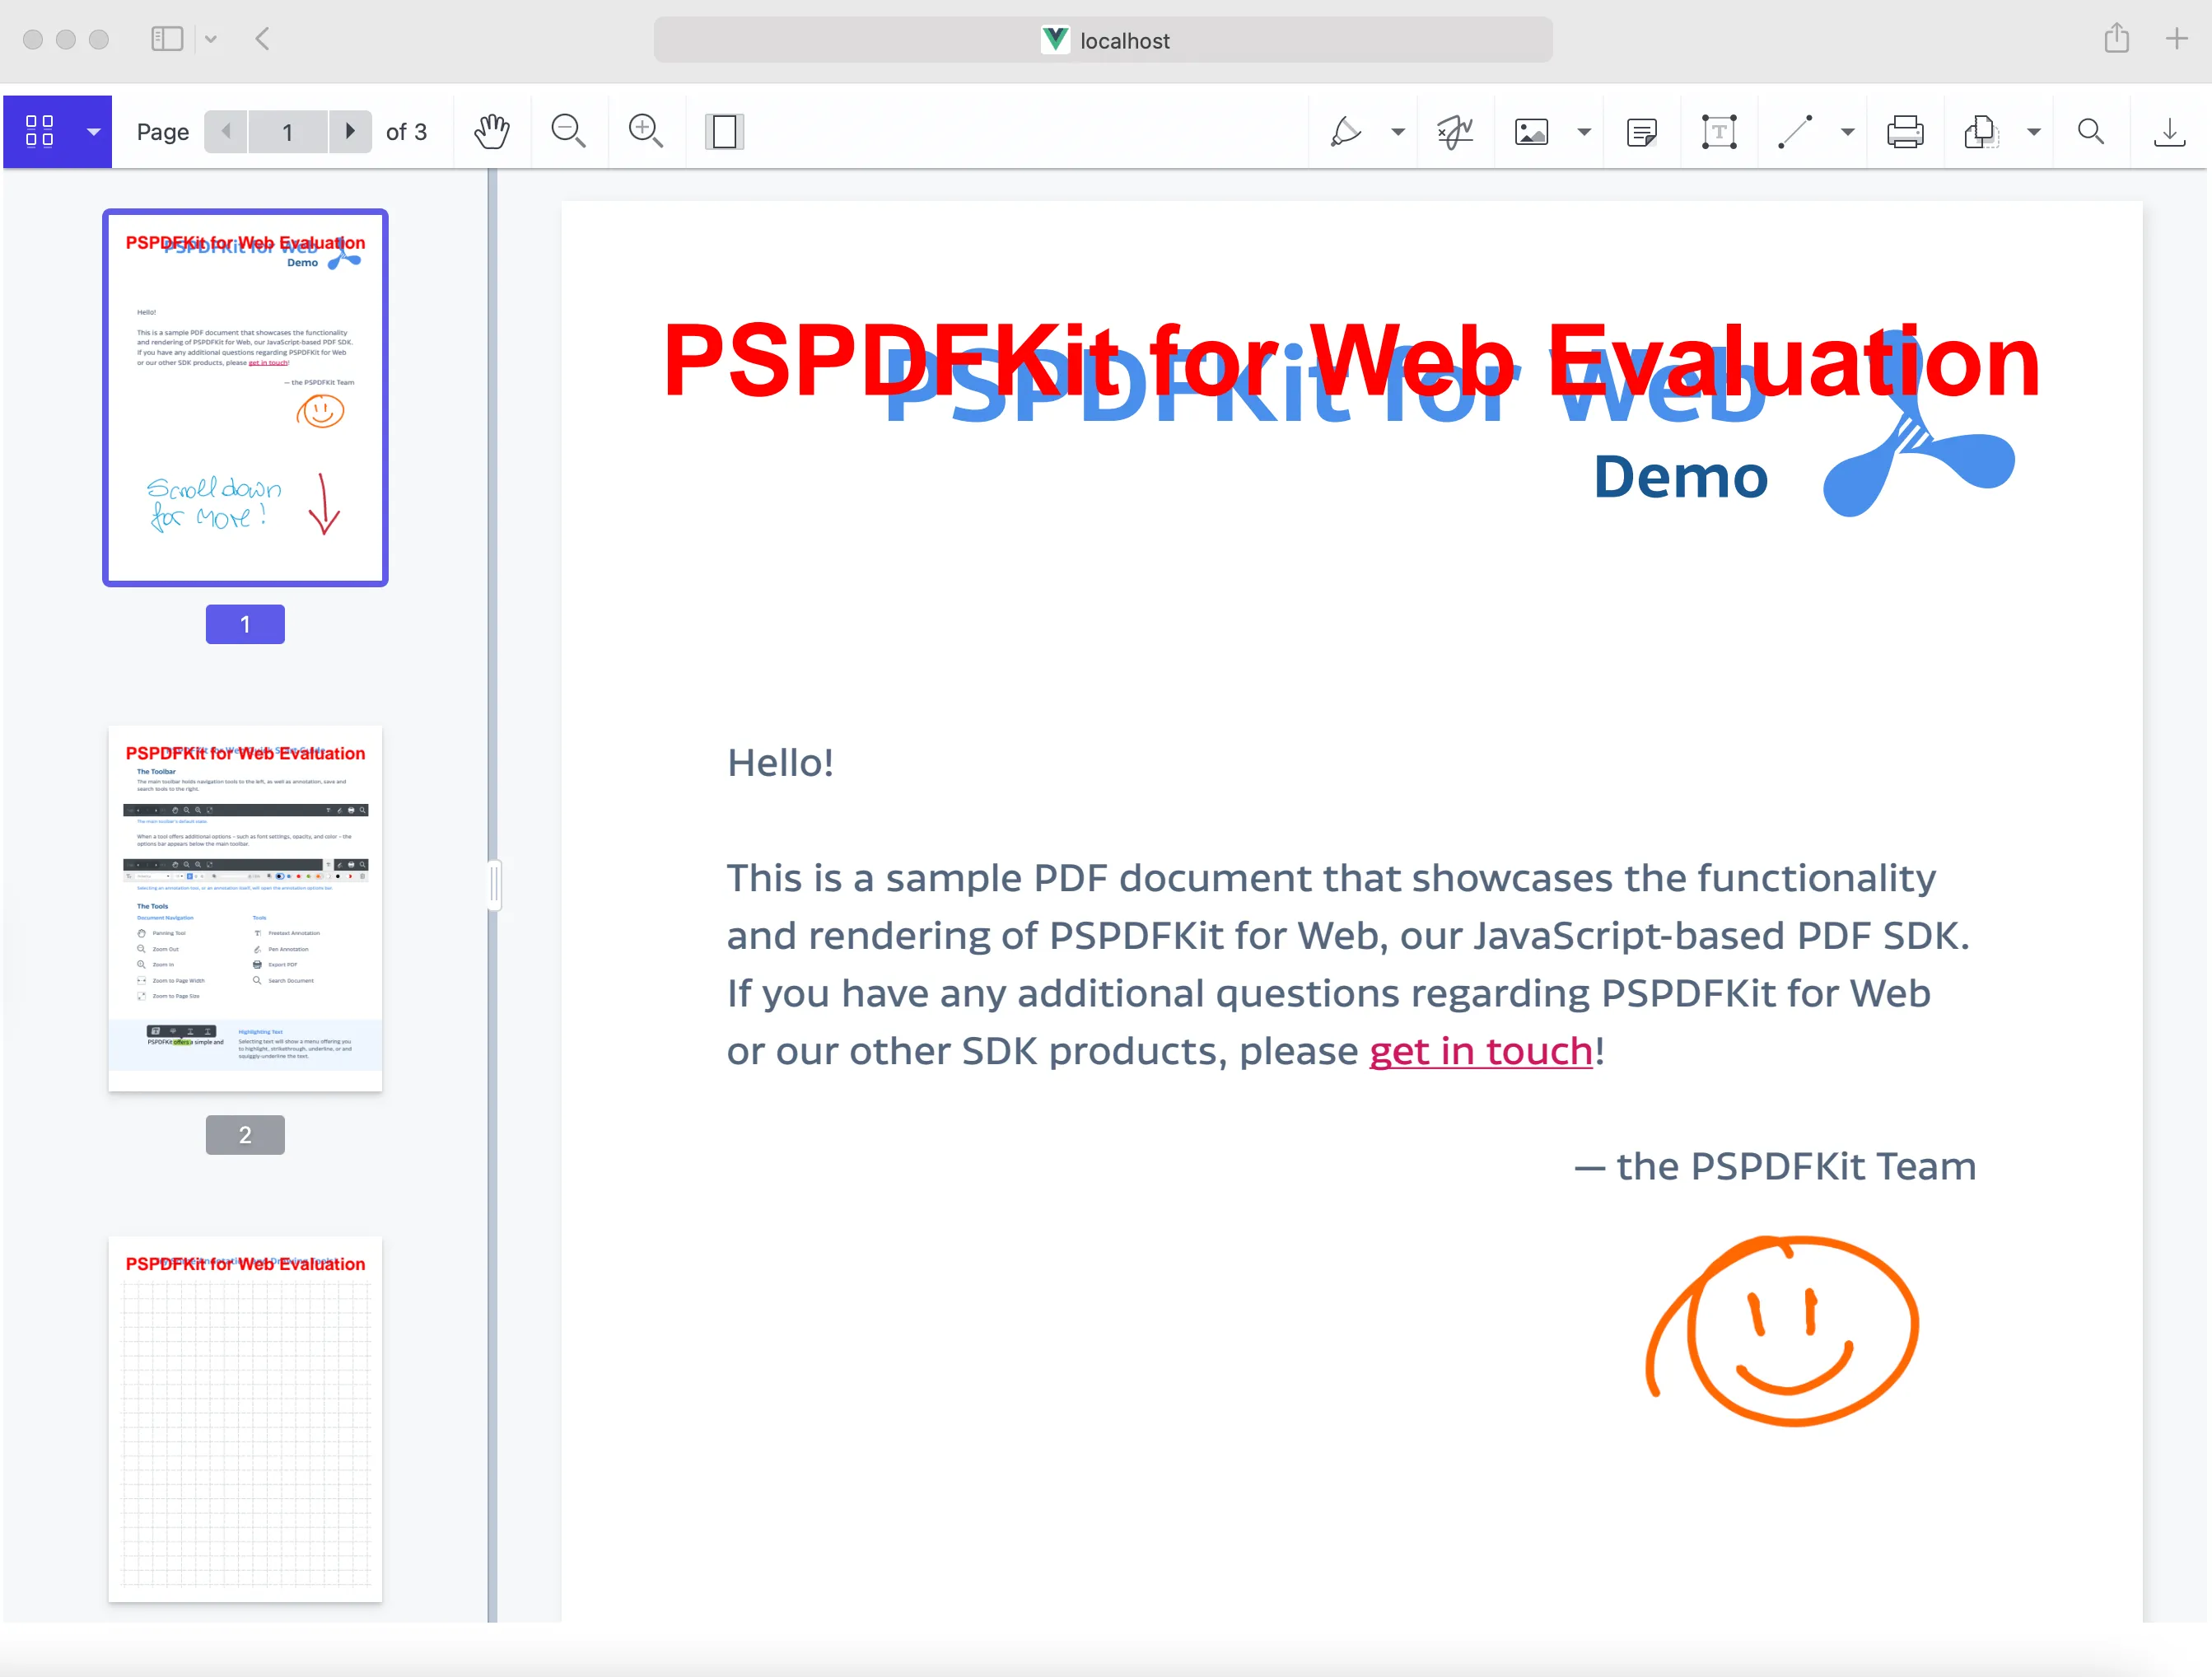
Adding a digital signature to a PDF using Nutrient
Nutrient requires an X.509 certificate(opens in a new tab) and a private key pair for adding a digital signature to a PDF document. To do this, follow the steps outlined below.
Demo only — Do not ship the private key to a browser in production. The webpack configuration and fetch() calls below copy private-key.pem into the built site so this tutorial can run end to end as a self-contained example. Anything served to the browser is public, so a private key handled this way is exposed to anyone who can load the page. For production, sign on a trusted backend (or use a remote signing service/hardware token), and only return the signed result to the browser. Keep this self-signed key strictly for local testing.
Step 1 — Generating a self-signed certificate and private key
Generate a self-signed certificate and private key using OpenSSL(opens in a new tab):
- Open your terminal in the project directory.
- Run the following OpenSSL command to generate a self-signed certificate and private key:
openssl req -x509 -sha256 -nodes -newkey rsa:2048 -keyout private-key.pem -out cert.pem
-x509— Tells OpenSSL to create a self-signed certificate.-sha256— Specifies the hash function to use for the certificate.-nodes— Prevents encryption of the private key. You can remove this option for production keys if encryption is desired.-newkey rsa:2048— Generates a new RSA private key with a key size of 2,048 bits.-keyout private-key.pem— Specifies the name of the private key file.-out cert.pem— Specifies the name of the certificate file.
Follow the prompts to provide information for the certificate, such as the Common Name (CN), organization, and location. These details will be embedded in the certificate.
Step 2 — Verifying your certificate
Verify that the certificate is correctly PEM-encoded:
openssl x509 -noout -text -in cert.pem
This command displays certificate details and confirms that cert.pem is a valid PEM-encoded X.509 certificate. Store these files securely, as they’re required for signing documents.
For more information on adding a digital signature to a PDF using Nutrient, refer to our digital signatures guide.
Signing a PDF document using Nutrient
With the certificate and key in place, you can now sign a PDF document using Nutrient and the Forge library.
Step 1 — Installing the Forge library
Install the Forge(opens in a new tab) library:
npm install node-forge
npm i --save-dev @types/node-forge
Import the Forge library in the
index.tsfile:
import * as forge from 'node-forge';
Step 2 — Generating the PKCS#7 signature
Nutrient uses the cryptographic Distinguished Encoding Rules (DER) PKCS#7(opens in a new tab) format for digital signatures. Define a generatePKCS7 function that creates a valid PKCS#7 signature containing your certificate:
function generatePKCS7({
fileContents,
}: {
fileContents: ArrayBuffer | null;
}): Promise<ArrayBuffer> {
// Fetch the certificate and private key.
const certificatePromise = fetch('cert.pem').then((response) =>
response.text(),
);
const privateKeyPromise = fetch('private-key.pem').then((response) =>
response.text(),
);
return new Promise((resolve, reject) => {
Promise.all([certificatePromise, privateKeyPromise])
.then(([certificatePem, privateKeyPem]) => {
// Parse the certificate and private key using Forge.js.
const certificate =
forge.pki.certificateFromPem(certificatePem);
const privateKey =
forge.pki.privateKeyFromPem(privateKeyPem);
// Create a PKCS7 signature.
const p7 = forge.pkcs7.createSignedData();
if (!fileContents) {
throw new Error('No file contents provided.');
}
const buffer = forge.util.createBuffer(fileContents);
p7.content = buffer.getBytes();
p7.addCertificate(certificate);
// Add the signer information.
p7.addSigner({
key: privateKey,
certificate: certificate,
digestAlgorithm: forge.pki.oids['sha256'],
authenticatedAttributes: [
{
type: forge.pki.oids['contentType'],
value: forge.pki.oids['data'],
},
{
type: forge.pki.oids['messageDigest'],
},
{
type: forge.pki.oids['signingTime'],
value: new Date().toISOString(),
},
],
});
// Sign the data.
p7.sign({ detached: true });
// Convert the result to an `ArrayBuffer`.
const result = stringToArrayBuffer(
forge.asn1.toDer(p7.toAsn1()).getBytes(),
);
resolve(result);
})
.catch(reject);
});
}
This function fetches the certificate and private key, and then uses Forge to create a PKCS#7 signed data structure.
Step 3 — Converting a string to an ArrayBuffer
Add a utility function to convert a binary string into an ArrayBuffer:
function stringToArrayBuffer(binaryString: string): ArrayBuffer {
const buffer = new ArrayBuffer(binaryString.length);
let bufferView = new Uint8Array(buffer);
for (let i = 0, len = binaryString.length; i < len; i++) {
bufferView[i] = binaryString.charCodeAt(i);
}
return buffer;
}
Step 4 — Initializing Nutrient and signing the document
Initialize Nutrient and call the NutrientViewer.Instance#signDocument method. This method takes two arguments:
- Argument 1 — Signing options such as certificates and private keys. Pass
nullif you have no specific signing requirements. - Argument 2 — A callback that receives
fileContentsas anArrayBuffercontaining the document content. Returns a promise that resolves to the signedArrayBuffer.
function load(document: string) {
console.log(`Loading ${document}...`);
NutrientViewer.load({
document,
container: '.container',
})
.then((instance) => {
console.log('Nutrient loaded', instance);
// Sign the document when Nutrient is loaded.
instance
.signDocument(null, generatePKCS7)
.then(() => {
console.log('Document signed.');
})
.catch((error: Error) => {
console.error(
'The document could not be signed.',
error,
);
});
})
.catch(console.error);
}
When signing succeeds, the console logs “Document signed.” Then the document reloads with the digital signature applied.
Here’s the full code:
import NutrientViewer from '@nutrient-sdk/viewer';
import * as forge from 'node-forge';
function generatePKCS7({
fileContents,
}: {
fileContents: ArrayBuffer | null;
}): Promise<ArrayBuffer> {
// Fetch the certificate and private key.
const certificatePromise = fetch('cert.pem').then((response) =>
response.text(),
);
const privateKeyPromise = fetch('private-key.pem').then((response) =>
response.text(),
);
return new Promise((resolve, reject) => {
Promise.all([certificatePromise, privateKeyPromise])
.then(([certificatePem, privateKeyPem]) => {
// Parse the certificate and private key using Forge.js.
const certificate =
forge.pki.certificateFromPem(certificatePem);
const privateKey =
forge.pki.privateKeyFromPem(privateKeyPem);
// Create a PKCS7 signature.
const p7 = forge.pkcs7.createSignedData();
if (!fileContents) {
throw new Error('No file contents provided.');
}
const buffer = forge.util.createBuffer(fileContents);
p7.content = buffer.getBytes();
p7.addCertificate(certificate);
// Add the signer information.
p7.addSigner({
key: privateKey,
certificate: certificate,
digestAlgorithm: forge.pki.oids['sha256'],
authenticatedAttributes: [
{
type: forge.pki.oids['contentType'],
value: forge.pki.oids['data'],
},
{
type: forge.pki.oids['messageDigest'],
},
{
type: forge.pki.oids['signingTime'],
value: new Date().toISOString(),
},
],
});
// Sign the data.
p7.sign({ detached: true });
// Convert the result to an `ArrayBuffer`.
const result = stringToArrayBuffer(
forge.asn1.toDer(p7.toAsn1()).getBytes(),
);
resolve(result);
})
.catch(reject);
});
}
function stringToArrayBuffer(binaryString: string): ArrayBuffer {
const buffer = new ArrayBuffer(binaryString.length);
let bufferView = new Uint8Array(buffer);
for (let i = 0, len = binaryString.length; i < len; i++) {
bufferView[i] = binaryString.charCodeAt(i);
}
return buffer;
}
function load(document: string) {
console.log(`Loading ${document}...`);
NutrientViewer.load({
document,
container: '.container',
})
.then((instance) => {
console.log('Nutrient loaded', instance);
// Sign the document when Nutrient is loaded.
instance
.signDocument(null, generatePKCS7)
.then(() => {
console.log('Document signed.');
})
.catch((error: Error) => {
console.error(
'The document could not be signed.',
error,
);
});
})
.catch(console.error);
}
load('example.pdf');
We recently added support for CAdES(opens in a new tab)-based signatures, which are advanced digital signatures. To learn more about them, check out our digital signatures guide.
Conclusion
This tutorial covered adding digital signatures to PDF documents with TypeScript and Nutrient Web SDK. Request a free trial or visit the demo to try it out.
FAQ
Electronic signatures are visual representations (ink drawings, images, or typed text) that indicate intent to sign. Digital signatures use cryptographic certificates to verify document authenticity and detect tampering. Nutrient supports both types, and they can be used together.
Nutrient requires an X.509 certificate and private key pair in PEM format. You can generate a self-signed certificate using OpenSSL or obtain one from a certificate authority.
Yes. Nutrient Web SDK supports client-side signing without a dedicated server. The signing process runs entirely in the browser using the PKCS#7 format.
PKCS#7 is a cryptographic standard for digitally signing data. Nutrient uses the Distinguished Encoding Rules (DER) format of PKCS#7 to embed signatures in PDF documents, ensuring compatibility with PDF readers and validation tools.