


Table of contents
Summary
This comprehensive tutorial demonstrates how to implement electronic and digital signatures in iOS applications using Nutrient’s iOS signature library. It covers both ink and image-based electronic signatures with step-by-step code examples. The guide includes instructions for generating certificates, creating ink annotations, adding image stamps, and programmatically marking annotations as signatures for secure PDF document signing workflows.
In this post, you’ll learn how to programmatically add electronic and digital signatures to a PDF in your iOS application using Nutrient’s iOS signature library.
This post will also cover how to generate a self-signed certificate authority (CA) certificate, a CA private key, a signer certificate, and a private key required for a digital signature.
Requirements
To get started, you’ll need:
- A system running macOS
- The latest stable version of Xcode(opens in a new tab)
- OpenSSL(opens in a new tab) for certificate generation
Getting started
To follow along, create a fresh Xcode project and add Nutrient to your project. For step-by-step instructions, follow our getting started on iOS guide.
Adding electronic signatures programmatically on iOS
If you want users to provide their signature, you can also use Nutrient’s built-in signing user interface. See our adding electronic signatures guide to learn more.
Electronic signatures in Nutrient are sometimes referred to as signature annotations because they’re modeled using annotations.
Electronic signatures can either be an ink annotation or a stamp annotation. You can mark an annotation as a signature by setting the isSignature property to true.
Signature annotations can be created, updated, and deleted if your license includes either the Annotations component or the Electronic Signatures component. If your license includes Electronic Signatures but not Annotations, then signatures are the only type of annotation that can be modified.
Import
PSPDFKitandPSPDFKitUIat the top of yourUIViewControllersubclass implementation:import PSPDFKit
import PSPDFKitUI
Get the document you want to sign. You can use our sample PDF(opens in a new tab), which has a signature form element. After downloading the document, add it to your project:
let fileURL = Bundle.main.url(forResource: "Form", withExtension: "pdf")!
let document = Document(url: fileURL)
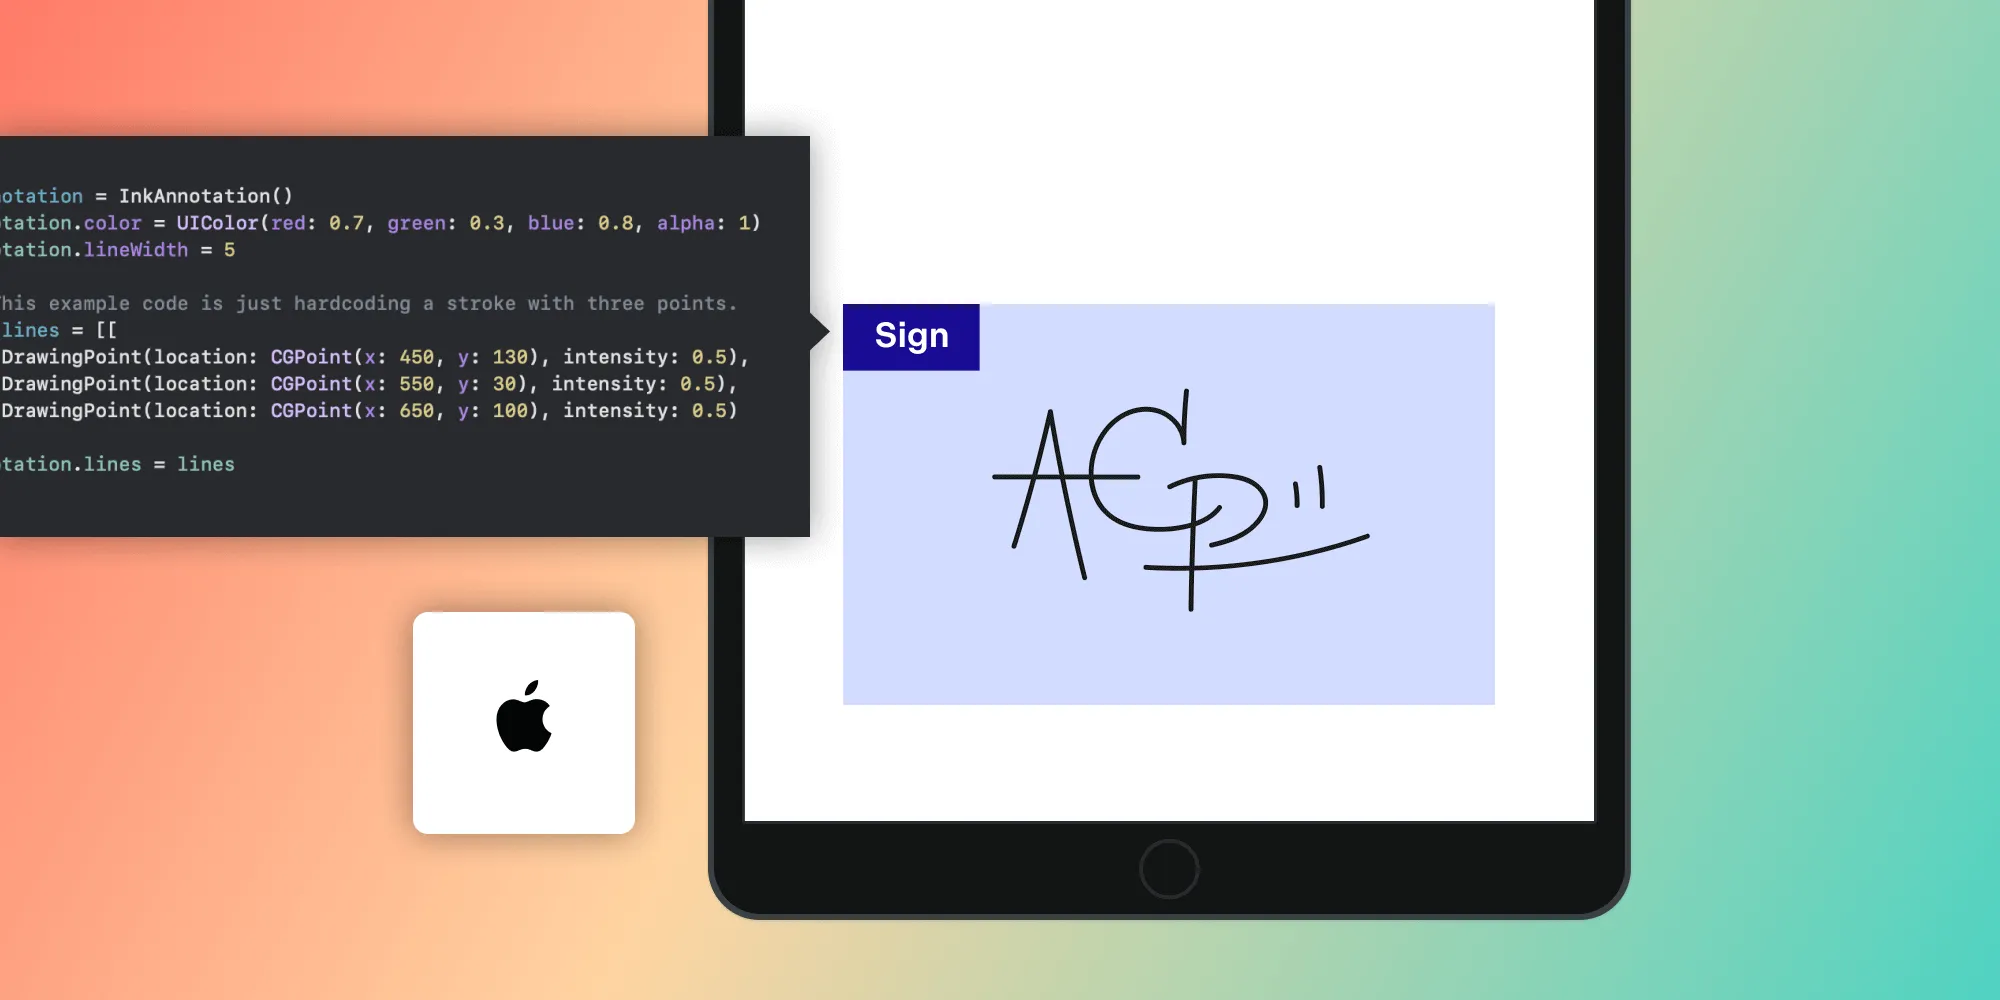
Create an ink annotation:
let annotation = InkAnnotation()
annotation.color = UIColor(red: 0.7, green: 0.3, blue: 0.8, alpha: 1)
annotation.lineWidth = 5
// This example code is just hardcoding a stroke with three points.
let lines = [[
DrawingPoint(location: CGPoint(x: 450, y: 130), intensity: 0.5),
DrawingPoint(location: CGPoint(x: 550, y: 30), intensity: 0.5),
DrawingPoint(location: CGPoint(x: 650, y: 100), intensity: 0.5)
]]
annotation.lines = lines
Mark the annotation as a signature:
annotation.isSignature = true
Add the annotation to the document:
document.add(annotations: [annotation])
Present the PDF view controller:
let pdfController = PDFViewController(document: document)
// Present the PDF view controller within a `UINavigationController` to show built-in toolbar buttons.
present(UINavigationController(rootViewController: pdfController), animated: true)
You’ll now have the following in your
ViewController.swiftfile:import UIKit
import PSPDFKit
import PSPDFKitUI
class ViewController: UIViewController {
override func viewDidAppear(_ animated: Bool) {
super.viewDidAppear(animated)
// Update to use your document name.
let fileURL = Bundle.main.url(forResource: "Form", withExtension: "pdf")!
let document = Document(url: fileURL)
// Create the ink annotation.
let annotation = InkAnnotation()
annotation.color = UIColor(red: 0.7, green: 0.3, blue: 0.8, alpha: 1)
annotation.lineWidth = 5
// This example code is just hardcoding a stroke with three points.
let lines = [[
DrawingPoint(location: CGPoint(x: 450, y: 130), intensity: 0.5),
DrawingPoint(location: CGPoint(x: 550, y: 30), intensity: 0.5),
DrawingPoint(location: CGPoint(x: 650, y: 100), intensity: 0.5)
]]
annotation.lines = lines
// Mark this ink annotation as a signature.
annotation.isSignature = true
// Add the annotation.
document.add(annotations: [annotation])
let pdfController = PDFViewController(document: document)
// Present the PDF view controller within a `UINavigationController` to show built-in toolbar buttons.
present(UINavigationController(rootViewController: pdfController), animated: true)
}
}
For a working example, replace the contents of your
ViewController.swiftwith the code above.Run your application:
Similarly, to add an image signature, you’ll have the following in your ViewController.swift file:
import UIKit
import PSPDFKit
import PSPDFKitUI
class ViewController: UIViewController {
override func viewDidAppear(_ animated: Bool) {
super.viewDidAppear(animated)
// Update to use your document name.
let fileURL = Bundle.main.url(forResource: "Form", withExtension: "pdf")!
let document = Document(url: fileURL)
let signatureImage = UIImage(named: "signatureImage.png")
// Create the stamp annotation.
let annotation = StampAnnotation(image: signatureImage)
annotation.boundingBox = CGRect(x: 450, y: 50, width: 240, height: 100)
// Mark this stamp annotation as a signature.
annotation.isSignature = true
// Add the annotation.
document.add(annotations: [annotation])
let pdfController = PDFViewController(document: document)
// Present the PDF view controller within a `UINavigationController` to show built-in toolbar buttons.
present(UINavigationController(rootViewController: pdfController), animated: true)
}
}
For more information on electronic signatures, refer to our guide on how to add an electronic signature.
Adding digital signatures programmatically on iOS
Digital signatures are signed with a certificate. For demonstration purposes, this next section uses a self-signed certificate.
Never use self-signed certificates in a production application. Always obtain them from a trust service provider (TSP) to ensure the verification of the signer’s identity.
Generating a self-signed certificate
To generate a self-signed certificate with OpenSSL(opens in a new tab), follow the steps outlined below.
Generate a private key file named
test-ca.key:openssl genrsa -out test-ca.key 2048
Create and sign a certificate file named
test-ca.certfor a CA with the common name (CN)My Test CA v1:openssl req \
-x509 -new -nodes -key test-ca.key \
-subj "/CN=My Test CA v1" \
-days 3650 -reqexts v3_req -extensions v3_ca \
-out test-ca.cert
Create a signing certificate. Generate a private key file named
test-signer.keyand a certificate signing request file namedtest-signer.csrwith the CNMy Testing Document Signer:openssl req \
-utf8 -nameopt oneline,utf8 -new -newkey rsa:2048 -nodes \
-subj "/CN=My Testing Document Signer" \
-keyout test-signer.key -out test-signer.csr
Create a signing certificate file from the request and name it
test-signer.cert:openssl x509 \
-days 365 \
-CA test-ca.cert -CAkey test-ca.key -CAcreateserial \
-in test-signer.csr -req \
-out test-signer.cert
Generate a
personal information exchange (.p12)file with:openssl pkcs12 -export -legacy -in test-signer.cert -inkey test-signer.key -out test-signer.p12 -password pass:test
This will create a .p12 file with test as its password.
Adding digital signatures to your document
Add the
test-signer.p12andtest-ca.certfiles to your application by dragging them into your Xcode project.Get the document you want to sign:
let fileURL = Bundle.main.url(forResource: "Form", withExtension: "pdf")!
let document = Document(url: fileURL)
Create a
PKCS12instance and get its certificates and private key. The signing process produces the signature by encrypting the message digest from the PDF file with a private key. The certificate, along with its public key, is added to the signature and saved in the PDF file:let p12URL = Bundle.main.url(forResource: "test-signer", withExtension: "p12")!
guard let p12data = try? Data(contentsOf: p12URL) else {
return print("Error reading p12 data from \(String(describing: p12URL))")
}
let p12 = PKCS12(data: p12data)
let (certificates, privateKey) = try! p12.unlockCertificateChain(withPassword: "test")
Replace
testwith your actual password.Add the CA certificate to the trust store for the signature validation process:
let caCertificates = try! X509.certificates(fromPKCS7Data: Data(contentsOf: Bundle.main.url(forResource: "test-ca", withExtension: "cert")!))
for certificate in caCertificates {
SDK.shared.signatureManager.addTrustedCertificate(certificate)
}
Get the signature form element:
let signatureFormElement = document.annotations(at: 0, type: SignatureFormElement.self).first!
Now, sign the document:
let fileName = "\(UUID().uuidString).pdf"
let url = URL(fileURLWithPath: NSTemporaryDirectory().appending(fileName))
Task {
do {
let configuration = SigningConfiguration(dataSigner: privateKey, certificates: certificates)
try await document.sign(formElement: signatureFormElement, configuration: configuration, outputDataProvider: FileDataProvider(fileURL: url))
let signedDocument = Document(url: url)
} catch {
print(error)
}
}
Finally, present the PDF view controller showing the signed document:
let pdfController = PDFViewController(document: signedDocument)
// Present the PDF view controller within a `UINavigationController` to show built-in toolbar buttons.
present(UINavigationController(rootViewController: pdfController), animated: true)
Putting it all together will result in the following in your
ViewController.swiftfile:import UIKit
import PSPDFKit
import PSPDFKitUI
class ViewController: UIViewController {
override func viewDidAppear(_ animated: Bool) {
super.viewDidAppear(animated)
// Update to use your document name.
let fileURL = Bundle.main.url(forResource: "Form", withExtension: "pdf")!
let document = Document(url: fileURL)
let p12URL = Bundle.main.url(forResource: "test-signer", withExtension: "p12")!
guard let p12data = try? Data(contentsOf: p12URL) else {
return print("Error reading p12 data from \(String(describing: p12URL))")
}
let p12 = PKCS12(data: p12data)
let (certificates, privateKey) = try! p12.unlockCertificateChain(withPassword: "test")
// Add CA certificates to the trust store for the signature validation process.
let caCertificates = try! X509.certificates(fromPKCS7Data: Data(contentsOf: Bundle.main.url(forResource: "test-ca", withExtension: "cert")!))
for certificate in caCertificates {
SDK.shared.signatureManager.addTrustedCertificate(certificate)
}
let signatureFormElement = document.annotations(at: 0, type: SignatureFormElement.self).first!
let fileName = "\(UUID().uuidString).pdf"
let url = URL(fileURLWithPath: NSTemporaryDirectory().appending(fileName))
Task {
do {
let configuration = SigningConfiguration(dataSigner: privateKey, certificates: certificates)
try await document.sign(formElement: signatureFormElement, configuration: configuration, outputDataProvider: FileDataProvider(fileURL: url))
let signedDocument = Document(url: url)
let pdfController = PDFViewController(document: signedDocument)
// Present the PDF view controller within a `UINavigationController` to show built-in toolbar buttons.
present(UINavigationController(rootViewController: pdfController), animated: true)
} catch {
print(error)
}
}
}
}
For a working example, replace the contents of
ViewController.swiftwith the code above.Run your application.
For more information on digital signatures, refer to our digital signatures guide.
Conclusion
In this post, you learned how to add electronic and digital signatures to a document using the Nutrient library on iOS. If you hit any snags, don’t hesitate to reach out to our Support team for help.
At Nutrient, we offer a commercial, feature-rich, and completely customizable iOS PDF library that’s easy to integrate and comes with well-documented APIs to handle advanced use cases. For more information, visit our overview page.
FAQ
Any PDF can be signed directly on your iPhone using electronic or digital signatures. This means you can open a PDF document and add your signature by drawing it on the screen or using a digital certificate, ensuring the document is authenticated and legally binding.
Open the PDF in an app using Nutrient, apply a digital certificate or select the signature tool and draw or type your signature, and save the signed document.