A researcher at the Australian Research Centre in Sex, Health and Society (ARCSHS, pronounced “archers”) carries out surveys that are both:
- anonymous: personal details are not collected, and steps are taken to avoid being able to identify participants; and
- longitudinal: participants are contacted at intervals to answer similar questions. Questions often refer to previous answers given by the participant.
It’s a tricky combination, not well supported by most survey software. Here’s a solution, using LimeSurvey, that doesn’t require modifying any code. These instructions are aimed at people with no familiarity with LimeSurvey.
Quick summary:
- The survey is carried out in not anonymous mode. Anonymity is maintained through an external email redirection service.
- Additional attributes are added on to token tables for follow-up rounds.
- Answers from each survey are transferred to the additional attributes through Excel manipulation
Survey hosting
LimeService is a very cheap way to host LimeSurvey, and removes the burden of server administration.
Anonymous email addresses
Participants must not sign up for the survey using their actual email address. Instead, they should go to a third-party email forwarding site like http://notsharingmy.info. For the participant:
- Click on a link
- Enter their email address, click “Get an obscure email”
- Copy the generated email address into the survey registration form.
(Note: as of January 2013, notsharingmy.info is unreliable. I’m working on another solution.)
About tokens
This solution relies heavily on LimeSurvey’s “tokens” which are explained badly in the interface. Enabling tokens just means you want to track information about individual participants: individual adding them to the list, inviting them, keeping track of who completed the survey or who needs another reminder. We also add “additional attributes”: the participants’ previous answers.
1. Set up the initial survey
- Create a new survey:

- Fill out the Description, Welcome Message, End Message.
- Create the first question group.
- Create some questions.
- Set these survey “general settings”:
- Tokens > Allow public registration? Yes
- (Optional) Modify the registration text as described below in “Avoiding personal information”
- Activate the survey. You’ll be asked if you want to initialise tokens:

Yes, you do.
- Publicise the URL, and get lots of responses. Great.
Avoiding personal information
By default, LimeSurvey collects from each self-registering participant their first name, last name and email address. For a truly anonymous survey, you may wish to avoid collecting their name.
- Under Global Settings, choose Template Editor:

- As the warning points out, editing the default template isn’t a great idea. Let’s make a copy called “no_name_collecting”:

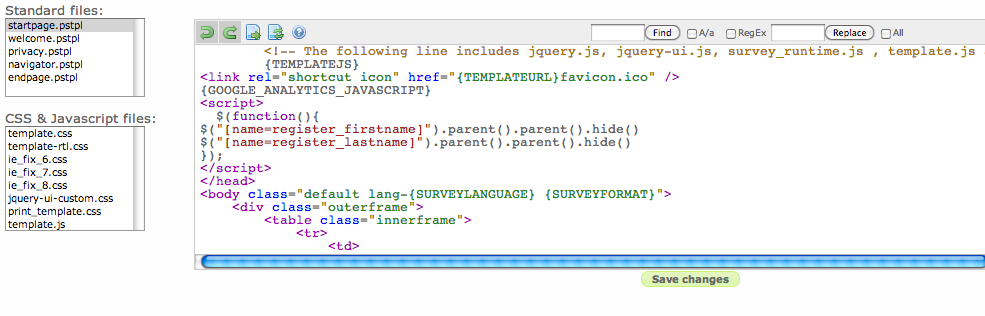
- Now, edit the copy. Select “startpage.pstpl”, then add this code just before the “</head”> line:
...
<script>
$(function(){
$("[name=register_firstname]").parent().parent().hide()
$("[name=register_lastname]").parent().parent().hide()
});
</script>
</head>

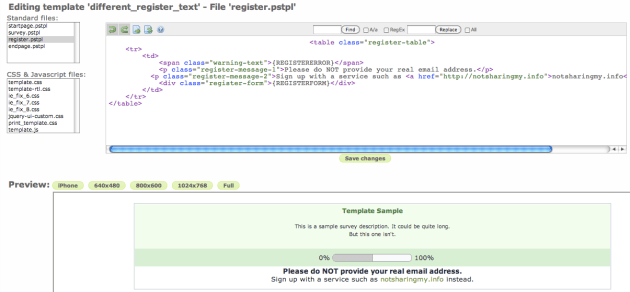
- Next, you might want to change the registration message, to direct people to create an anonymous email address. On the “Register” screen,

select “register.pstpl”.
- In the code, replace {REGISTERMESSAGE1} and {REGISTERMESSAGE2} with any text or HTML you like.
2. Export responses and tokens
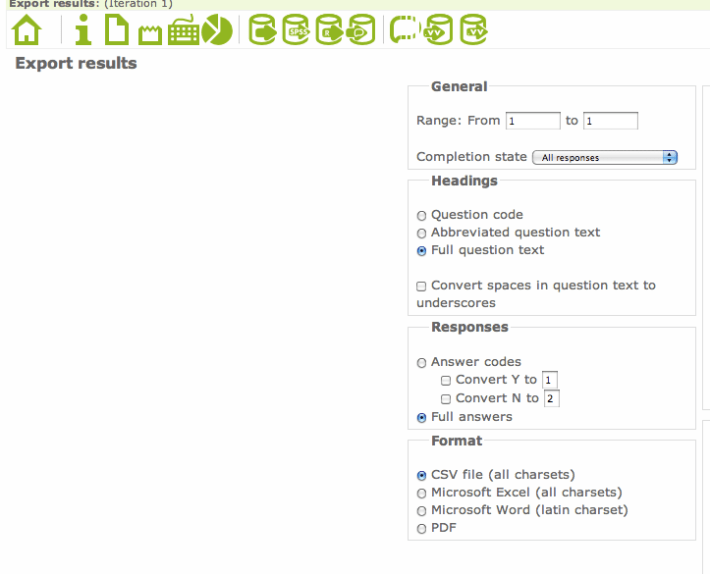
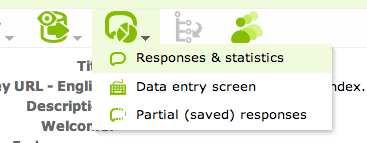
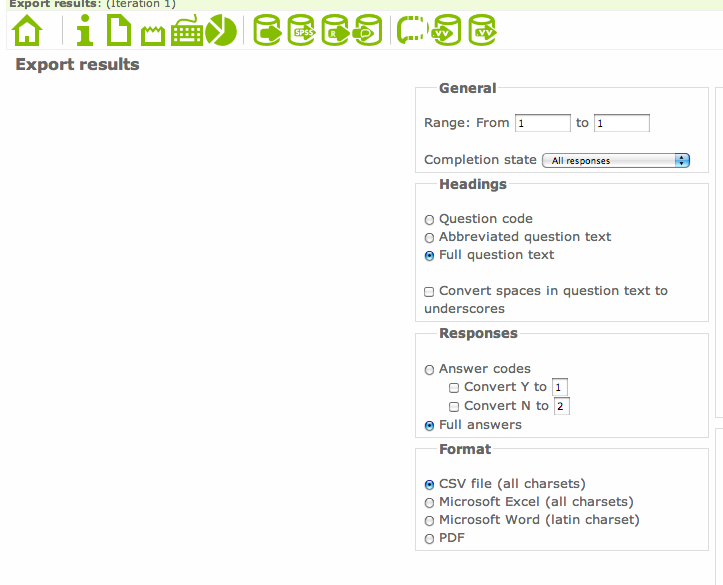
- Export the responses as CSV

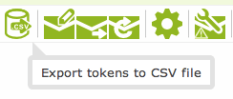
- Export the tokens as CSV:
3. Create follow-up survey
The first survey was a success, and there are now lots of entries in the tokens table and the responses table. More in the former than the latter, because some people will sign up and not answer any questions.
- Copy the first survey. (Click the + button, like starting a new survey first.)

- You’ll probably want to remove some irrelevant questions and groups, so do that.
- Now add one “additional attribute” for every response that you want to refer to from the initial survey. In Token Management:

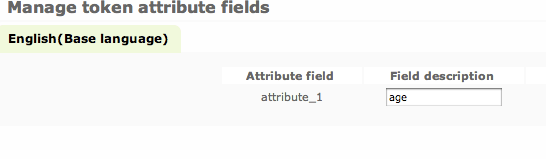 The other fields don’t matter. Leave them blank.
- Next, you may want to use these attributes in some questions. Let’s say you want to ask “Last time you did this survey you were 42. How old are you now?”
 In the question text, click ‘LimeSurvey replacement field properties’ then select the extended attribute:
 The text then looks like this:

- You can get fancy and set that value as the default for the question. Instructions on how to do this.
- Repeat this for each question, wherever those extended attributes are needed.
4. Transfer previous responses to the follow-up survey
- Download the token table for this survey. It will have no data, but the headers will be useful.So far, you have created a way to hold answers from previous surveys for each participant. But you haven’t actually put those answers in there. Time for some Excel magic. You want to create a token table for the follow-up survey, using bits from the three CSV files you’ve dowloaded so far.:
- Tokens table for initial survey. (Containing the email addresses people signed up with.)
- Responses for initial survey.
- Tokens table for follow-up survey (containing the additional attributes).
- Copy all the rows of tokens from the initial survey to the follow-up survey. Don’t copy the header row:
 Make sure you retain the additional attribute fields (attribute_1 etc.) They should be blank.
- Notice that these tokens have already been “completed”. Clear out the invited and completed fields. Set the remindercount field to 0 and usesleft field to 1:

- Now, copy columns from the participant responses table into attribute fields, one by one, as appropriate. Make sure the IDs line up correctly.

- Save the file (“followup-tokens.csv” if you like). Now import it into your follow-up survey.

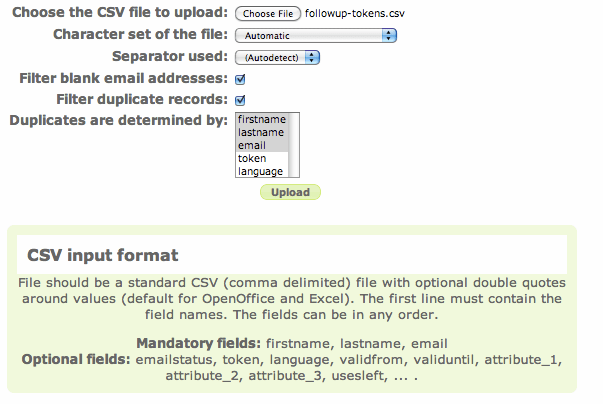
5. Activate the follow-up survey
Whew. You’re now ready to launch.
- Activate the survey.
- Send out invitations. Under “Token control”:

- The default email template is pretty gross, so clean it up a bit before you send:

- Each participant receives a custom URL which logs them in without requiring any username and password.
You can then repeat this process for each subsequent iteration.













 The other fields don’t matter. Leave them blank.
 In the question text, click ‘LimeSurvey replacement field properties’ then select the extended attribute:
 The text then looks like this:
 Make sure you retain the additional attribute fields (attribute_1 etc.) They should be blank.


