









Posted by on December 18, 2019
Most of the time, when you need to host vector tiles, you’ll use one of the two main (only?) commercial vector tile hosting services: Mapbox or Maptiler Cloud. But what if you don’t want to? Maybe you want to host tiles which don’t meet Mapbox’s 500KB-per-tile limit. Maybe you have some very specific requirement which can’t be met by those services.
We’ll use Glitch: your free NodeJS server edited through a web interface.
And Tessera: a NodeJS vector tile server. You tell it where your .mbtiles files are, and it serves them through an HTTP interface.
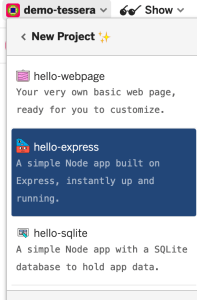
We actually won’t use any of the provided template at all. You can start with the hello-express template.
The easiest way to add dependencies is to select “package.json” then click “Add Package”.
Actually, because of a weird disagreement between Tessera and Glitch about the interpretation of a non-standard obscure HTTP header, you’ll have to use my patched version instead. Add this dependency directly into the package.json:
“tessera”: “stevage/tessera.git#x-forwarded-proto”
Now, we need to tell Glitch to run Tessera instead of the templated code that was set up for us. Change the “scripts” section to look like this:

Under “New File”, select “Upload a file”. Pick an .mbtiles file you have, upload and wait.
Now, here’s the one tricky, rather clunky step. The asset you uploaded will actually live on Glitch’s assets CDN. It needs to be inside your server, so that Tessera can access it.
Inside the Glitch console (under “Tools”), first find out where the mbtiles file is, by running “less .glitch-assets”.
Look for a line like:
{“name”:”lgas.mbtiles”,”date”:”2019-12-17T22:56:15.660Z”,”url”:”https://cdn.glitch.com/982234c74-247f-4e51-9416-944436678291%2Flgas.mbtiles”
Extract out that url, and download it, choosing a sensible name:
$ wget -O lgas.mbtiles “https://cdn.glitch.com/982234c74-247f-4e51-9416-944436678291%2Flgas.mbtiles”
Now we’re going to make the config.json file promised in our package.json. In the main editor, create a new file, config.json.
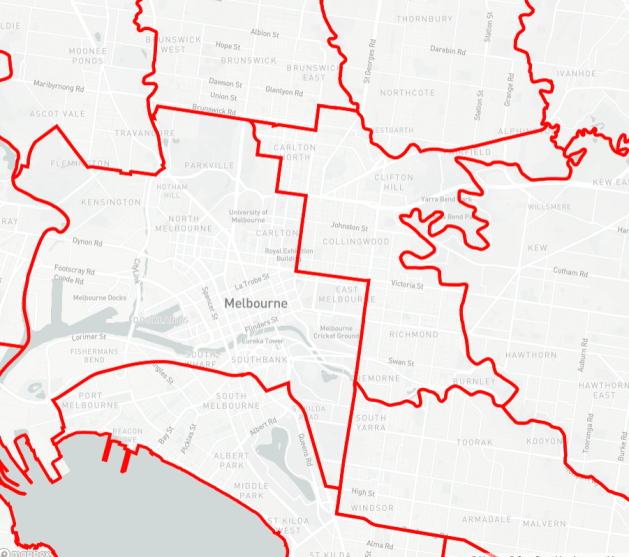
My tiles contain local government areas (lgas), so this is what my config.json looks like:
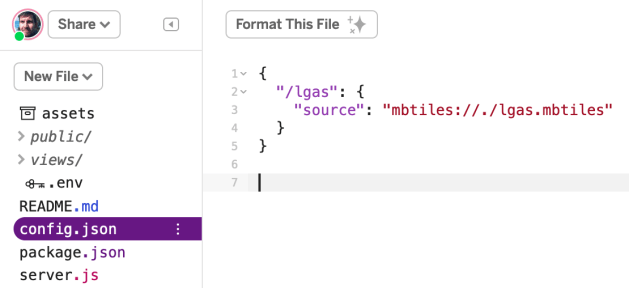
Make sure the URL there points to the location of your specific file. It must start with “mbtiles://./”.
Under “Show”, choose “Next to the Code” so we can whether Tessera is running correctly.
Click “Change URL” to access the TileJSON for your tile layer. In my case that looks like:
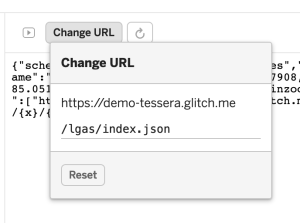
Check the JSON carefully. If you see ”
"filesize":0
or
"format":"png"
it means that Tessera couldn’t find your .mbtiles file, and created a blank one, assuming the file format was .png. (Yes, these are some interesting choices.)
You can now use your tiles in any Mapbox-GL-JS project. Instead of an identifier like “mapbox://stevage.nt2h43nh”, you’ll have a URL like “https://demo-tessera.glitch.me/lgas/index.json”. (You can use either HTTP or HTTPS – Glitch and Tessera support both.)
For instance, using mapbox-gl-utils:

此内容由惯性聚合(RSS阅读器)自动聚合整理,仅供阅读参考。 原文来自 — 版权归原作者所有。