


My Roam Garden
Tending Evergreen Notes in Roam Research
A walkthrough of how I manage and tend Evergreen notes in Roam is a place I spend between 2-4 hours puttering around in every day according to my RescueTime stats. RescueTime only tracks the time you’re actively focused on a single window, so this measurement has some limitations but sets a nice baseline If I’m staring into something for over twenty hours a week, it better look and feel like beautiful home that fits my aesthetic tastes. As a maker of aesthetically pleasing things, I’m obviously biased towards the Aesthetic Usability Effect.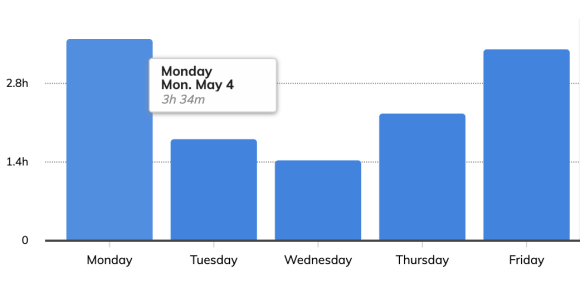
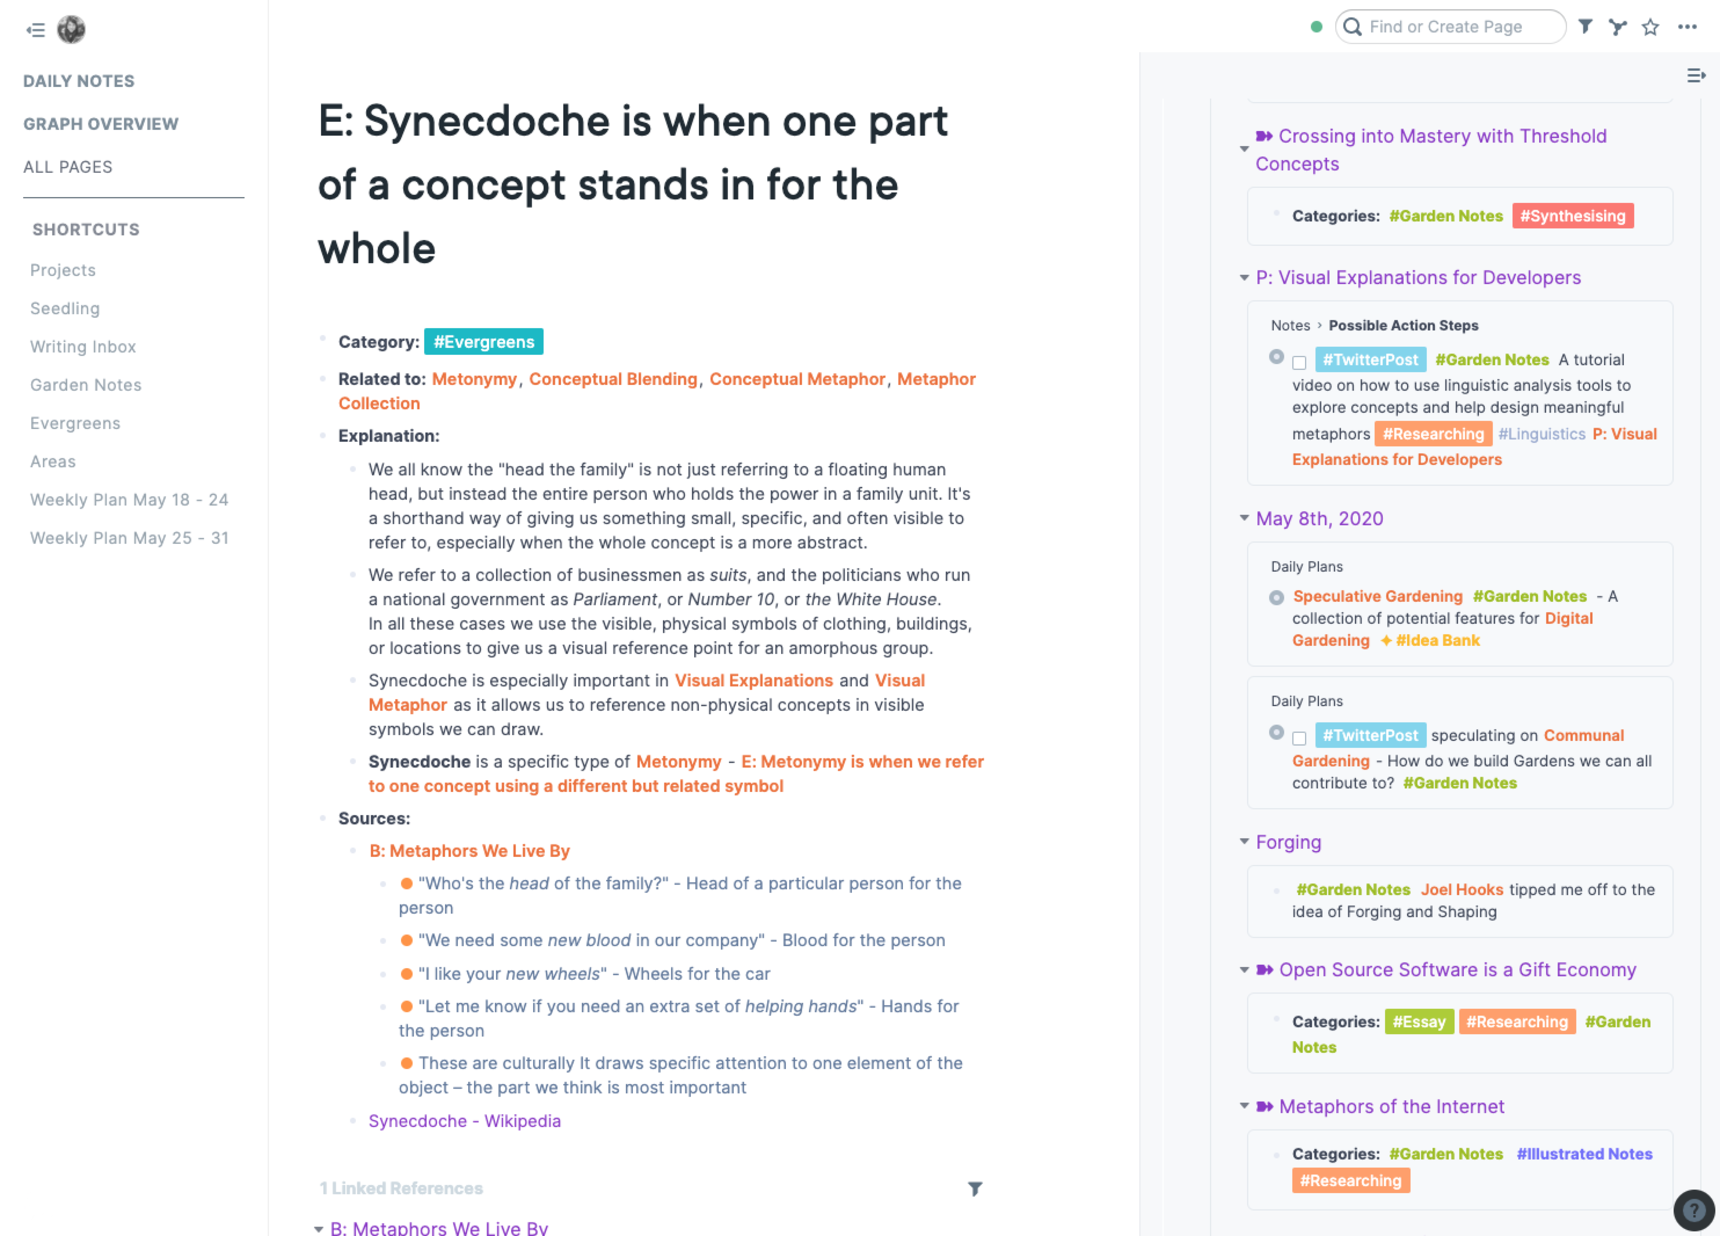
In that spirit, I’ve gone all-out on customising the CSS that controls how my Roam looks.
I’ve used colors and font weight to distinguished internal from external links, added custom colors to particular page names, and shifted the contrast and spacing of elements to fit my own design aesthetic.
How to paint Roam your own colors
Luckily, this is all fairly easy to do. Roam has a built-in system for customising how your database looks.
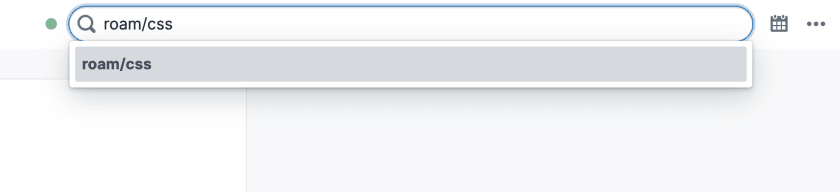
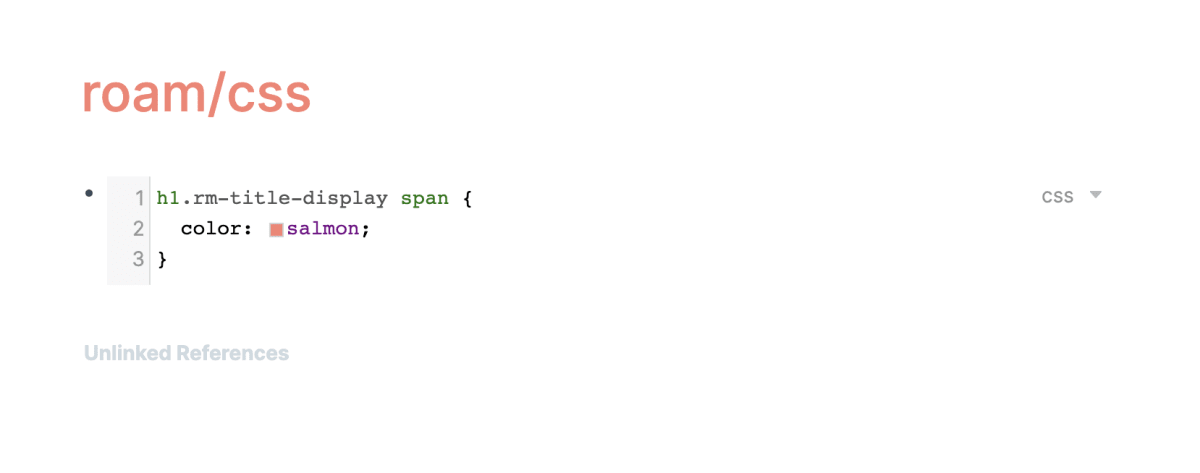
You first need to create a new page called roam/css.
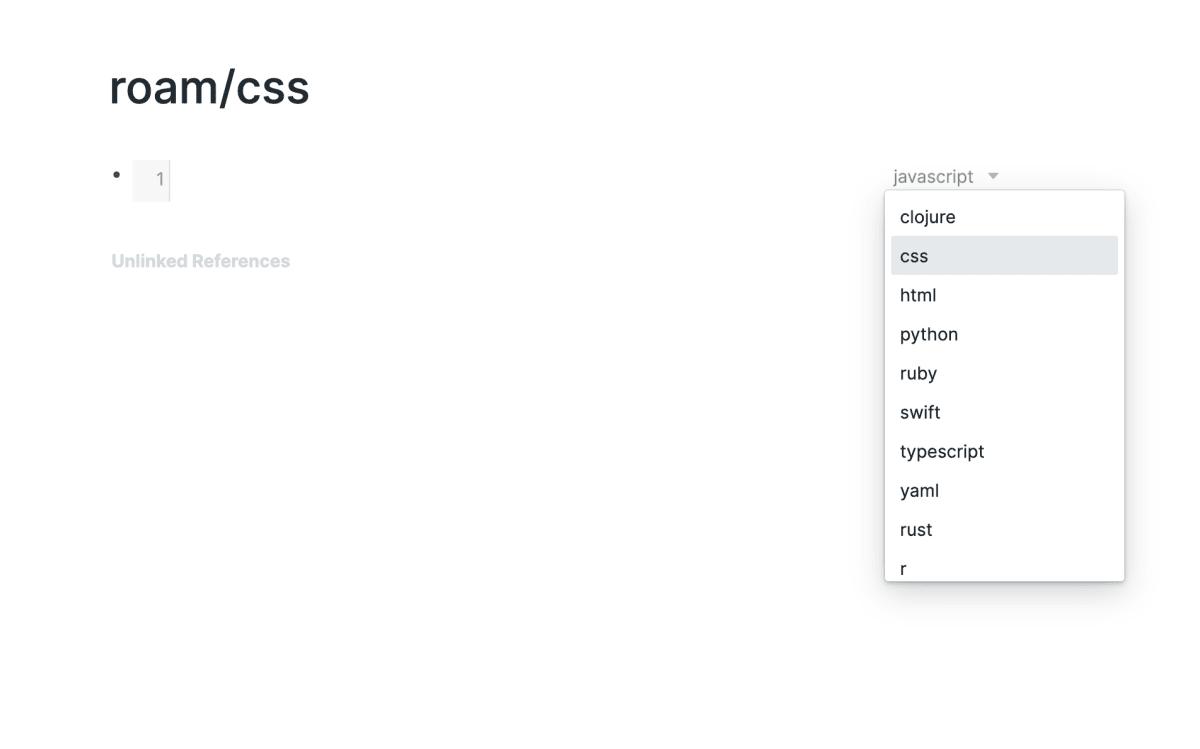
Once there, create a new code block by typing /code and selecting the block option.

Once the code block appears, set the language to css from the right-hand drop down menu.
You’re now ready to start customising the CSS of your Roam. Any CSS you enter into this new code block will be applied across your whole database.
To test if it’s working, type h1.rm-title-display span { color: salmon;} into the box.
The title of your new page should change to a lovely shade of salmon.
Pre-made Roam Themes
For those of you entirely uninterested in learning CSS who just want to pop a pre-made theme in, Roam has a whole collection of pre-made themes you can pick from.
Copy and paste any of them into your new roam/css page and the styles will be applied across your whole database
If you want to use my theme Leyendecker, the most up-to-date version is available this GitHub repo . There’s a older version listed on the Roam database .
Custom Styling Tags and Page Links
Another neat trick I love with CSS and Roam is creating specific styles for different page title and tags. Shoutout to fellow Roam user Malcolm Ocean who lobbied for this as an official feature of the Roam interface. I found out how to do it digging around in their impressively comprehensive CSS files . I have a little workflow taxonomy going that covers different kinds of output and the stages they flow through
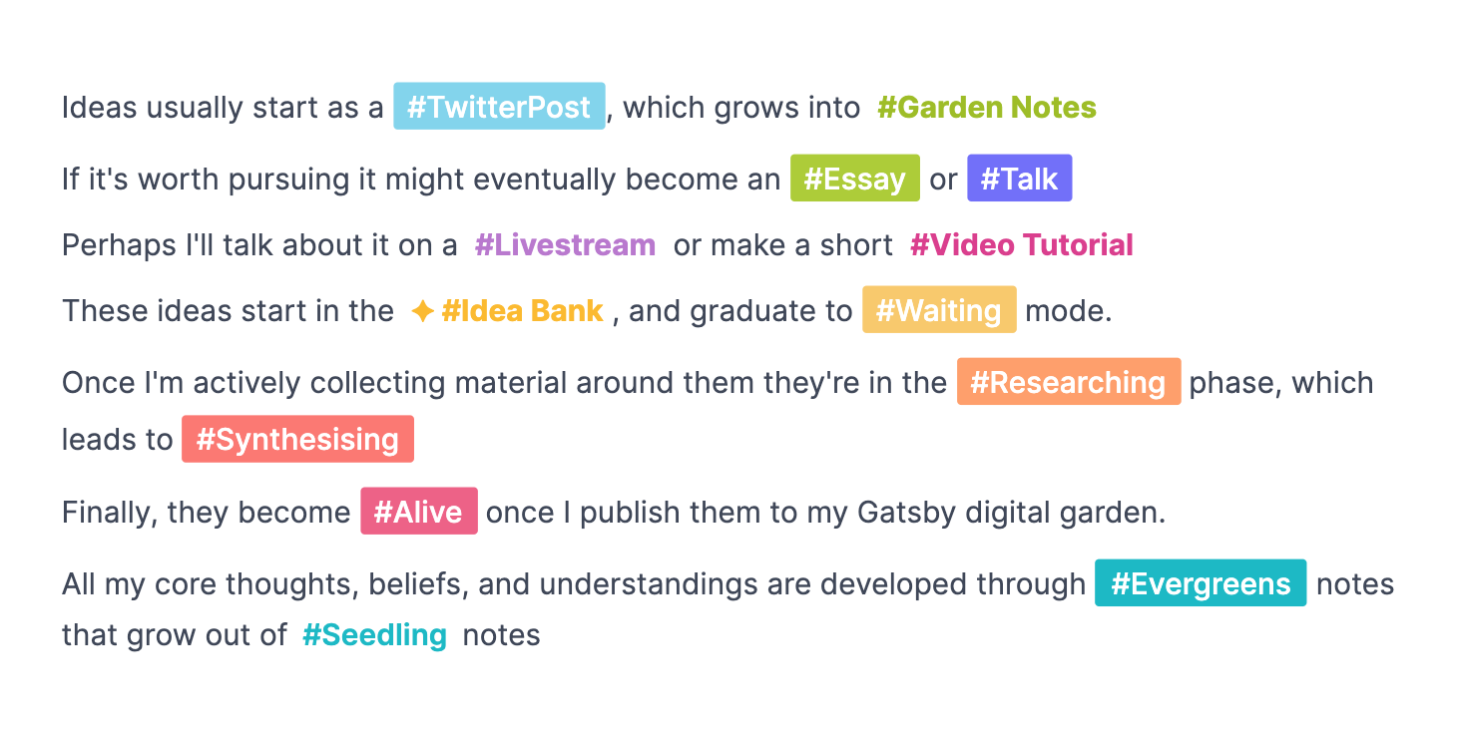
We’re able to do this because when we use the double bracket or add a # to create a page tag, Roam adds a new attribute to the HTML markup. If the page is made with a #, it adds a data-tag attribute. If it’s made with double brackets Roam adds a data-link-title attribute
<span data-tag="Ideas" class="rm-page-ref rm-page-ref-tag">
	#Ideas What if I learned how to chuck wood like a Chuck Norris woodchuck
	could?
</span>

<span data-link-title="Ideas" class="rm-page-ref">
	[ [Ideas] ] What if I learned how to chuck wood like a Chuck Norris woodchuck
	could?
</span>
We can then target both of those attributes with a CSS selector that looks like this:
span.rm-page-ref[data-tag="Ideas"],
span[data-link-title^="Tweet"] .rm-page-ref {
	color: #fcb815;
	padding: 3px 4px;
	font-weight: 700;
	line-height: 1.4em;
}
The first selector, span.rm-page-ref[data-tag="Ideas"] changes any # link, and the second span[data-link-title^="Tweet"] .rm-page-ref selector changes any link made with [ [ brackets]]
It makes an enormous difference in your user experience to be able to quickly identify different block and note types through visual color association.
If you just want to grab the tag and page styles from my theme , scroll down to the bottom of my CSS theme file to find them.
Block Level Styling
Roam also allows you to style whole blocks based on tags. Cato Minor originally wrote a script for doing this in JavaScript, but now it’s native to Roam’s CSS. In my database I use this heavily when taking book notes to visually distinguish between claims, responses, questions, and evidence.
To style an entire block, and all its child elements, we use:
.roam-block-container[data-page-links*="Comment"] {
  // styles in here
}
To style only the child elements but not the parent, add .rm-block-children to the end use:
.roam-block-container[data-page-links*="Comment"] .rm-block-children {
  // styles in here
}
To style just the block itself but none of the child elements, add > div.rm-block-main on:
.roam-block-container[data-page-links*="Comment"] > div.rm-block-main {
  // styles in here
}
Alternate Styling with Browser Plugins
If you don’t want to use the native Roam CSS functionality, there’s a way to apply custom CSS styles to any website using a browser plugin.
This is especially useful if you’re part of a multi-player Roam where everyone has their own styling preferences. Stylus has extensions for both Firefox and Chrome that allow you to write your own CSS styles in a browser.
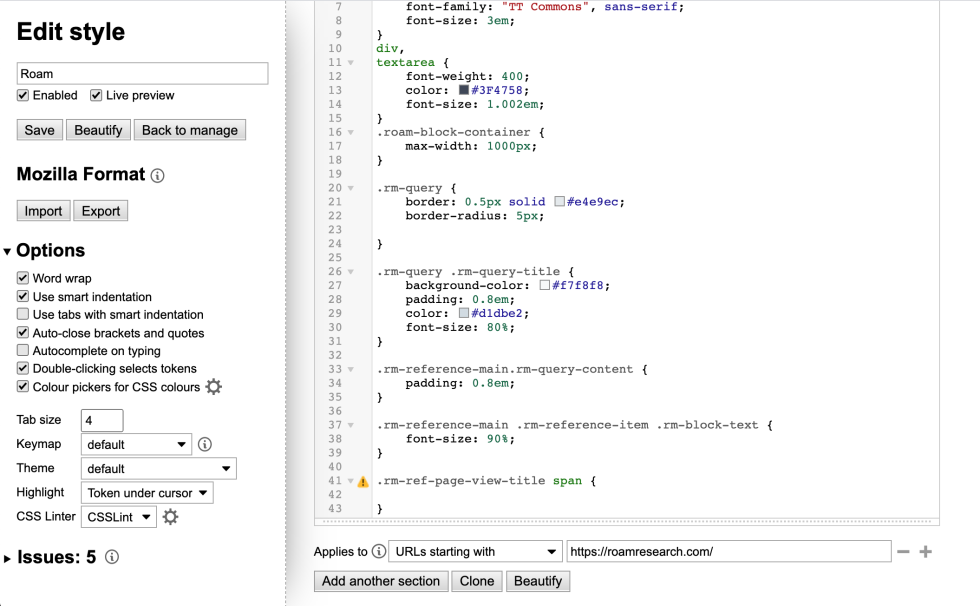
They also have good documentation that will walk you through how to use it.
It’s good to note that this is not a Roam-specific hack. You can re-paint any webpage you like with a custom CSS styler (go to town on Craigslist!)