


November 8, 2019
Note: an updated version is available: Flashing another TP-Link TL-WDR4300 with OpenWrt firmware.
Today I flashed a TP-Link TL-WDR4300 with OpenWrt firmware using my 2014 Mac Mini running OS X Mojave. Below follow my notes. I highly recommend to read the official OpenWrt documentation as well.
Flashing the router
-
Download the factory image via the TP-Link TL-WDR4300 OpenWrt page.
The SHA256 digest for the firmware file I downloaded is given below:
$ shasum -a256 -b openwrt-18.06.4-ar71xx-generic-tl-wdr4300-v1-squashfs-factory.
bin
610192af856f588b4ea46b323e50625db373e2477cb9269ddce09e9ddac832a0 *openwrt-18.06.
4-ar71xx-generic-tl-wdr4300-v1-squashfs-factory.bin
- Rename the downloaded file. This is required otherwise the web interface of the router is not able to open the firmware file.
mv openwrt-18.06.4-ar71xx-generic-tl-wdr4300-v1-squashfs-factory.bin \
   wdr4300v1_en_3_14_3_up_boot\(150518\).bin
-
Connect the computer, in my case a Mac Mini, to the LAN1 port of the router using a UTP cable.
-
Browse to http://192.168.0.1/ and login to the router. The default username is admin with default password admin.
If you can't reach the router you have to assign a static IP address to your computer first.
-
Click the System Tools entry in the web menu and select Firmware Upgrade. Browse to the renamed file and click the Upgrade button.
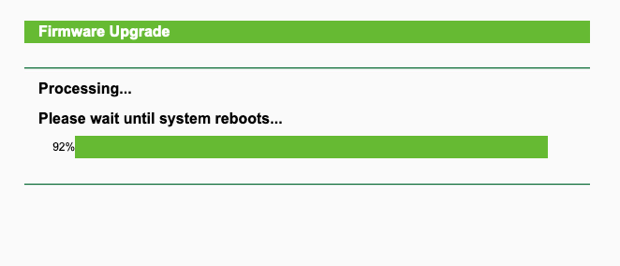
Connect to the router. You can either connect via the web browser:
http://192.168.1.1/ or use ssh root@192.168.1.1; I prefer the latter.
BusyBox v1.28.4 () built-in shell (ash)

  _______                     ________        __
 |       |.-----.-----.-----.|  |  |  |.----.|  |_
 |   -   ||  _  |  -__|     ||  |  |  ||   _||   _|
 |_______||   __|_____|__|__||________||__|  |____|
          |__| W I R E L E S S   F R E E D O M
 -----------------------------------------------------
 OpenWrt 18.06.4, r7808-ef686b7292
 -----------------------------------------------------
=== WARNING! =====================================
There is no root password defined on this device!
Use the "passwd" command to set up a new password
in order to prevent unauthorized SSH logins.
--------------------------------------------------
Use passwd to set a strong password. This password is also the one required
by Luci. I disabled Luci using:
/etc/init.d/uhttpd disable
Public key authentication
First generate a key pair. The SSH server used, dropbear, doesn't support Ed25519 so I used RSA 4096 instead:
ssh-keygen -t rsa -b 4096 -C 'router' -f ~/.ssh/router
Copy the public key to the router as follows:
scp ~/.ssh/router.pub root@192.168.1.1:/tmp
On the router, add the public key to the authorized keys of dropbear. You can repeat this step with each new public key.
cd /etc/dropbear
cat /tmp/*.pub >> authorized_keys
chmod 0600 authorized_keys
rm /tmp/*.pub
Next, configure dropbear as follows using vi /etc/config/dropbear:
config dropbear
	option PasswordAuth 'off'
	option RootPasswordAuth 'off'
	option RootLogin 'on'
	option Port '22'
	option GatewayPorts 'off'
	option Interface 'lan'
Restart dropbear:
/etc/init.d/dropbear restart
On the client computer add an entry to ~/.ssh/config:
Host router
    HostName 192.168.1.1
    User root
    IdentityFile ~/.ssh/router