在前一篇博文中记录了 k8s 集群上部署 ollama + deepseek-r1:7b,这篇博文记录一下 Open WebUI 的部署。
还是用 helm 部署,helm chart 用的是 https://github.com/open-webui/helm-charts
添加 open-webui 的 helm repo
helm repo add open-webui https://helm.openwebui.com/
helm repo update
准备 helm 清单文件 open-webui-values.yaml
ollamaUrls:
  - "http://ollama-deepseek.ai:11434"

extraEnvVars:
- name: "ENABLE_OPENAI_API"
  value: "False"

ollama:
  enabled: false

pipelines:
  enabled: false

persistence:
  storageClass: "cnblogs-default"

podLabels:
  app: open-webui

service:
  type: NodePort
  nodePort: "31116"
清单说明:
通过下面的 helm 命令在 ai 命名空间下进行部署
helm upgrade --install --namespace ai open-webui open-webui/open-webui --values open-webui-values.yaml
查看 pod 运行情况
# kubectl get pods -l app=open-webui -n ai
NAME           READY   STATUS    RESTARTS   AGE
open-webui-0   1/1     Running   0          29s
pod 成功启动。
通过 kubectl logs 命令查看 open webui 的启动日志
# kubectl logs open-webui-0 -n ai

v0.5.14 - building the best open-source AI user interface.

https://github.com/open-webui/open-webui

INFO:     Started server process [1]
INFO:     Waiting for application startup.
INFO:     Application startup complete.
INFO:     Uvicorn running on http://0.0.0.0:8080 (Press CTRL+C to quit)
准备阿里云负载均衡,将请求转发到 k8s 节点的 31116 端口。
这时就可以通过浏览器访问 open-webui:

创建账号并登录,这时可以与通过 ollama 运行的 deepseek-r1:7b 模型对话了:
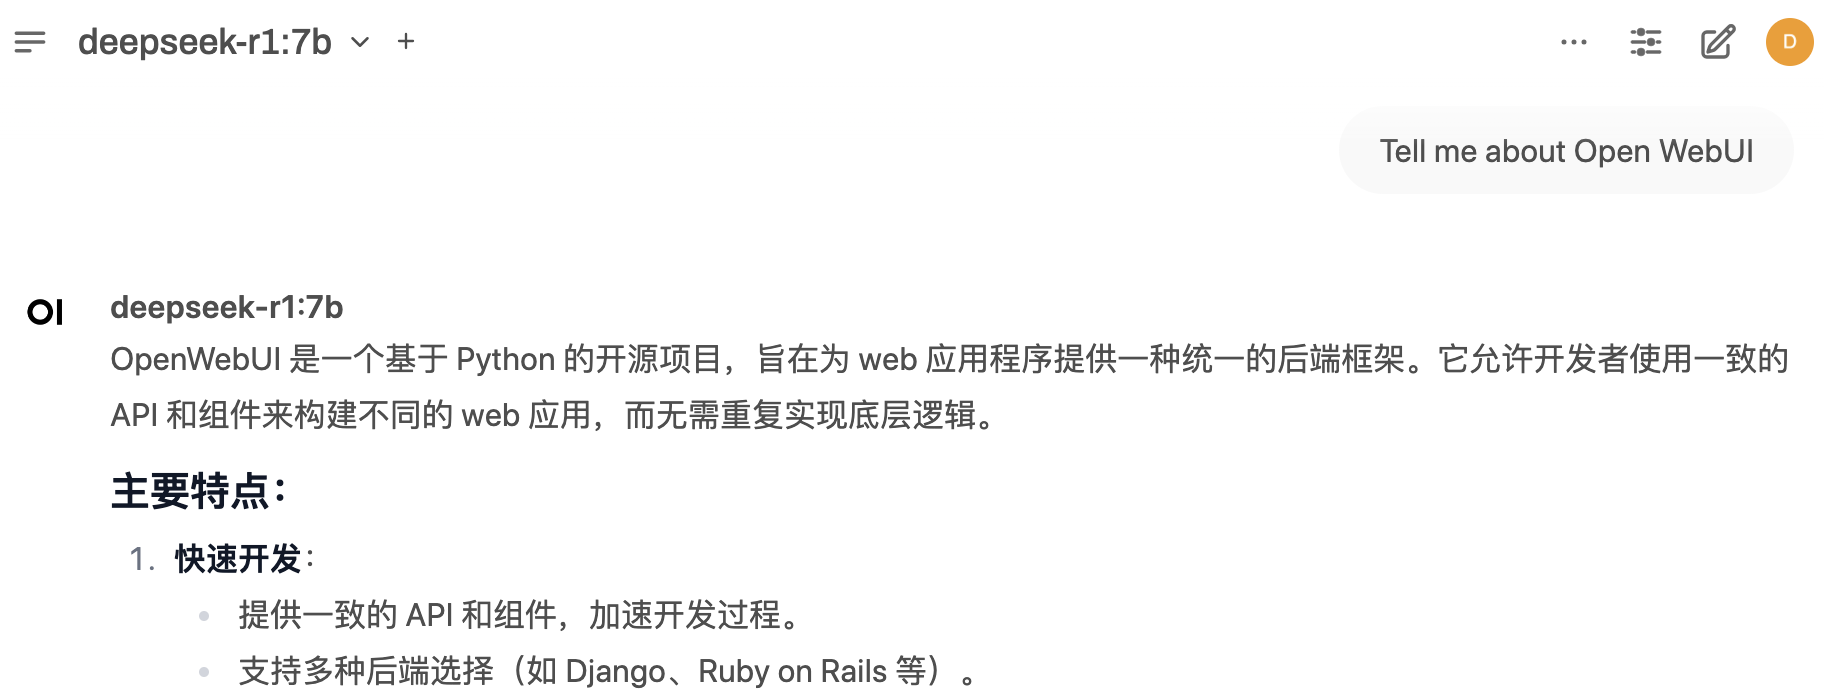
(7b模型的回答的确差很多)
此内容由惯性聚合(RSS阅读器)自动聚合整理,仅供阅读参考。 原文来自 — 版权归原作者所有。