






I was very excited to get the latest version of my PCB from the manufacturer. This new version had a magnetometer on it, so that I could more accurately track the yaw angle of my drone.
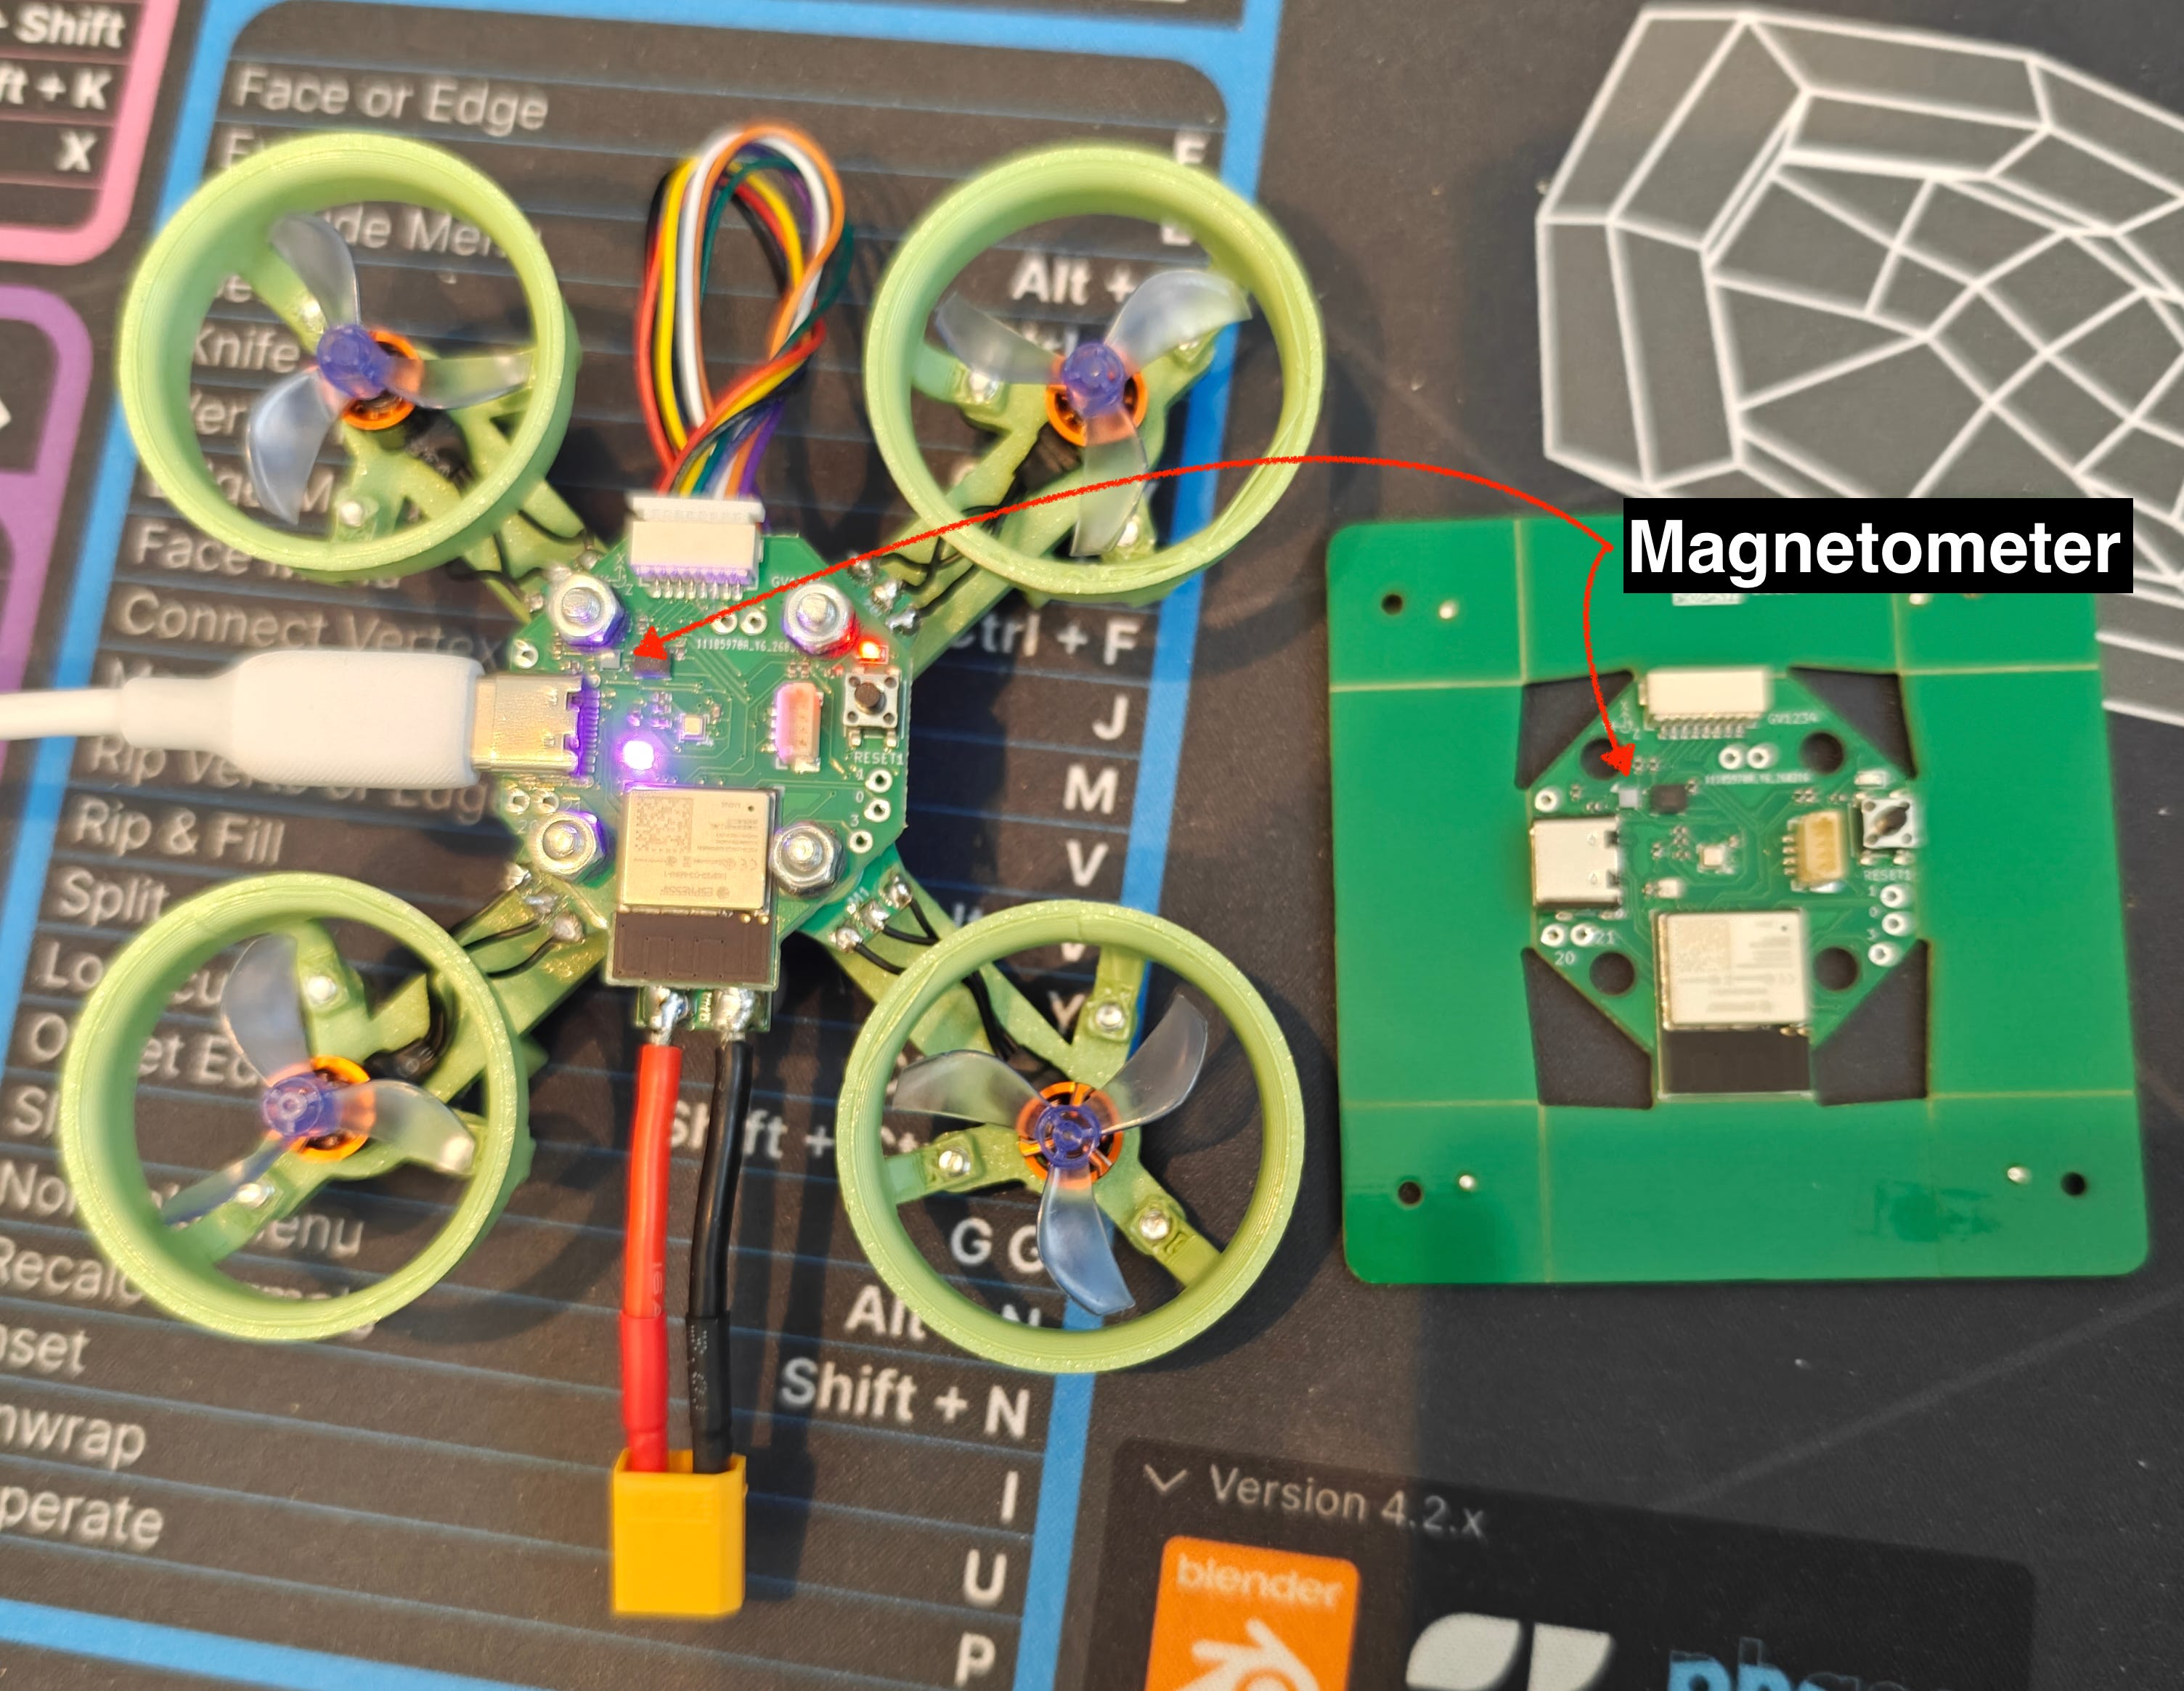
The first thing I did was start to program it over USB. I added code for initializing and reading the magnetometer, and I got back some data that seemed correct for the X and Y axes, but the Z axis would read a constant value. I did some light debugging, and learned, among other things, that the Z axis has slightly different internal circuity, but eventually I decided to put a pin in it and focus on other things.
Eventually I had to plug my drone into the battery that would power it in flight, and all of a sudden the magnetometer stopped working completely. I pivoted back to it in an effort to debug it, but nothing worked. I tried to reset the board, I tried to add the code to automatically reset and reinitialize the magnetometer if I hadn’t heard from it for a while, but no matter what I tried it would stay dead when the battery was plugged in.
When I would unplug the battery and plug the USB back in, the magnetometer would recover and work just like it had before. So right away I have to start thinking about what the 3.3V line which powers the magnetometer looks like under USB vs battery.
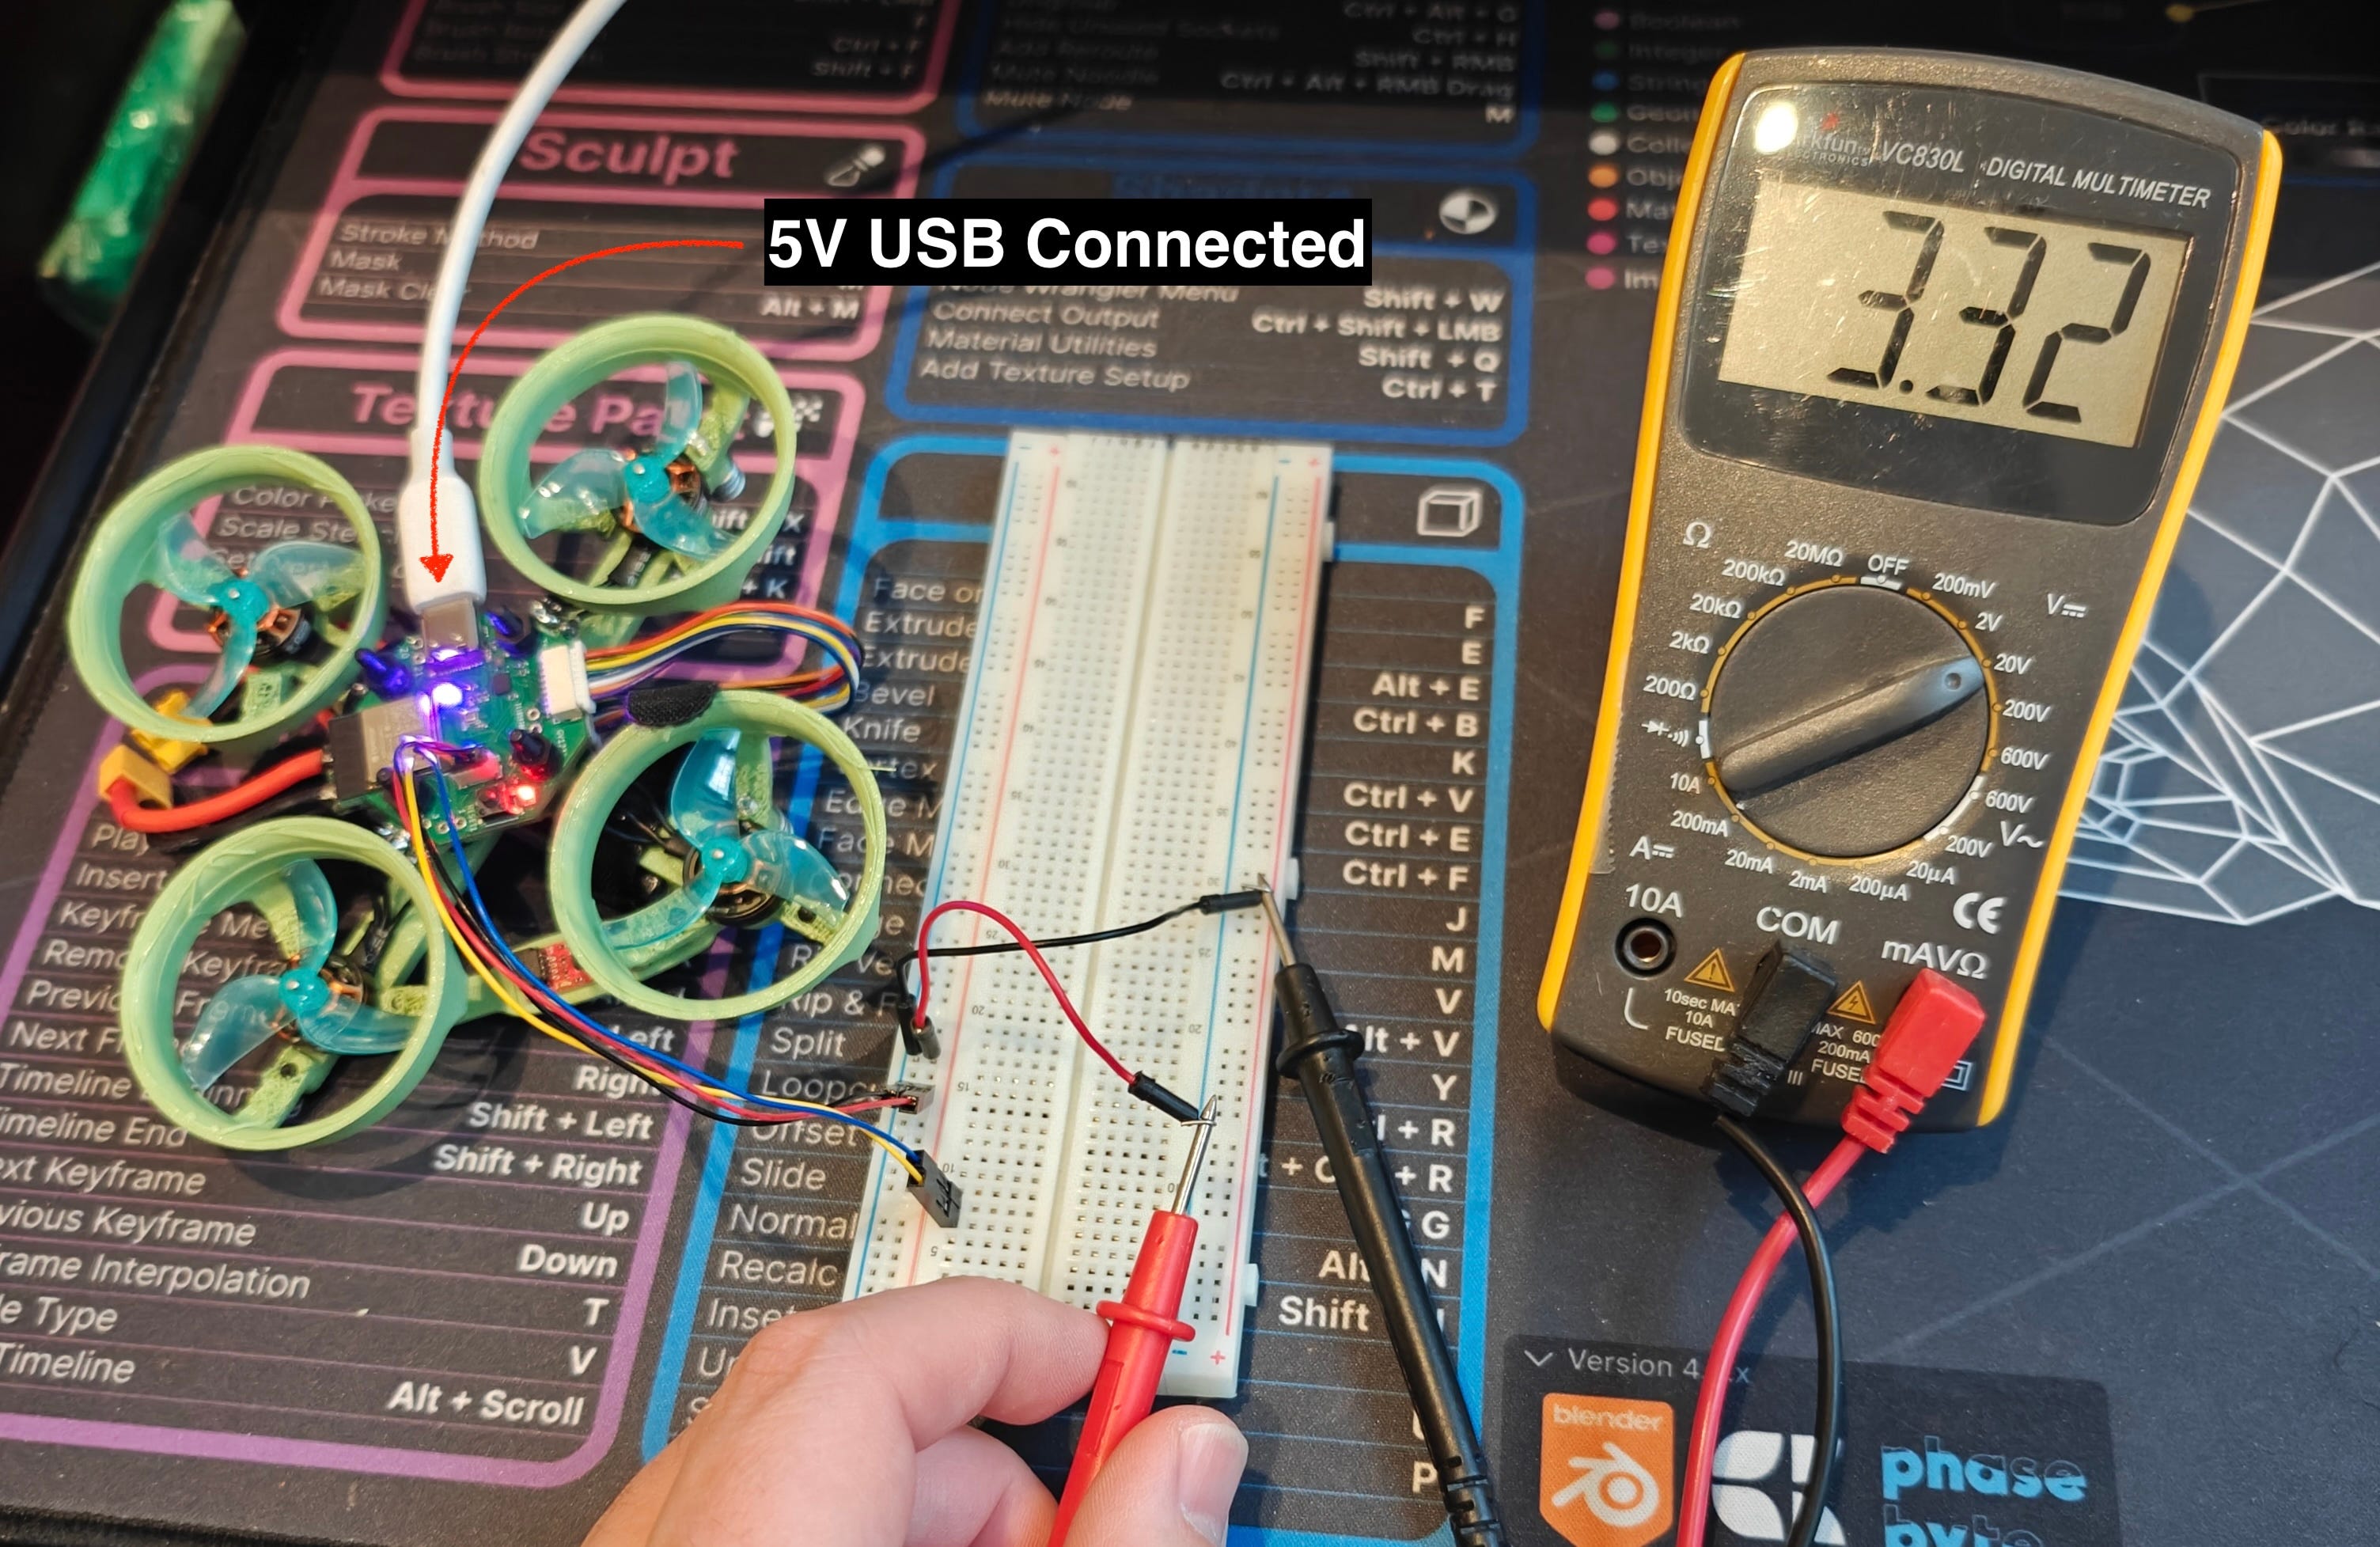
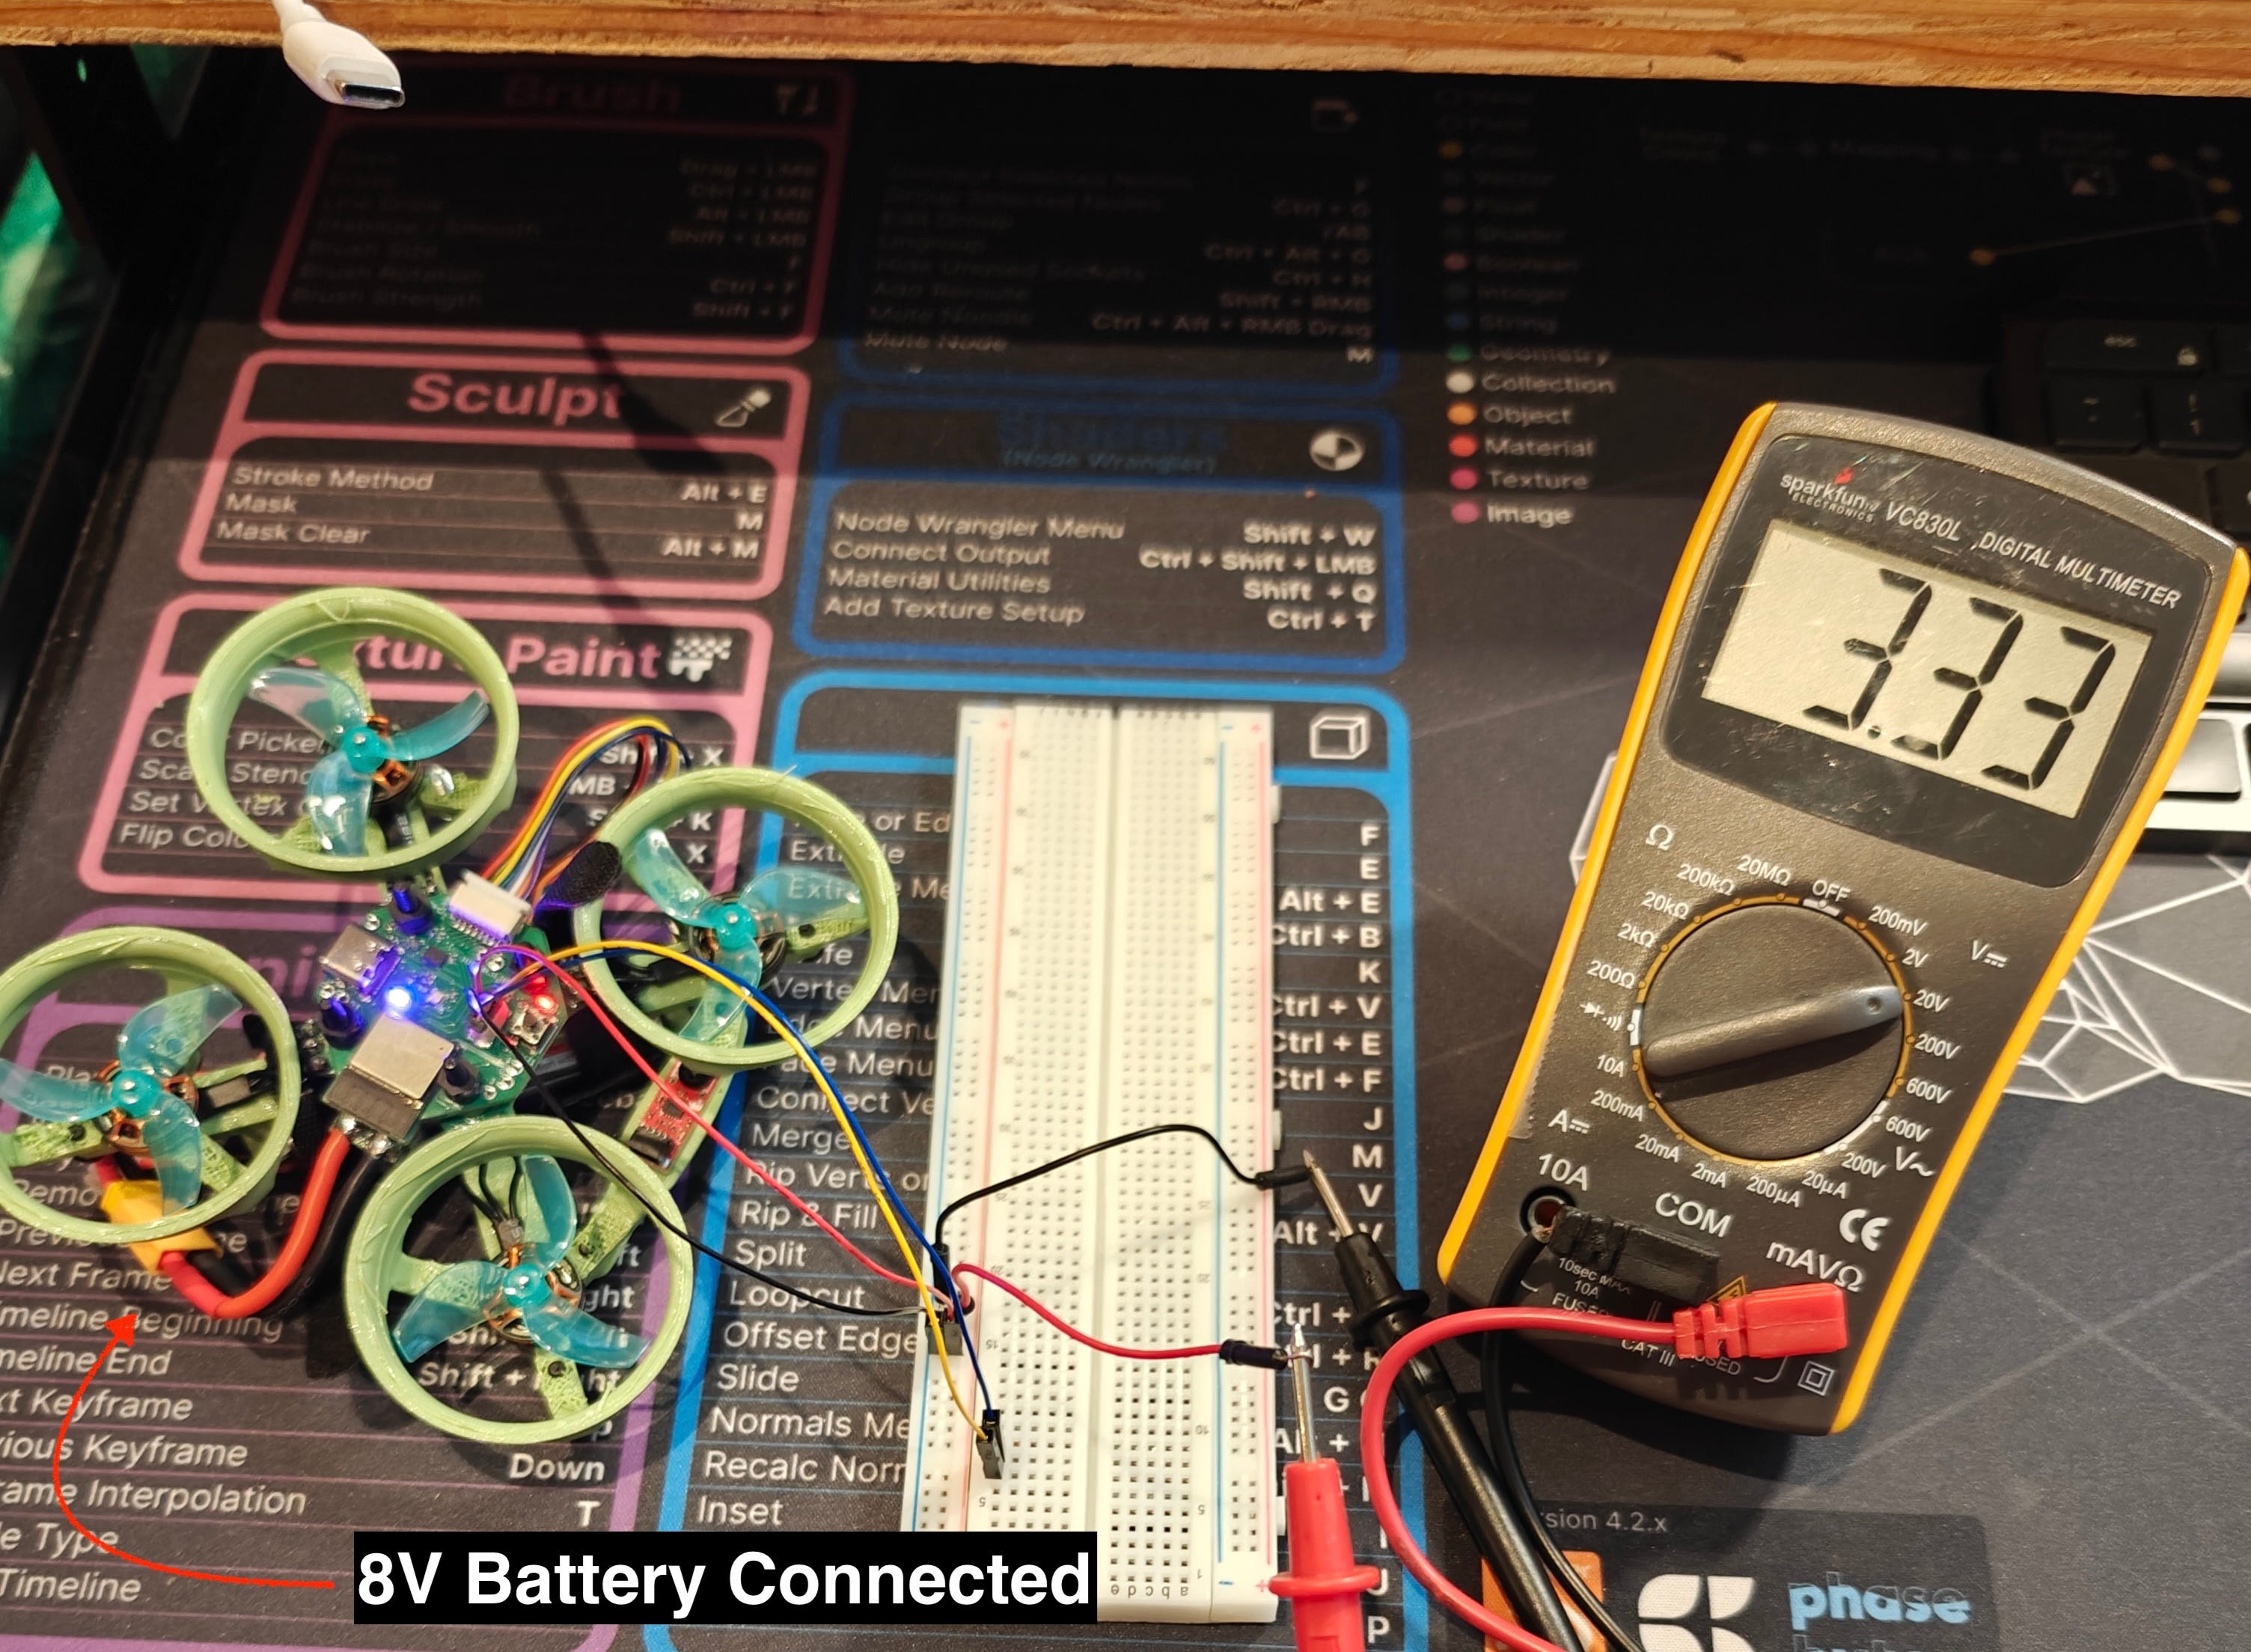
So does that mean it’s not an issue with the 3.3V bus? Well, not exactly. The multimeter is going to give you a bulk reading, but it’s possible that the line is noisy even though the average reading is 3.3V. The way we get to 3.3V from the initial 5V/8V is through a SY8113IADC voltage regulator. This is a modern switching regulator which is very efficient, but it achieves that efficiency by, you guessed it, rapidly switching the input supply on and off to effectively drop it down to the desired voltage (as opposed to the older kind of regulator which would just dissipate the energy as heat).
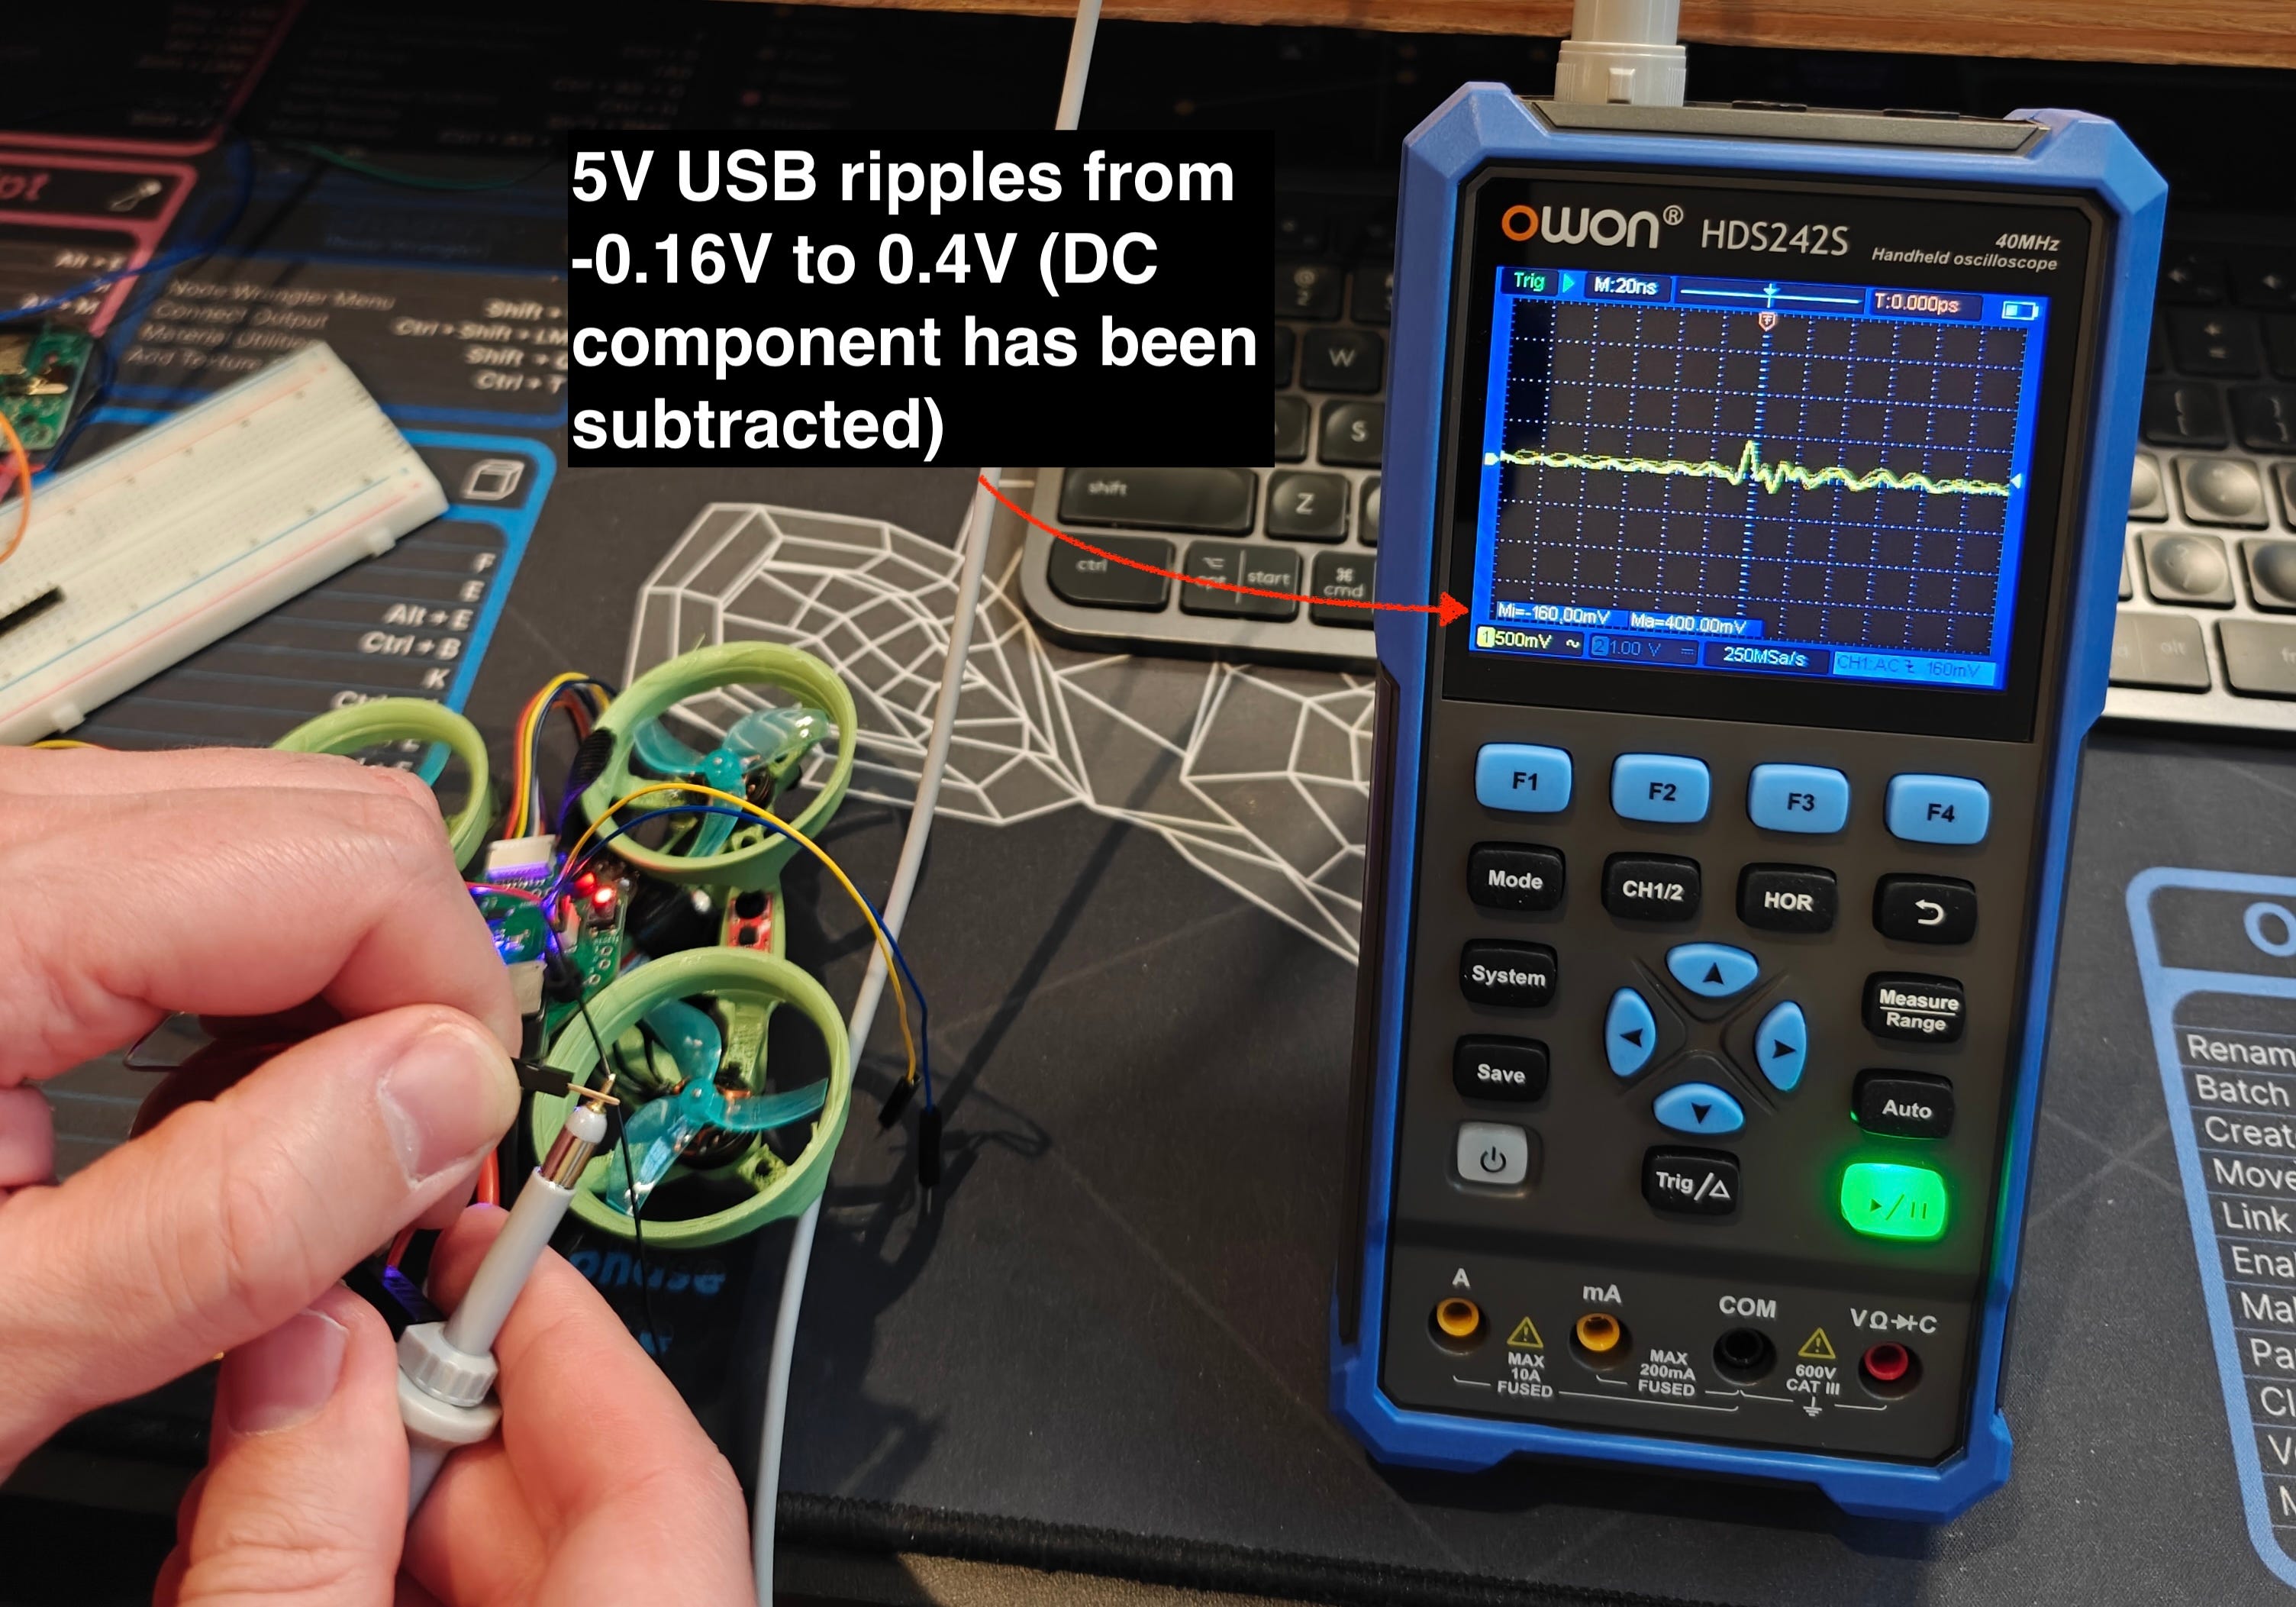
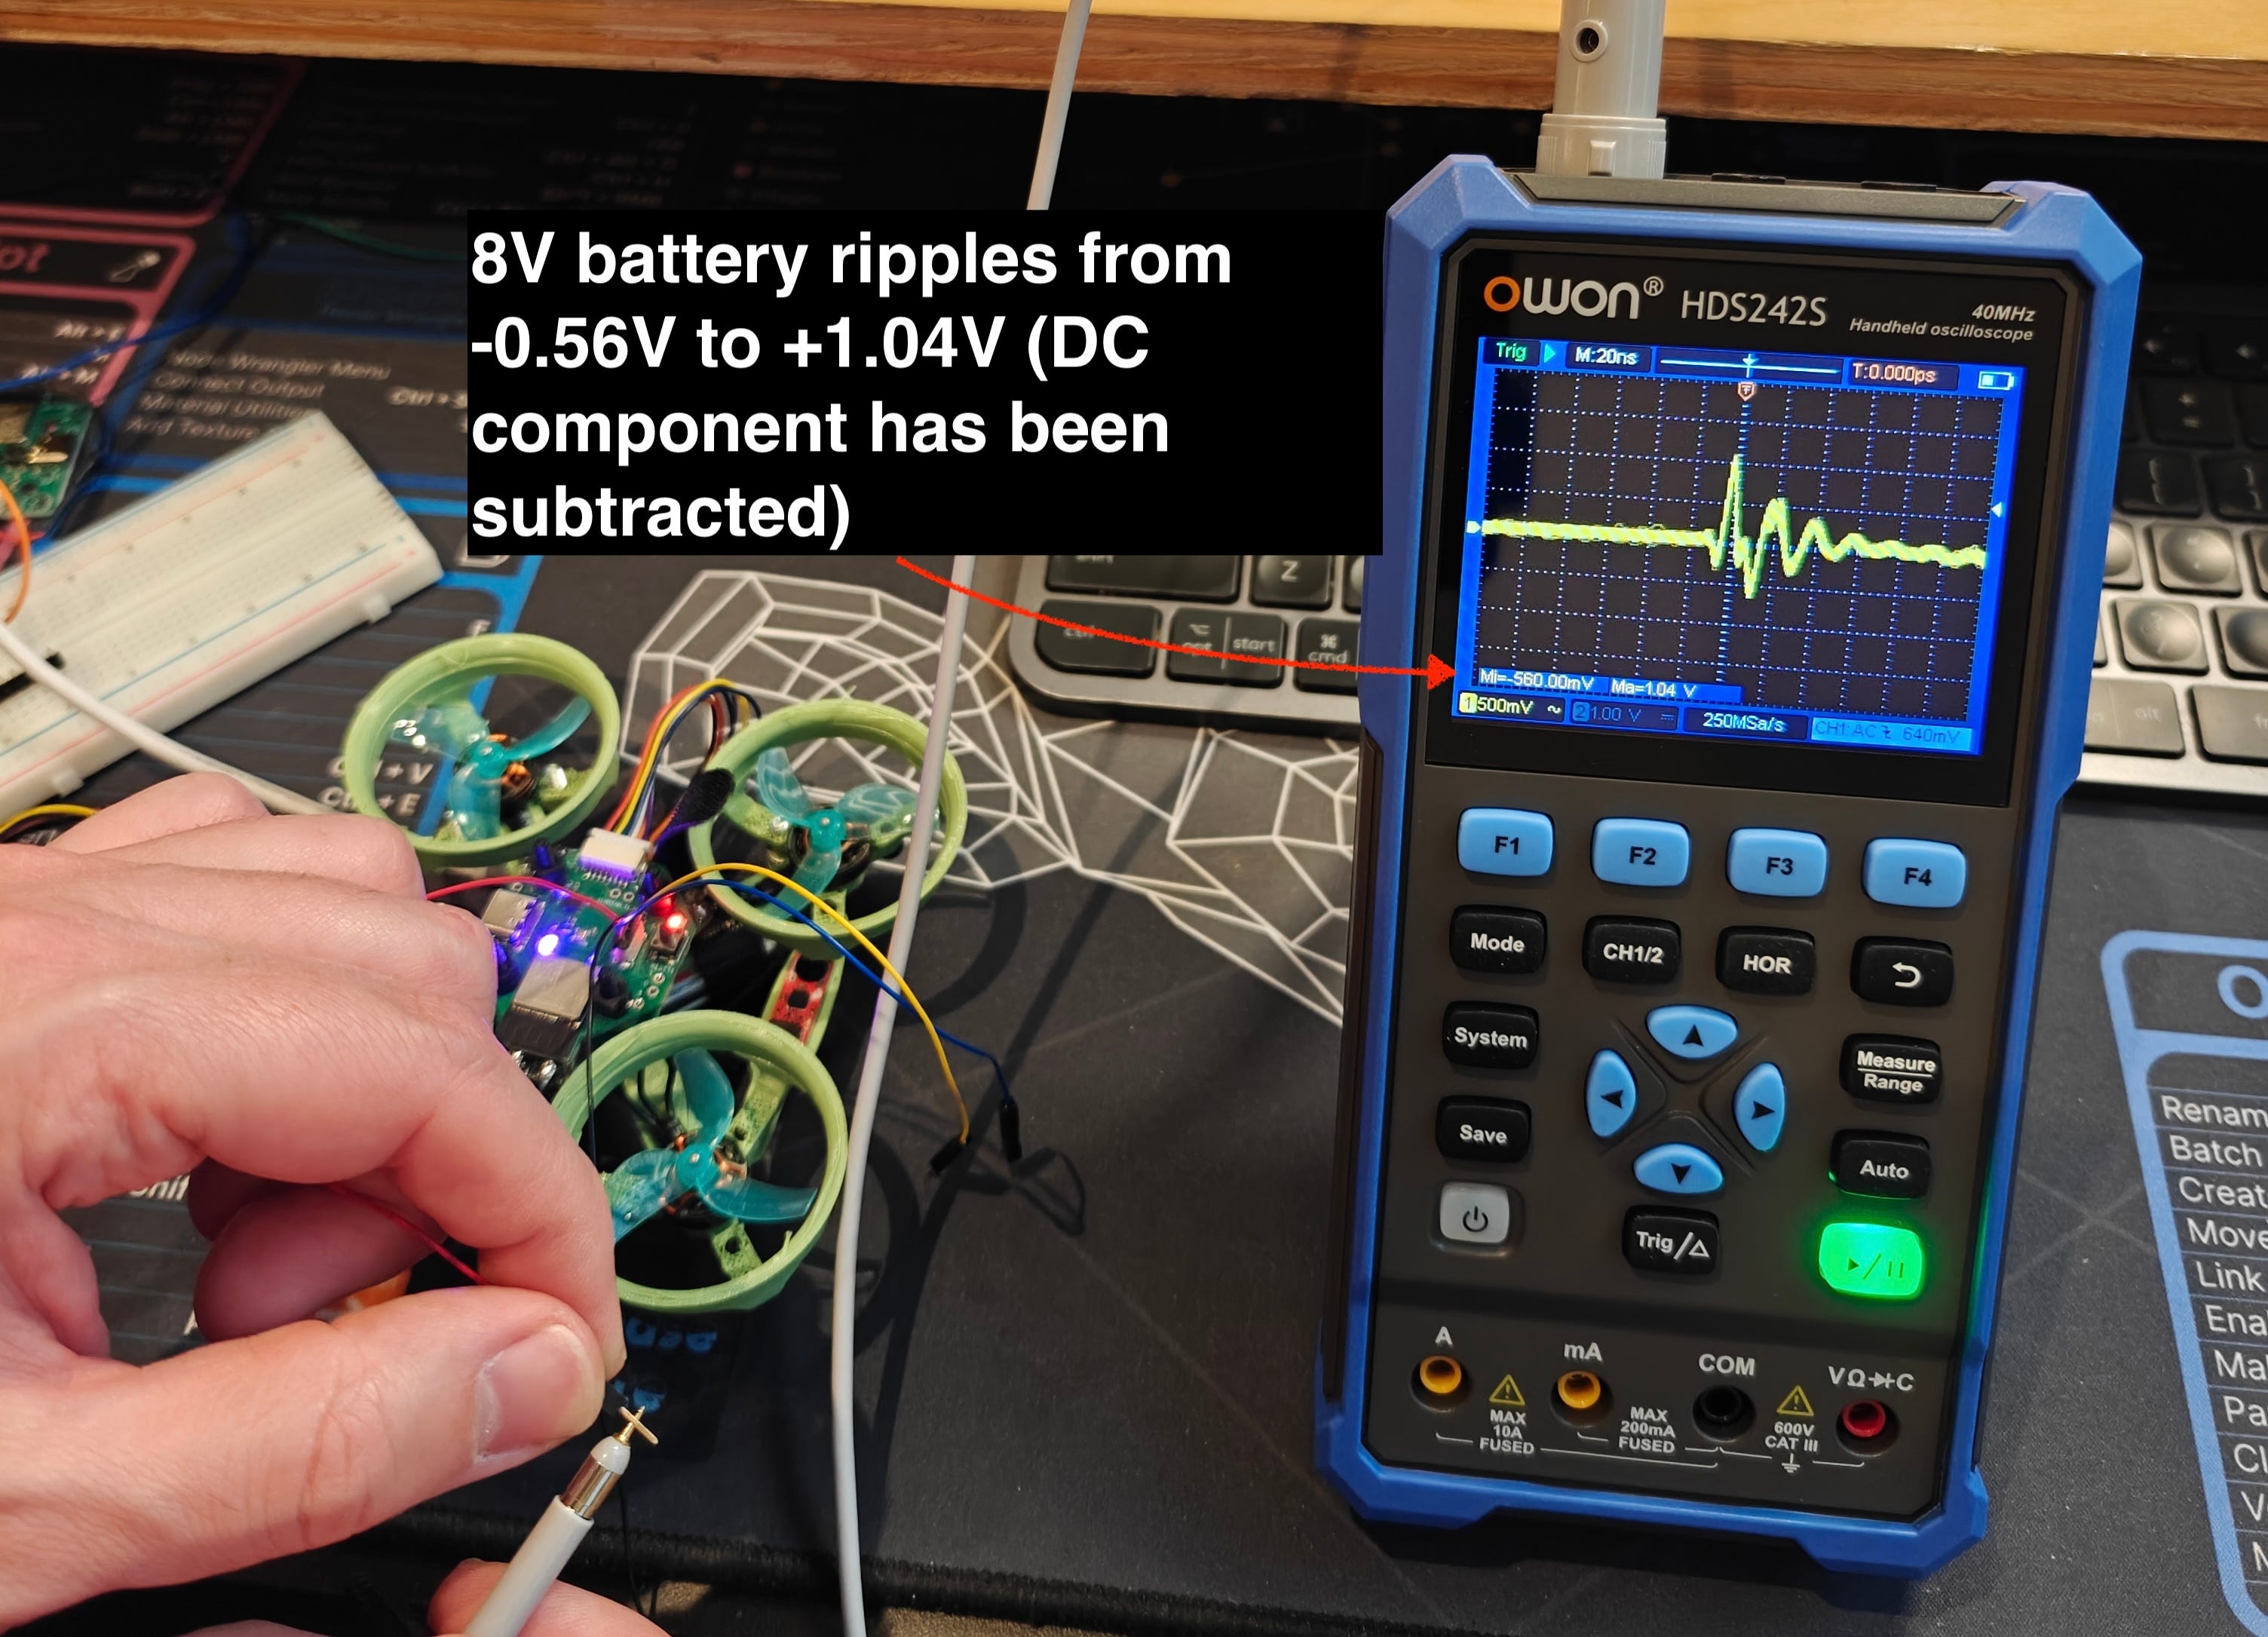
This switching causes ripples in the voltage line, and if we hook up an oscilloscope to the line we should be able to see these ripples in detail.
To get this magnetometer to work on this board, there’s sadly nothing I can really do. At best I could try to solder some tiny wires to the vias on the board near the magnetometer and use those to attach a capacitor between 3.3V and GND as close to the magnetometer as possible but a) it’s likely I’d cause some damage in trying to accomplish this and b) it seems like it would be a very fragile solution.
Fortunately since I had a Qwiic connector on the board, I was able to purchase a magnetometer with a Qwiic interface and attach it. I lose out a little bit since the BMM150 on the board directly interfaces with the BMI270 IMU and synchronizes its readings with the gyroscope/accelerometer readings, but this isn’t critical for what I’m trying to do.
So we can’t exactly fix this, but we can take this as an opportunity to see how a decoupling capacitor cleans up a noisy power signal. The general idea with a decoupling capacitor is that it absorbs high frequency noise in the power line. Take another look at the pictures of the ripples above and notice the “M: 20ns” in the top left corner. This signifies that each vertical dotted line is 20ns apart, so the ripple you see has a frequency of something like 50MHz. This is the sort of noise that a small capacitor right next to the voltage and ground pins of an IC like the BMM150 is supposed to handle, if you put one into your design of course 😅.
I think the most instructive thing is to see in real time how a signal gets cleaned up when you add a decoupling capacitor.
For this test I went back to an older version of the PCB. Here it’s powered by 5V USB.
And here the board is powered by the 8V battery.
I guess I can’t be sure that the lack of a decoupling capacitor is what kills the BMM150 when I go to battery power. After reviewing my schematic, I noticed I don’t have a decoupling cap for the BMI270, and that seems to work fine, despite also being rated up to 3.6V. That said it’s very clear from this experience that it’s good practice to add decoupling capacitors to all ICs on a board. One of the main reasons I’ve undertaken this project is to learn more about the world of PCBs and embedded engineering and so even though this was frustrating in the moment, it’s exactly the kind of mistake I was hoping to run into. I’ve definitely learned something from this experience and I hope you have as well!