












This post is part 3 of a 3-part series on monitoring MySQL on Amazon RDS. Part 1 explores the key metrics available from RDS and MySQL, and Part 2 explains how to collect both types of metrics.
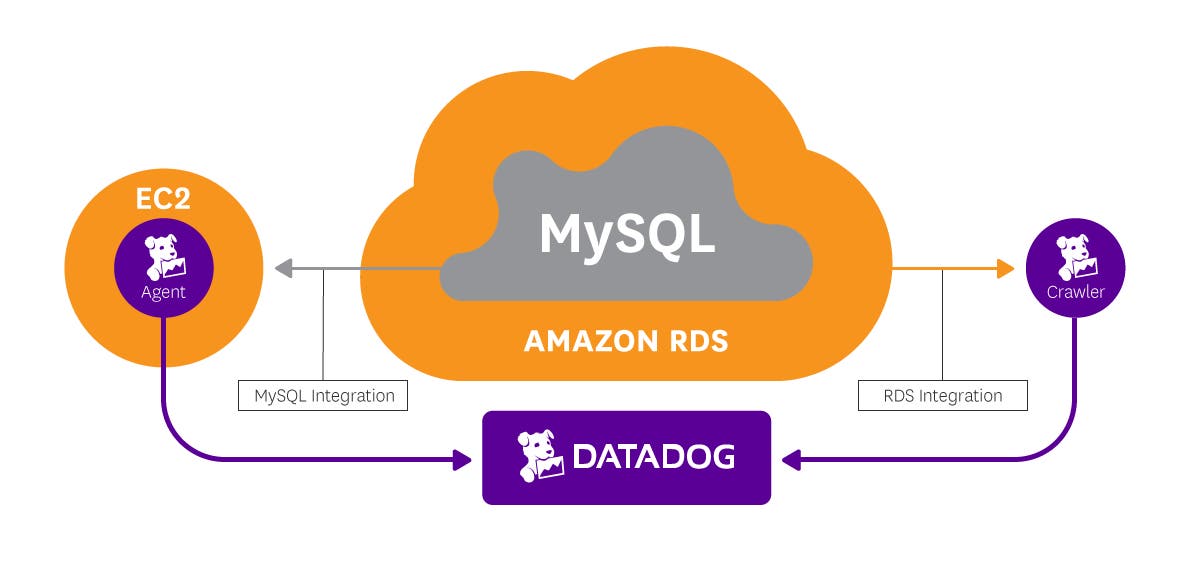
If you’ve already read our post on collecting MySQL RDS metrics, you’ve seen that you can easily collect metrics from RDS and from MySQL itself to check on your database. For a more comprehensive view of your database’s health and performance, however, you need a monitoring system that can integrate and correlate RDS metrics with native MySQL metrics, that lets you identify both recent and long-term trends in your metrics, and that can help you identify and investigate performance problems. This post will show you how to connect MySQL RDS to Datadog for monitoring in two steps:
Connect Datadog to CloudWatch to gather RDS metrics
Integrate Datadog with MySQL to gather native metrics
For an even more expansive view of your database instances, you can enable the new RDS enhanced monitoring feature, which provides more than 50 system-level metrics at a frequency as high as once per second. Those metrics can be ingested into Datadog for monitoring in just minutes:
Monitor RDS enhanced metrics with Datadog
To start monitoring RDS metrics, you will need to configure the AWS CloudWatch integration, which requires read-only access to your AWS account. In order to do this, you’ll need to set up role delegation in AWS IAM, create a new role for Datadog, and attach a policy that grants the Datadog role read-only access to your AWS services. See the integration documentation for detailed instructions and permissions information.
After you’ve created the Datadog role, fill in your AWS account ID and the name of your role in the “Role Delegation” tab of the AWS integration tile in Datadog. Check off “RDS” under the “Limit metric collection” section, as well as any other services you wish to monitor.
As explained in Part 1, RDS provides you with several valuable metrics that apply to MySQL, Postgres, SQL Server, or any of the other supported RDS database engines. To collect metrics specifically tailored to MySQL, however, you must monitor the MySQL instance itself.
Datadog’s Agent integrates seamlessly with MySQL to gather and report key performance metrics, many of which are not available through RDS. Where the same metrics are available through the Agent and through basic CloudWatch metrics, Agent metrics should be preferred, as they are reported at a higher resolution. Installing the Agent is easy: it usually requires just a single command, and the Agent can collect metrics even if the MySQL performance schema is not enabled and the sys schema is not installed. Installation instructions for different operating systems are available here.
Because RDS does not provide you direct access to the machines running MySQL, you cannot install the Agent on the MySQL instance to collect metrics locally. Instead you must run the Agent on another machine, often an EC2 instance in the same security group. See Part 2 of this series for more on accessing MySQL via EC2.
Collecting MySQL metrics from an EC2 instance is quite similar to running the Agent alongside MySQL to collect metrics locally, with two small exceptions:
Instead of localhost as the server name, provide the Datadog Agent with your RDS instance endpoint (e.g., instance_name.xxxxxxx.us-east-1.rds.amazonaws.com)
Tag your MySQL metrics with the DB instance identifier (dbinstanceidentifier:instance_name) to separate database metrics from the host-level metrics of your EC2 instance
The RDS instance endpoint and DB instance identifier are both available from the AWS console. Complete instructions for configuring the Agent to capture MySQL metrics from RDS are available here.
Once you have set up the Agent, all the metrics from your database instance will be uniformly tagged with dbinstanceidentifier:instance_name for easy retrieval, whether those metrics come from RDS or from MySQL itself.
Once you have integrated Datadog with RDS, a comprehensive dashboard called “Amazon - RDS (MySQL)” will appear in your list of integration dashboards. The dashboard gathers the metrics highlighted in Part 1 of this series: metrics on query throughput and performance, along with key metrics around resource utilization, database connections, and replication status.
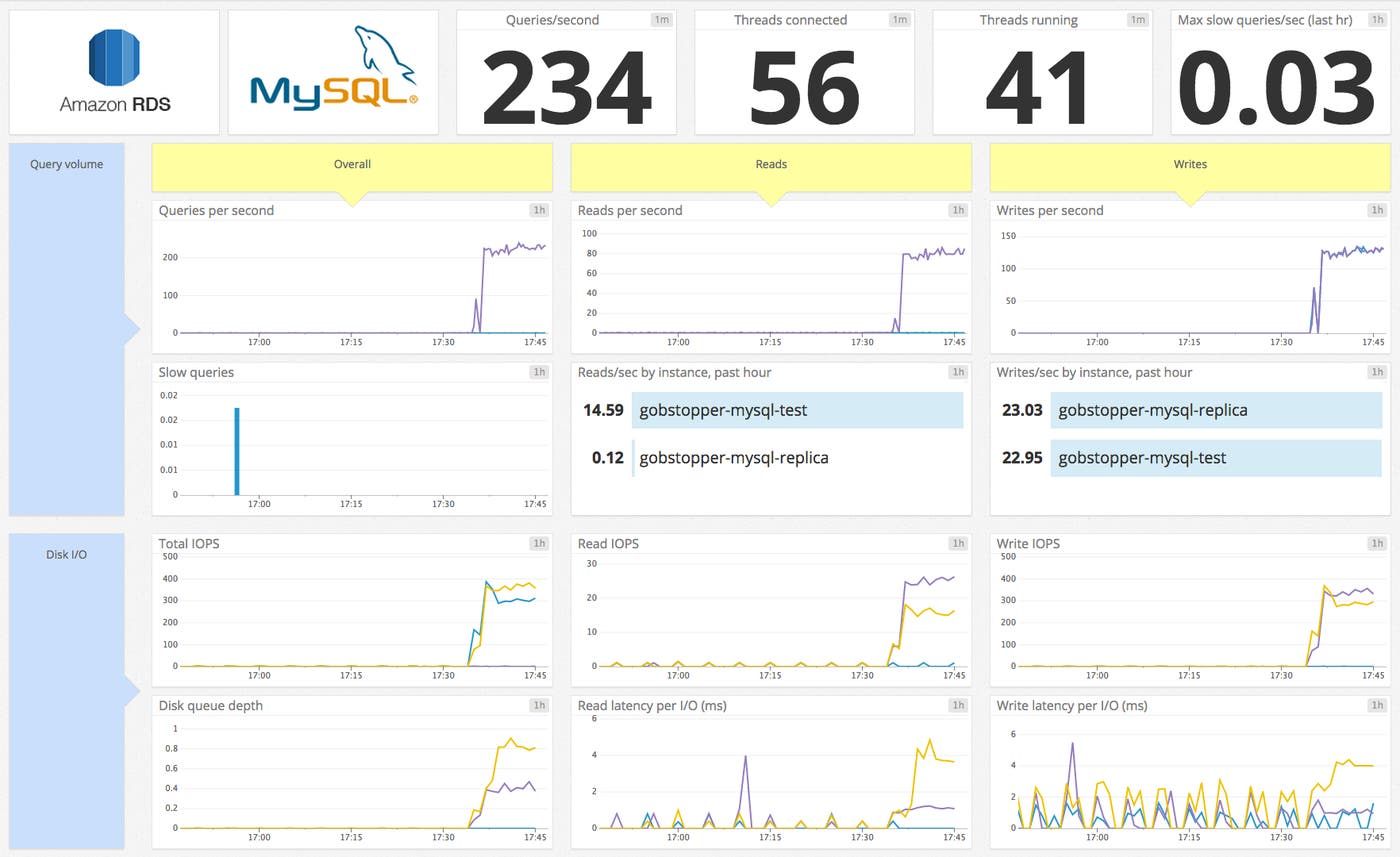
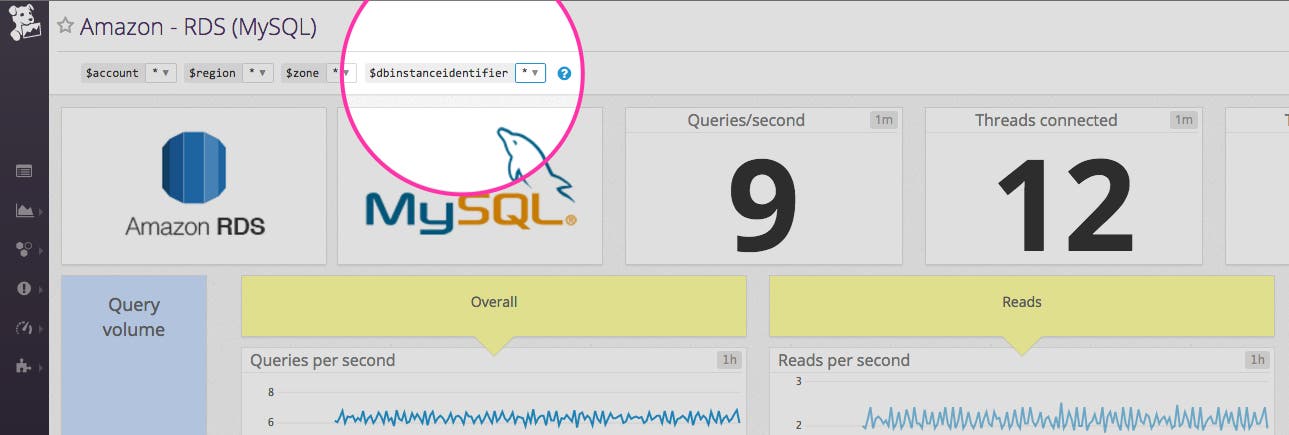
By default the dashboard displays native MySQL metrics from all reporting instances, as well as RDS metrics from all instances running MySQL. You can focus on one particular instance by selecting a dbinstanceidentifier variable in the upper left.
The Datadog Agent can also collect metrics from the rest of your infrastructure so that you can correlate your entire system’s performance with metrics from MySQL. The Agent collects metrics from ELB, NGINX, Redis, and 1,000+ other infrastructural applications. You can also easily instrument your own application code to report custom metrics to Datadog using StatsD.
To add more metrics from MySQL or other systems to your RDS dashboard, clone the template dash by clicking on the gear in the upper right.
AWS provides the option to enable enhanced monitoring for RDS instances running MySQL, MariaDB, Aurora, and other database engines. Enhanced monitoring includes more than 50 new CPU, memory, file system, and disk I/O metrics that can be collected on a per-instance basis as frequently as once per second.
AWS has worked with Datadog to help customers monitor this high-resolution data. With a few minutes of work your enhanced RDS metrics will immediately begin populating a pre-built, customizable dashboard in Datadog.
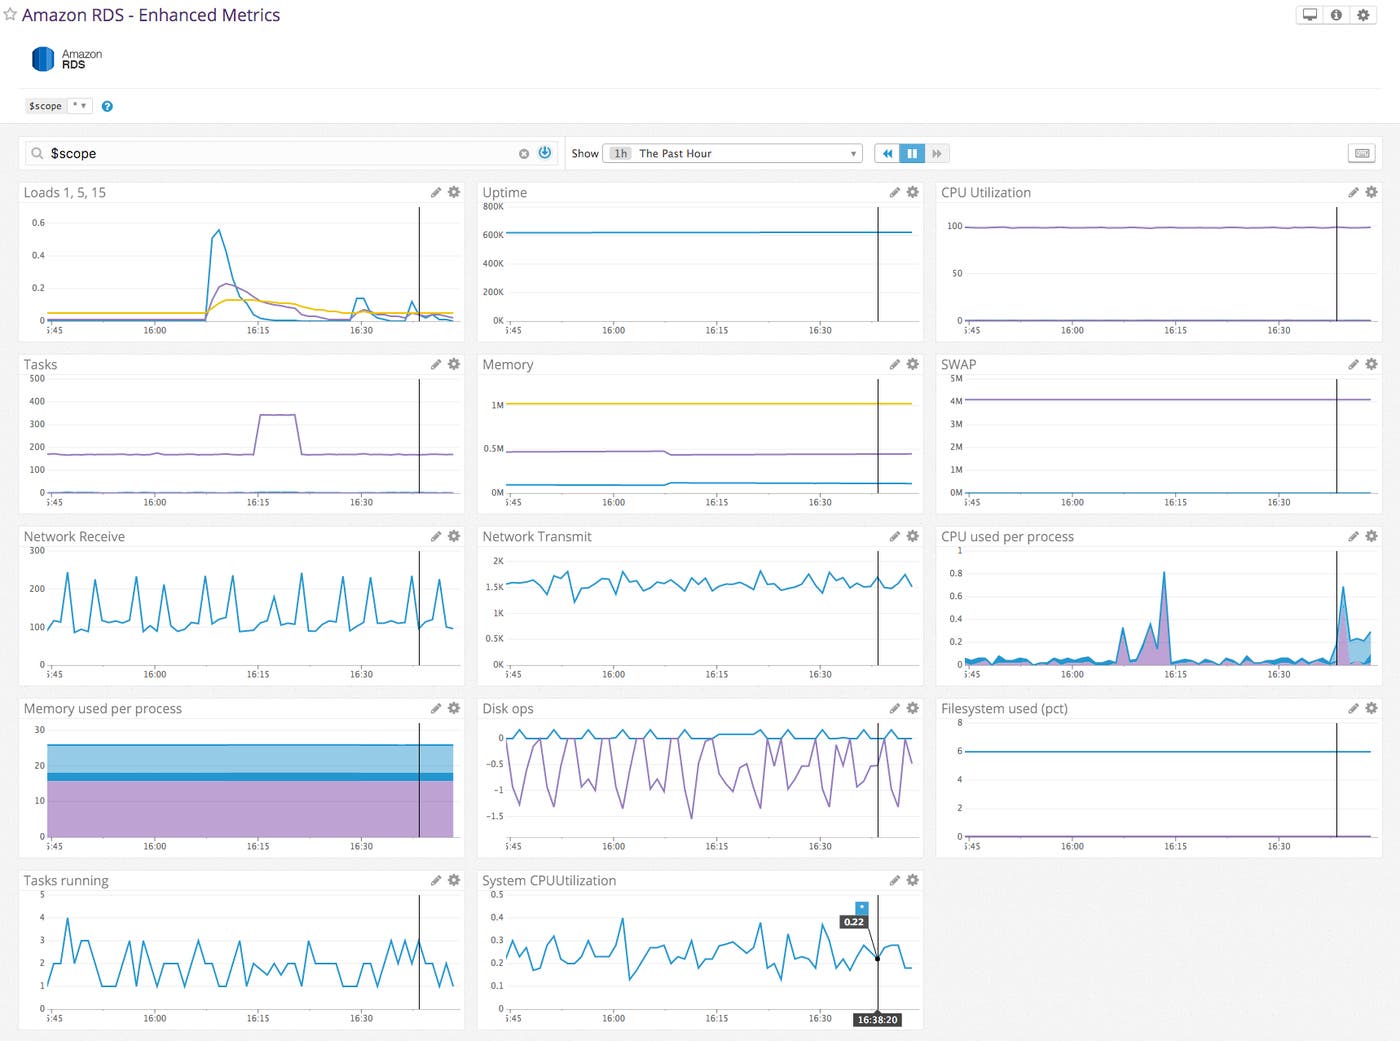
You can enable enhanced RDS metrics during instance creation, or on an existing RDS instance by using the RDS Console. When you enable enhanced RDS metrics, the metrics will be written to CloudWatch Logs. You can then use a ready-made Lambda function (available in the AWS Serverless Application Repository) to process those metrics and send them to Datadog. Enhanced metrics can be collected even if you do not use the Datadog Agent to monitor your RDS instances.
To set up Datadog’s RDS Enhanced integration, follow the instructions in our documentation.
Once you have enabled “RDS” in Datadog’s AWS integration tile, Datadog will immediately begin displaying your enhanced RDS metrics. You can clone the pre-built dashboard for enhanced metrics and customize it however you want: add MySQL-specific metrics that are not displayed by default, or start correlating database metrics with the performance of the rest of your stack.
In this post we’ve walked you through integrating RDS MySQL with Datadog so you can access all your database metrics in one place, whether standard metrics from MySQL and CloudWatch or enhanced metrics from RDS.
Monitoring RDS with Datadog gives you critical visibility into what’s happening with your database and the applications that depend on it. You can easily create automated alerts on any metric, with triggers tailored precisely to your infrastructure and your usage patterns.
If you don’t yet have a Datadog account, you can sign up for a free trial and start monitoring your cloud infrastructure, your applications, and your services today.
此内容由惯性聚合(RSS阅读器)自动聚合整理,仅供阅读参考。 原文来自 — 版权归原作者所有。