A while back I built a 486-based machine to play with some late 80s / early 90s games, as well as try out hardware of the era. I blogged about the process here, with an update here. I really enjoyed using this setup, but I wondered if I could improve it enough to run Quake well. A new journey began…
For this upgrade, there were a few things I wanted:
I set myself a total budget of £75 and searched for the parts needed. For spares / repairs was fine, but I’d inspect photos first to make sure it is something worth repairing.
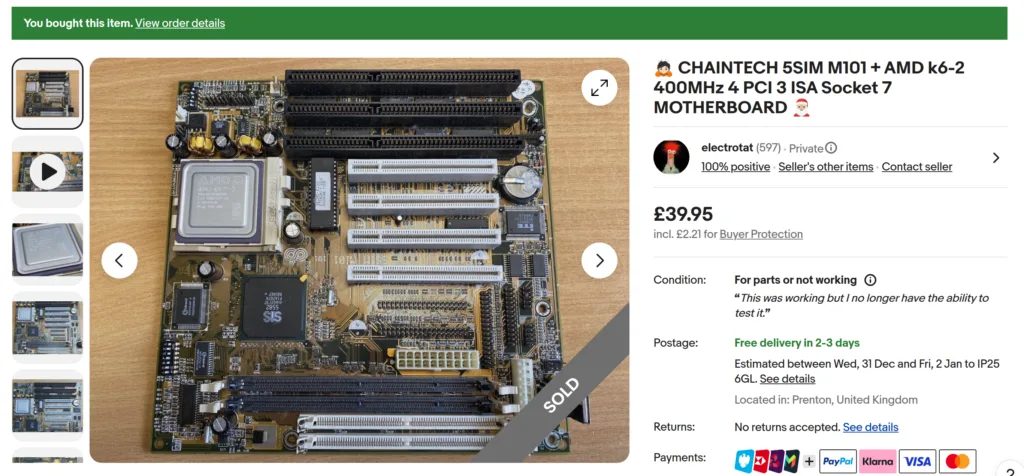
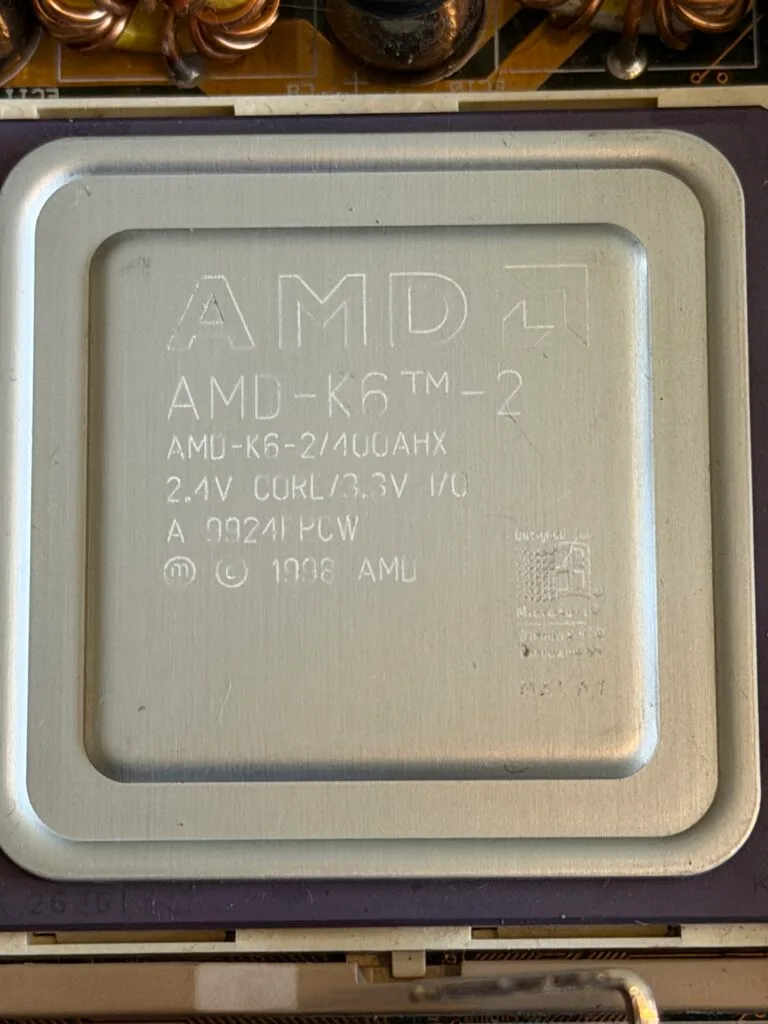
Whilst going through Socket 7 motherboards, I found this motherboard/CPU combo. It is a bit overkill, the CPU is an AMD K6-2 400MHz. It is still Pentium MMX class, just a bit faster.
The Retro Web has lots of information on this board, including hidden settings.
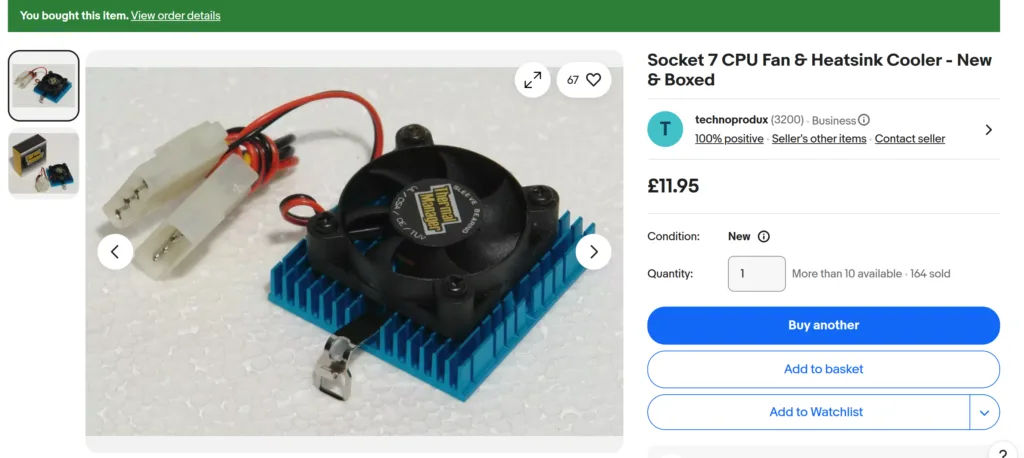
I need a heatsink and fan for this, a Socket 370 one would technically work, but they typically have stronger springs that can break Socket 7 hooks. So, I found this one:
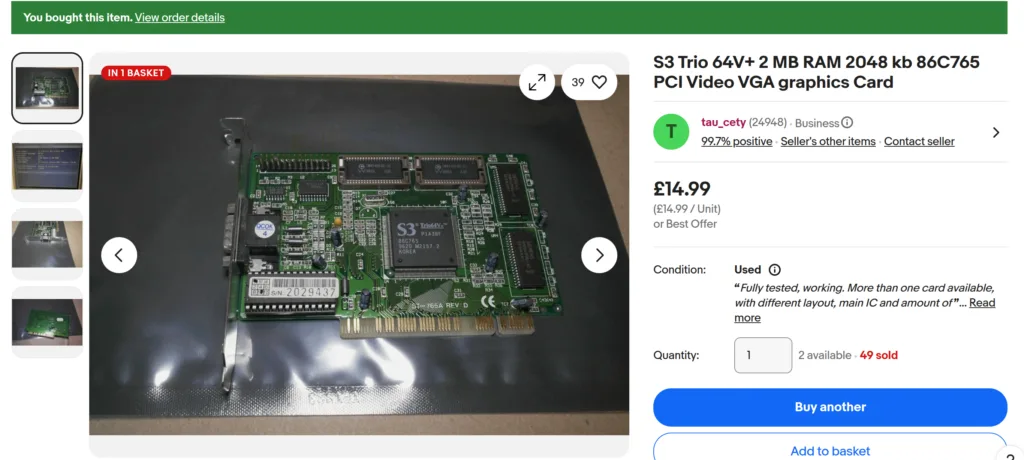
Finally, a graphics card. I may upgrade this later, but this is what I initially found that kept me well within budget:
I’m at £66.98, a little under-budget. I have everything else I need here already, so I’m crossing fingers that I can get it all working.
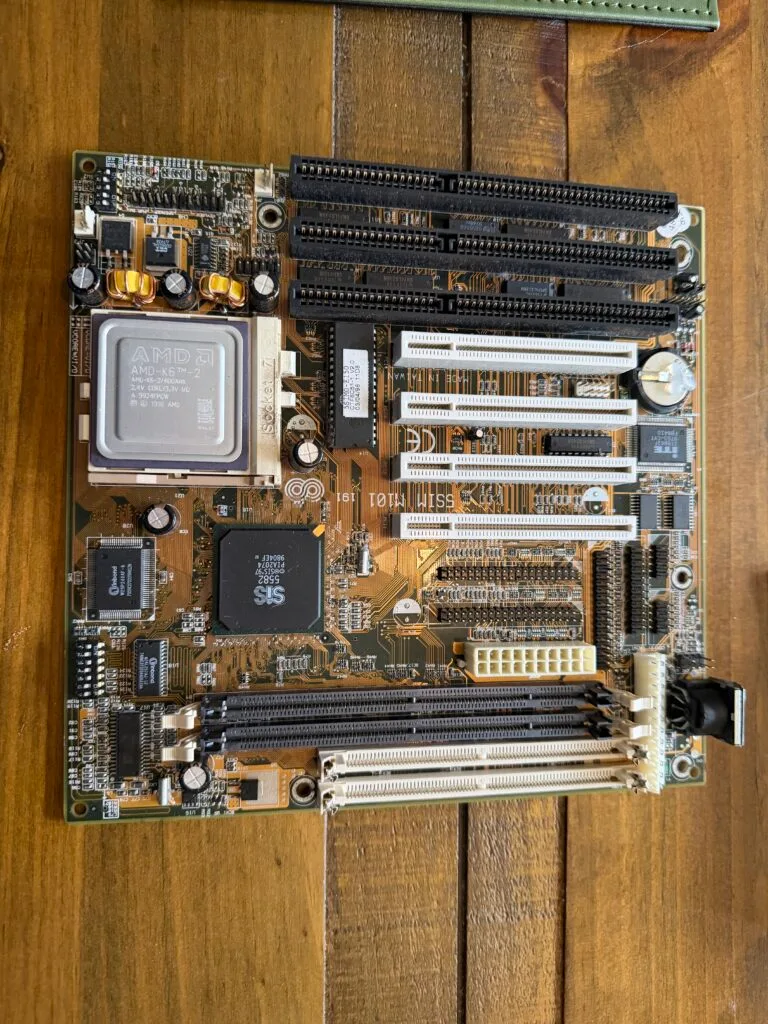
The motherboard arrived, and the CPU in it is an AMD K6-2/400AHX. This is a slightly unusual variant because many of that era operated at 2.2V. In fact, I couldn’t find many examples at all of a 400AHX when searching around.
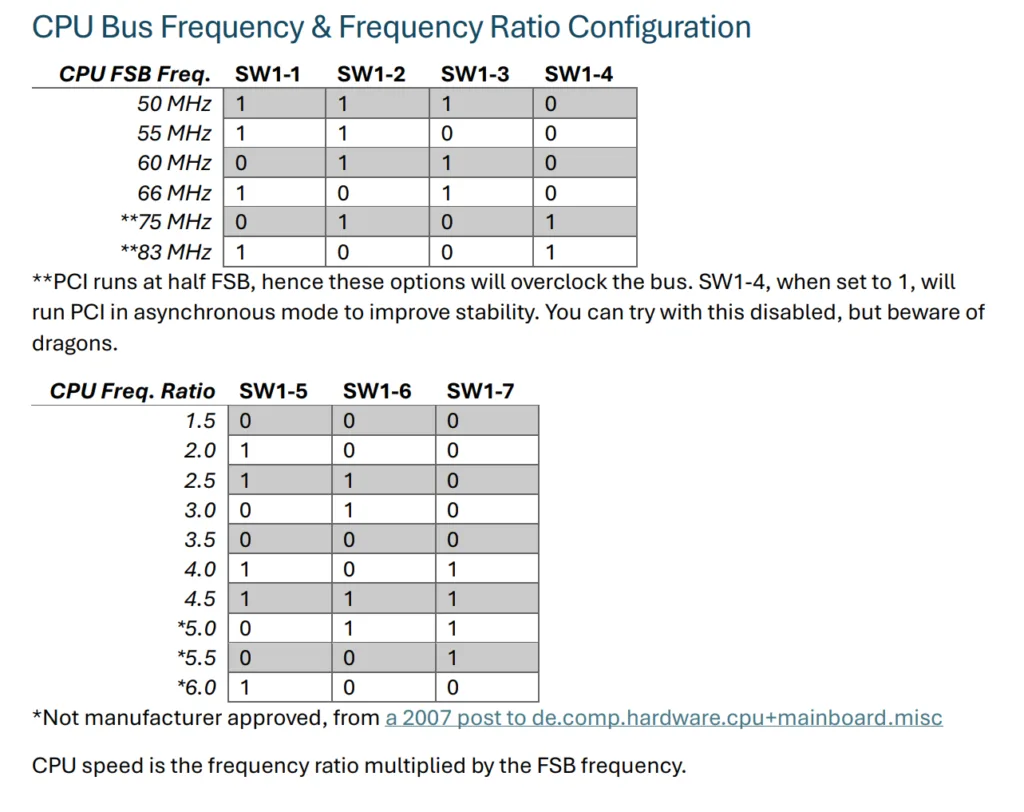
I compared the jumpers on the motherboard to those on the documentation.
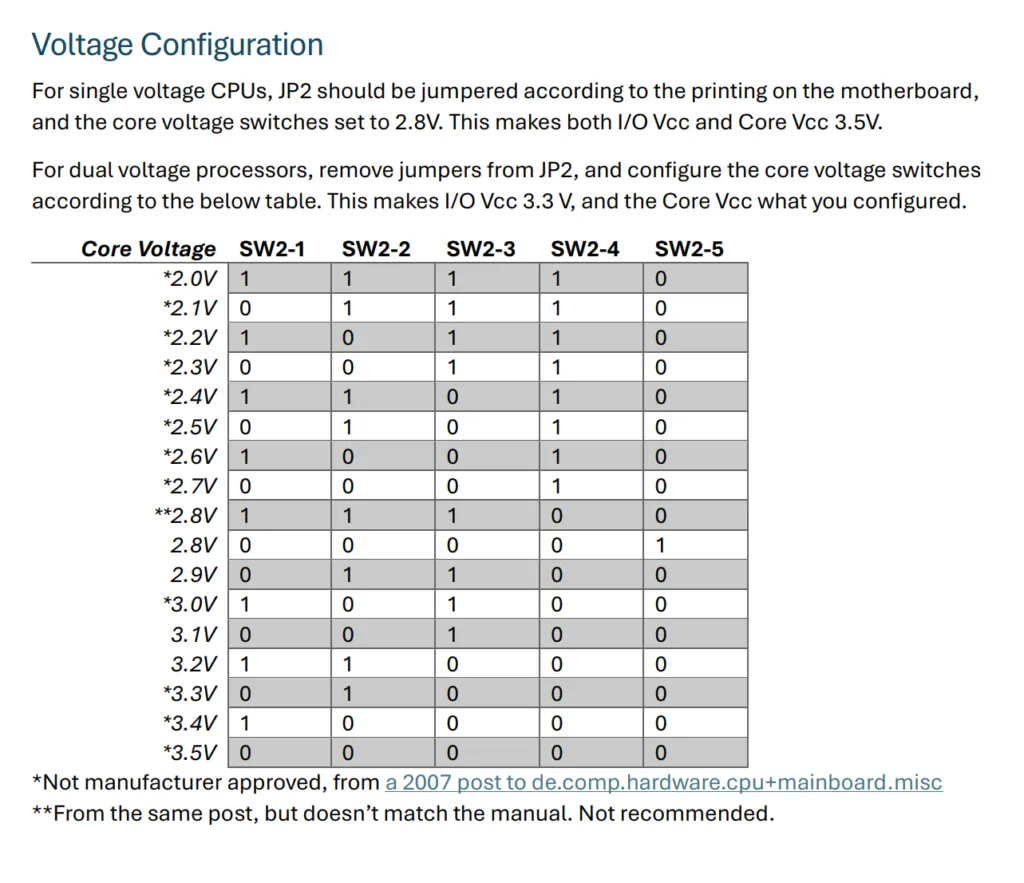
The CPU frequency was set to 6x 66MHz (2x and 6x are the same setting). This is correct when 100MHz is not available. But the voltage switches seemed “wrong”, they were set to 3.0 V. I changed these to 2.4 V straight away. I’m glad I checked these before powering up.
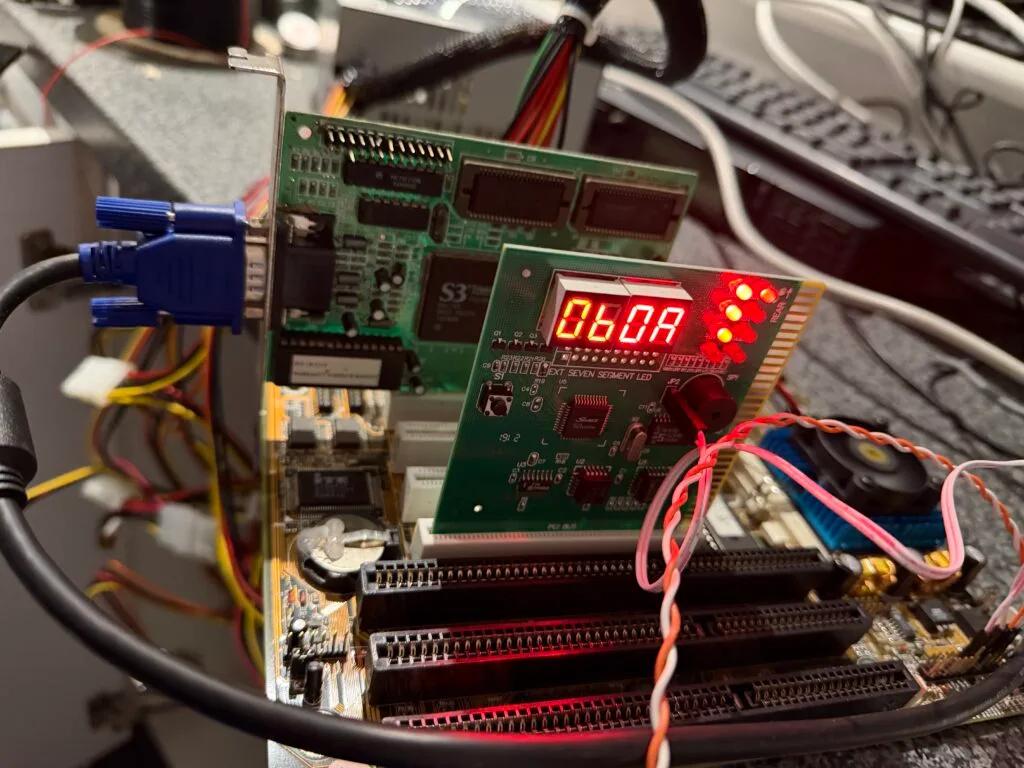
Now for testing. I popped on a blob of thermal paste and added the heatsink. One thing I didn’t buy was RAM. But that is fine. I have many SIMMs available, so popped 2x 32MB 60ns EDO SIMMs into the board. I added the video card and a POST diagnostics card, just in case it didn’t boot.
I nervously hit the power button. No video appeared and the POST card stopped on the following code:
0B is the current POST code, 0A is the previous. This code means “Test CMOS RAM Checksum”. Which makes sense, it was put in storage by the previous owner, the battery is likely dead.
I popped in a new CR2032 battery and did a CMOS reset sequence (flipping a jumper for 10 seconds and then putting it back again).
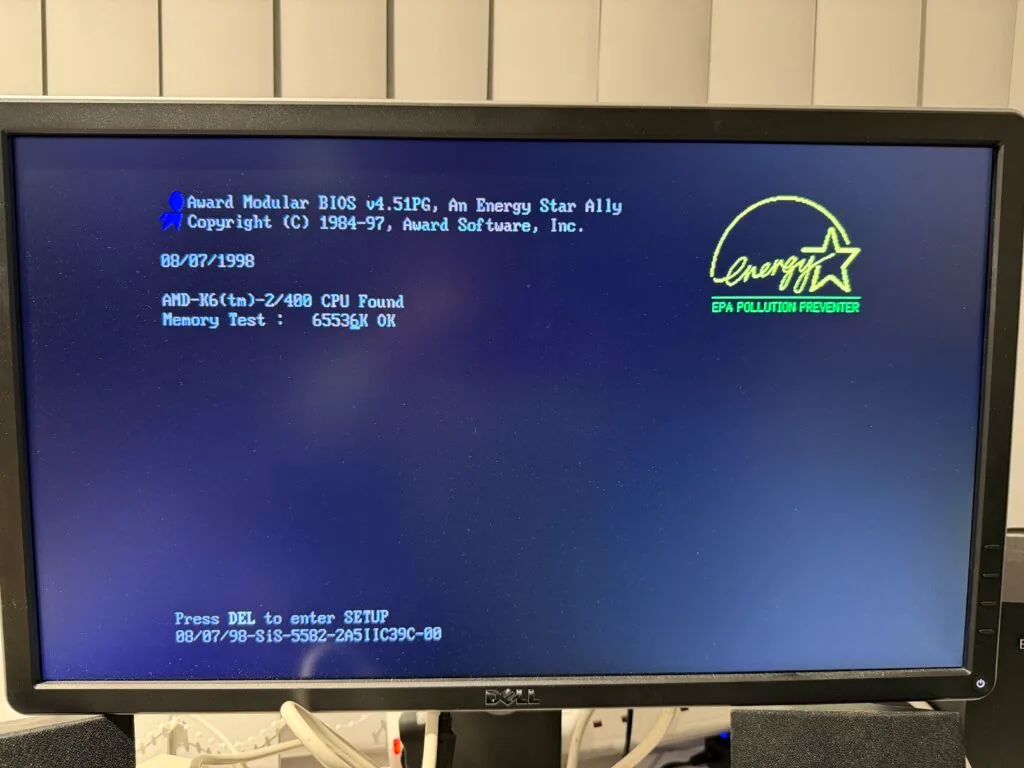
This time, it actually booted!
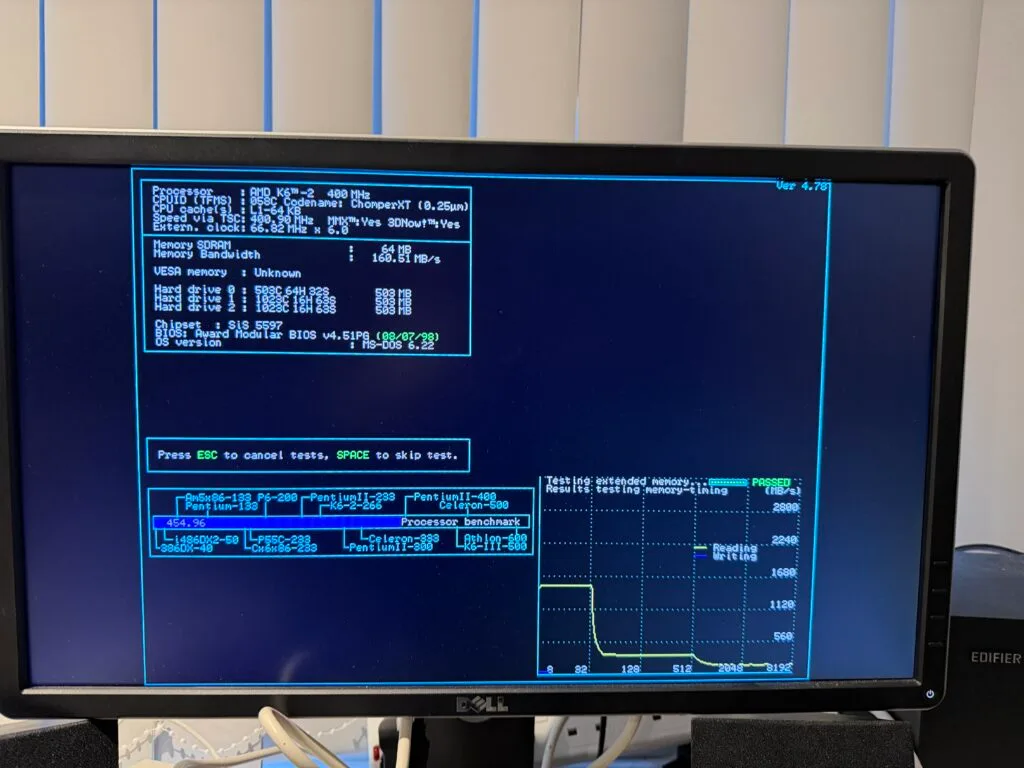
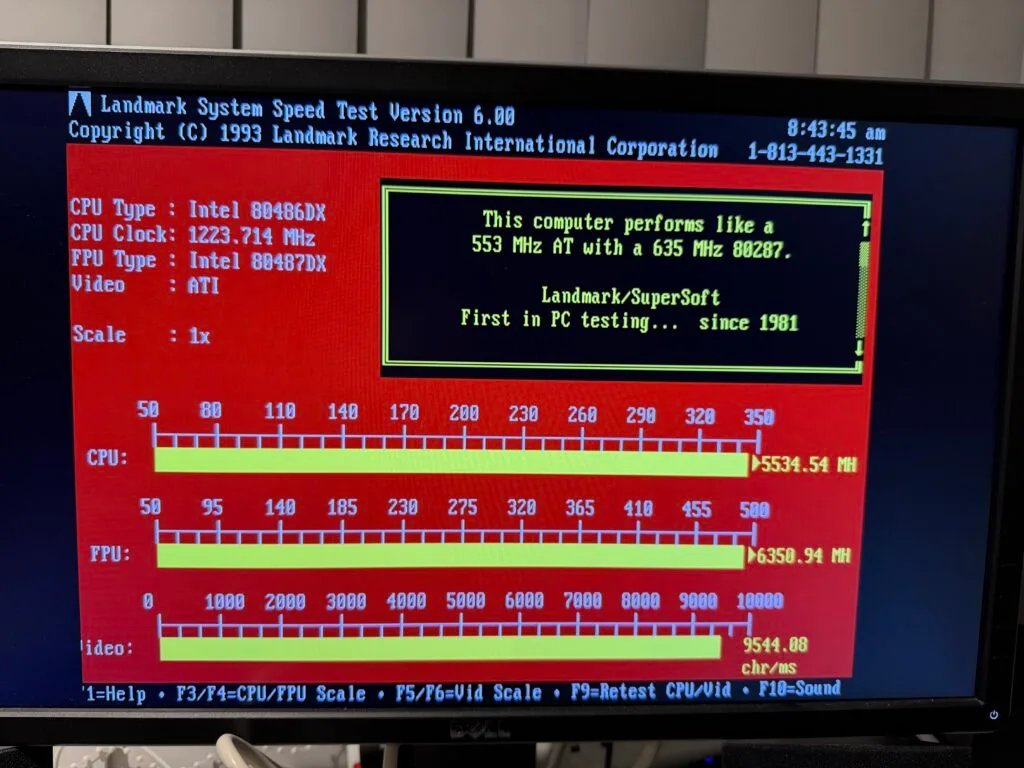
I dug through a pile of SCSI cards and found an Adaptec 16160 PCI card. Again, probably a large overkill, but it will work with my BlueSCSIv2 and it is what I had spare. From here I was able to run some tests:
Everything here looks correct. I haven’t tweaked the BIOS settings at this point, and I know the SIMMs are set to 70 ns by default. I should at least be able to tweak this.
Now that I know the board works, I pulled my 486 board out of my case, along with the ATX -> AT power converter. This new board supports AT and ATX power, so I figured I’d use ATX. This also meant swapping the power button back to a motherboard soft power switch instead of a latching switch on the ATX -> AT converter to turn on the machine.
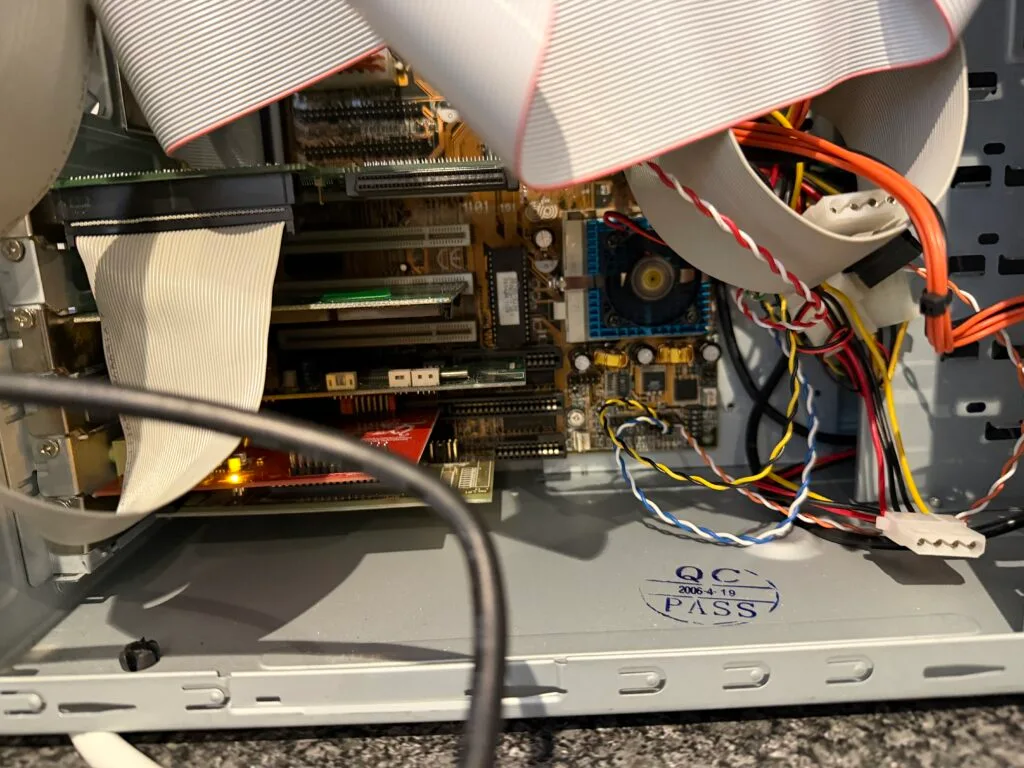
The new motherboard went in, along with the PCI video card and SCSI card. I also put in my two sound cards and serial port card. The motherboard has onboard serial ports, but I do not have cables for these.
I then hooked up the buttons, LEDs and speaker. It definitely isn’t tidy for now, but it functions.
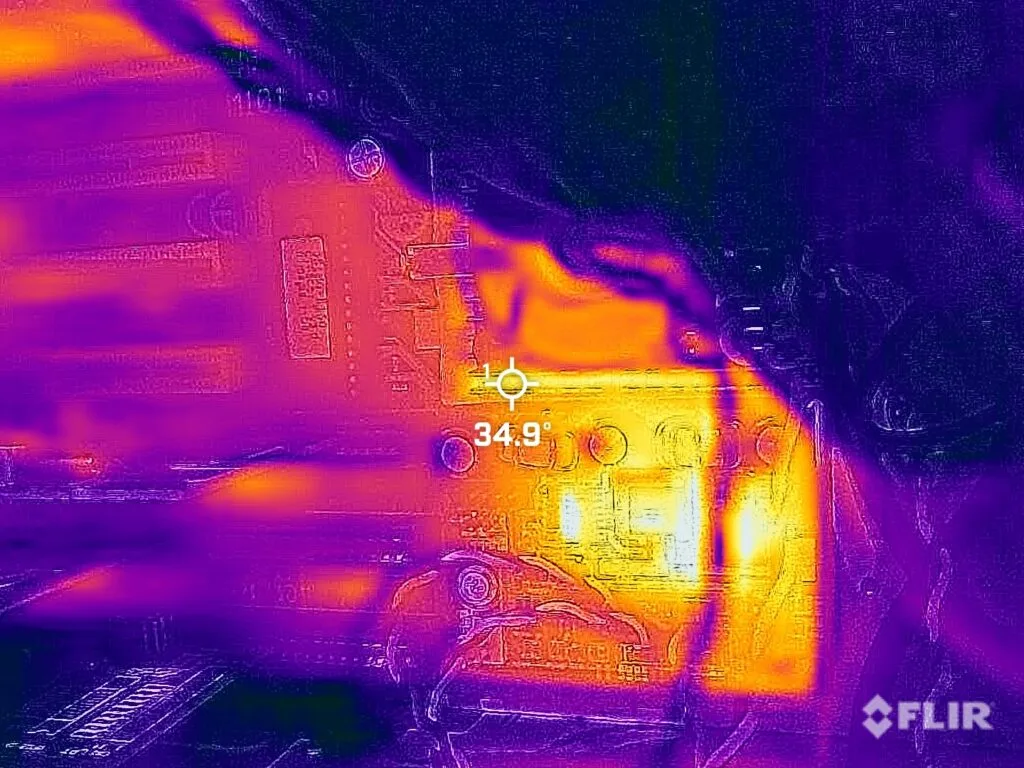
The heatsink is a little small compared to even a Pentium 3 one. So, after a few minutes, I checked it with a thermal camera to make sure it wasn’t getting too hot.
It is 35°C at the hottest point, in fact the buck converters providing the CPU power were running hotter. So, nothing to worry about there.
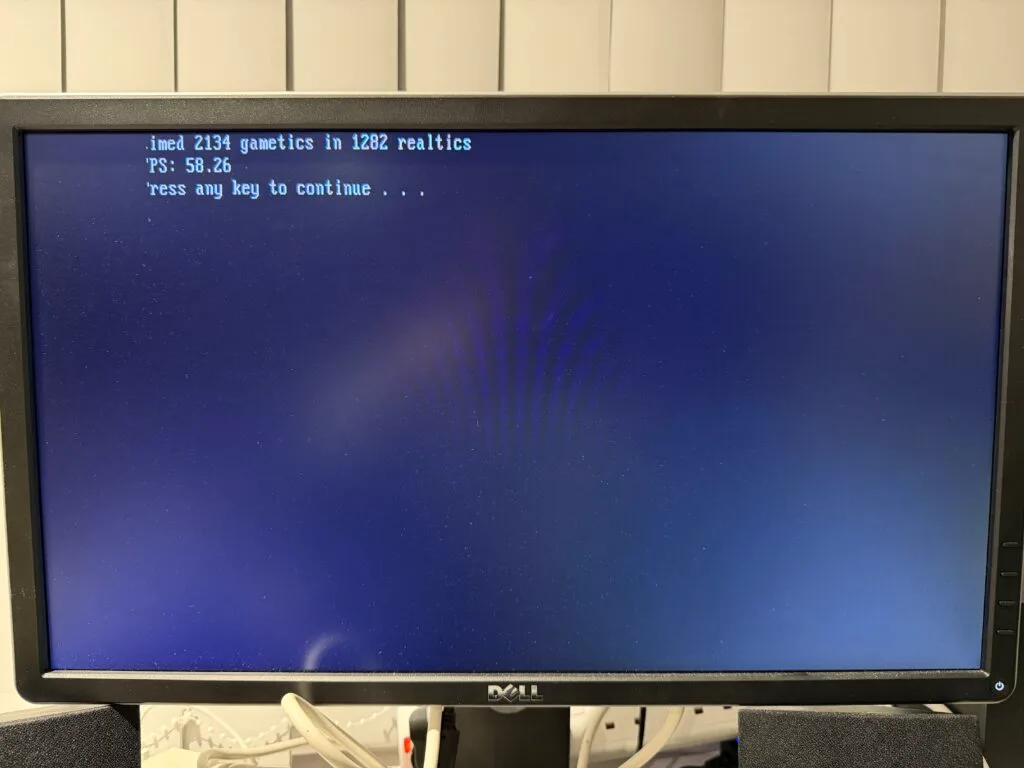
Now that the system is built, let’s run some benchmarks. I used Phil’s Computer Lab benchmarks for this. First of all, Doom in Faster PC mode:
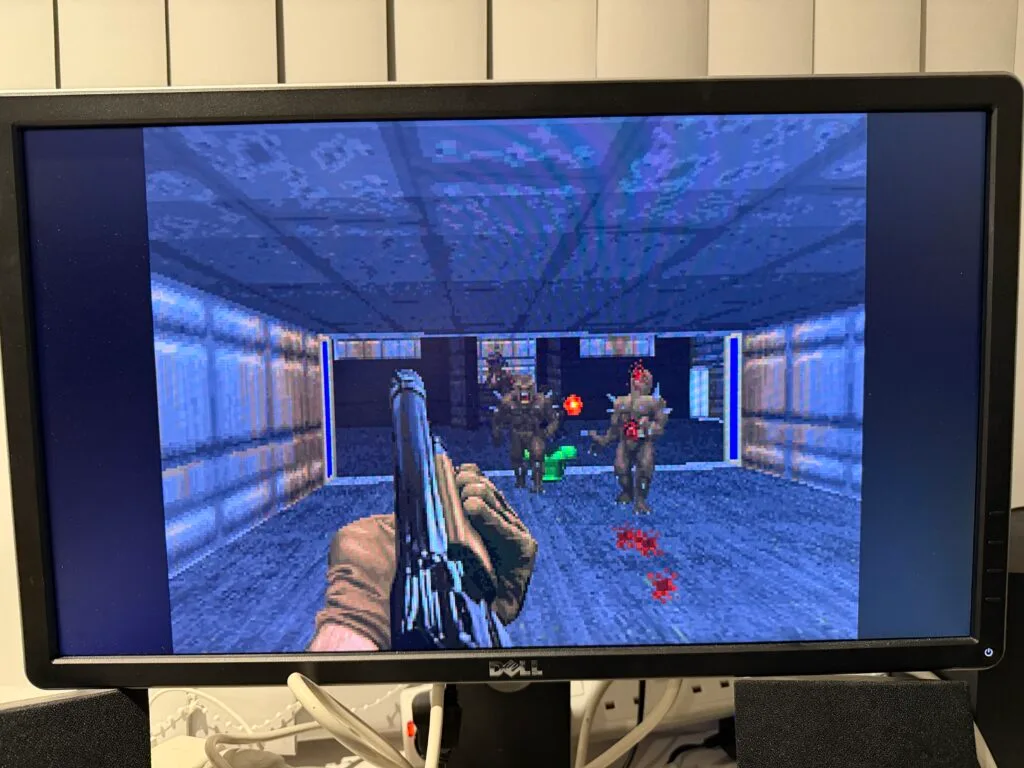
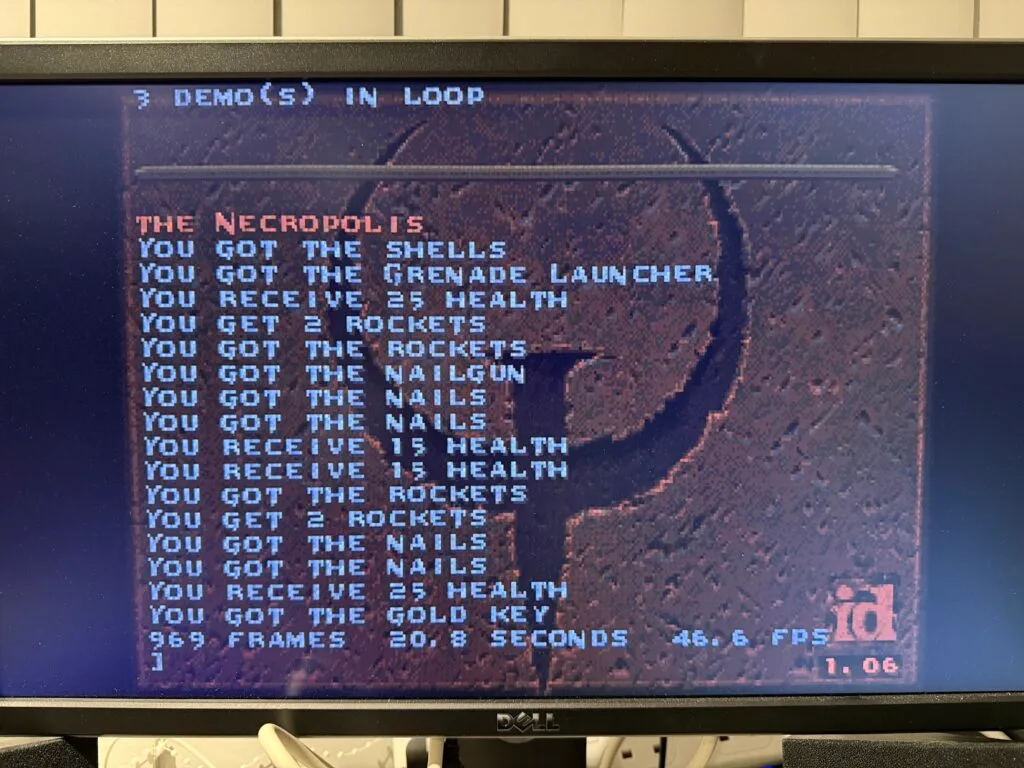
How about Quake?
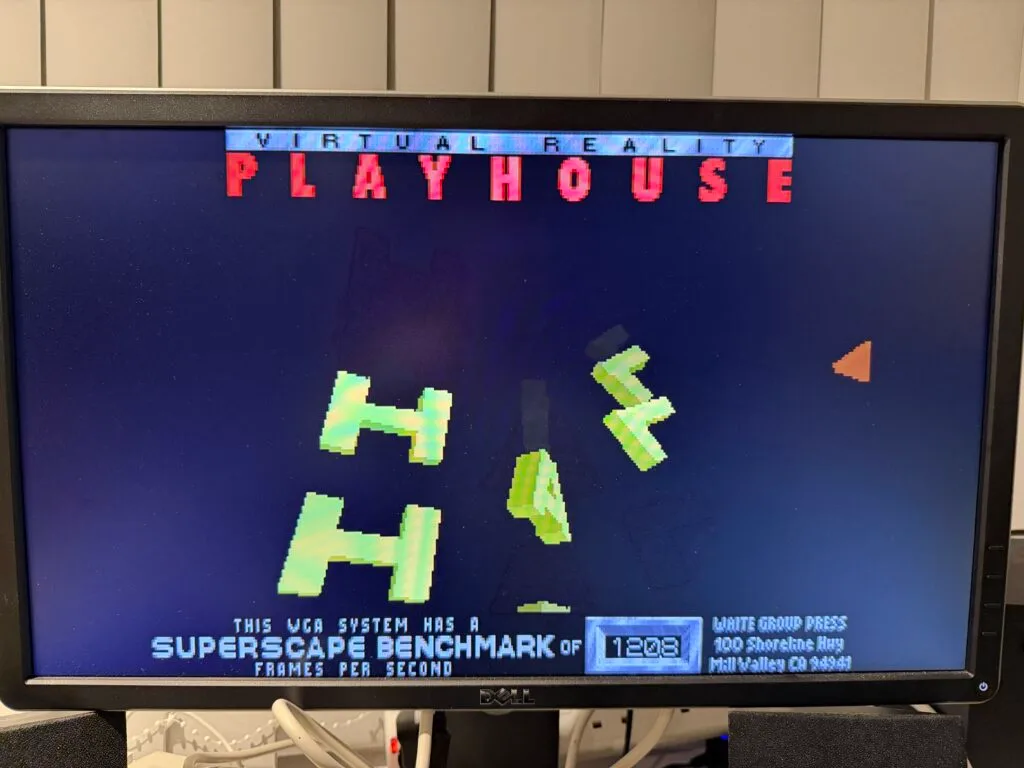
Pretty snappy! Finally some benchmarks that aren’t quite as useful…
I fully suspect that the S3 card is probably the bottleneck more than the CPU is. But I have a very nice DOS build here, that I’ll be using for several projects in the future.
此内容由惯性聚合(RSS阅读器)自动聚合整理,仅供阅读参考。 原文来自 — 版权归原作者所有。