










Play bad title pun games, win bad title pun prizes.
The Chattie hat continues to tempt and taunt me. After my first test Chattie came out OK despite some major issues during construction, and my second Chattie didn’t work out.
Producer Amy has ultimately adopted the “test” Chattie as her own, wearing it through this strange NYC winter, and even held onto it when a friend and colleague politely but firmly attempted to transfer ownership. Consequently, I received a commission request for a new Chattie.
Planning-wise, the commission called for something in dark colors, slightly smaller than the one Amy wore, but similarly fuzzy and warm. I had a spool of fuzzy cotton from the “Skinny Latte” series that I picked up at Fab Scrap in black, that should work exactly as well as the white yarn I used for the “test” hat.
Construction began with the top body, which is knit sideways with 10 sections of short rows. It went astonishingly smoothly! This yarn is quite thick, knitting at a T9 tension when doing single-bed, and T4 on both carriages for ribbing. My tension mast also didn’t want to feed this yarn nicely, but I settled into a rhythm of moving the carriage slowly and pausing as needed to pull more yarn through.
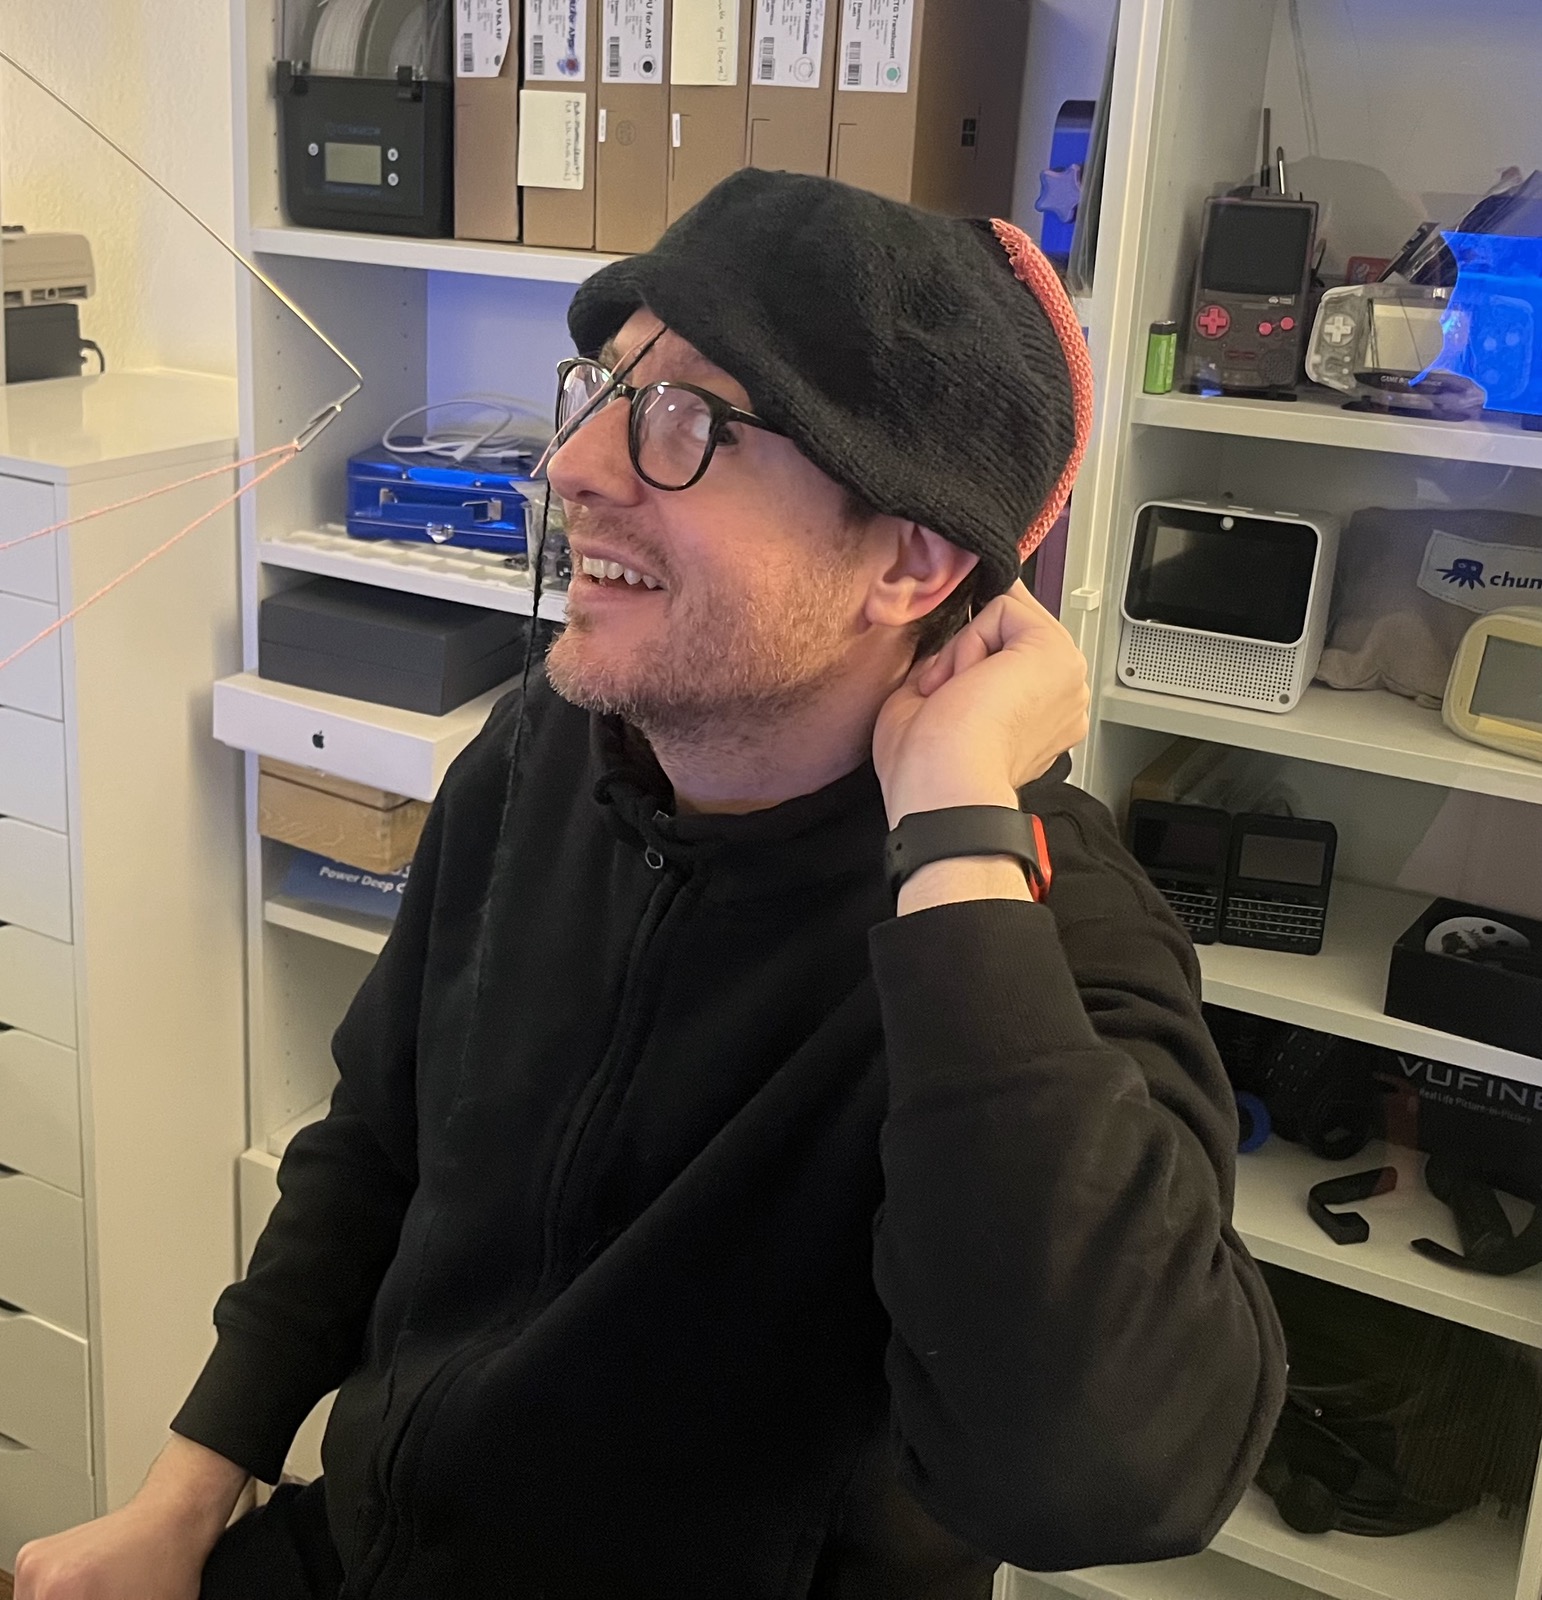
I’ve been watching eBay for accessories for my standard gauge Brother knitting machine setup, which has included a Brother KA-8300 Transfer Carriage and a Brother KA-8310 Linker Carriage.
I knit about 3.5" inches worth of 1x1 rib, across enough stitches to form a reasonable circumference for the brim of the hat. After the Dishcloth Chattie fiasco, I knew to use make the rib at least 2/3 the number of needles wide as there were rows in the top of the cap.
When done with the ribbing, I used the Transfer Carriage to move the stitches from the front ribber bed onto the empty stitches on the main bed. This mostly worked, actually, leaving me with just a couple to transfer by hand.
I then took the whole brim off on waste yarn. This got a bit weird, with not every stitch actually knitting cleanly onto the first row of waste yarn. I managed it, but it was weird, and probably caused problems to come. I believe I should have knit a final row of regular knitting before taking things off onto waste yarn.
For the next step, I could have grafted / seamed the brim and hat body together by hand, but I really wanted to use my new Linker Carriage. So, after thoroughly reading the manual several times, I:
Or, well, that’s how it was supposed to go.
I had two false starts with the Linker Carriage, followed by one absolute failure which locked the whole thing up, requiring several minutes of struggle to even free the carriage from the machine. In that chaos, I dropped several stitches and several f-bombs.
After leaving it to rest overnight, I came back the next day and finished the loop-through-loop bind-off by hand, then went back and “rescued” the dropped stitches.
Checking my work afterwards, I found that somehow a couple of dozen live stitches from the brim, likely all from the front ribber bed side, had simply not been picked up in my attempt to seam things together. So, I grabbed a sewing needle and a long line of waste yarn, ran it through as a “lifeline” for all the dropped ribbing stitches I could find, and once again the project got to rest for a day or two while I stewed about it.
I have very little in the way of hand-sewing, hand-knitting, or hand-crochet skills, but I finally decided that I could “rescue” these dropped live stitches as if they had been correctly handled on the machine, by running a sewing needle down through the bottom edge of the hat, through a dropped live stitch, pull the stitch up through the edge, then secure it with a knot or a backstitch, depending on how far away the next dropped stitch was. This took at least a couple of hours over a couple of sessions.
Finally, it was time to seam up the side of the hat. Though it had been my original plan, I opted not to try the Linker Carriage again for this. Instead, I made my first attempt at a Kitchener stitch, which is meant to seam together two edges of live stitches in an invisible way that looks like just another row of knitting. Mine … doesn’t look that nice. But it is still pretty hard to see unless you’re looking for it, so I’ll call that a win (and try harder next time)!
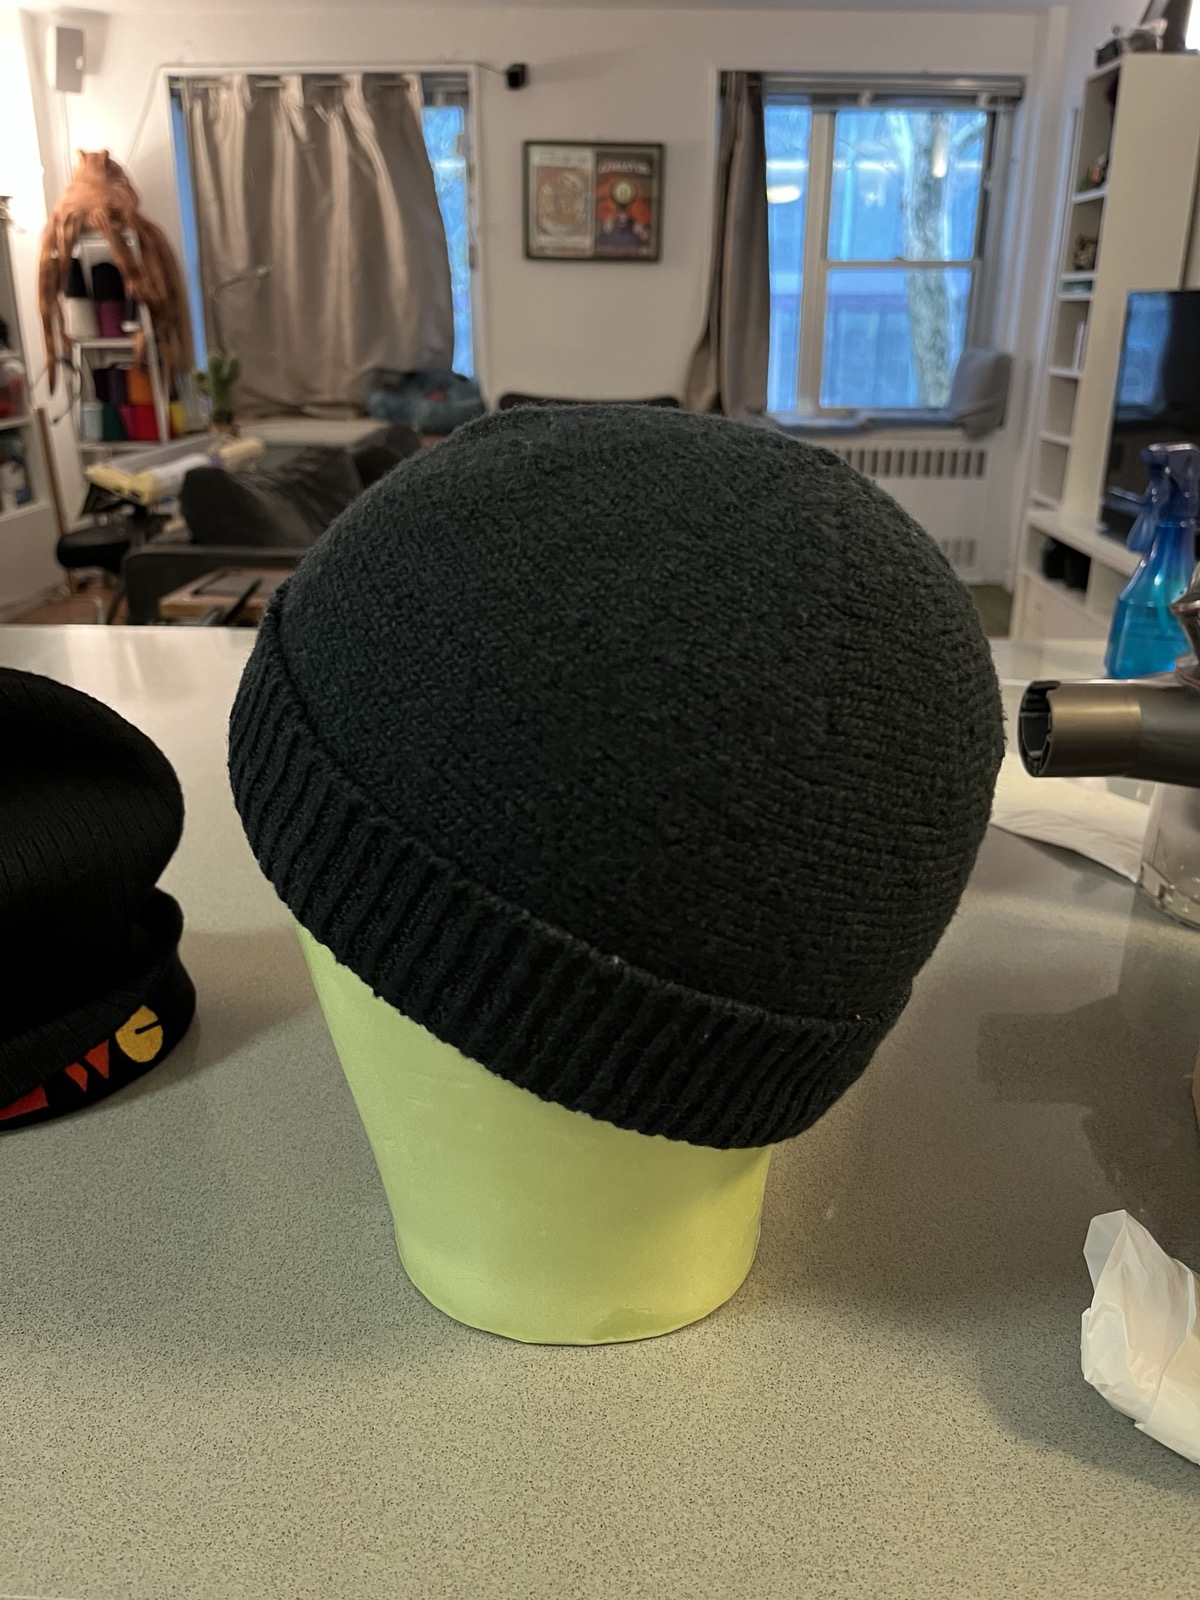
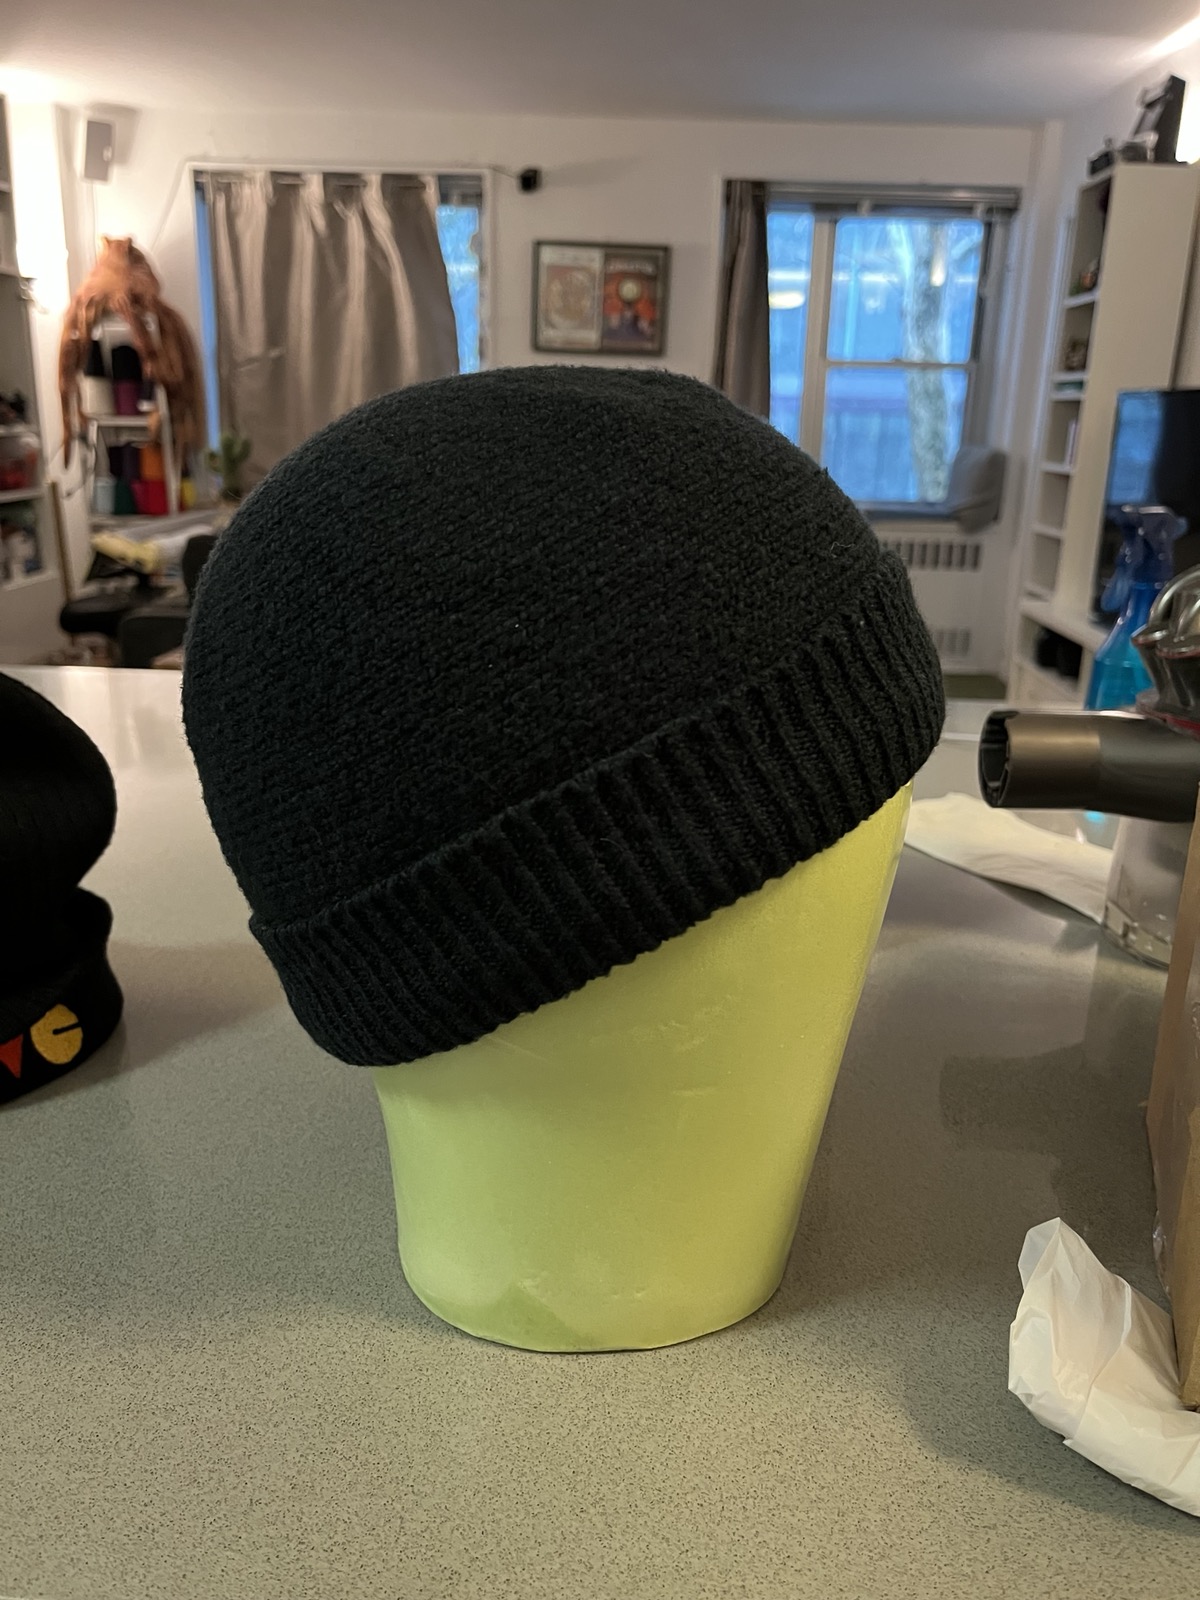
I also mattress stitched the ribbed hem together, making sure to put that seam on the outside of the hat, because the brim is meant to be folded up.
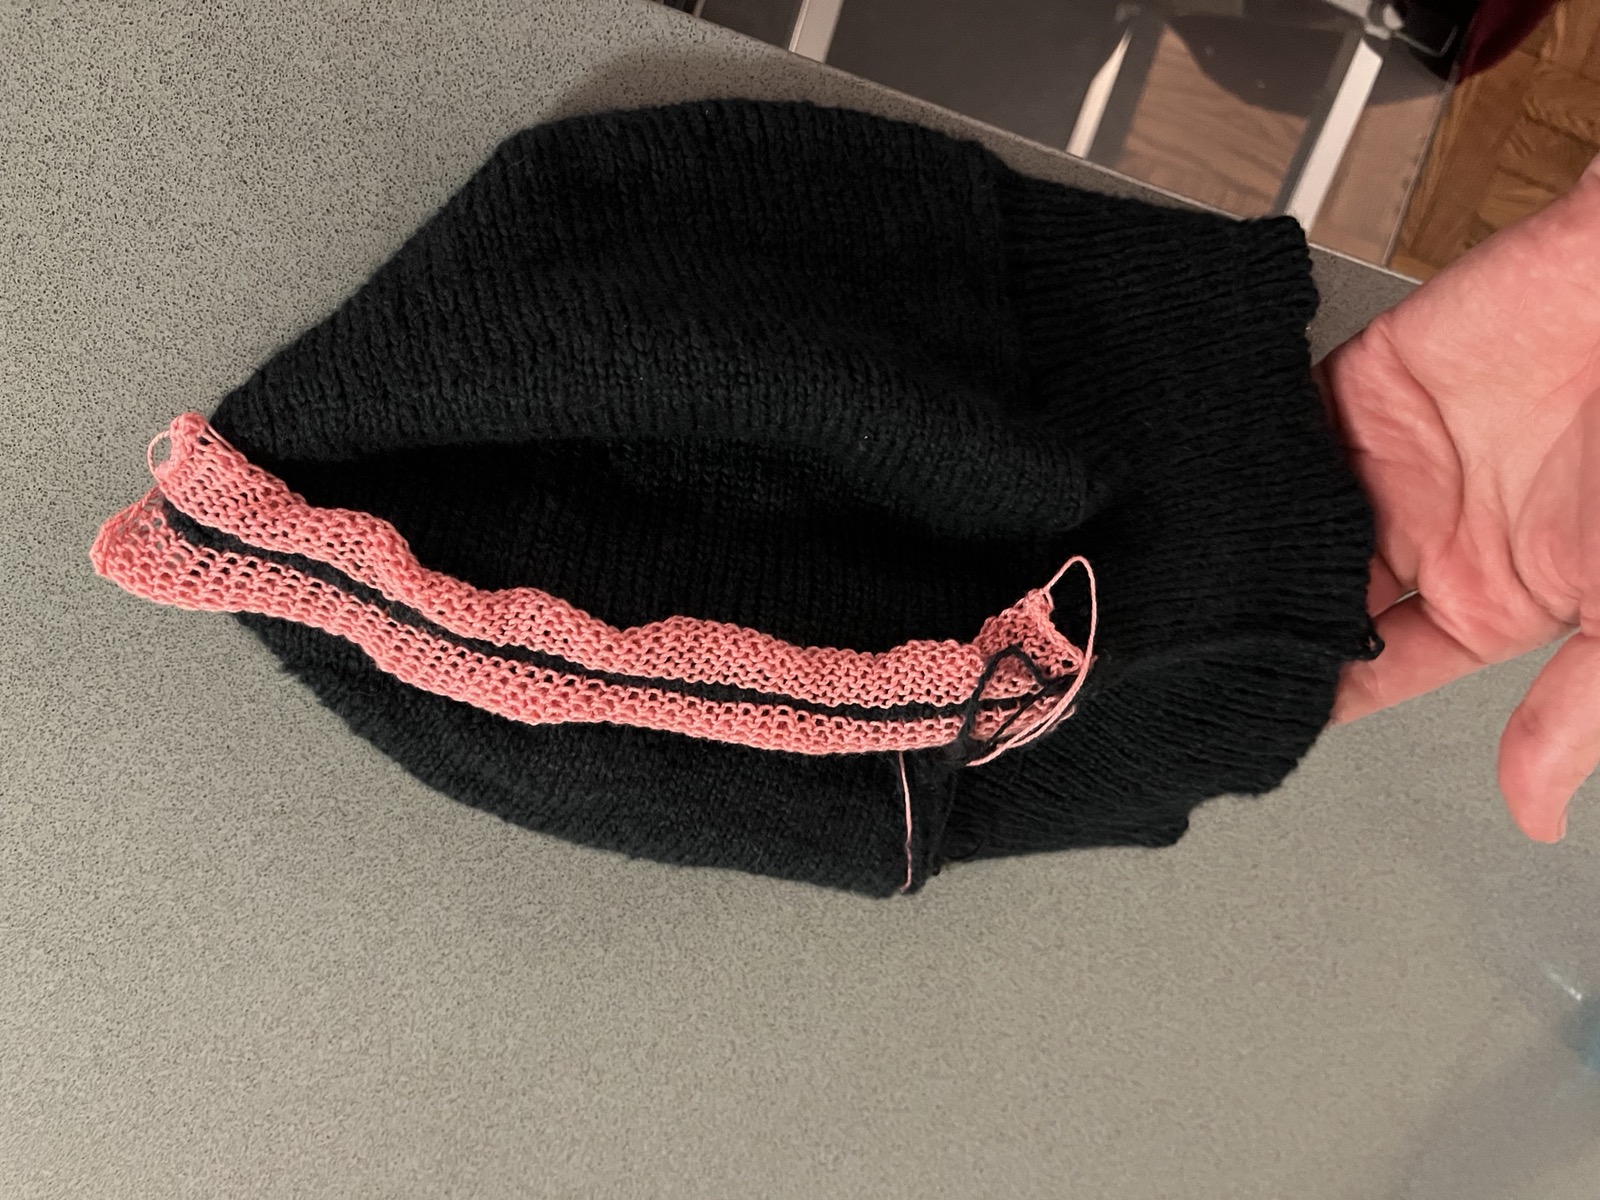
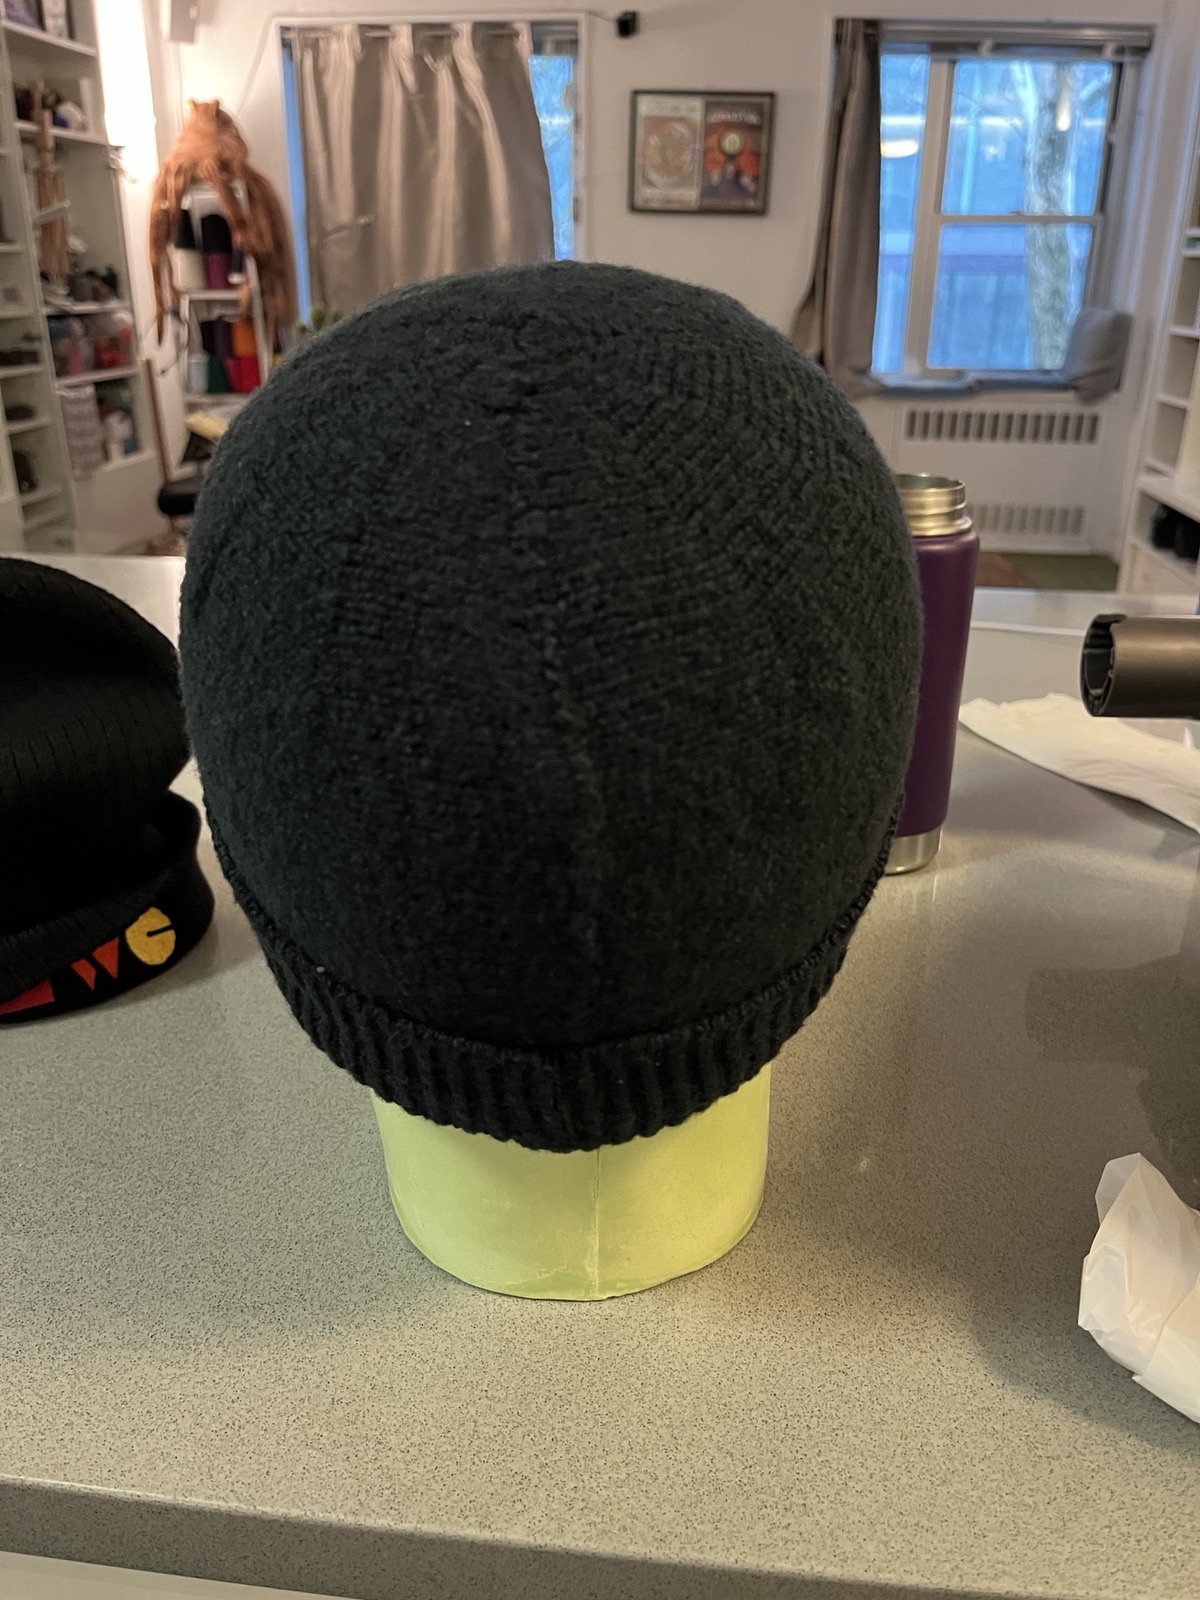
Then it was a matter of running a line through the top 10 stitches at the top of the hat to pull them together and close it up.
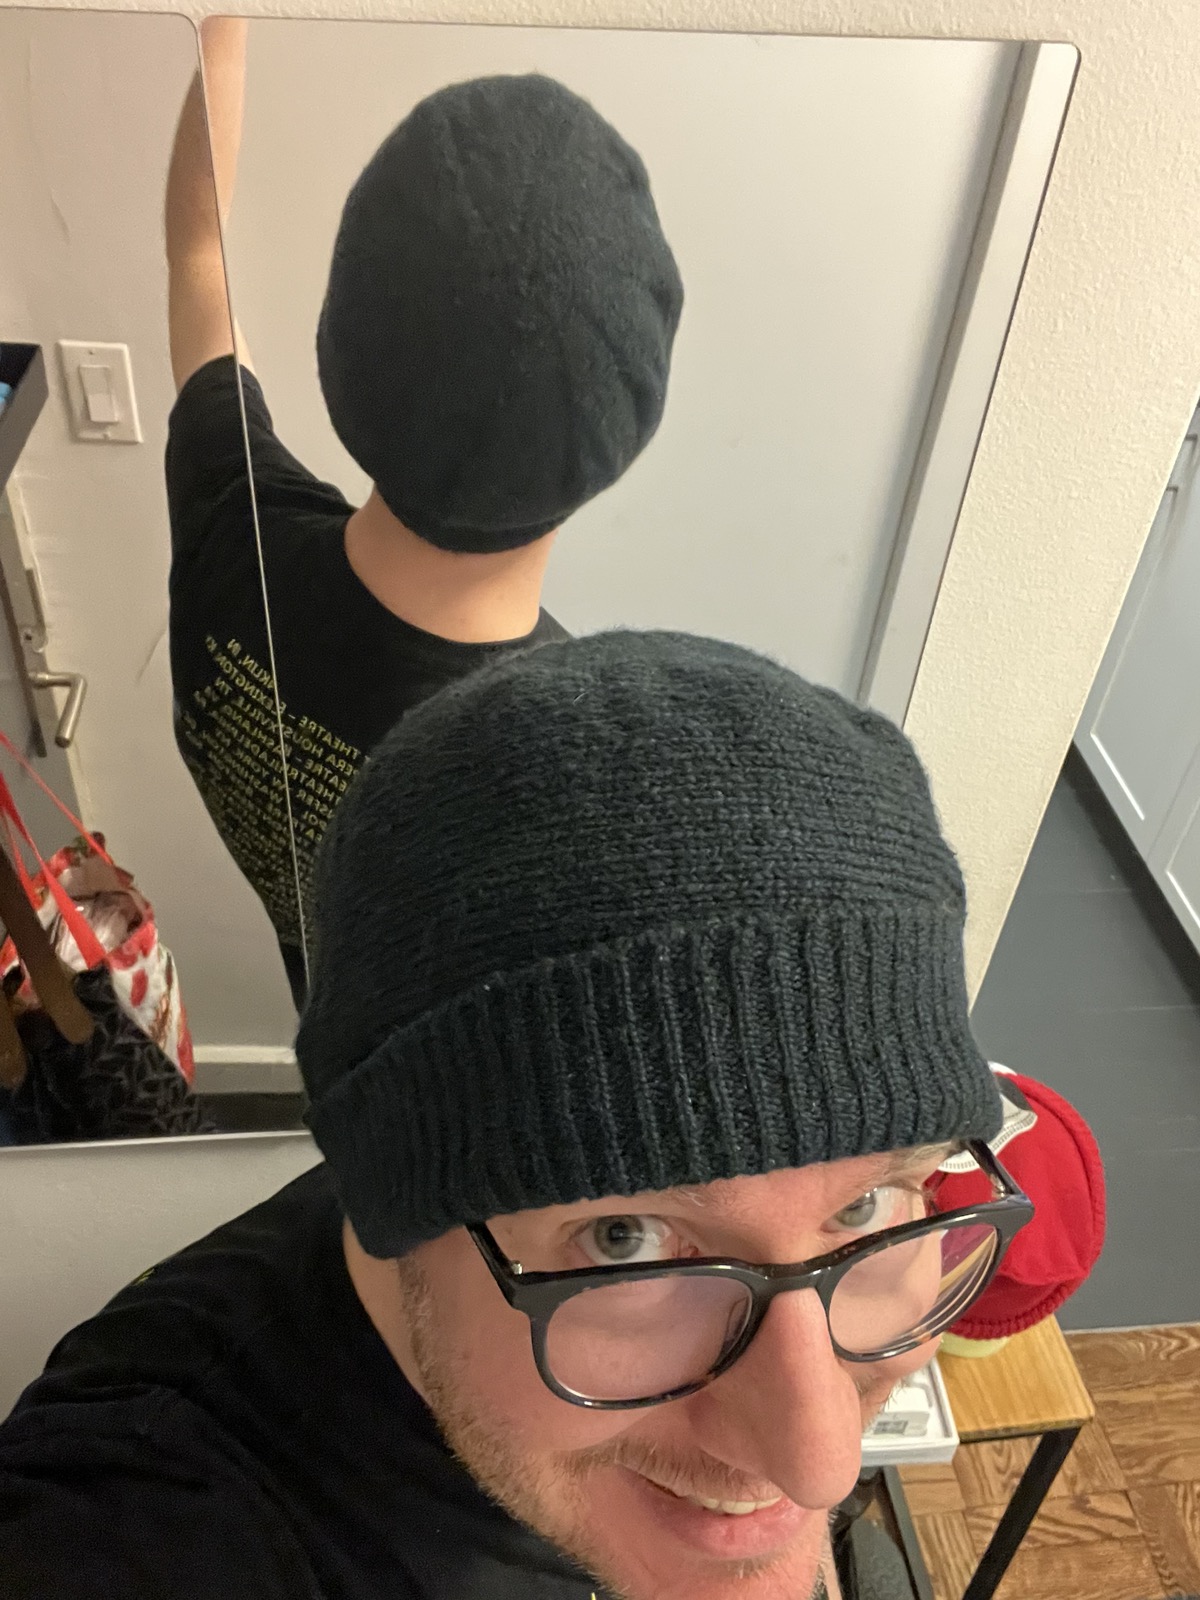
Then a trip through the laundry to see its final form!
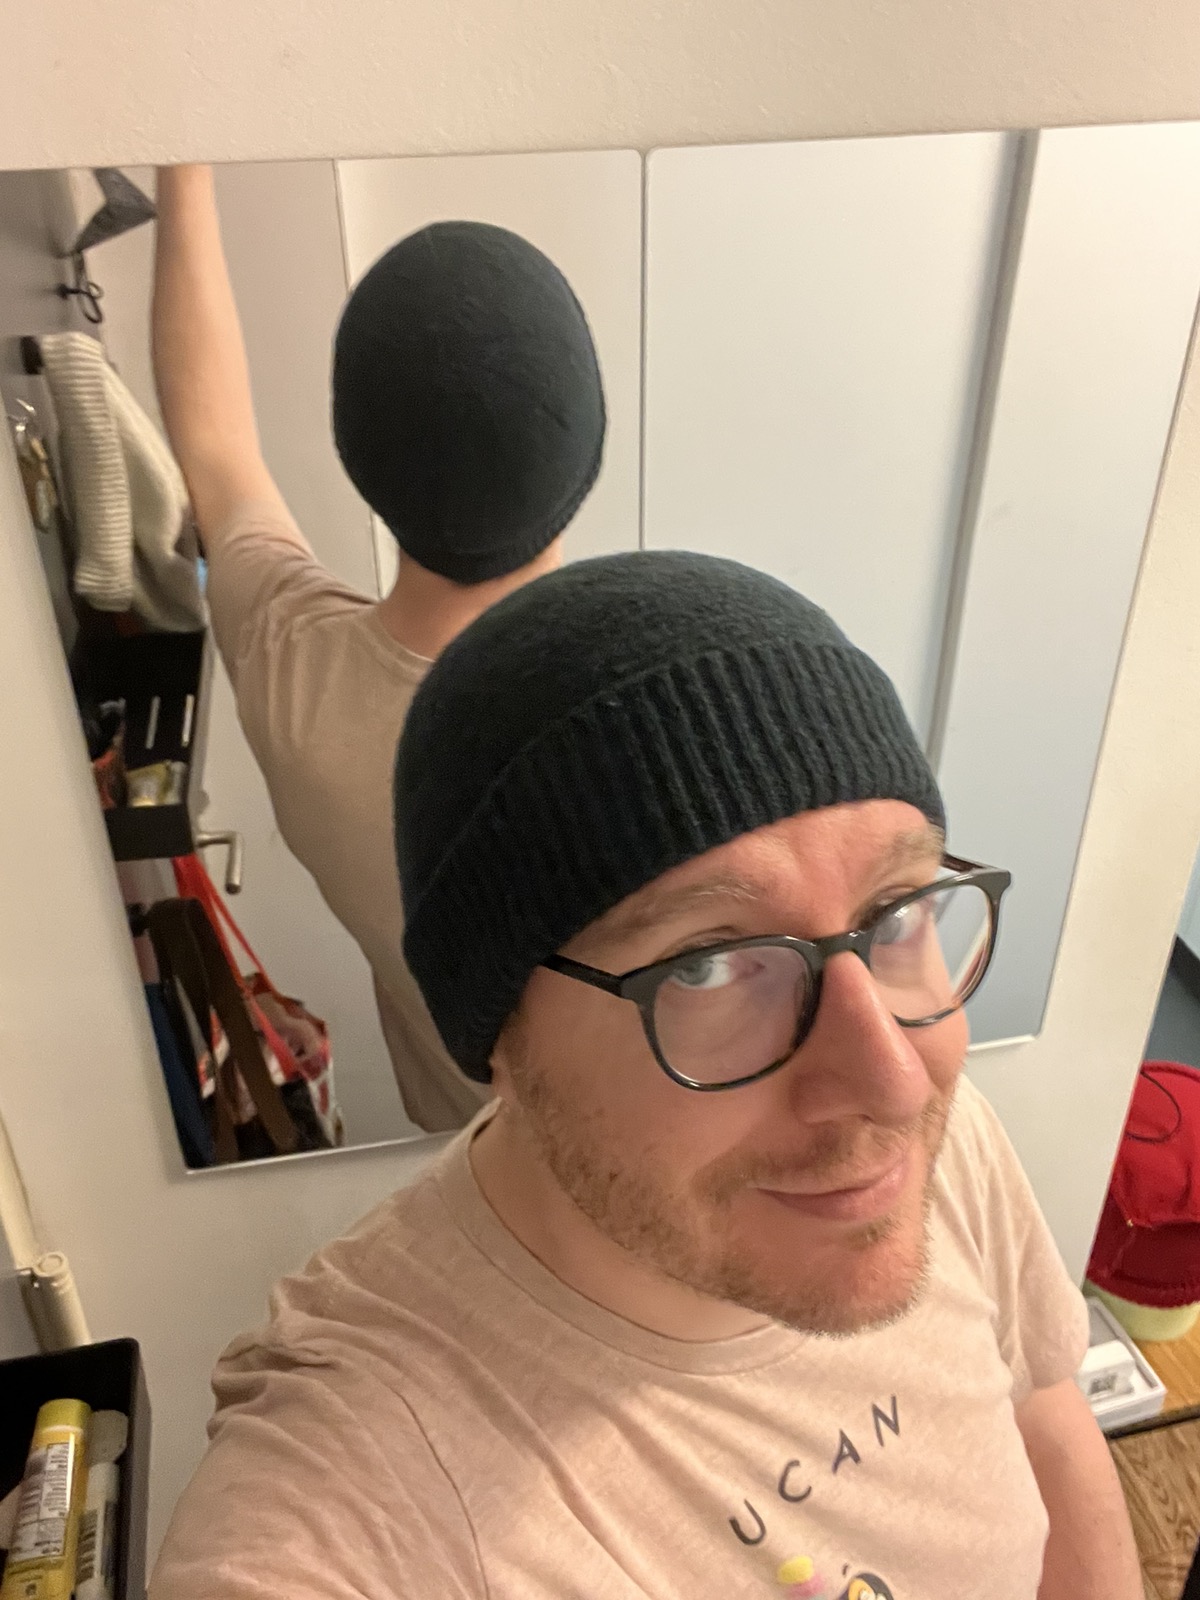
I really should go ahead and make one of these for myself, and stop wearing beanies that came from a store. For my version I think I would make a few extra changes:
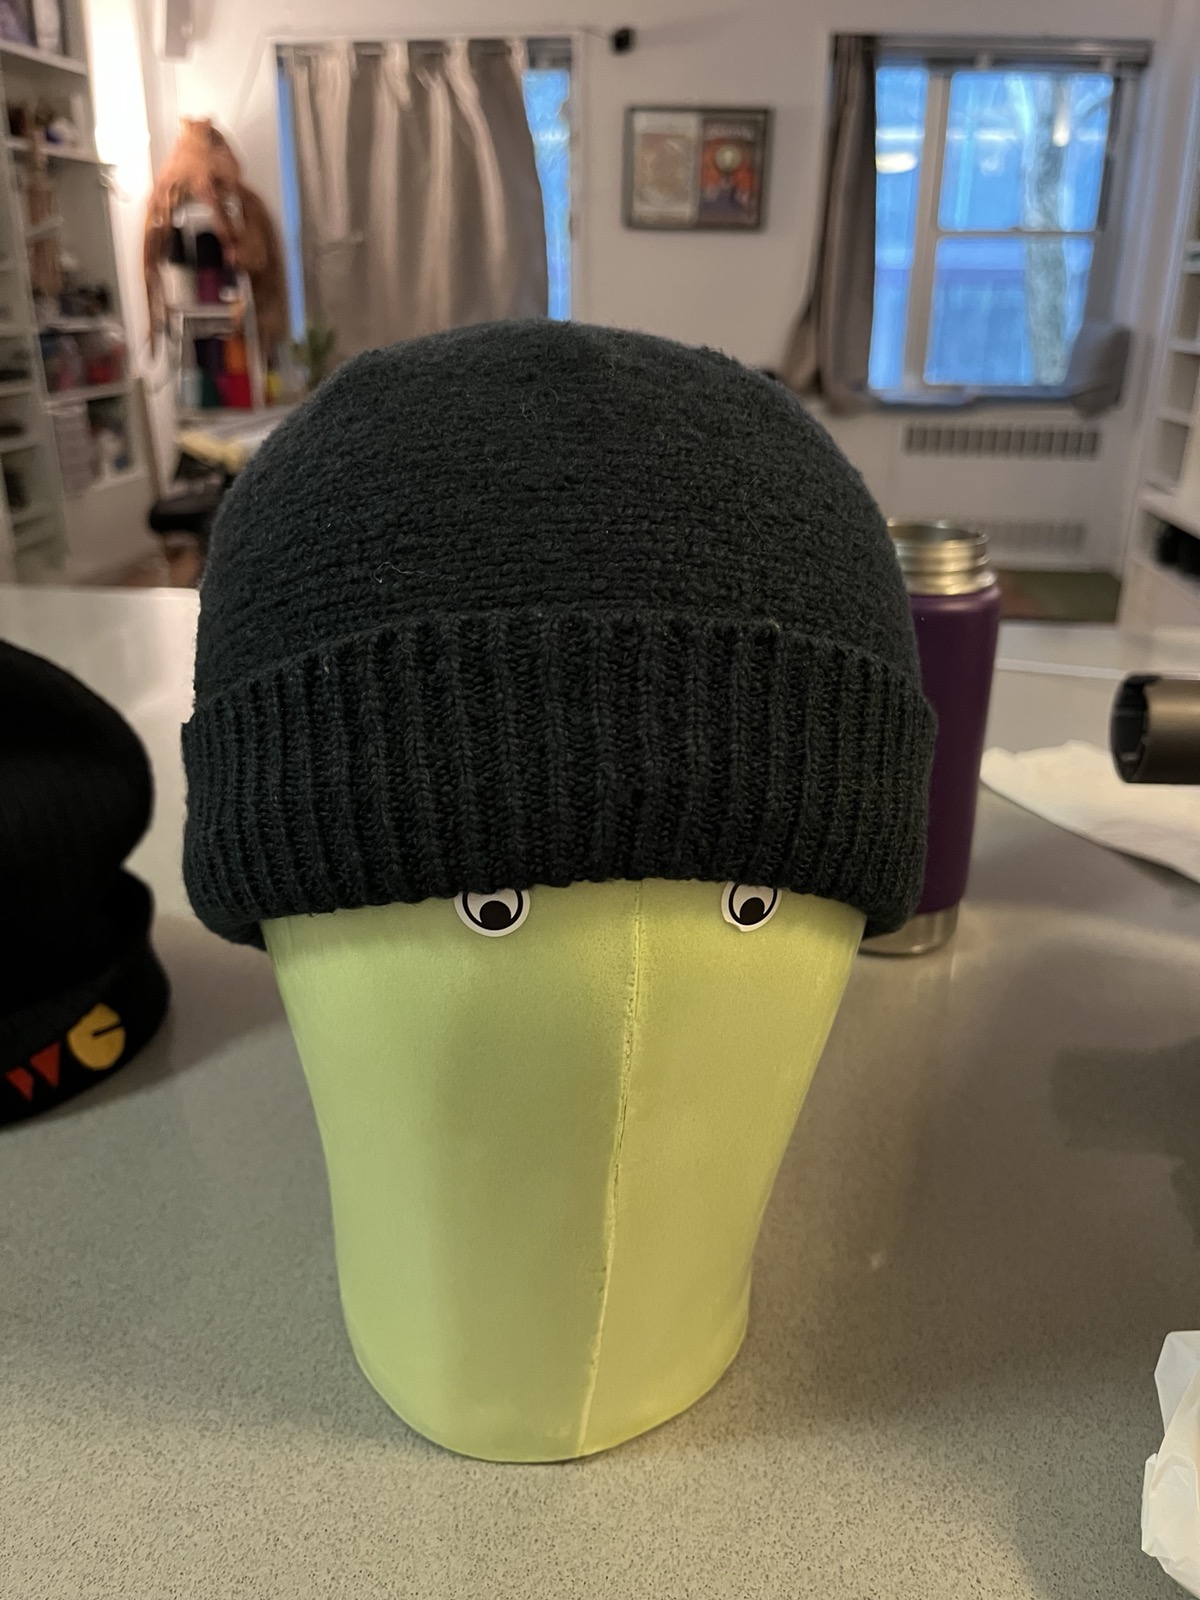
Thanks for reading! As bonus content, here are some photos of the finished Chattie on the head form that Producer Amy bought for her own hat-making purposes!
Until next time!
此内容由惯性聚合(RSS阅读器)自动聚合整理,仅供阅读参考。 原文来自 — 版权归原作者所有。