





星际宝盒OpBoot启动OpenWrt官方固件?
OpBoot直接刷OpenWrt官方的固件是启动不了的,因为分区的定义不同。
其实在官方源码基础上改一下分区定义,自己编译固件就可解决,以下是流水帐。
git clone [email protected]:openwrt/openwrt.gitpatch文件内容如下:
--- target/linux/ipq40xx/files/arch/arm/boot/dts/qcom-ipq4019-cm520-79f.dts	2021-05-02 21:24:53.459040886 +0800
+++ qcom-ipq4019-cm520-79f.dts	2021-05-02 21:25:52.606234556 +0800
@@ -9,6 +9,10 @@
 	model = "MobiPromo CM520-79F";
 	compatible = "mobipromo,cm520-79f";

+	chosen {
+		bootargs-append = " ubi.block=0,1 root=/dev/ubiblock0_1";
+	};
+
 	aliases {
 		led-boot = &led_sys;
 		led-failsafe = &led_sys;
@@ -216,65 +220,8 @@
 			#size-cells = <1>;

 			partition@0 {
-				label = "SBL1";
-				reg = <0x0 0x100000>;
-				read-only;
-			};
-
-			partition@100000 {
-				label = "MIBIB";
-				reg = <0x100000 0x100000>;
-				read-only;
-			};
-
-			partition@200000 {
-				label = "BOOTCONFIG";
-				reg = <0x200000 0x100000>;
-			};
-
-			partition@300000 {
-				label = "QSEE";
-				reg = <0x300000 0x100000>;
-				read-only;
-			};
-
-			partition@400000 {
-				label = "QSEE_1";
-				reg = <0x400000 0x100000>;
-				read-only;
-			};
-
-			partition@500000 {
-				label = "CDT";
-				reg = <0x500000 0x80000>;
-				read-only;
-			};
-
-			partition@580000 {
-				label = "CDT_1";
-				reg = <0x580000 0x80000>;
-				read-only;
-			};
-
-			partition@600000 {
-				label = "BOOTCONFIG1";
-				reg = <0x600000 0x80000>;
-			};
-
-			partition@680000 {
-				label = "APPSBLENV";
-				reg = <0x680000 0x80000>;
-			};
-
-			partition@700000 {
-				label = "APPSBL";
-				reg = <0x700000 0x200000>;
-				read-only;
-			};
-
-			partition@900000 {
-				label = "APPSBL_1";
-				reg = <0x900000 0x200000>;
+				label = "Bootloader";
+				reg = <0x0 0xb00000>;
 				read-only;
 			};

@@ -285,7 +232,7 @@
 			};

 			partition@b80000 {
-				label = "ubi";
+				label = "rootfs";
 				reg = <0xb80000 0x7480000>;
 			};
 		};
或在这里下载,覆盖 target/linux/ipq40xx/files/arch/arm/boot/dts/qcom-ipq4019-cm520-79f.dts
./scripts/feeds update -a
./scripts/feeds install -a
make menuconfig
# 编译时需从外网下载源码,ALL_PROXY设置了代理
ALL_PROXY=socks5h://localhost make -j9
make menuconfig时`,
Target System选择Qualcomm Atheros IPQ40XX`,
Target Profile选择MobiPromo CM520-79F即可。
编译好的固件路径: bin/targets/ipq40xx/generic/openwrt-ipq40xx-generic-mobipromo_cm520-79f-squashfs-nand-sysupgrade.bin
在OpenWrt的菜单System -> Backup / Flash Firmware或通过OpBoot刷写固件均可。
由于是SNAPSHOT版本,是没有luci的,只能通过ssh登录。
如果网线接路由器,网线接蓝色的WAN口即可上网;如果是WIFI中转,需做如下配置:
编辑 /etc/config/firewall,在zone wan中添加network项wwan
编辑 /etc/config/network,添加
config interface 'wwan'
        option proto 'dhcp'
编辑 /etc/config/wireless,修改
config wifi-iface 'default_radio1'
        option device 'radio1'
        option network 'wwan'
        option mode 'sta'
        option ssid 'WIFI名称'
        option encryption 'psk2'
        option key 'WIFI密码'
然后执行 /etc/init.d/network restart使配置生效。
其实折腾时并不是非常顺利,
首先是reset按键孔,用0.7的中性笔是无法触发reset开关的;
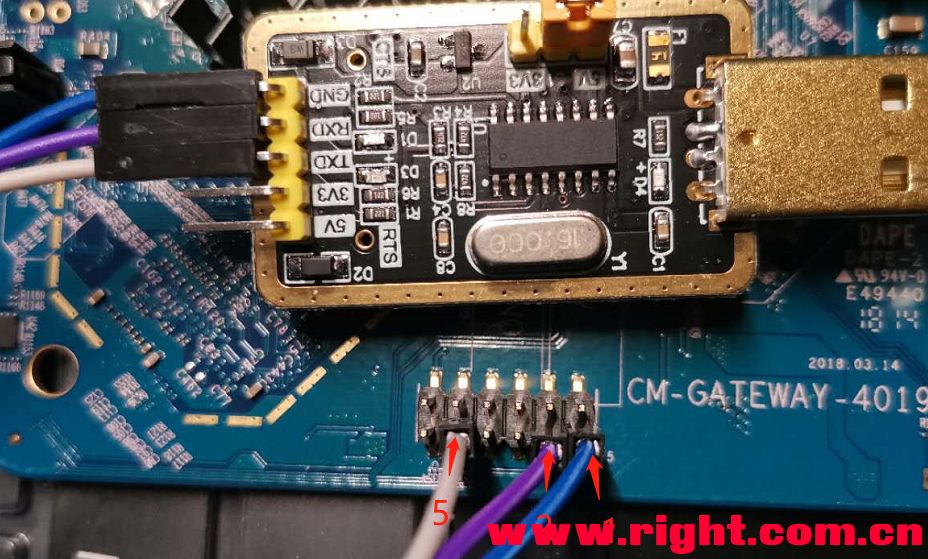
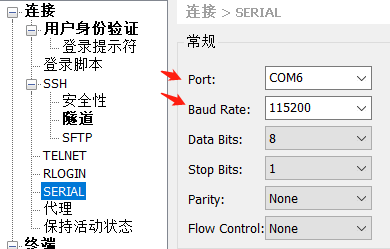
然后遇到固件内核及root都可启动,但是查看ttl输出,在执行/bin/init时报错loading shared library libgcc_s.so.1: Exec format error,
分析后发现是make menuconfig时选择了Strip unnecessary functions from libraries导致。
此内容由惯性聚合(RSS阅读器)自动聚合整理,仅供阅读参考。 原文来自 — 版权归原作者所有。