Running live demos can be stressful. You know what you want to say and show. You prepare the CLI commands you want to run to best showcase what you've built, but then you waste time typing long commands; you make typos; the commands fail or take way too long to complete. Maybe they depend on external system (network, APIs, cloud, ...) and of course it's not cooperating while you're running your live demo.
Here's how you can avoid all of the above by scripting, automating and recording your demos, so that you never have to stress about showcasing ever again...
Note: All the scripts and code are made available in this repository.
The Script
It's easy to forget some of the things that you want to show or say during showcase, so you might want to write a script - both in the "theatre" and "programming" sense of the word.
Just writing things down and following this script can make a showcase much smoother, but why not go a step further and make it an actual runnable script?
There are a couple tools you could use for this. We will talk about two - demo-magic and https://github.com/saschagrunert/demo.
The former is a simple, yet powerful set of bash functions and helpers which you can use to automate your demos/showcases as a shell script. To install it, run the following:
git clone https://github.com/paxtonhare/demo-magic.git
mkdir demo  # Create a working dir for showcase
cp demo-magic/demo-magic.sh demo/demo-magic.sh  # Copy the helpers

# Install "Pipe Viewer" for simulated typing
# MacOS:
brew install pv

# Ubuntu:
apt-get install pv

# Move to showcase directory and create your "script"
cd demo
touch sample.sh
chmod +x sample.sh
Now we just need to write our script, which will live in the demo/sample.sh file:
#!/bin/bash

# Include the "demo-magic" helpers
source demo-magic.sh

DEMO_PROMPT="${GREEN}➜ ${CYAN}\W ${COLOR_RESET}"
TYPE_SPEED=30

function comment() {
  cmd=$DEMO_COMMENT_COLOR$1$COLOR_RESET
  echo -en "$cmd"; echo ""
}

clear

comment "# Simple commands:"
pe 'ps aux | head'
pe 'ls -l'

comment "# Print and execute immediately"
pei 'cat some-file'
echo

comment "# Long running:"
pe 'docker build -t some-app .'

comment "# Error prone (dependant on external factors like network):"

pe 'curl --silent -X GET https://httpstat.us/418 -H "Accept: application/json" | jq .'

pe 'curl -i -X POST "https://httpbin.org/status/204" --data "{'some':'data'}"'

pe 'wget -q --show-progress -O some-file.txt https://raw.githubusercontent.com/octocat/Hello-World/master/README'

comment "# Hard to type:"

pe 'openssl req -x509 -newkey rsa:4096 -sha256 -days 3650 -nodes -keyout example.key -out example.crt -subj "/CN=example.com" -addext "subjectAltName=DNS:example.com,DNS:www.example.net,IP:10.0.0.1" 2>/dev/null'

comment "#  Enter interactive mode..."
cmd  # Run 'ls -l | grep example' to show result of 'openssl ...'
Let's go over what's going on here - we start by including the demo-magic.sh so that we can use its helper functions (pe, pei and cmd). Next we configure the prompt and simulated typing speed, and we also add a helper function of our own - comment - which simply prints text without executing it, so that we can describe the commands we're showing.
Then comes the actual script - after clearing the terminal we run series of commands using pe and pei. Both of these print and execute the specified command, but the former waits for enter and latter executes immediately. If you want to include an interactive section in your demo, then you can also use cmd command, which lets you type out and run single command before proceeding with rest of the script.
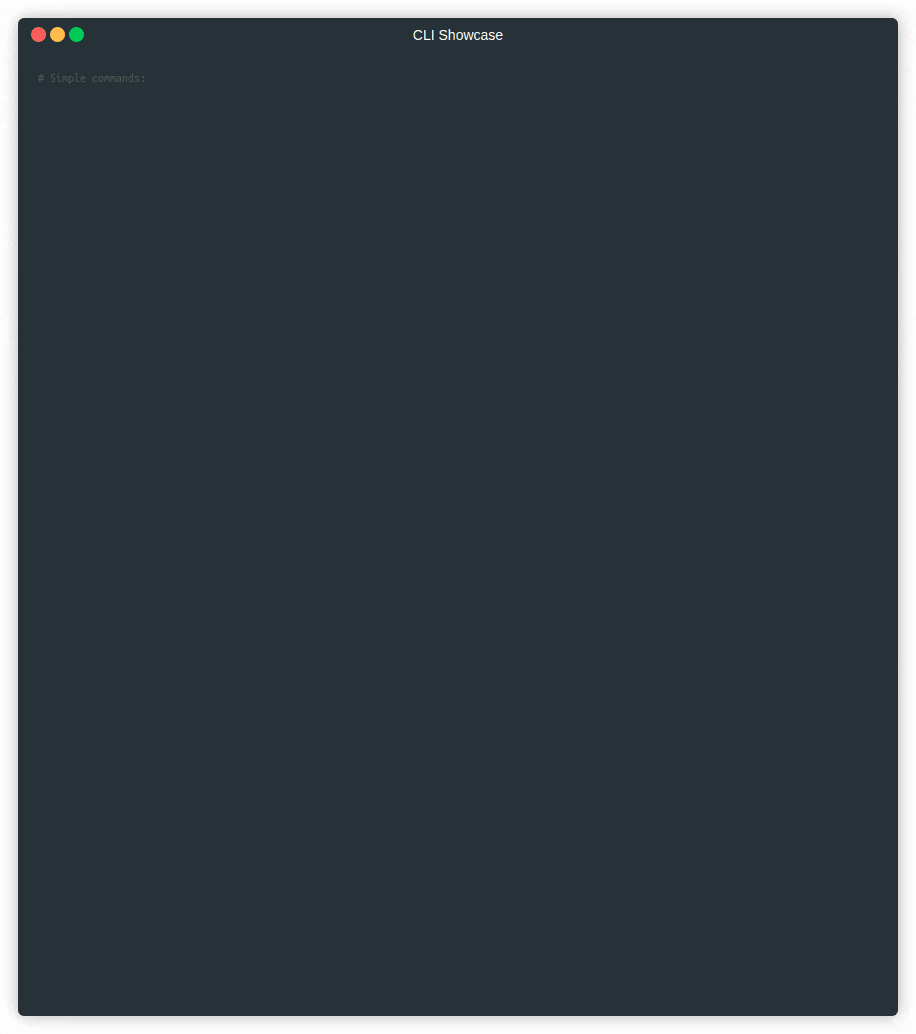
And running the above example would result in something like this:
The other tool I mentioned is https://github.com/saschagrunert/demo, which uses Golang to build the script instead of shell (you decide whether that belongs into pros or cons column). Therefore, to use it we need to create a Golang project. First create a go.mod file:
# go.mod
module cli-demo

go 1.20
And install the tool from GitHub:
go get github.com/saschagrunert/demo@latest
Then create a main.go file which will become your demo script:
package main

import (
 demo "github.com/saschagrunert/demo"
 "github.com/urfave/cli/v2"
)

func main() {
 d := demo.New()
 d.Add(simple(), "simple", "Simple commands demo")
 d.Run()
}

func simple() *demo.Run {
 r := demo.NewRun(
  "Simple commands demo",
 )
 r.Step(demo.S(
  "Simple commands:",
 ), nil)
 r.Step(nil, demo.S(
  "ls -l",
 ))
 r.Step(nil, demo.S(
  "cat some-file",
 ))

 return r
}
In main function we instantiate the demo and add (Add(...)) demo runs to it. In this case we only add single run named simple, but you can use the Add function multiple times. In the demo run function we create individual steps using r.Step(demo.S(...)), where first and second parameter represent comment and CLI command respectively. Either of these can be omitted if you only want to print comment/command.
Now you can build it and run it:
go build
./cli-demo --all
And again, a complete example would look like so:
To keep things concise and readable, I didn't include the full code used to create the above GIF, but you can find it here.
One advantage of this tool over demo-magic are that it includes setup and teardown functions, so you can easily prepare and destroy the environment of your demo. It also produces a executable which can be useful for distributing the demo. On the other hand though, this tool doesn't have an option for customizing prompt or changing speed of simulated typing, with that said the whole code is less than 300 lines, so you could add these features quite easily.
Recording
Most of the time you might be satisfied with a runnable script. You will use it once during a live demo/showcase and never touch it again. However, in some cases, you might want to (pre)record the demo and share it. For example, so you can add an example GIF to a GitHub repository. For that you can use tool called terminalizer.
Nice thing about this tool is that it doesn't record an actual video of your screen/window, rather it generates a YAML file based on what you type in terminal. This file can be then adjusted/fixed, so can do some "post-processing" - such as removing frames - just by changing the generated YAML before rendering GIF from it.
To install it, run:
# You might need 'sudo'
npm install -g terminalizer

terminalizer init
# The global config directory is created at
# /home/martin/.terminalizer
After installing with npm, we initialize terminalizer which creates a global configuration file at /home/user/.terminalizer/config.yaml. You can leave the config as is, but I recommend adjusting some options:
frameDelay: 150
# If you want to force size of window
cols: 140
rows: 75

frameBox:
  type: floating
  title: <Demo Specific>  # or null
  style:
    backgroundColor: "#263238"
    border: 0px black solid

theme:
  background: "transparent"
  foreground: "#afafaf"
  cursor: "#c7c7c7"
  black: "#2E3436"
  red: "#CC0000"
  # ...
As I mentioned, terminalizer only records strokes, not the actual screen, so this config allows us to change styling of the final render, including color scheme, window size, etc.
By default, terminalizer will use same pauses between strokes/typing as was during recording, which might mean that there will be unnecessarily long or short pauses. To fix that we can change frameDelay value to specific number of milliseconds between each frame.
Another configuration you might want to change is framebox, which sets terminal window title, size and style. Finally, I also like to set theme to the same color palette, which I use in the actual terminal.
If you want some inspiration, then my configuration can be found here.
With global config ready, we can run terminalizer config which will copy the default config into current directory. We can then record our demo in this directory without making changes to the default config:
terminalizer record demo --config config.yaml

# ... perform the demo commands

# CTRL+D to stop recording...

# Successfully Recorded
# The recording data is saved into the file:
# /home/.../demo.yml

# ---------

terminalizer play demo

# https://github.com/faressoft/terminalizer/issues/29
# sudo chown -R <YOUR_USERNAME> /usr/lib/node_modules/terminalizer/render/
terminalizer render demo
# ...
# Successfully Rendered
# The animated GIF image is saved into the file:
# /.../render1677937002675.gif
Running terminalizer record demo will start screen (keystroke) recording and hitting CTRL+D will stop and save the results into ./demo.yaml. You can then use terminalizer play demo to replay the demo right in the terminal as if you were typing it. Afterwards, when you're satisfied with the recording, you can run terminalizer render demo which will render a GIF using the style configuration in config.yaml.
To then combine the scripting and recording into one piece you can do something like this (that is - my preferred workflow):
# ... Edit 'main.go'
go build
# OR
cp template.sh my-cool-demo.sh
# Edit 'my-cool-demo.sh'

# -----

# Start recording:
terminalizer record demo
# Start scripted demo:
./cli-demo --all -i
# OR
./my-cool-demo.sh
# ... Go through the demo
# CTRL+D
terminalizer play demo  # To check
# ... Adjust demo.yml
terminalizer render demo  # To render
The GIFs that this will produce can be pretty big - in my case upwards of 40MBs - so you might want to use --step N argument with the render command to skip some frames. Alternatively, you can also run it through https://gifcompressor.com/.
Finally, while rendering GIFs has been so far sufficient for me, you might also want render videos, which terminalizer can't do - for that I recommend checking out asciinema which renders output that is closer to a proper video format.
Conclusion
While point of this article was to provide a way to make your showcases and demos a little less stressful and smoother, another big benefit of using these tools is better quality - running a cool, impressive, fancy demo can make a big difference. Having a fancy showcase can keep audience engaged and can help you leave a good impression even if you're showcasing something boring.