





So here’s the thing. I started this blog the way every dev does: I looked at the $5/month “starter” plans on shared hosting and at WordPress.com’s $5/month “you can have a custom domain” tier and thought, “I have a credit card and a terminal. Why am I paying anyone?” Two hours of fiddling later, the blog you’re reading was running on a free Google Cloud VM, served by nginx, fronted by Cloudflare, and costing me exactly $0/month.
This post is the playbook. It still works the same way it did in 2020, with the small caveat that the free-tier instance type changed from f1-micro to e2-micro, and PHP versions have rolled forward. Everything else is the same.
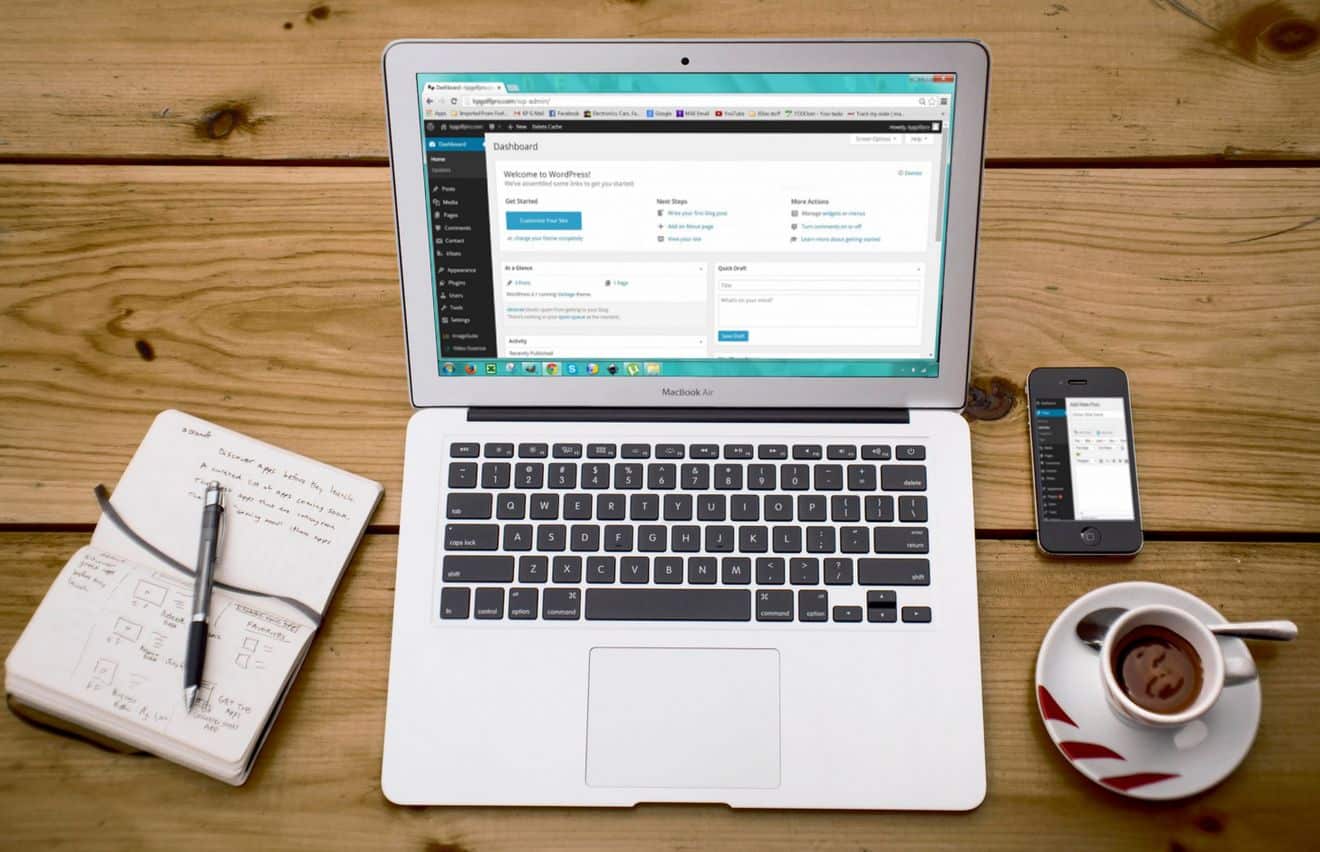
What you’ll build: a self-hosted WordPress blog on a free Google Cloud
e2-microVM with your own domain, fronted by Cloudflare for DDoS protection and free SSL. No monthly fees. Bring your own domain (~$10/year) if you don’t already have one.
What “free forever” actually means on Google Cloud
Google’s Always Free tier gives you, per month, every month, with no expiration:
- One
e2-microVM (2 vCPU, 1GB RAM, burstable) in select US regions. - 30GB of standard persistent disk.
- 1GB of egress to most destinations (5GB to China and Australia capped separately).
That’s enough to host a modest WordPress blog. Don’t expect to pull six-figure traffic on it; do expect a personal blog, a portfolio site, or a small business homepage to run comfortably. If your egress climbs past 1GB/month (it will, eventually, if your blog grows), you start paying about $0.12/GB, which is rounding error compared to the $60+/year you’d pay for managed hosting.
The other thing this VM gets you: a real Linux box you can reuse. Run a VPN tunnel through it with sshuttle, use it as a remote build machine, host a Telegram bot or a small API. The blog uses about 5% of its resources; the rest is yours.
Three reasons, in roughly the order they mattered to me.
Cost compounds. WordPress.com Personal is $4/month for a custom domain and zero plugins. WordPress.com Business (the only tier that lets you install plugins) is $25/month. Bluehost and SiteGround start at $3/month for a year, then jump to $10-15/month at renewal. Self-hosting on Google Cloud is genuinely free, and the only thing you pay for is the domain (~$10/year at Cloudflare or Namecheap).
You learn the stack. When something breaks on a managed host, you open a ticket. When something breaks on your own VM, you SSH in and fix it. Three years of running this blog taught me more about nginx, PHP, and Linux than three years of any managed plan would have.
You actually own it. No “we’ve decided to discontinue this feature” emails. No upselling. No surprise plan changes. The VM is yours, the database is yours, the backups are yours.
The trade-off: you’re on the hook for security updates, backups, and uptime. If that sounds annoying, pay for managed hosting and don’t read this post. If it sounds fun, keep going.
Step 1: Create the Google Cloud VM
You need a Google account and an international debit/credit card for billing verification (Google won’t charge you for the always-free instance, but the card has to be on file). If you don’t have an international card, virtual cards from Wise or Revolut work fine.
- Sign in to the Google Cloud Console.
- Create a new project. The name doesn’t matter; pick something memorable like
my-blog. - Enable billing for the project (Billing → Link a billing account → add card).
- Go to Compute Engine → VM Instances and click Create Instance.
For an always-free eligible VM, set:
- Name: anything you like.
- Region: must be
us-west1,us-central1, orus-east1(these are the only free-tier regions). - Machine type:
e2-micro(2 vCPU, 1GB memory). - Boot disk:
Ubuntu 22.04 LTSorUbuntu 24.04 LTS. Pickstandard persistent disk, 30GB or less. Resist the urge to go bigger; anything over 30GB exits the free tier. - Firewall: tick Allow HTTP traffic and Allow HTTPS traffic.
- Security → Manage access → Add SSH key: paste your laptop’s public key (
cat ~/.ssh/id_ed25519.pub).
Click Create. Two minutes later, the VM has an external IP. SSH in:
ssh hemant@<vm-external-ip>If your key is in ~/.ssh/config, just use the host alias. (For a refresher on SSH workflow, see the top 10 Linux commands post.)
Step 2: Point your domain at Cloudflare
Cloudflare in front of the VM is optional, but you should do it. It’s free, it gives you a CDN, free SSL certificates, basic DDoS protection, and analytics that are more useful than what Google Cloud gives you out of the box.
- Sign up at cloudflare.com (free plan).
- Add your domain. Cloudflare scans your existing DNS records and gives you two nameservers (looks like
ada.ns.cloudflare.comandbert.ns.cloudflare.com). - At your registrar (Namecheap, GoDaddy, Porkbun, etc.), replace the existing nameservers with Cloudflare’s two. Propagation takes 5 minutes to 24 hours; usually 5 minutes.
- Back in Cloudflare’s DNS panel, add an
Arecord:- Name:
@(the apex of your domain) - IPv4 address: your VM’s external IP
- Proxy status: orange cloud (proxied through Cloudflare)
- Name:
- Add a
CNAMErecord forwww:- Name:
www - Target:
yourdomain.com - Proxy status: orange cloud
- Name:
Leave SSL/TLS mode set to “Full” or “Full (strict)” once you’ve configured TLS on nginx. For now, “Flexible” works (it terminates SSL at Cloudflare and talks HTTP to your VM), but it’s not the right long-term setup.
Step 3: Install nginx, MySQL, and PHP on the VM
SSH back into the VM. The Ubuntu LTS images don’t ship Apache by default anymore (you might still see it on older images), but if it’s there, remove it before installing nginx so they don’t fight over port 80:
# Just in case Apache is installed
sudo apt purge -y apache2 || true

# Update and install everything we need
sudo apt update && sudo apt upgrade -y

sudo apt install -y \
  nginx \
  mysql-server \
  php-fpm php-mysql php-curl php-gd php-intl \
  php-mbstring php-soap php-xml php-xmlrpc php-zip
Ubuntu’s php-fpm package installs whatever’s current for that LTS (PHP 8.1 on 22.04, PHP 8.3 on 24.04). The configuration paths use the version number, so check what you got:
# Check the PHP-FPM socket path
ls /run/php/
# php8.1-fpm.sock or php8.3-fpm.sock
Note that path; you’ll need it in the nginx config below.
Set up MySQL and the WordPress database
Ubuntu’s MySQL ships with a “secure install” wizard that locks down defaults:
sudo mysql_secure_installationAnswer “Y” to remove anonymous users, disallow remote root login, and remove the test database. Pick a strong password for root.
Now create a database and user for WordPress:
sudo mysql -u root -pInside the MySQL prompt:
CREATE DATABASE wordpress DEFAULT CHARACTER SET utf8mb4 COLLATE utf8mb4_unicode_ci;
CREATE USER 'wpuser'@'localhost' IDENTIFIED BY 'use-a-real-password-here';
GRANT ALL PRIVILEGES ON wordpress.* TO 'wpuser'@'localhost';
FLUSH PRIVILEGES;
EXIT;
Use a real, strong password. The default username wpuser is fine; it’s not a security boundary, it’s just a name. The password is what matters.
Step 5: Download and configure WordPress
cd /var/www
sudo curl -LO https://wordpress.org/latest.tar.gz
sudo tar -xzvf latest.tar.gz
sudo mv wordpress yourdomain.com
sudo rm latest.tar.gz

cd /var/www/yourdomain.com
sudo cp wp-config-sample.php wp-config.php
Edit wp-config.php and update the database settings to match what you created in step 4:
define( 'DB_NAME', 'wordpress' );
define( 'DB_USER', 'wpuser' );
define( 'DB_PASSWORD', 'use-a-real-password-here' );
define( 'DB_HOST', 'localhost' );
Then replace the placeholder secret keys with real ones. Get a fresh set from WordPress.org’s API:
curl -s https://api.wordpress.org/secret-key/1.1/salt/Paste the output over the existing keys block in wp-config.php. Save.
Fix permissions so nginx and PHP can read the files:
sudo chown -R www-data:www-data /var/www/yourdomain.comConfigure nginx for WordPress
Create a server block. Replace yourdomain.com with your actual domain and the PHP-FPM socket path with the one you found earlier.
sudo nano /etc/nginx/sites-available/yourdomain.com.confPaste:
server {
    listen 80;
    listen [::]:80;
    root /var/www/yourdomain.com;
    index index.php index.html index.htm;

    server_name yourdomain.com www.yourdomain.com;

    location / {
        try_files $uri $uri/ /index.php?$args;
    }

    location ~ \.php$ {
        include snippets/fastcgi-php.conf;
        fastcgi_pass unix:/run/php/php8.1-fpm.sock;
    }

    location ~* \.(jpg|jpeg|png|webp|gif|ico|css|js)$ {
        expires 365d;
        access_log off;
    }

    location ~ /\.ht {
        deny all;
    }
}
Disable the default server block, enable yours, test the config, and reload:
sudo rm /etc/nginx/sites-enabled/default
sudo ln -s /etc/nginx/sites-available/yourdomain.com.conf /etc/nginx/sites-enabled/

sudo nginx -t
sudo systemctl reload nginx
sudo systemctl restart php8.1-fpm
nginx -t checks the config syntax before applying it. Get into the habit of running it every time you edit nginx files.
Step 7: Finish the WordPress install in a browser
Open https://yourdomain.com in a browser. Cloudflare gives you HTTPS automatically thanks to the proxy. WordPress will detect this is a fresh install and walk you through the rest:
- Site title and admin username.
- A real (not “admin”) username.
- A long password (use a password manager).
- Your email address.
Click “Install WordPress”. You’re done. Log in, install your theme, and start writing.
What to do after the install
A handful of things turn this from a working install into a production blog.
Set up automatic backups. I run a nightly mysqldump and tar of /var/www/yourdomain.com and rsync it to a Backblaze B2 bucket (~$0.005/GB/month). Five lines of cron, dirt cheap, and the only thing that’s saved me when I broke a plugin upgrade.
Enable Cloudflare’s “Always Use HTTPS” and “Auto Minify”. Both are one-click toggles in the Cloudflare dashboard, both speed up your blog, both are free.
Install Wordfence or another security plugin. WordPress is targeted constantly; even a small blog gets login attempts within hours of going live. Rate-limit logins and ban bad IPs.
Update everything. sudo apt update && sudo apt full-upgrade -y once a week. WordPress core updates from inside the admin panel. Plugin updates the same way. Skipping updates is how WordPress sites get owned.
If your blog grows beyond what an e2-micro can handle (you’ll know because pages start timing out under traffic), the upgrade path is to bump the VM to e2-small ($14/month) and stay on Google Cloud, or move to a $5/month VPS at Hetzner or DigitalOcean. Migration is a mysqldump and rsync away.
For monitoring how the VM is holding up, the common Linux commands for system monitoring cover what to run when the blog feels slow. And if you’d rather skip Google’s cloud entirely, the same setup works on any VPS, including Oracle’s free-tier instance for a Minecraft server and other always-free providers.
Last updated: December 2024