


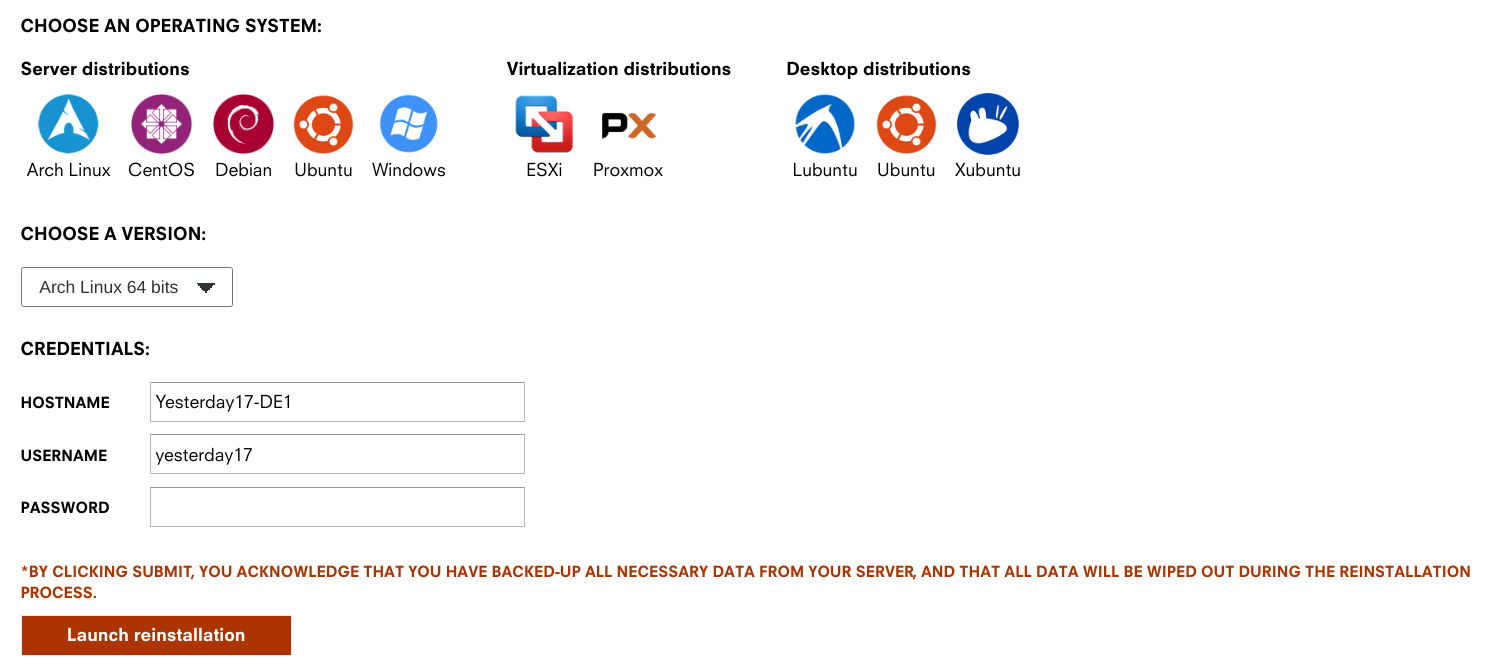
入站半年感觉慢慢攒上传还是太累了,于是最终还是摸了个盒子。因为是简单摸一下,我就不用一键脚本了。为了装起来方便,系统选的直接就是 ArchLinux。
这篇文章源起于几个月前,现在已经开始吃灰了,所以赶在不续费之前摸完这篇(
设置系统语言
https://wiki.archlinux.org/index.php/Locale_(%E7%AE%80%E4%BD%93%E4%B8%AD%E6%96%87)
首先是修改 /etc/locale.gen,将 zh_CN.UTF-8 UTF-8 前面的注释去掉,然后生成 locale:
最后设置系统 locale:
sudo localectl set-locale LANG=zh_CN.UTF-8
下一次 ssh 登录就可以正常显示中文了。
调整分区保留大小
# 调整为 1%
sudo tune2fs -m 1 /dev/sda3
调整系统时间
sudo timedatectl set-timezone Asia/Shanghai
延长 sshd 超时
https://www.simplified.guide/ssh/disable-timeout
修改 /etc/ssh/sshd_config:
TCPKeepAlive no
ClientAliveInterval 30
ClientAliveCountMax 240
开启 bbr
https://bbs.archlinux.org/viewtopic.php?id=223879
# Load the BBR kernel module.
echo "tcp_bbr" > /etc/modules-load.d/modules.conf
# Set the default congestion algorithm to BBR.
echo "net.core.default_qdisc=fq" > /etc/sysctl.d/bbr.conf
echo "net.ipv4.tcp_congestion_control=bbr" >> /etc/sysctl.d/bbr.conf
Nginx
# 安装 nginx
# 不使用 mainline 是为了升级模块方便
sudo pacman -S nginx
# 站点目录
sudo mkdir /etc/nginx/conf.d
然后创建第一个网站:
server {
listen 443 ssl http2;
server_name torrent.mmf.moe;
ssl_certificate ssl/mmf.moe.pem;
ssl_certificate_key ssl/mmf.moe.key;
root /usr/share/nginx/html;
include site-torrent/*;
}
这里我们使用的证书是 Cloudflare 的源证书,相当于只有 Cloudflare 自签的证书,仅在 Cloudflare 到服务器可用,一次可以签 15 年。
qBittorrent
sudo pacman -S qbittorrent-nox
然后写入网站配置:
location /qbt/ {
proxy_pass http://127.0.0.1:18080/;
proxy_http_version 1.1;
proxy_set_header X-Forwarded-Host \$server_name:\$server_port;
http2_push_preload on;
proxy_hide_header Referer;
proxy_hide_header Origin;
proxy_set_header Referer '';
proxy_set_header Origin '';
add_header X-Frame-Options "SAMEORIGIN";
}
最后启动,注意 @ 后面的是你的用户名:
sudo systemctl start qbittorrent-nox@mmfmoe
sudo systemctl enable qbittorrent-nox@mmfmoe
FlexGet
FlexGet 的用途主要是配合脚本,只下载 Free 的种子。首先是安装:
# 安装 Python 3
sudo pacman -S python
# 初始化 venv
python -m venv ~/flexget/
# 安装 FlexGet
cd ~/flexget/
bin/pip install flexget
# 创建插件目录
mkdir -p ~/.flexget/plugins
# 下载 NexusPHP 插件
curl https://raw.githubusercontent.com/Juszoe/flexget-nexusphp/master/nexusphp.py > ~/.flexget/plugins/nexusphp.py
# 创建用于存放种子的目录
mkdir ~/flexget/torrents
# 测试
~/flexget/bin/flexget --version
然后是配置:
web_server:
bind: 127.0.0.1
port: 3539
web_ui: yes
base_url: /flexget
tasks:
u2_free:
rss:
url: "这里填写你的 RSS 链接"
other_fields: [link]
nexusphp:
cookie: "这里填写你的 Cookie"
discount:
- free
- 2xfree
seeders:
min: 0
max: 5
hr: no
remember: no
download: ~/flexget/torrents/
schedules:
- tasks: "u2_free"
interval:
minutes: 15
接下来是 Nginx 的配置:
location /flexget/ {
proxy_pass http://127.0.0.1:3539/flexget/;
proxy_http_version 1.1;
proxy_set_header X-Forwarded-Host \$server_name:\$server_port;
http2_push_preload on;
proxy_hide_header Referer;
proxy_hide_header Origin;
proxy_set_header Referer '';
proxy_set_header Origin '';
add_header X-Frame-Options "SAMEORIGIN";
}
最后启动:
flexget daemon start --daemonize
rclone
rclone 大家都会用吧,这里就不多说了
总结
至此,需要的软件基本都有了,也就可以正常工作开刷了。自动删种我没弄,因为我想把东西都上传到 Google Drive,但一直偷懒没写自动脚本,就手动来了。不过好在站内的资源也没多到能在我一个上传周期内塞满硬盘就是了(
Arch 配置起来确实省心,哪天我又要弄盒子的时候照着这篇重开一遍就行了((