






This blog will go over the steps necessary to create a share in FreeNAS and then use that as storage in a Docker container. FreeNAS has the functionality to act as either independent storage or as a storage server with Docker running in a virtual machine (VM). Many users with existing Docker environments, however, may be more interested in pointing their host system to a FreeNAS share. This piece will demonstrate using Ubuntu 18.04 LTS as the host system and FreeNAS as a separate storage target. Developers on other operating systems with Docker environments can follow similar steps.
TrueNAS users can follow the same process and provide high-availability (HA) shares to their Docker hosts. With the upcoming TrueNAS 11.3 release, the TrueNAS web interface will also be similar to the FreeNAS web interface shown in this blog.
Setup the Dataset and Share
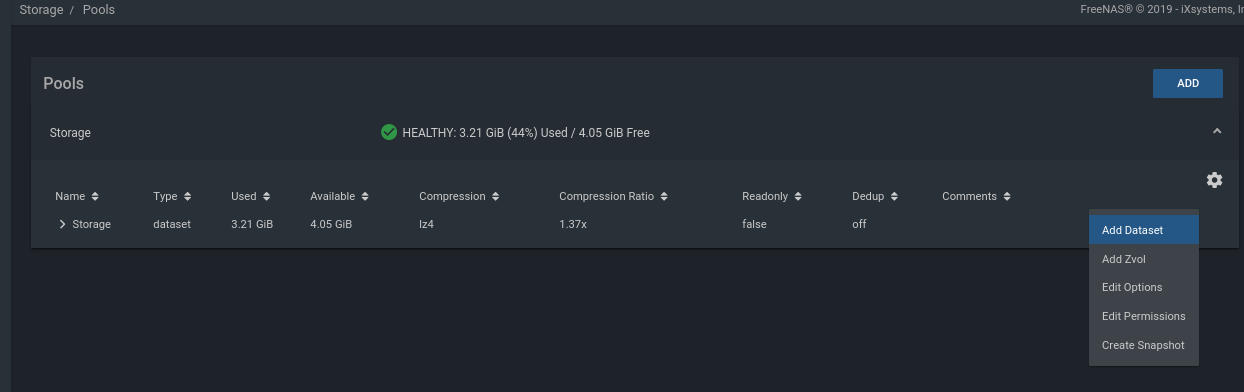
Go to the FreeNAS web interface and click on Storage -> Pools. Click the three-dot menu on the right of the master dataset and click Add Dataset.
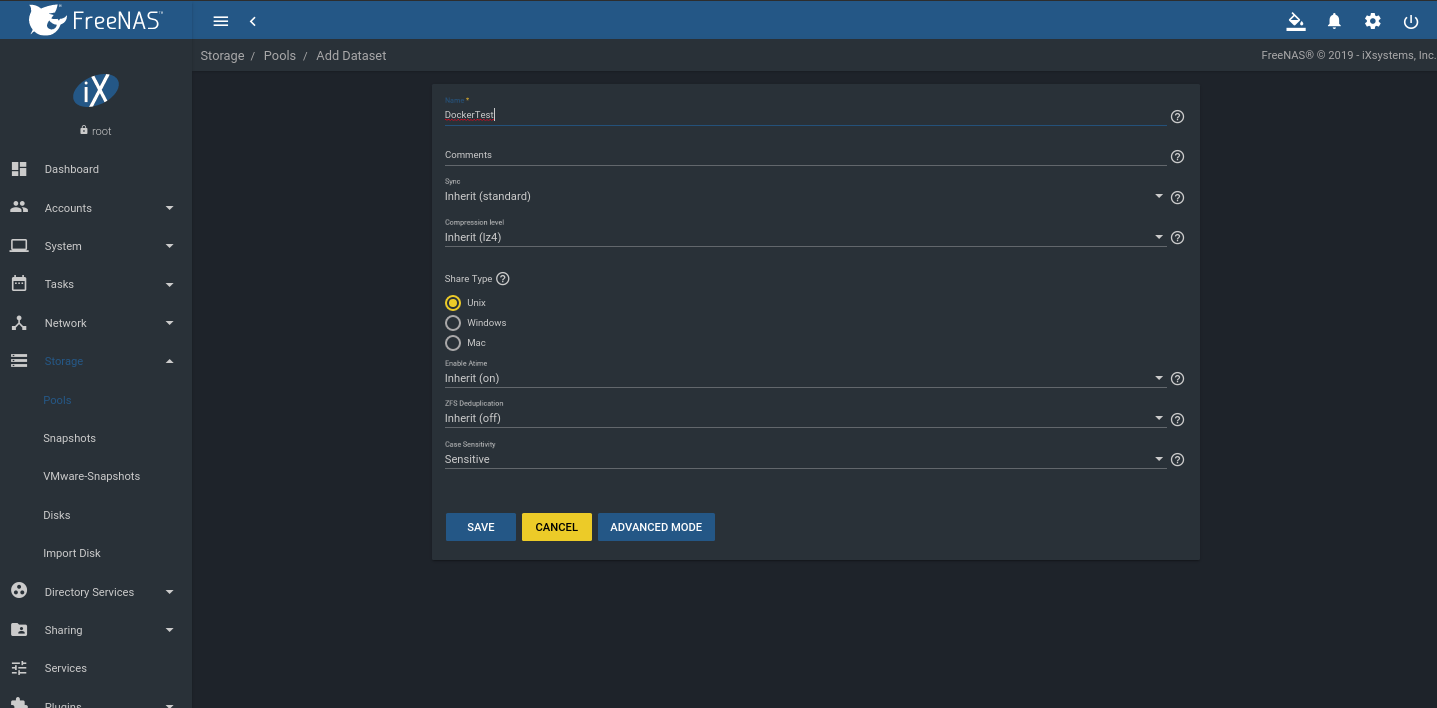
Fill in a name for the dataset and select any other desired settings. Defaults are fine for this example.
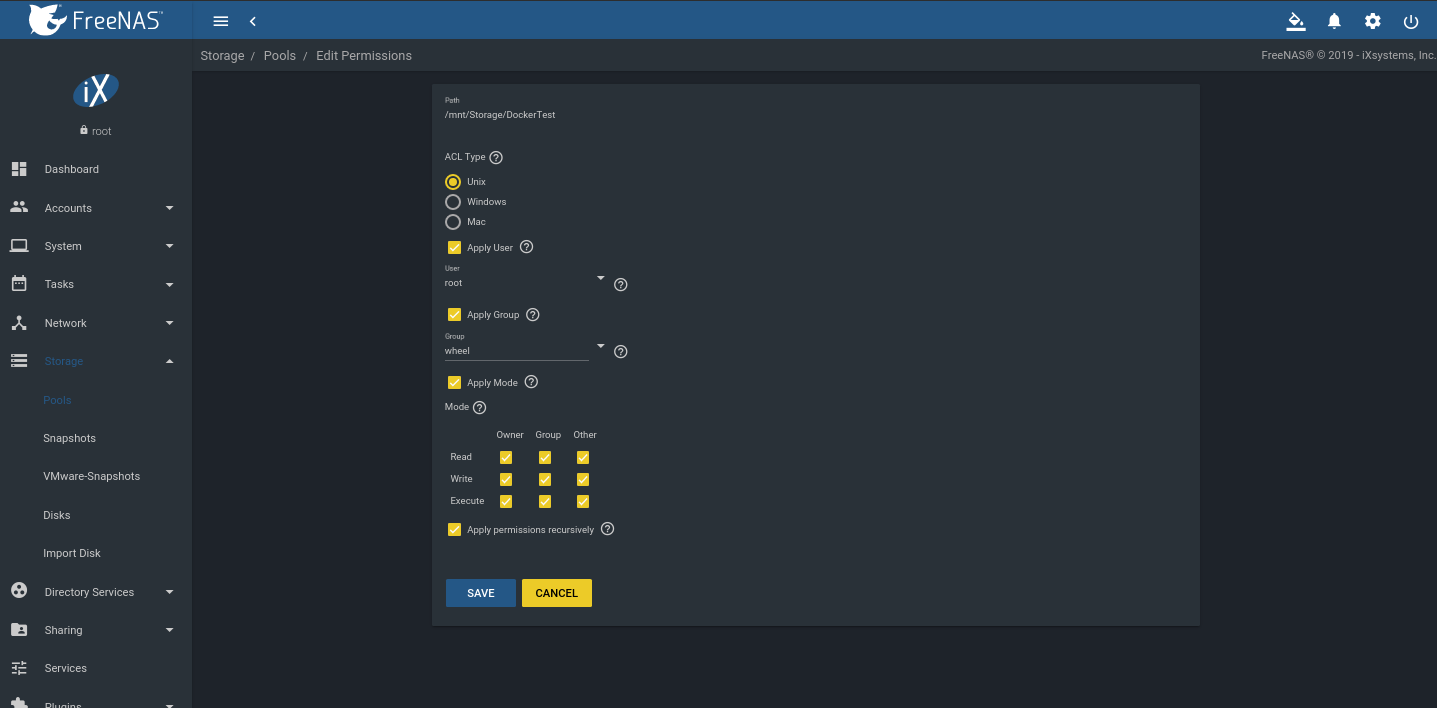
Click on the three-dot menu on the right of the new dataset and select Edit Permissions. Allow Owner, Group, Other Read, Write, and Execute access. This setting could also be more tightly controlled if users on the Docker host are configured properly, though the containers may need write access for certain tasks.
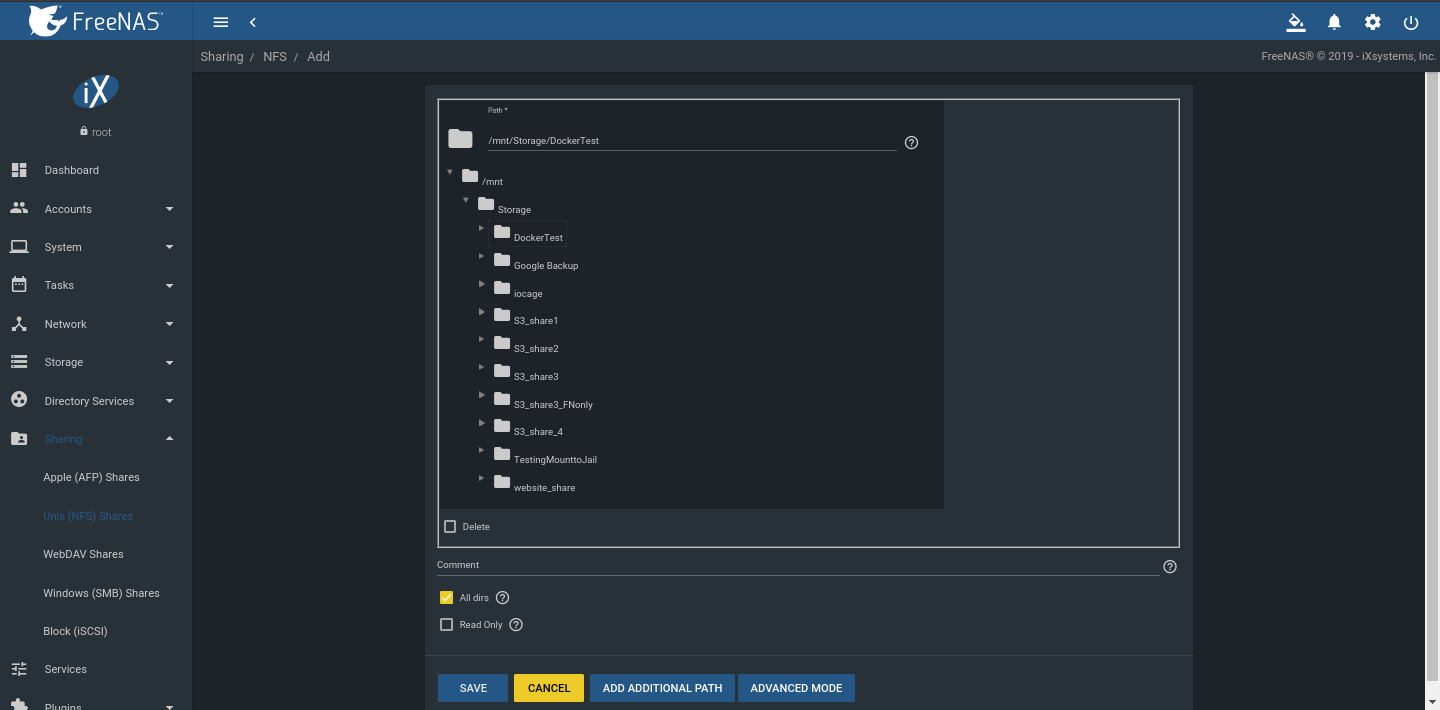
Go to Shares and select Unix (NFS) Shares. Select the new dataset as the Path and click All dirs.
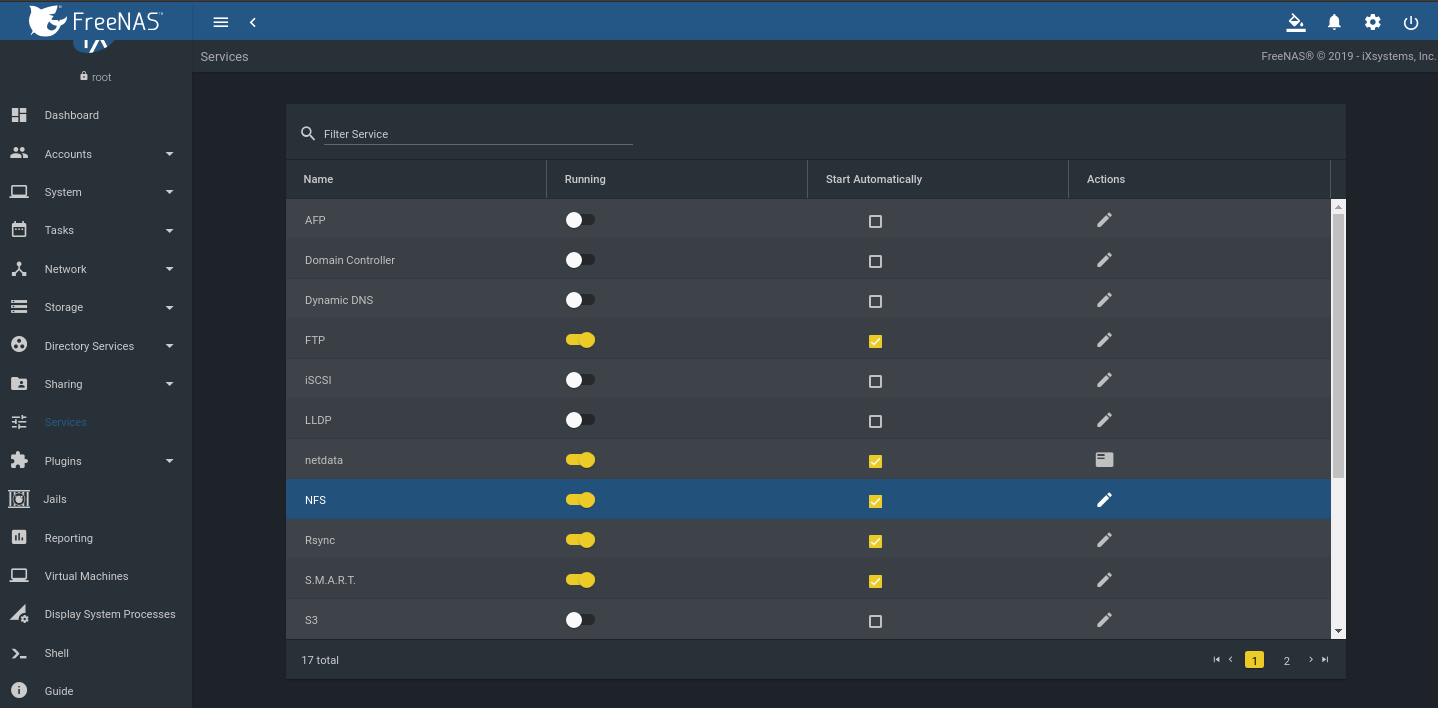
Go to Services and ensure NFS is running.
Set up the Docker Container on the Ubuntu Host
Ensure Docker and Docker Compose are installed. Docker Compose is not necessary, but that is the method this example uses and is an easy way to edit and manage multiple different kinds of containers without having to re-enter long commands in the terminal. Click here to find out more about the Docker installation.
This blog will cover a basic Docker container running an HTTPD service, and pointing its source files at a mounted folder from the FreeNAS share.
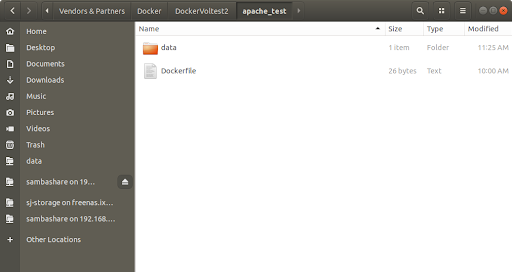
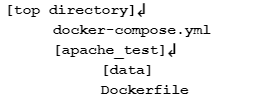
Create a new directory to run the container called apache_test. In that new directory, create another to store the files called data.
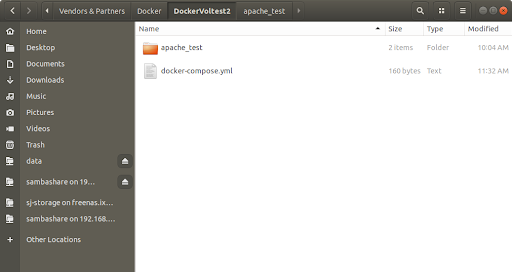
In the terminal, mount the FreeNAS share to the data directory. Type sudo mount [FreeNAS IP address / DNS name ]:/mnt/[NFS share]/ data.

Outside of the apache_test directory, create a docker-compose.yml file. This is the configuration file that names the container, and the volume we want to share. Using a text editor add the info as shown. This example follows the httpd Docker image.
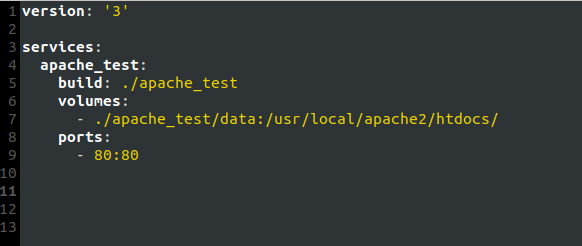
Note: The volumes: section sets the data directory as the HTTPD source directory with the host path (now mounted to FreeNAS) first followed by the container’s path.
Create a Dockerfile inside the apache_test directory. This file tells Docker which image(s) to use and whether to expose any ports.
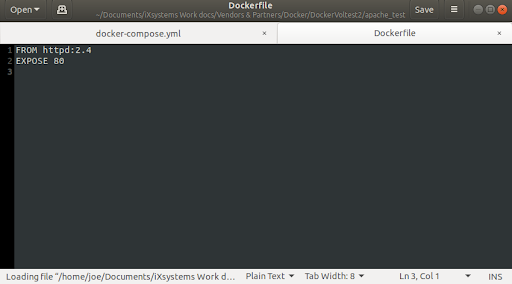
Note: There is no file extension for the Dockerfile.
Final directory structure:
In the terminal of the Ubuntu host, navigate to the folder with the docker-compose.yml file and type sudo docker-compose up. Docker will start, fetch the necessary images, and bring up the service.
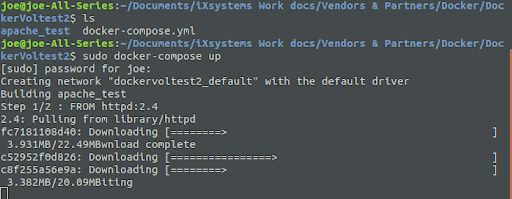
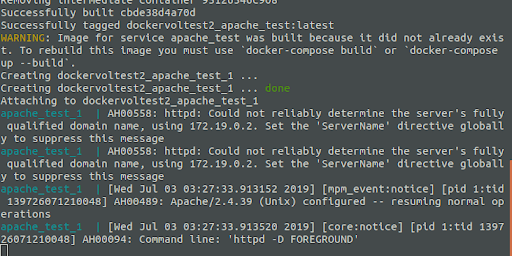
TIP: If you run into any trouble starting the container, and both Docker and Docker Compose are correctly installed, check the spacing in the docker-compose.yml file. There are two spaces before each indent.
Open a web browser and type 127.0.0.1 or localhost in the navigation bar.
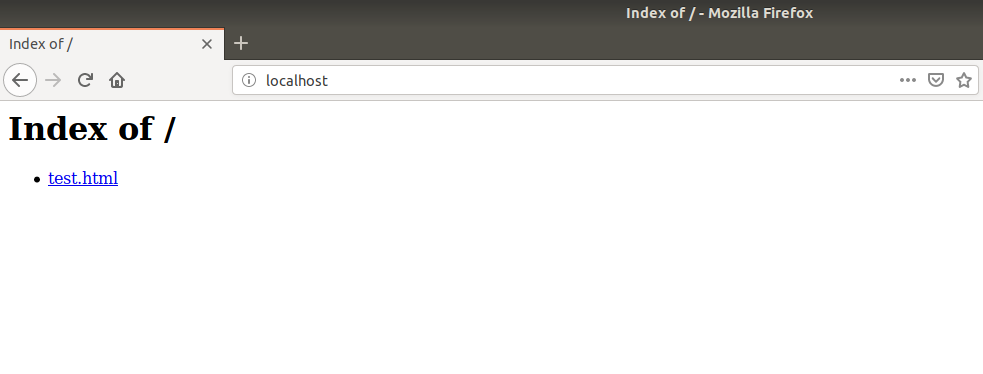
Add HTML files to the data folder from the Ubuntu host system, or another system that can access the FreeNAS share. Just as with a normal website, all files can be navigated to after the slash, i.e. localhost/test.html.
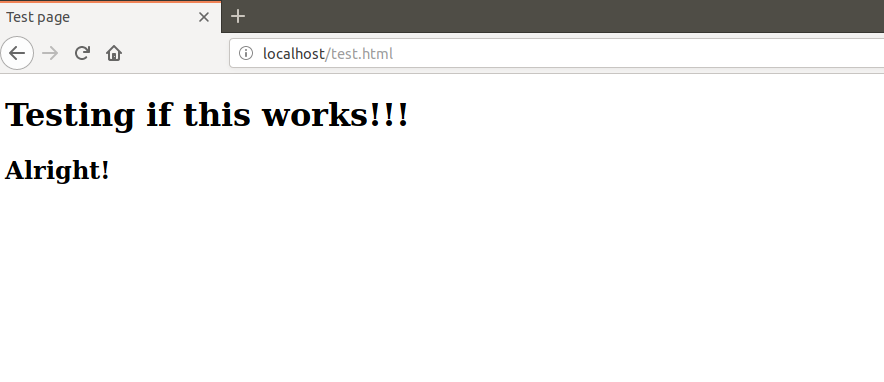
All files in the data folder are accessible to multiple editors or even multiple containers if you need to run a distributed system or load balancing. Best of all, they are protected by the robust ZFS file system with unlimited snapshots, recoveries, data scrubbing, and checksums to prevent data corruption or loss.
此内容由惯性聚合(RSS阅读器)自动聚合整理,仅供阅读参考。 原文来自 — 版权归原作者所有。